Product Listing Pages (PLPs) display groups of products and help customers browse your catalog. In Spree, three types of pages act as PLPs and can be customized in the Theme Editor:Documentation Index
Fetch the complete documentation index at: https://spreecommerce.org/docs/llms.txt
Use this file to discover all available pages before exploring further.
- Shop All - a standalone page showing your entire product catalog
- Taxon pages - one for each category, collection, or brand
- Search Results - dynamically shows products based on the customer’s search query
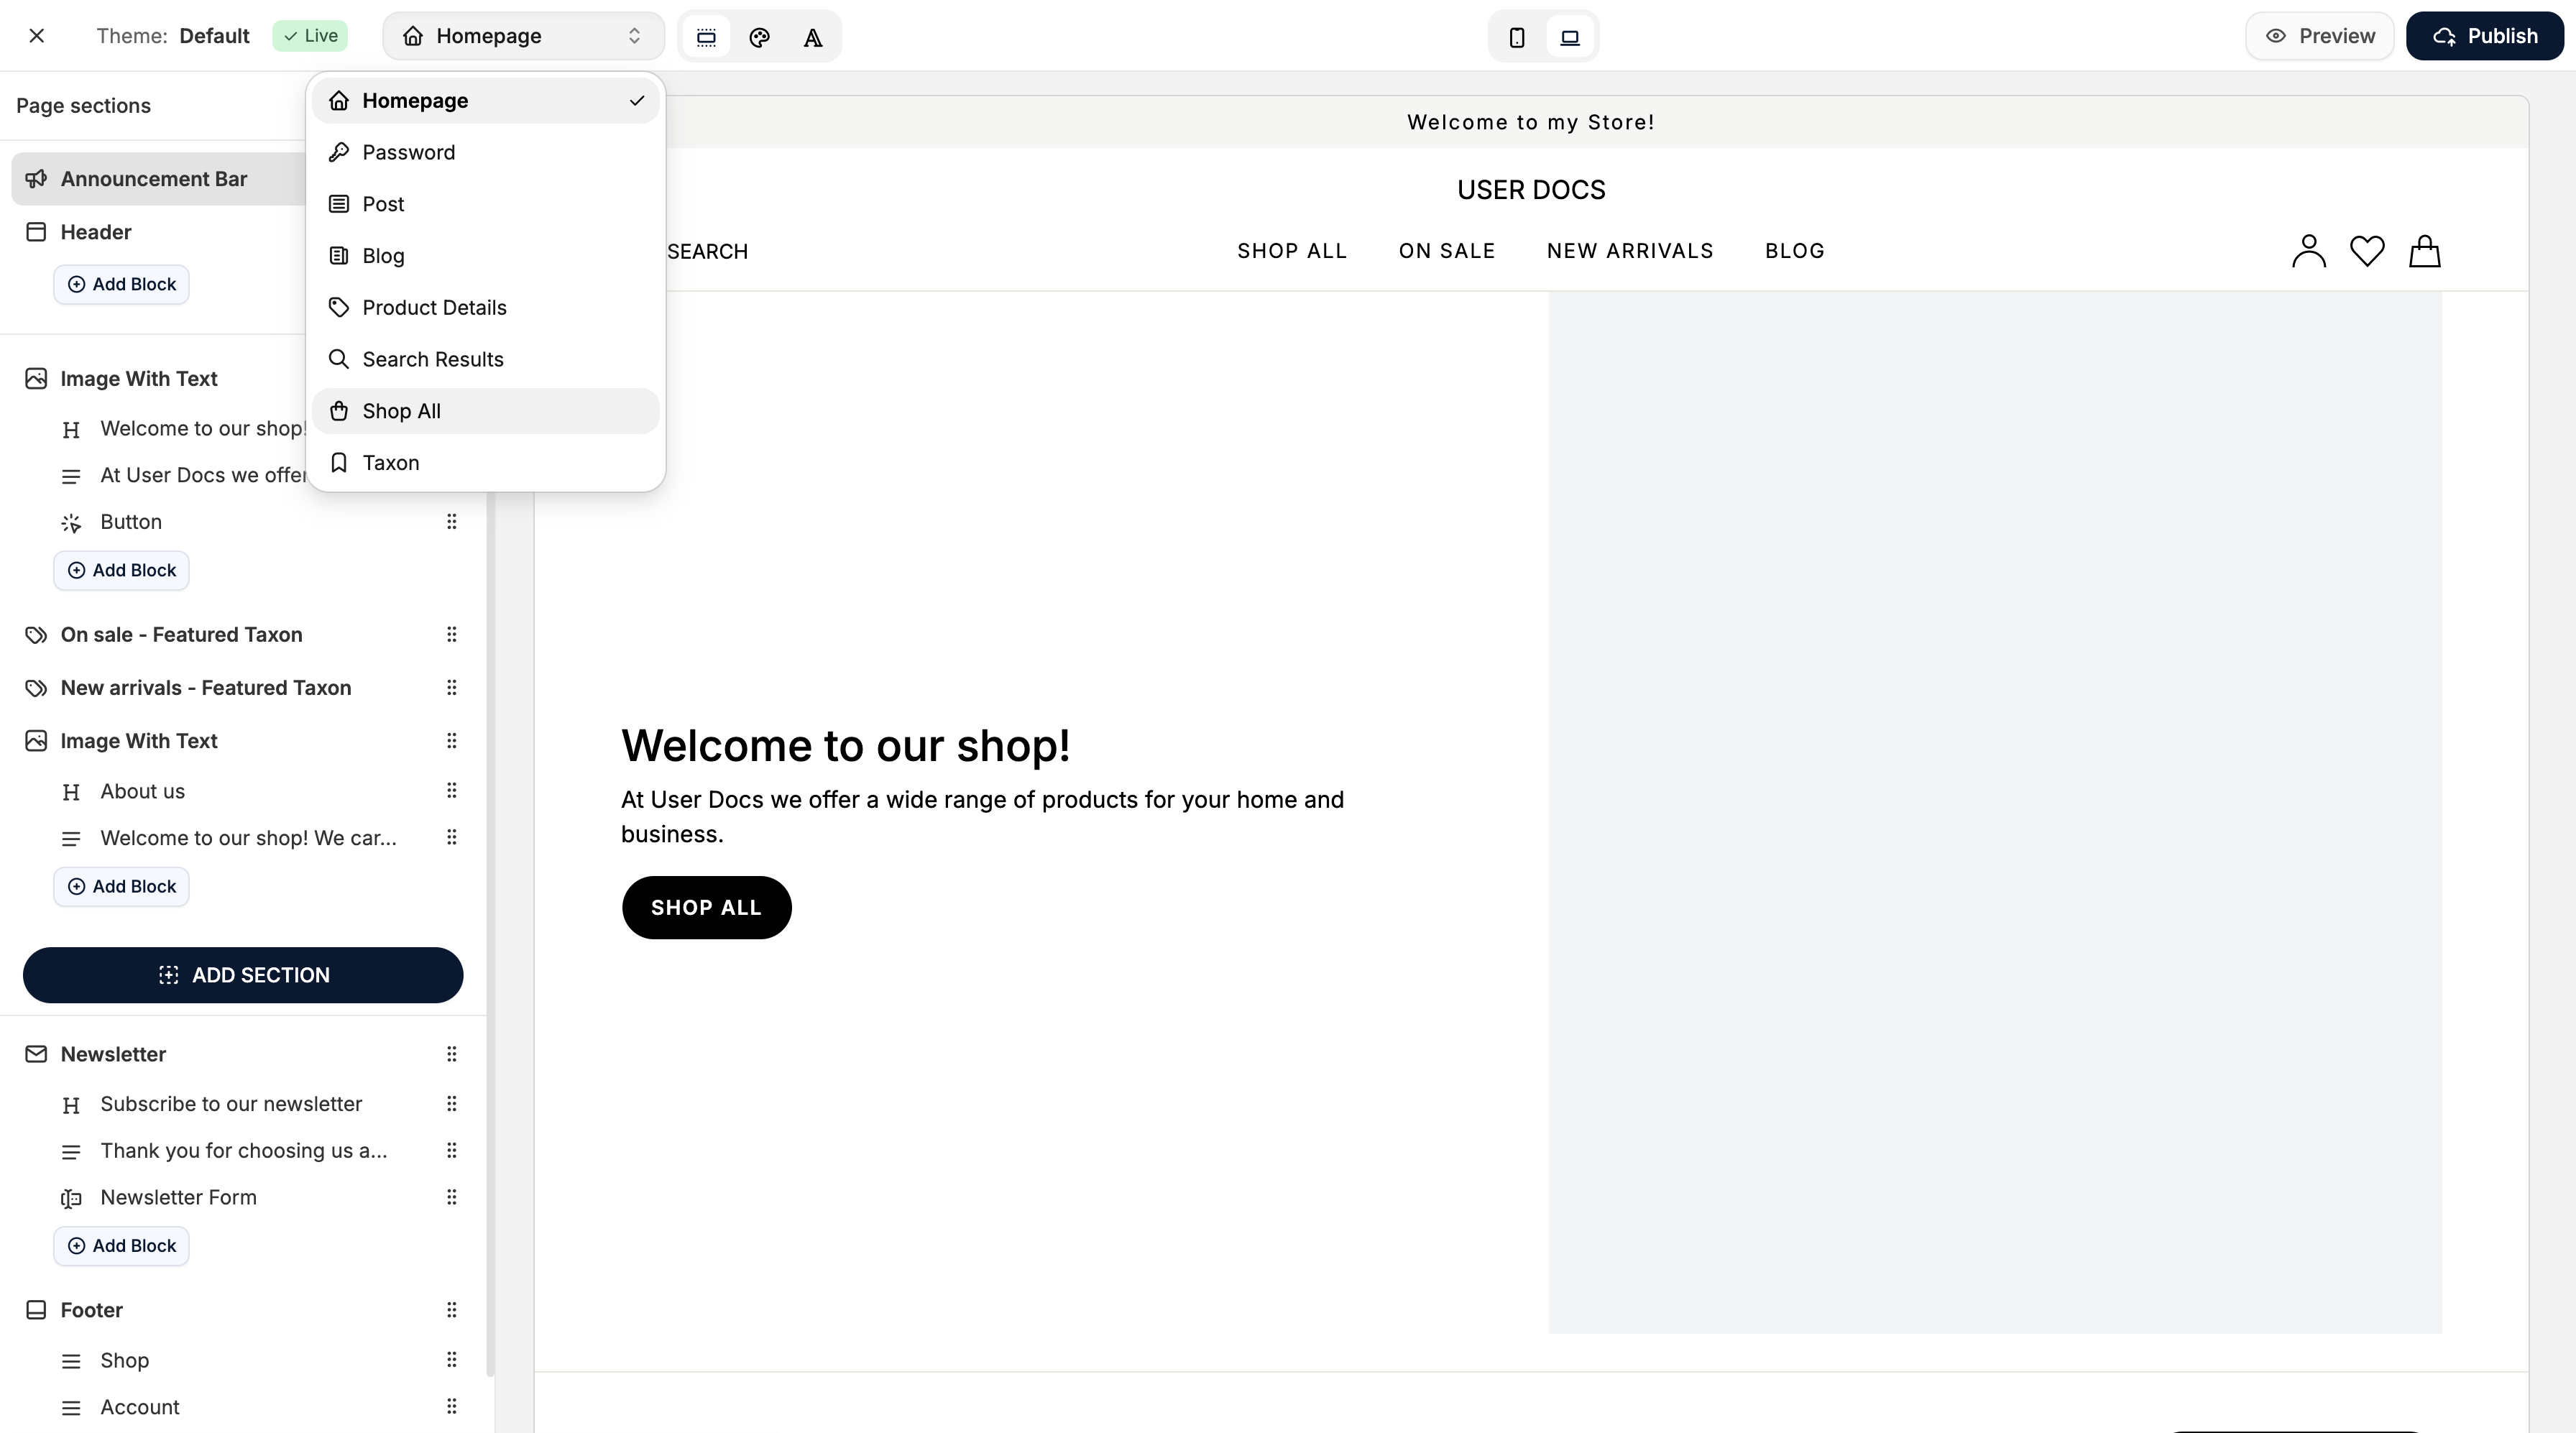
How to Edit Product Listing Pages
To edit a PLP, first go go to Storefront → Themes in the admin dashboard.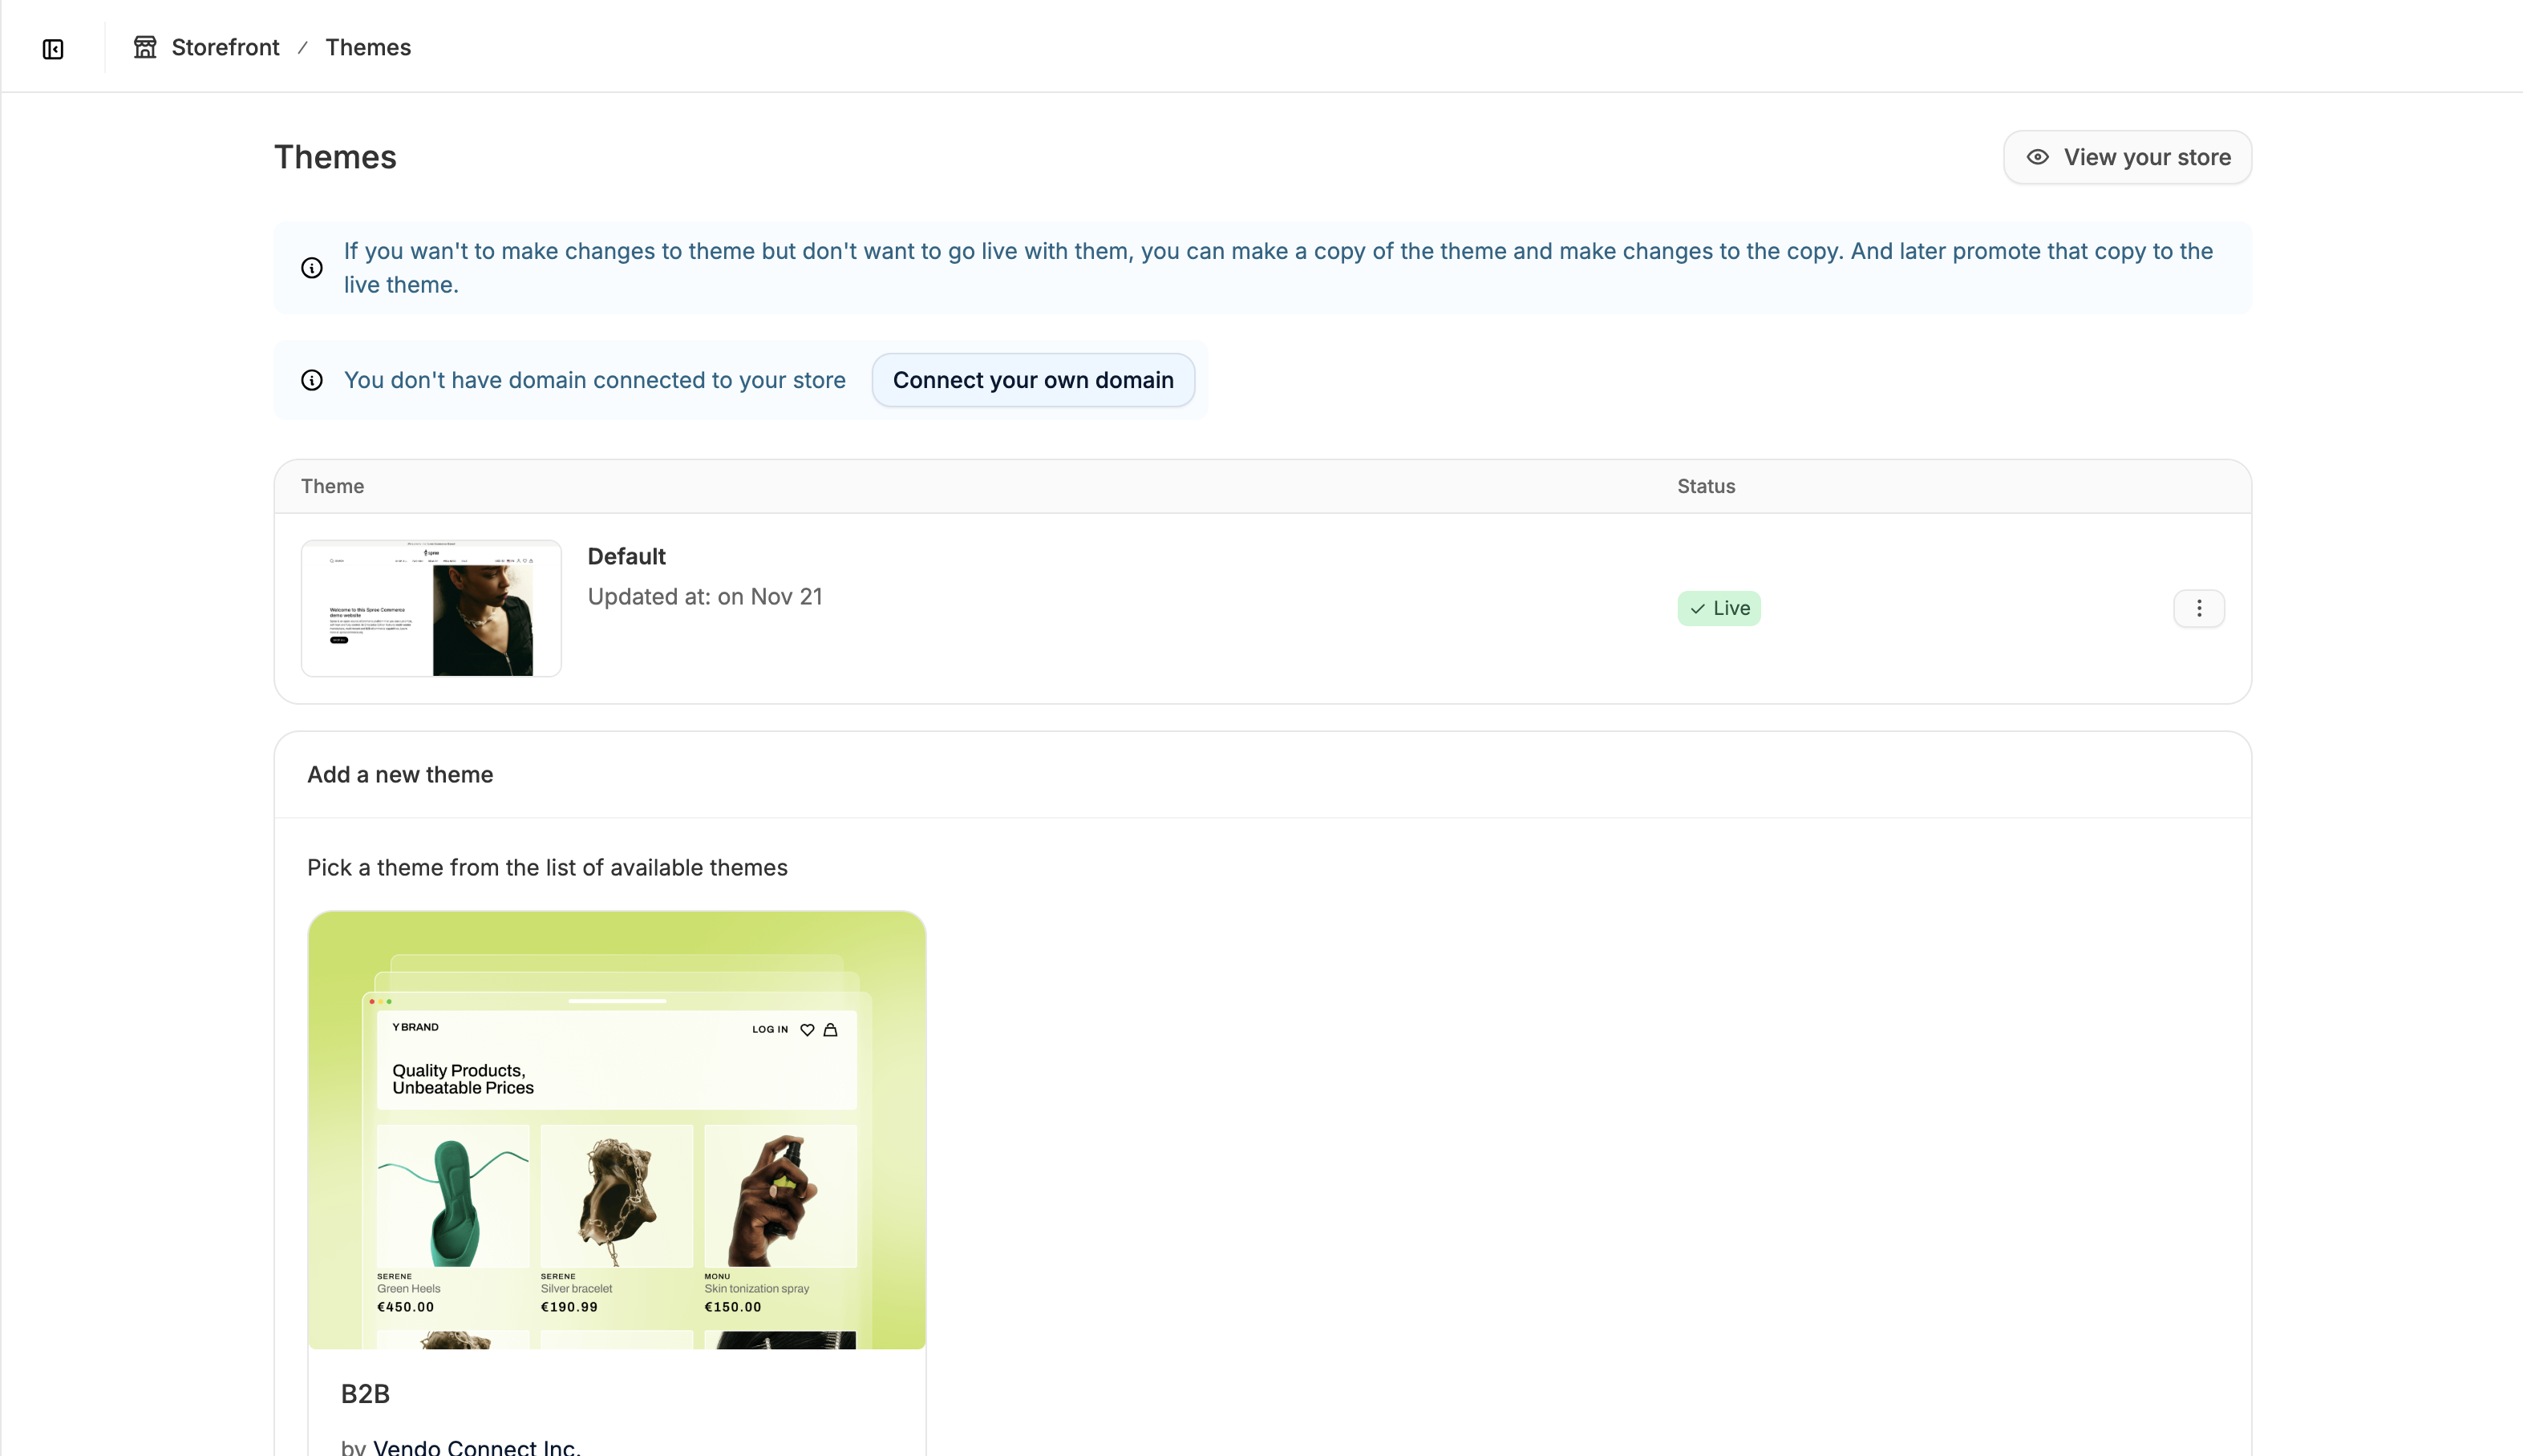
Edit the Shop All Page

Title Section
The Shop All page includes a title block at the top of the page body. This block is editable and removable if you prefer a minimal layout or want to replace it with your own custom section.Product Grid
The product grid list all of the items in your product catalog and is non-removable. You can adjust its design settings (spacing, padding, etc.), but not delete it.Adding Additional Sections
You can add page sections above or below the product grid to feature:- Promotional banners
- Text and image blocks
- Custom content areas
- Seasonal messaging
Edit the Taxon Page
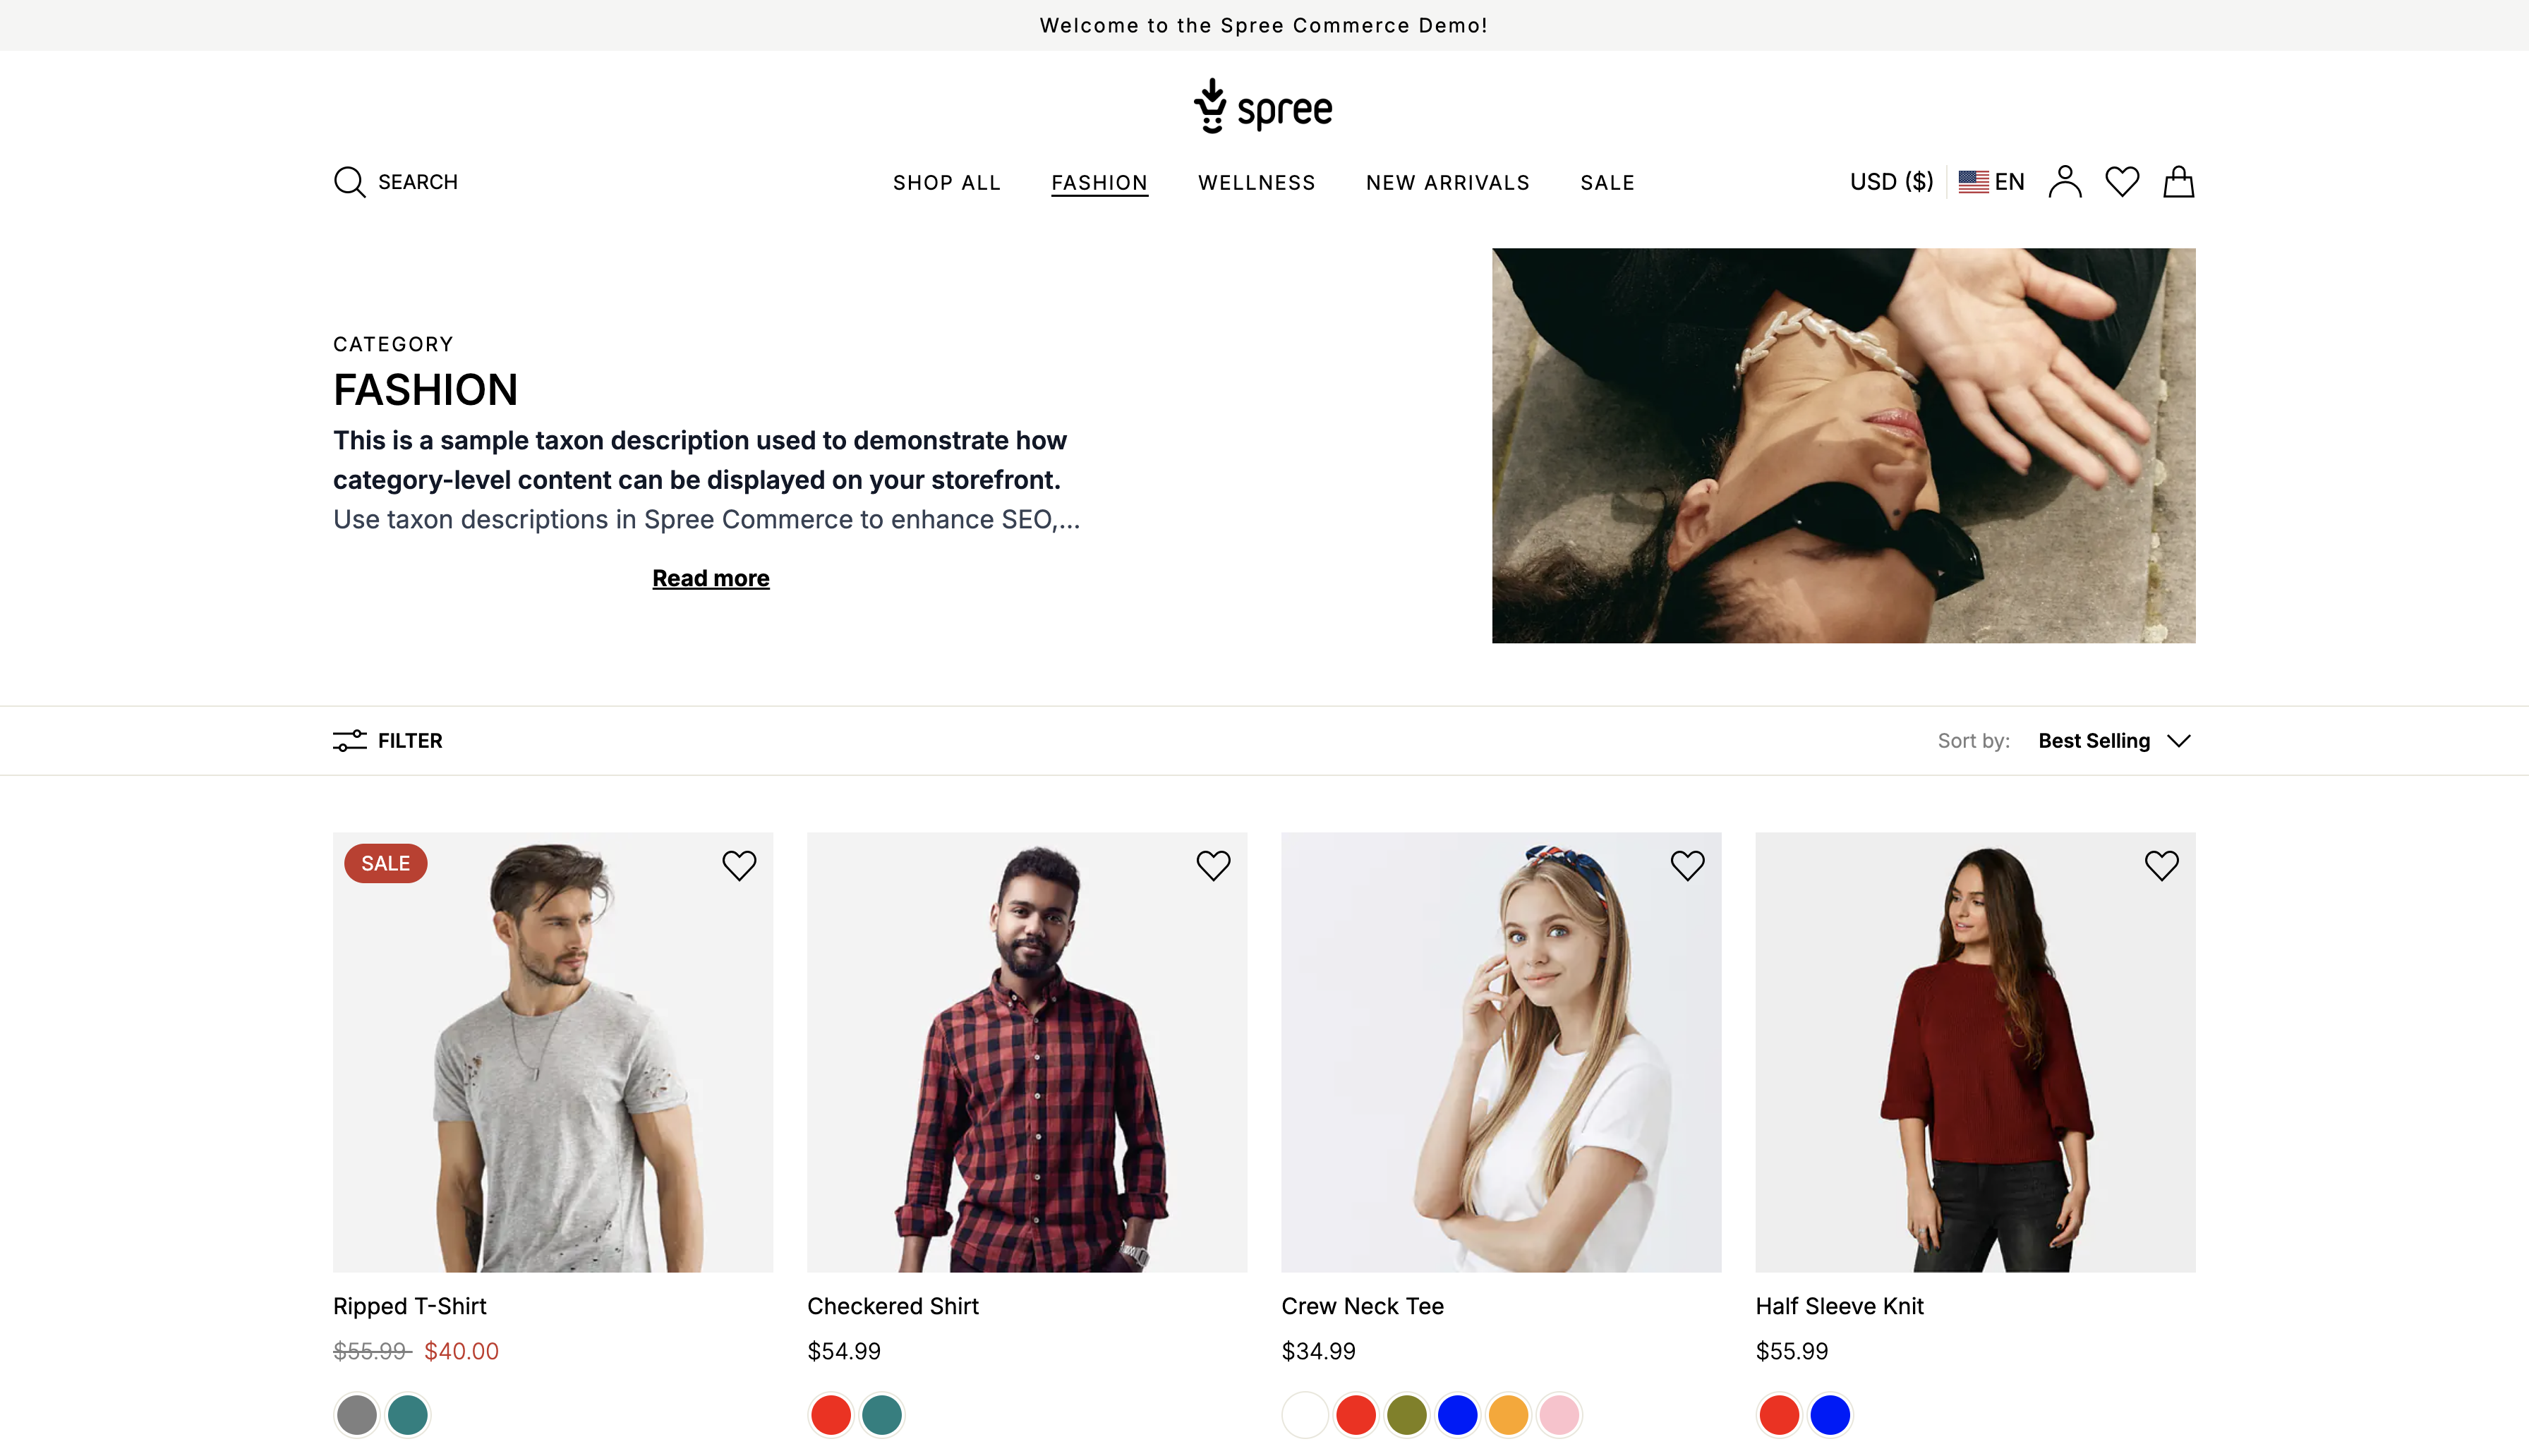
Taxon Banner
Each taxon page includes a non-removable banner section at the top. It automatically displays:- The **taxon name **and
- The taxon banner image, if one is set in the admin dashboard
- The singularized taxonomy name above the taxon name (e.g., a taxon under Categories will show Category)
Product Grid
The product grid displays all products within a given taxon, is non-removable, and appears below the taxon banner. Its design settings can be adjusted, but the core functionality remains unchanged.Adding Additional Sections
You can add sections to taxon pages, but with one important note: Any section you add will appear on every taxon page. This is because all taxon pages share one layout in the Theme Editor. Therefore, avoid adding content that is specific to a single category. Instead, focus on global elements such as:- Category-specific promotional banners
- Universal messaging
- Brand-aligned visuals
- Featured content relevant only to some taxons
Edit the Search Results Page
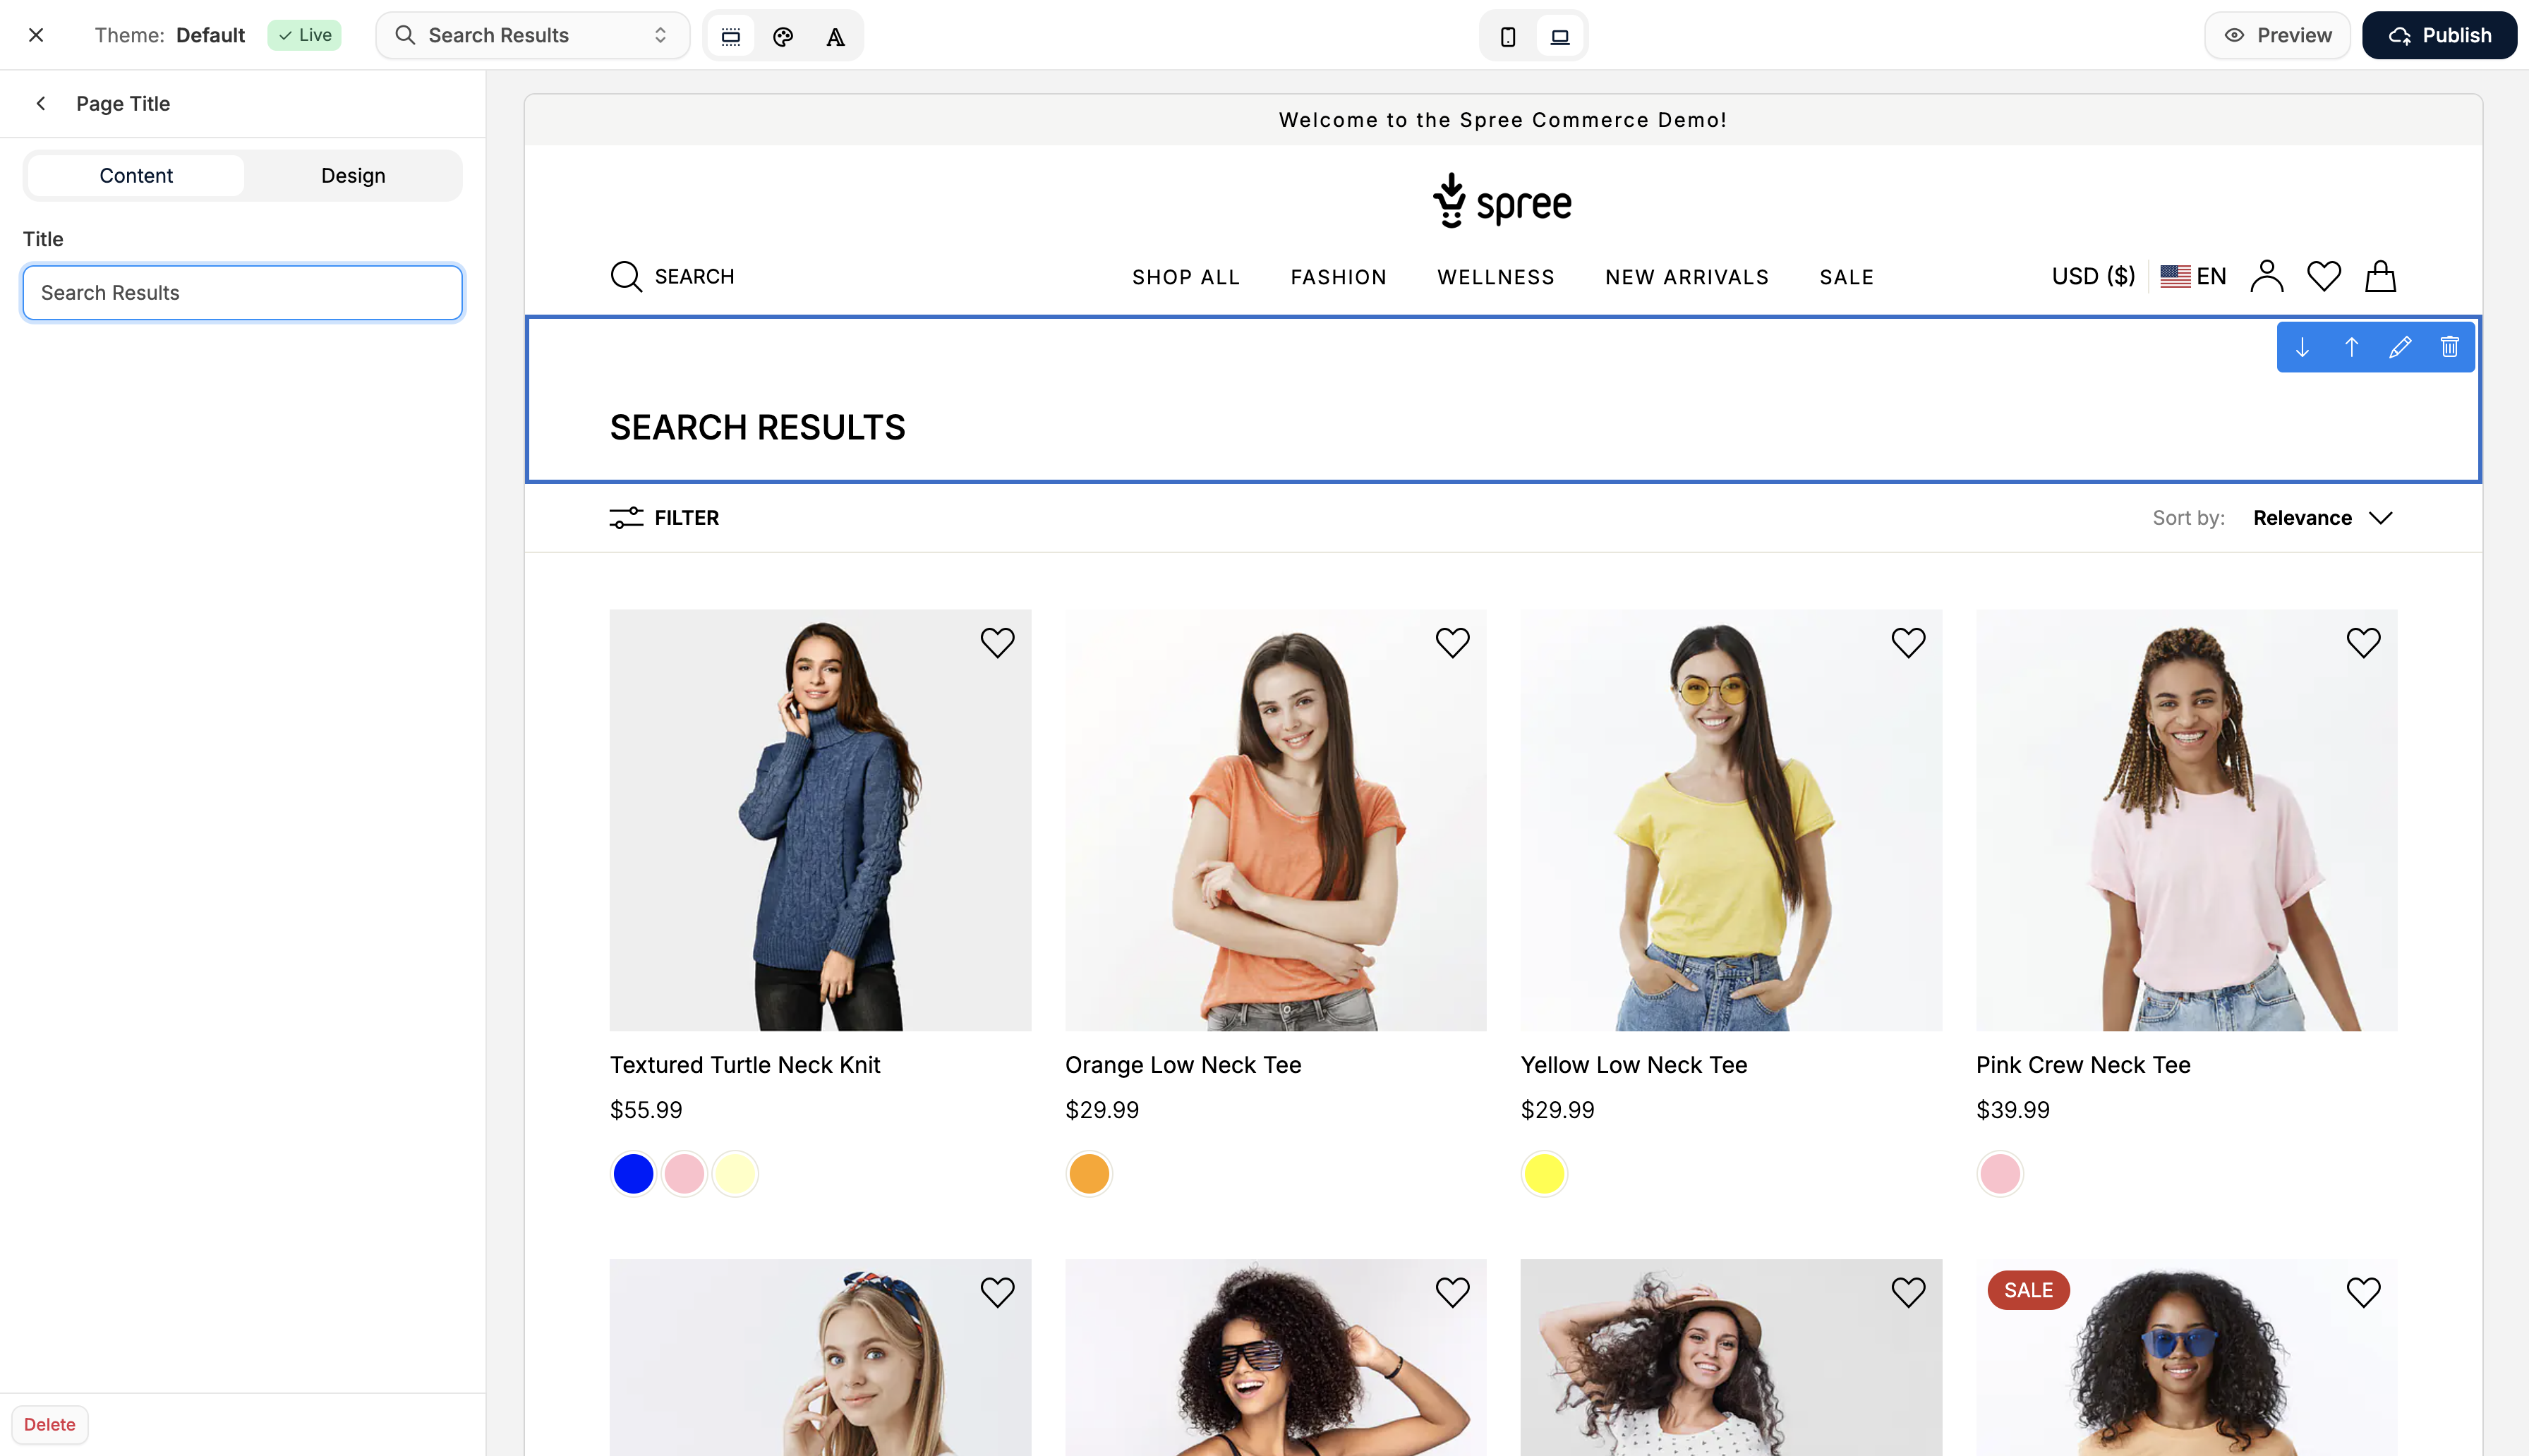
Title Section
The page includes a default Search Results title block, which is both editable and removable. You can customize the text or replace it with your own page sections.Product Grid
The product grid displays all products that match the search query and is non-removable. It automatically updates based on the user’s search term.Adding Additional Sections
As with other PLPs, you can add additional sections to provide:- Search-related messaging
- Banners to promote best sellers
- Helpful visual content
- Notices or suggestions