Blog posts are a powerful tool in ecommerce. They help drive organic traffic to your store via SEO, build trust with customers, and provide opportunities to promote products or share helpful content like tutorials, stories, or news.
In Spree, adding blog posts is fast and intuitive - no developer required.
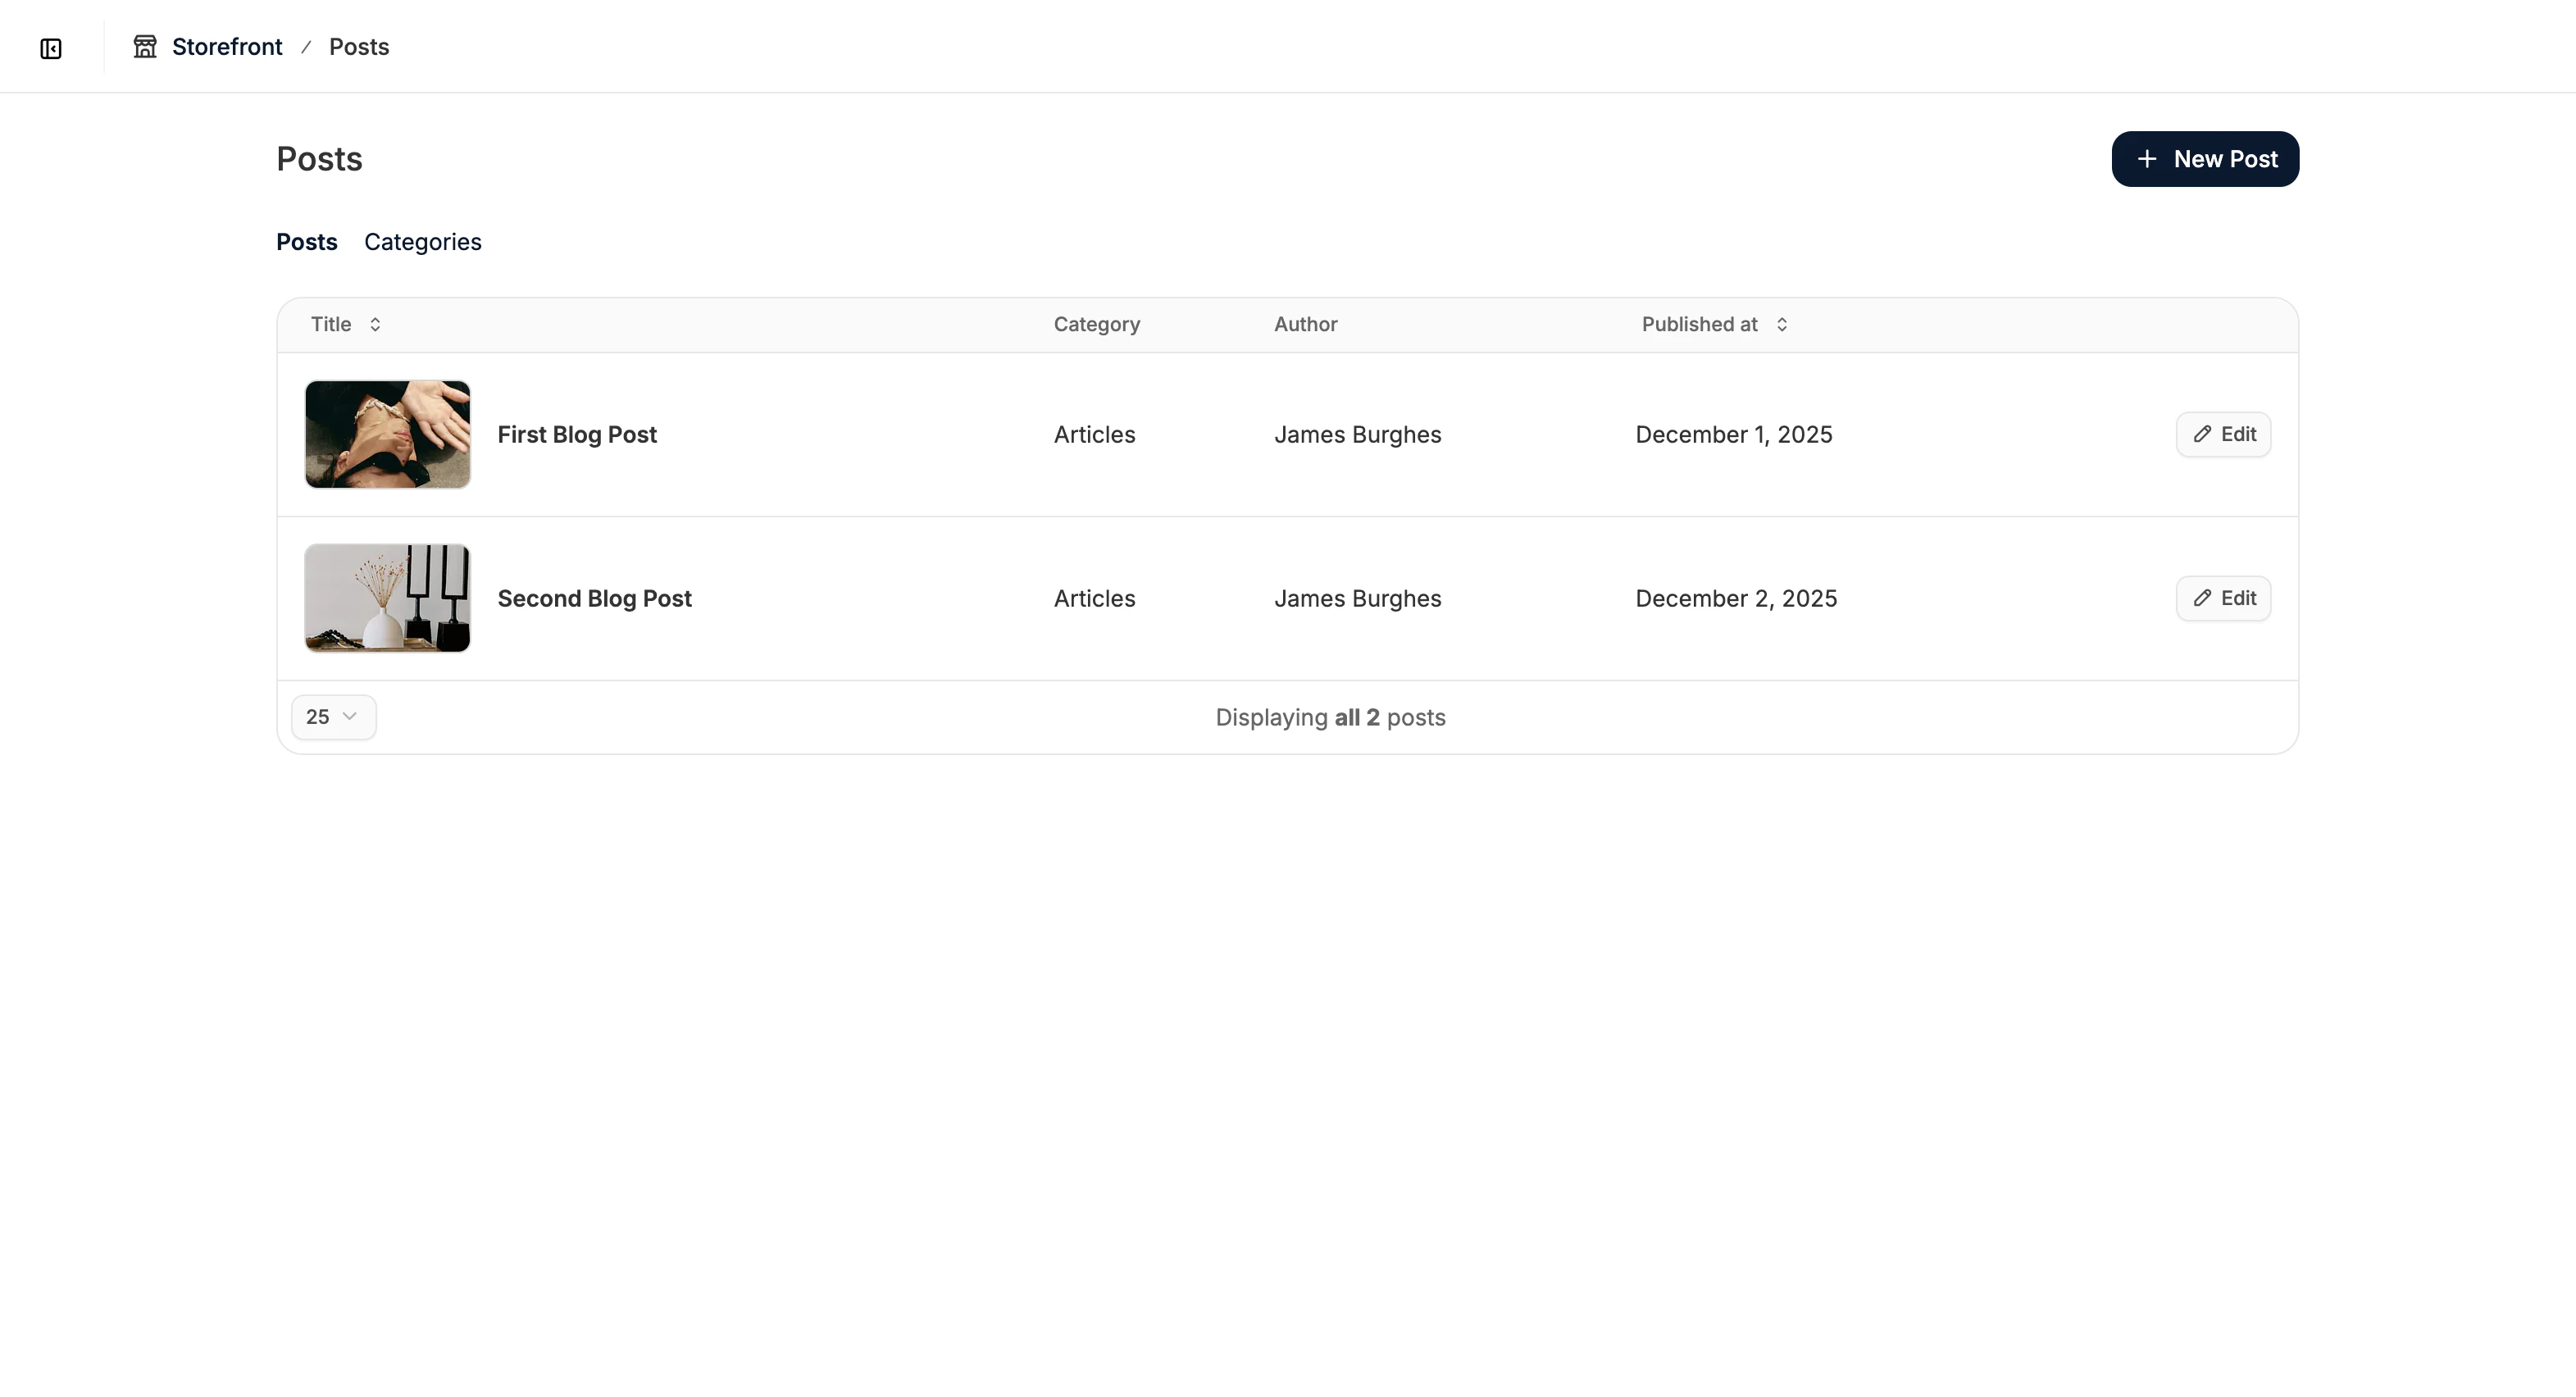
Add a New Post
To create a blog post, navigate to Storefront → Posts in the Spree admin dashboard.
 Click New Post in the top-right corner to open the post creation form.
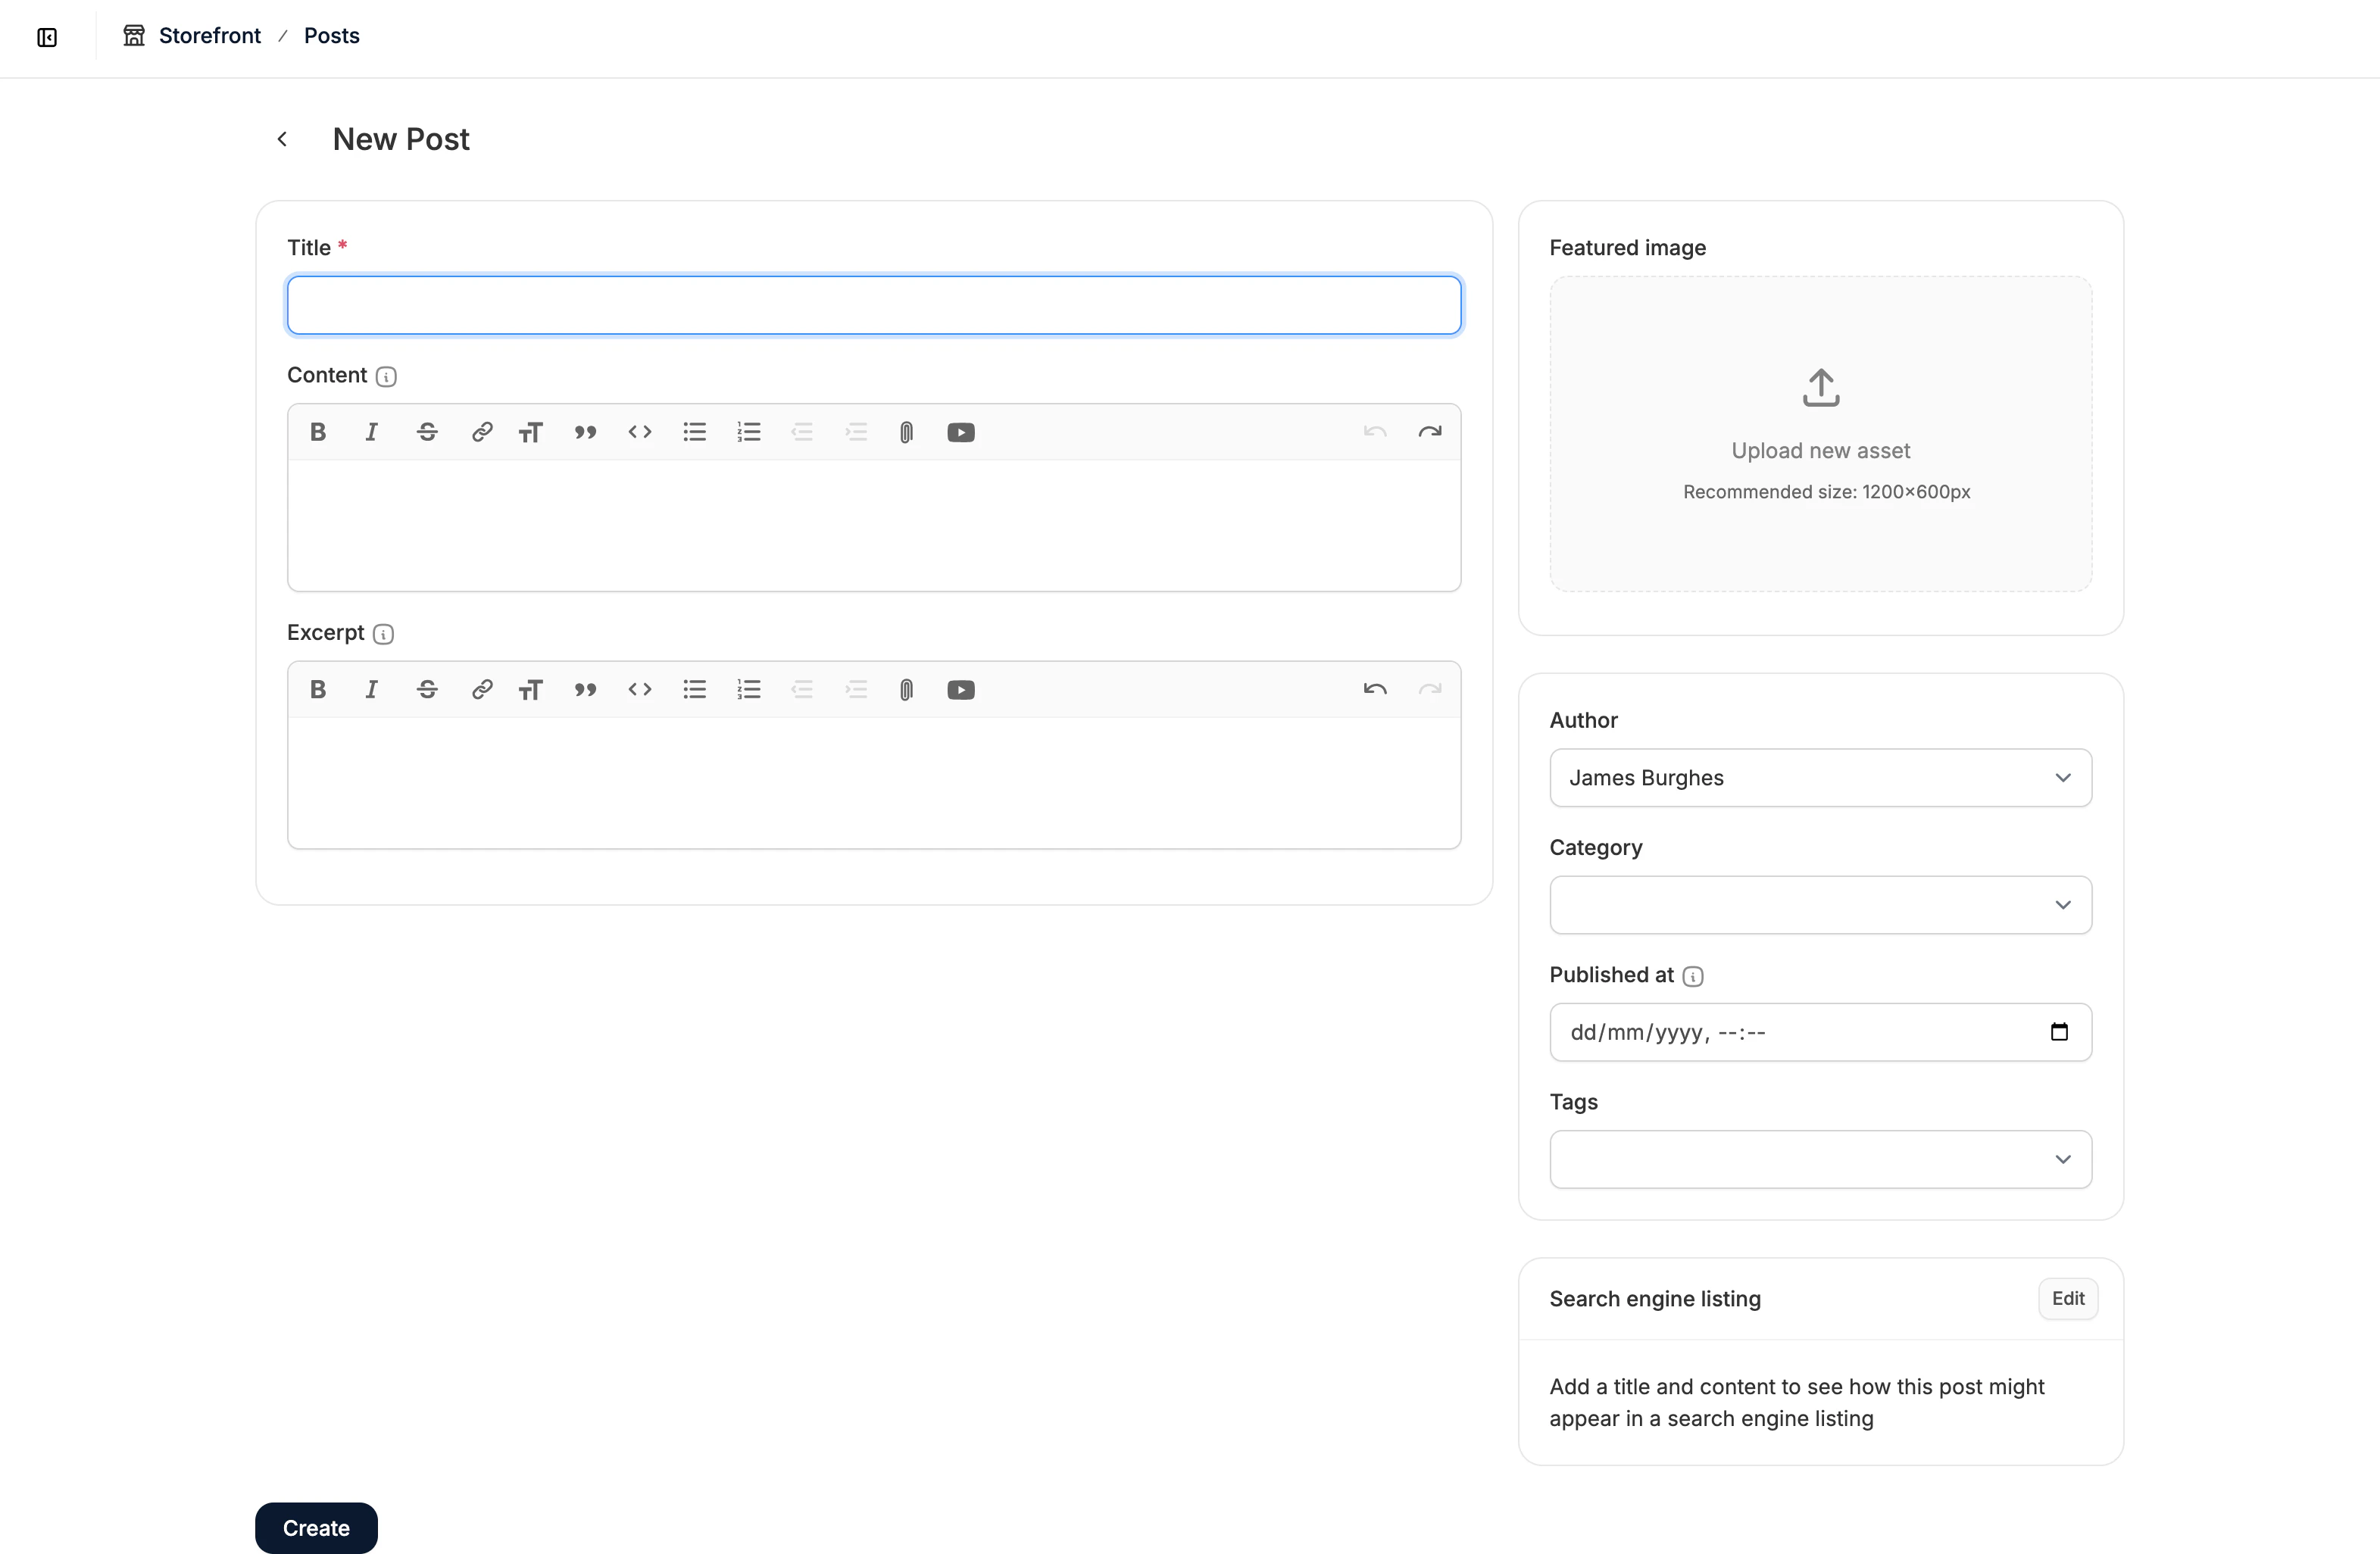 Here you’ll see several sections designed to help you create, structure, and publish your blog post.
Post Content
 This section includes the main content of your blog post.
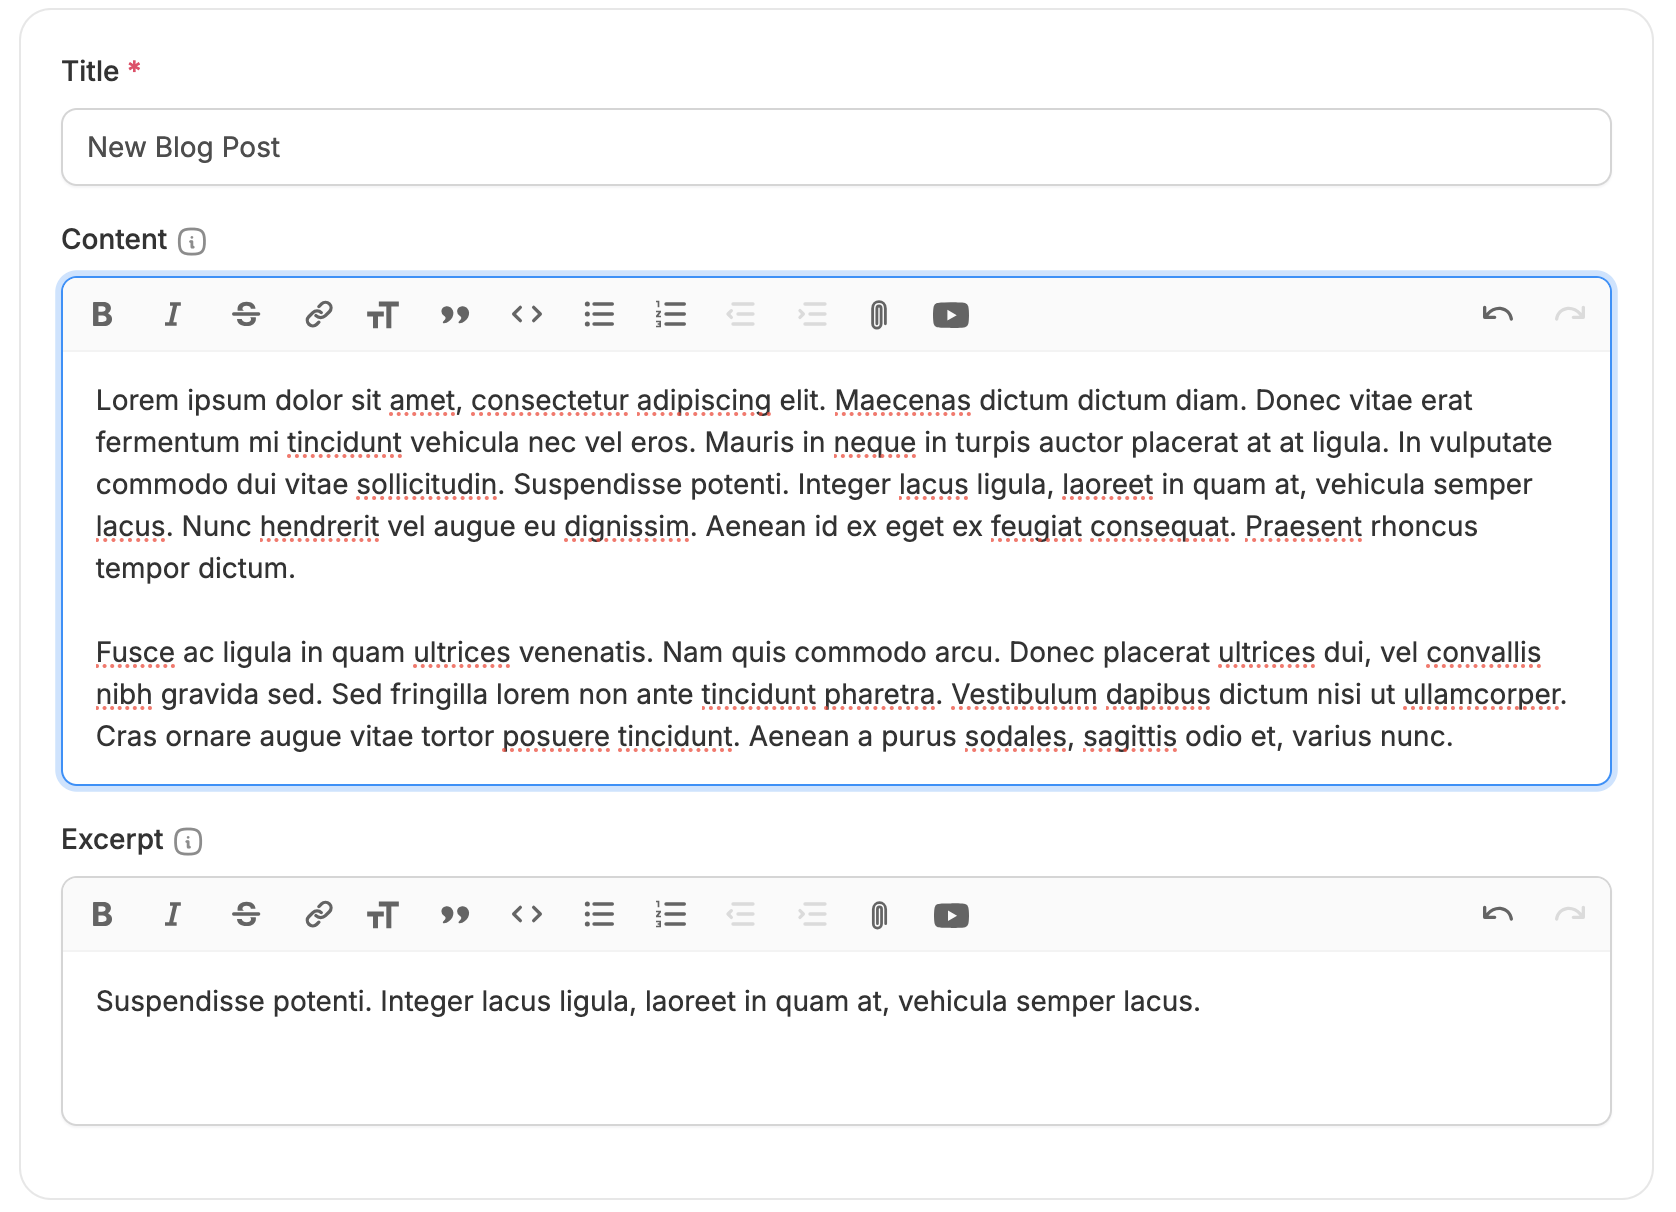
- Title - The title of your blog post. This is shown on the storefront and used in the URL (slug).
- Content - The body of the blog post. Use the rich text editor to format text, add images, and embed videos.
- Excerpt - A short summary displayed on the storefront post preview and in meta tags if no meta description is set.
Featured Image
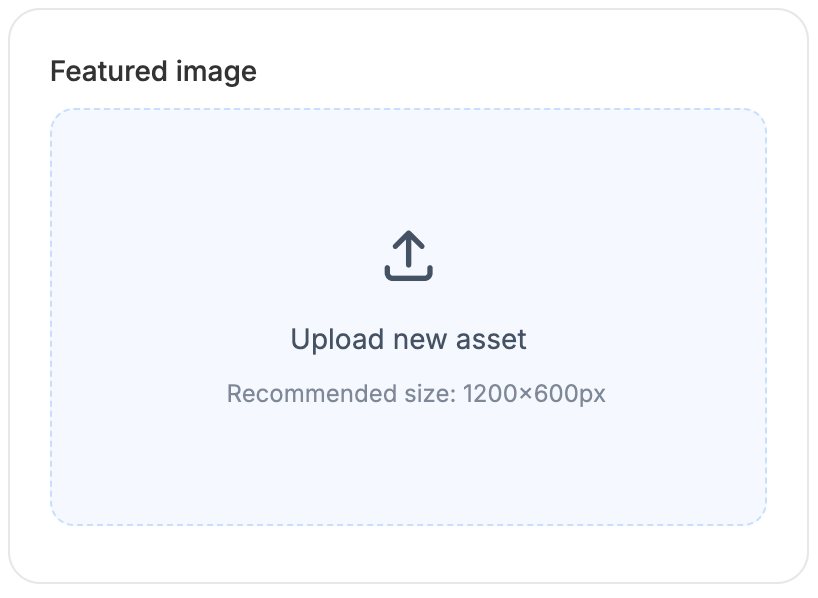 Upload an image that will be displayed alongside the blog post in listings and previews.
Recommended dimensions: 1200 × 600 pixels.
Post Details
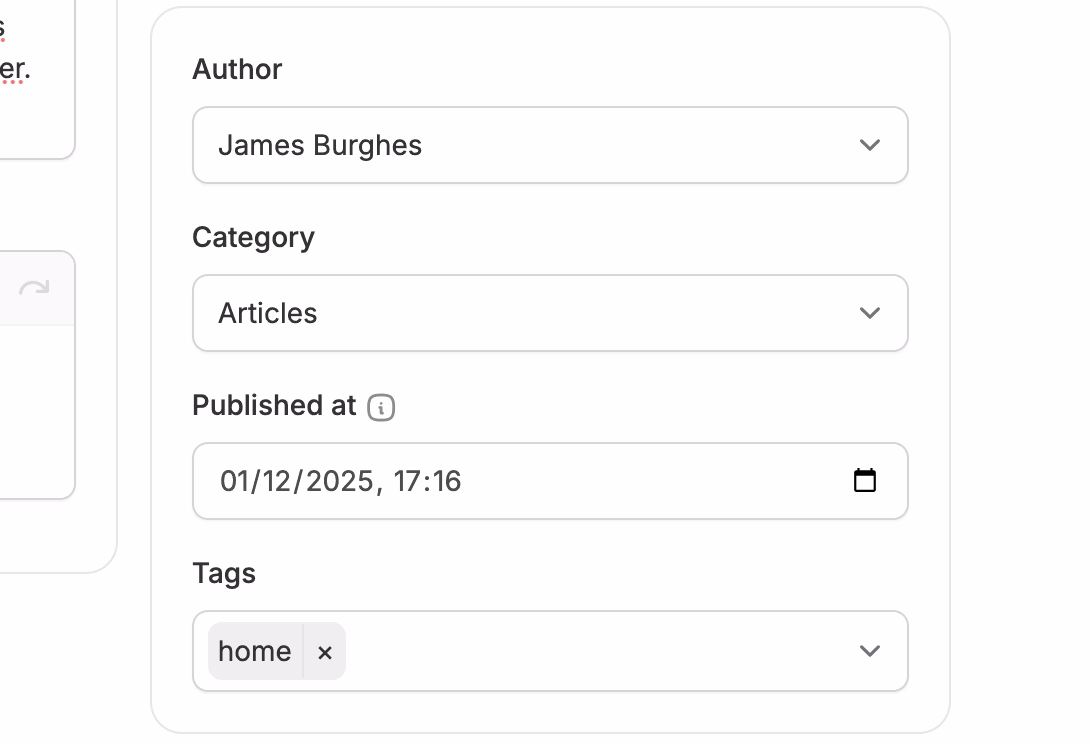 This section defines important metadata for the post:
- Author- The admin user associated with the post. Defaults to the user creating the post.
- Category - Helps organize posts into high-level topics (e.g., News, Guides, Recipes).
- Published At - The date/time when the post should go live.
- Tags - Add keywords for better search filtering and to categorize posts further.
If either Author or Published At is not set, the post will not appear on the storefront.
Search Engine Listing
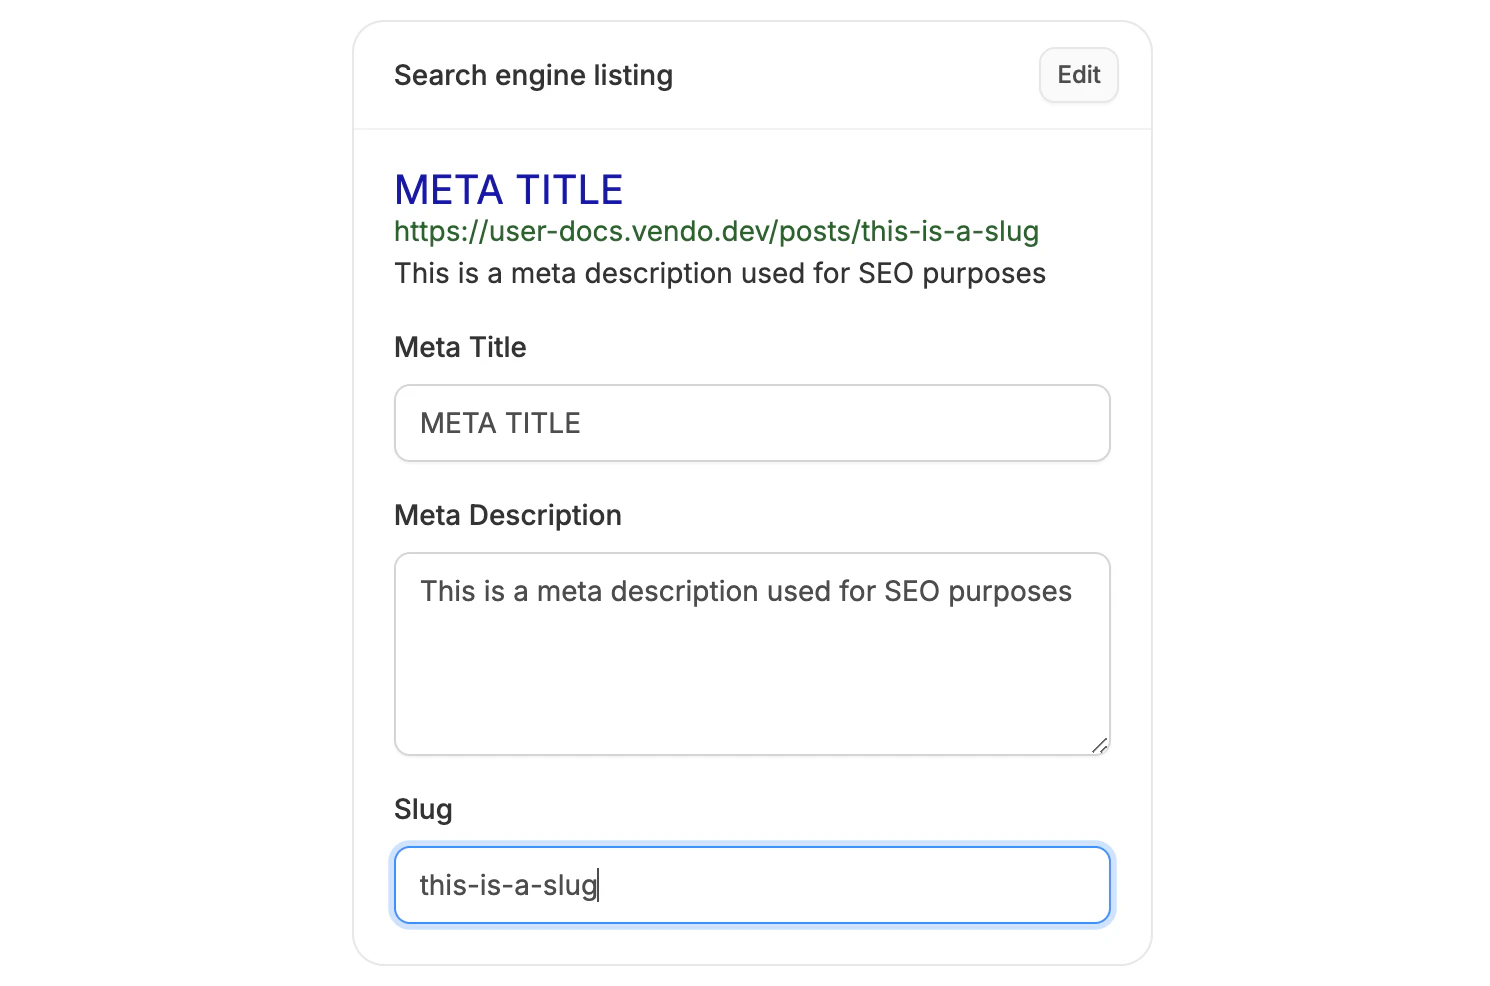 Manage how the post appears in search engine results (all optional):
- Meta Title - defaults to the Title if left blank.
- Meta Description - defaults to the Excerpt if left blank.
- Slug - defaults to a URL-friendly version of the Title if left blank.
Create the Post
Once all sections are filled out, click Create at the bottom of the page to finalize your new post.
Your post will now be published and visible on the storefront (if a Published At date is set). You can return to this section at any time to edit or delete the post.