Name & Logo
- Name — the public-facing name of your store, displayed in headers, footers, and other storefront areas.
- Logo — upload a store logo (recommended size: 240x240 px). This image is used only in the admin dashboard.
Currencies & Countries
Currency, locale, and regional settings are now managed in Settings → Markets. See Markets for full details.
Standards & Formats
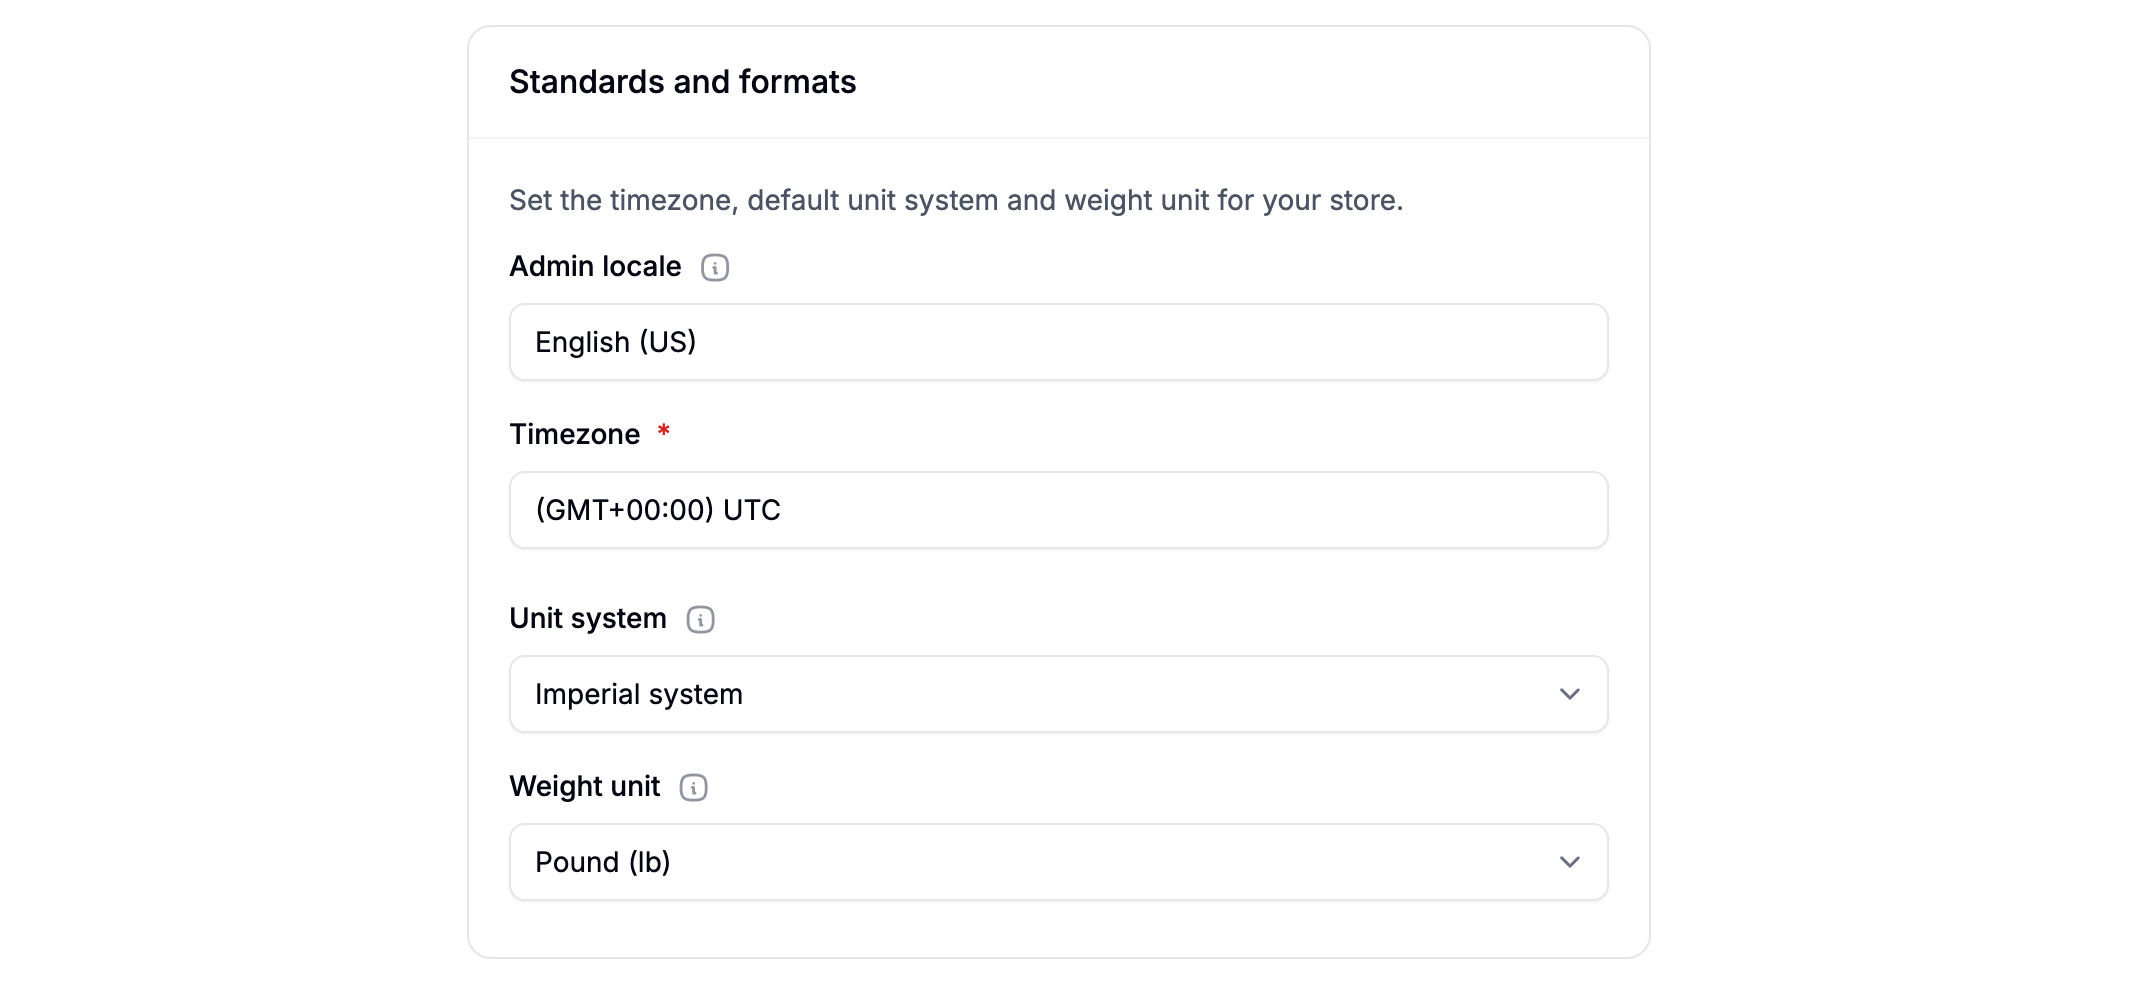
- Timezone — set your store’s timezone for accurate timestamps and order data.
- Unit system — choose between imperial and metric. This affects how weights and measures
are displayed across your storefront:
- Imperial system
- Metric system
- Weight unit — choose the default unit for product weights:
- Pound (lb) — imperial system
- Ounce (oz) — imperial system
- Kilogram (kg) — metric system
- Gram (g) — metric system
Phone & Address
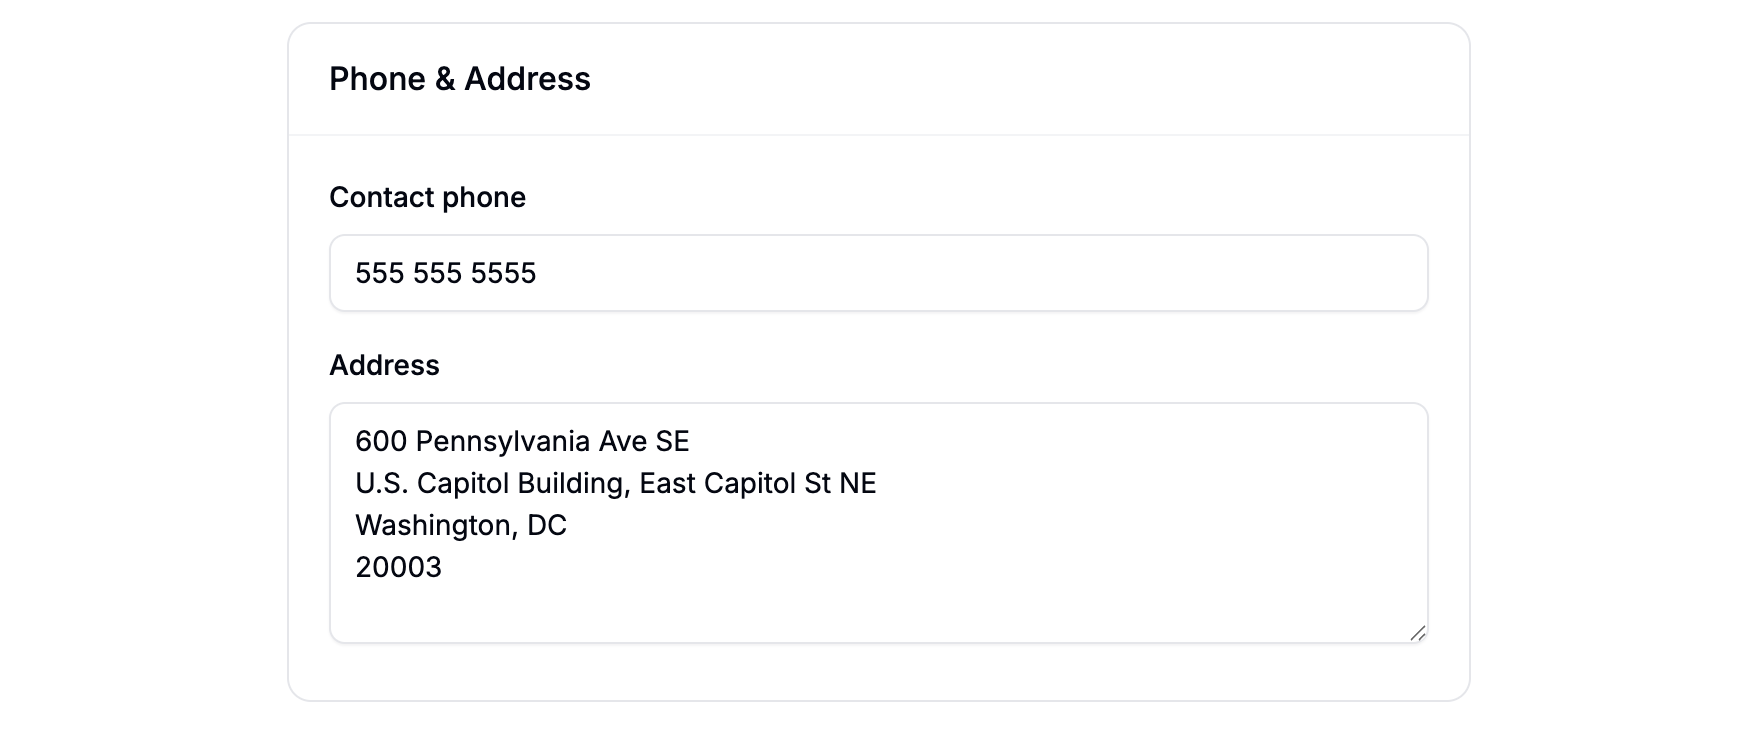
- Phone — your store’s contact phone number.
- Address — your business address.
Digital Assets
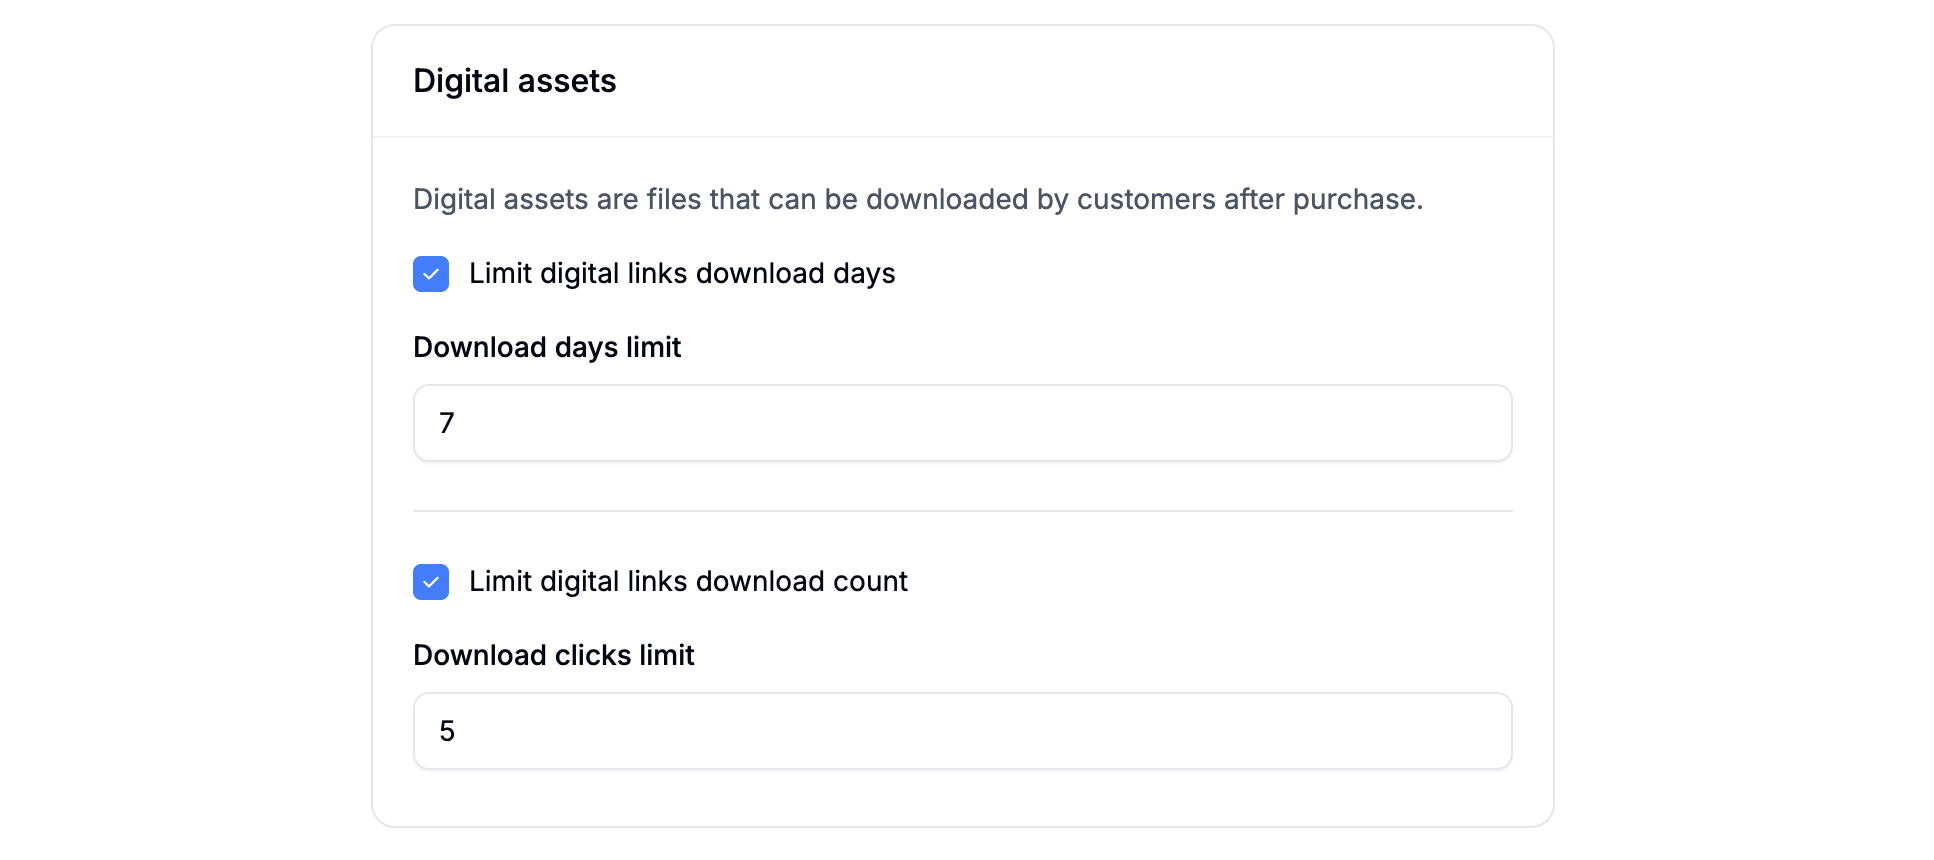
- Limit digital links download days — set how long download links remain active after purchase (in days).
- Limit digital links download count — restrict the number of times a download link can be used per purchase.