Configure your store’s visual identity, search visibility, social presence, and custom code snippets with ease using Spree’s Storefront Settings. These settings help you:Documentation Index
Fetch the complete documentation index at: https://spreecommerce.org/docs/llms.txt
Use this file to discover all available pages before exploring further.
- Improve branding and recognition (favicon, social links)
- Control search engine indexing and social sharing previews
- Add custom code for tracking or personalization
- Ensure a polished, professional storefront experience
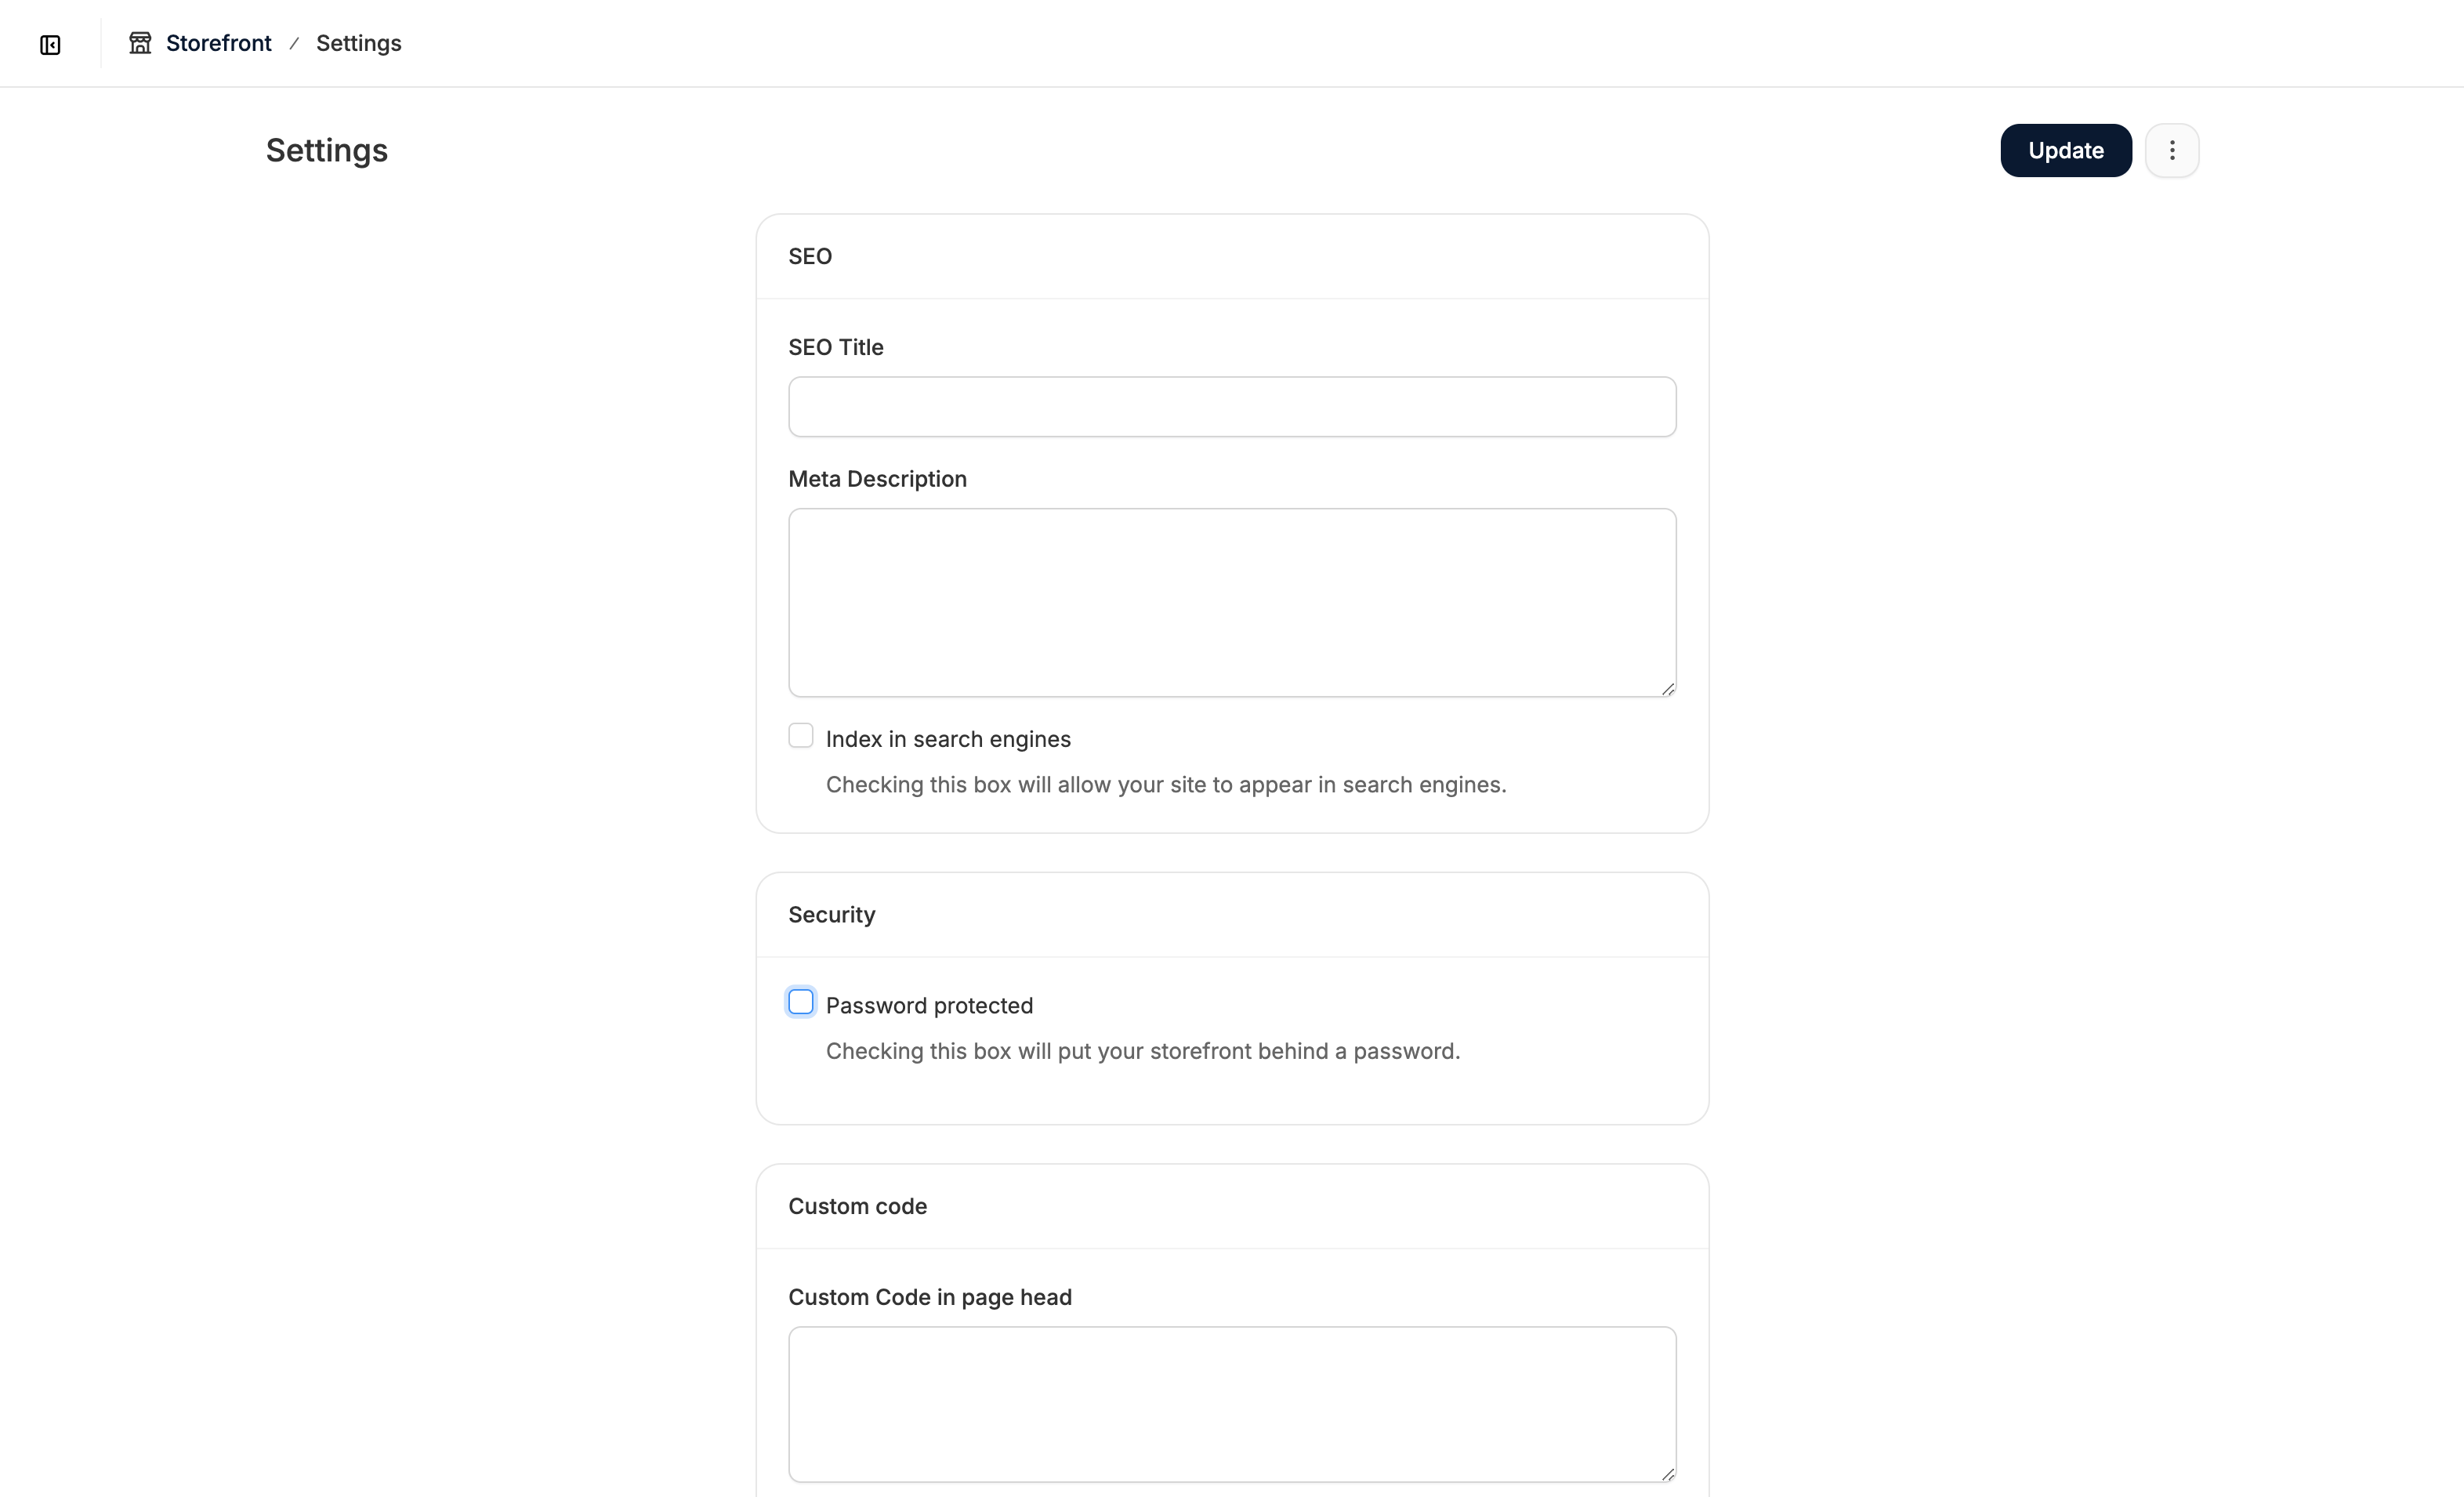
SEO
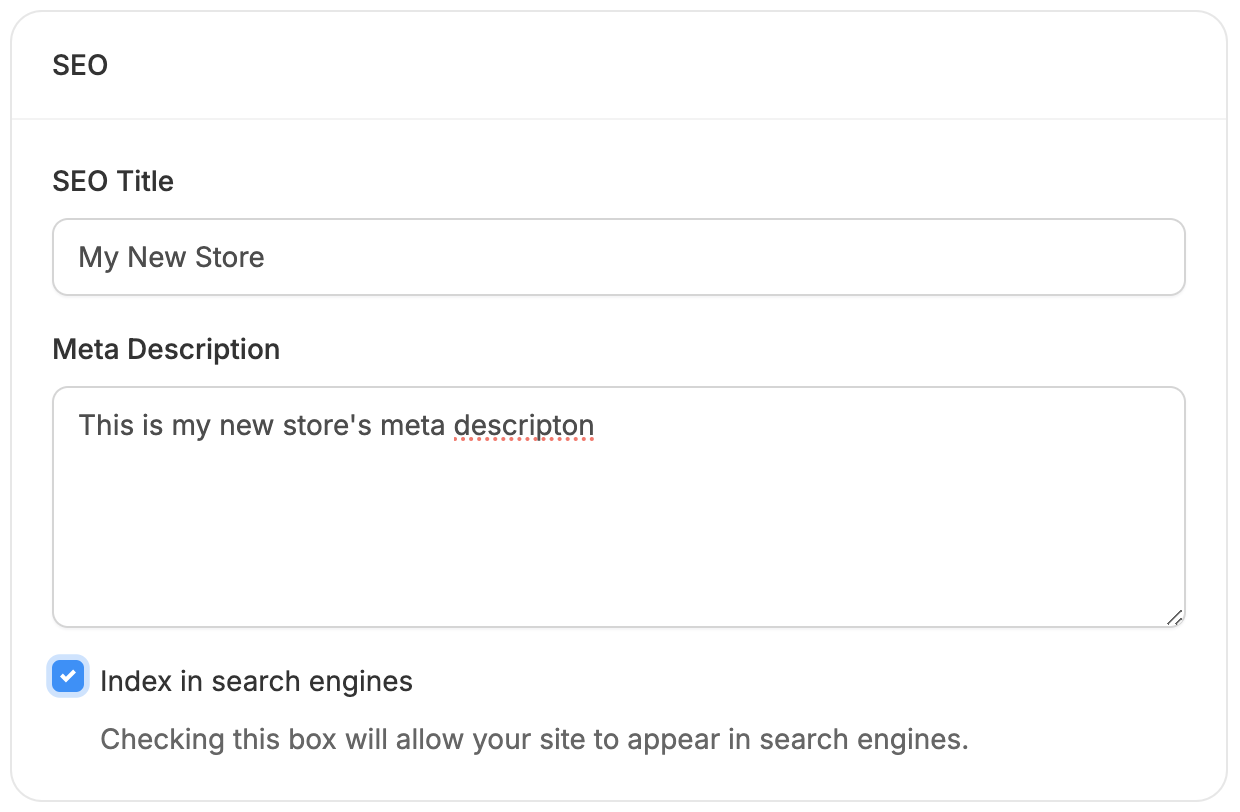
- SEO Title - Appears in social shares, browser tabs, and search results.
- Meta Description - A short summary of your store that shows up in search listings and social previews.
- Index in Search Engines - Toggle this to allow or prevent your store from being indexed.
- You may want to disable indexing if:
- Your site is still in development
- You’re making major content/design changes
- You run a member-only platform and want to restrict access
- Otherwise, make sure indexing is enabled when going live.
- You may want to disable indexing if:
Security
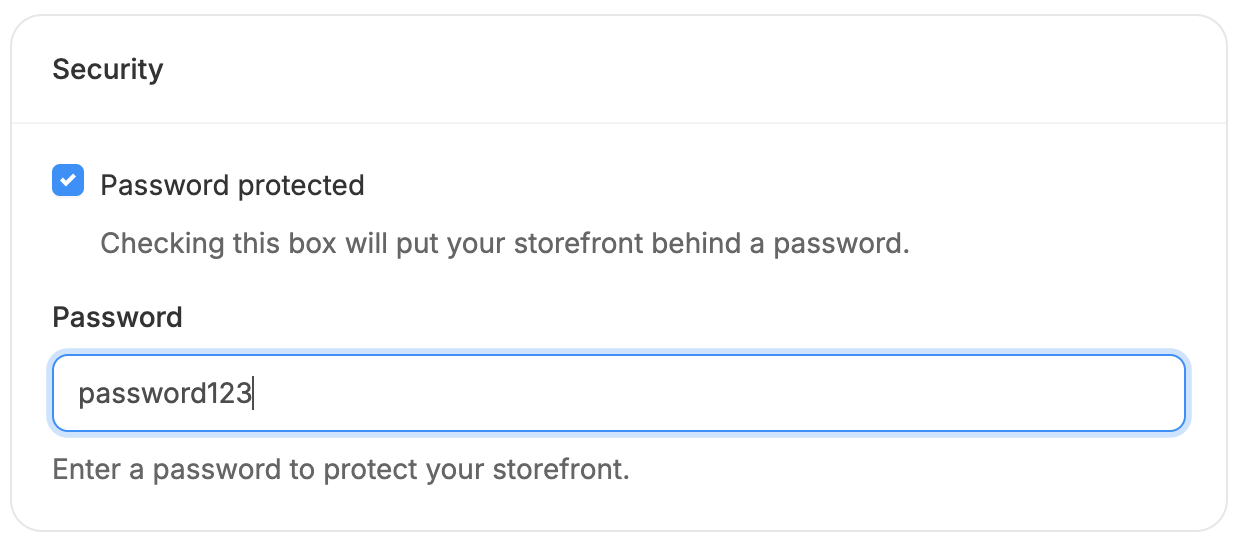
- Check the Password Protected box - this reveals the Password field
- Enter your desired password into the field
- Click Update to save the password
Custom Code
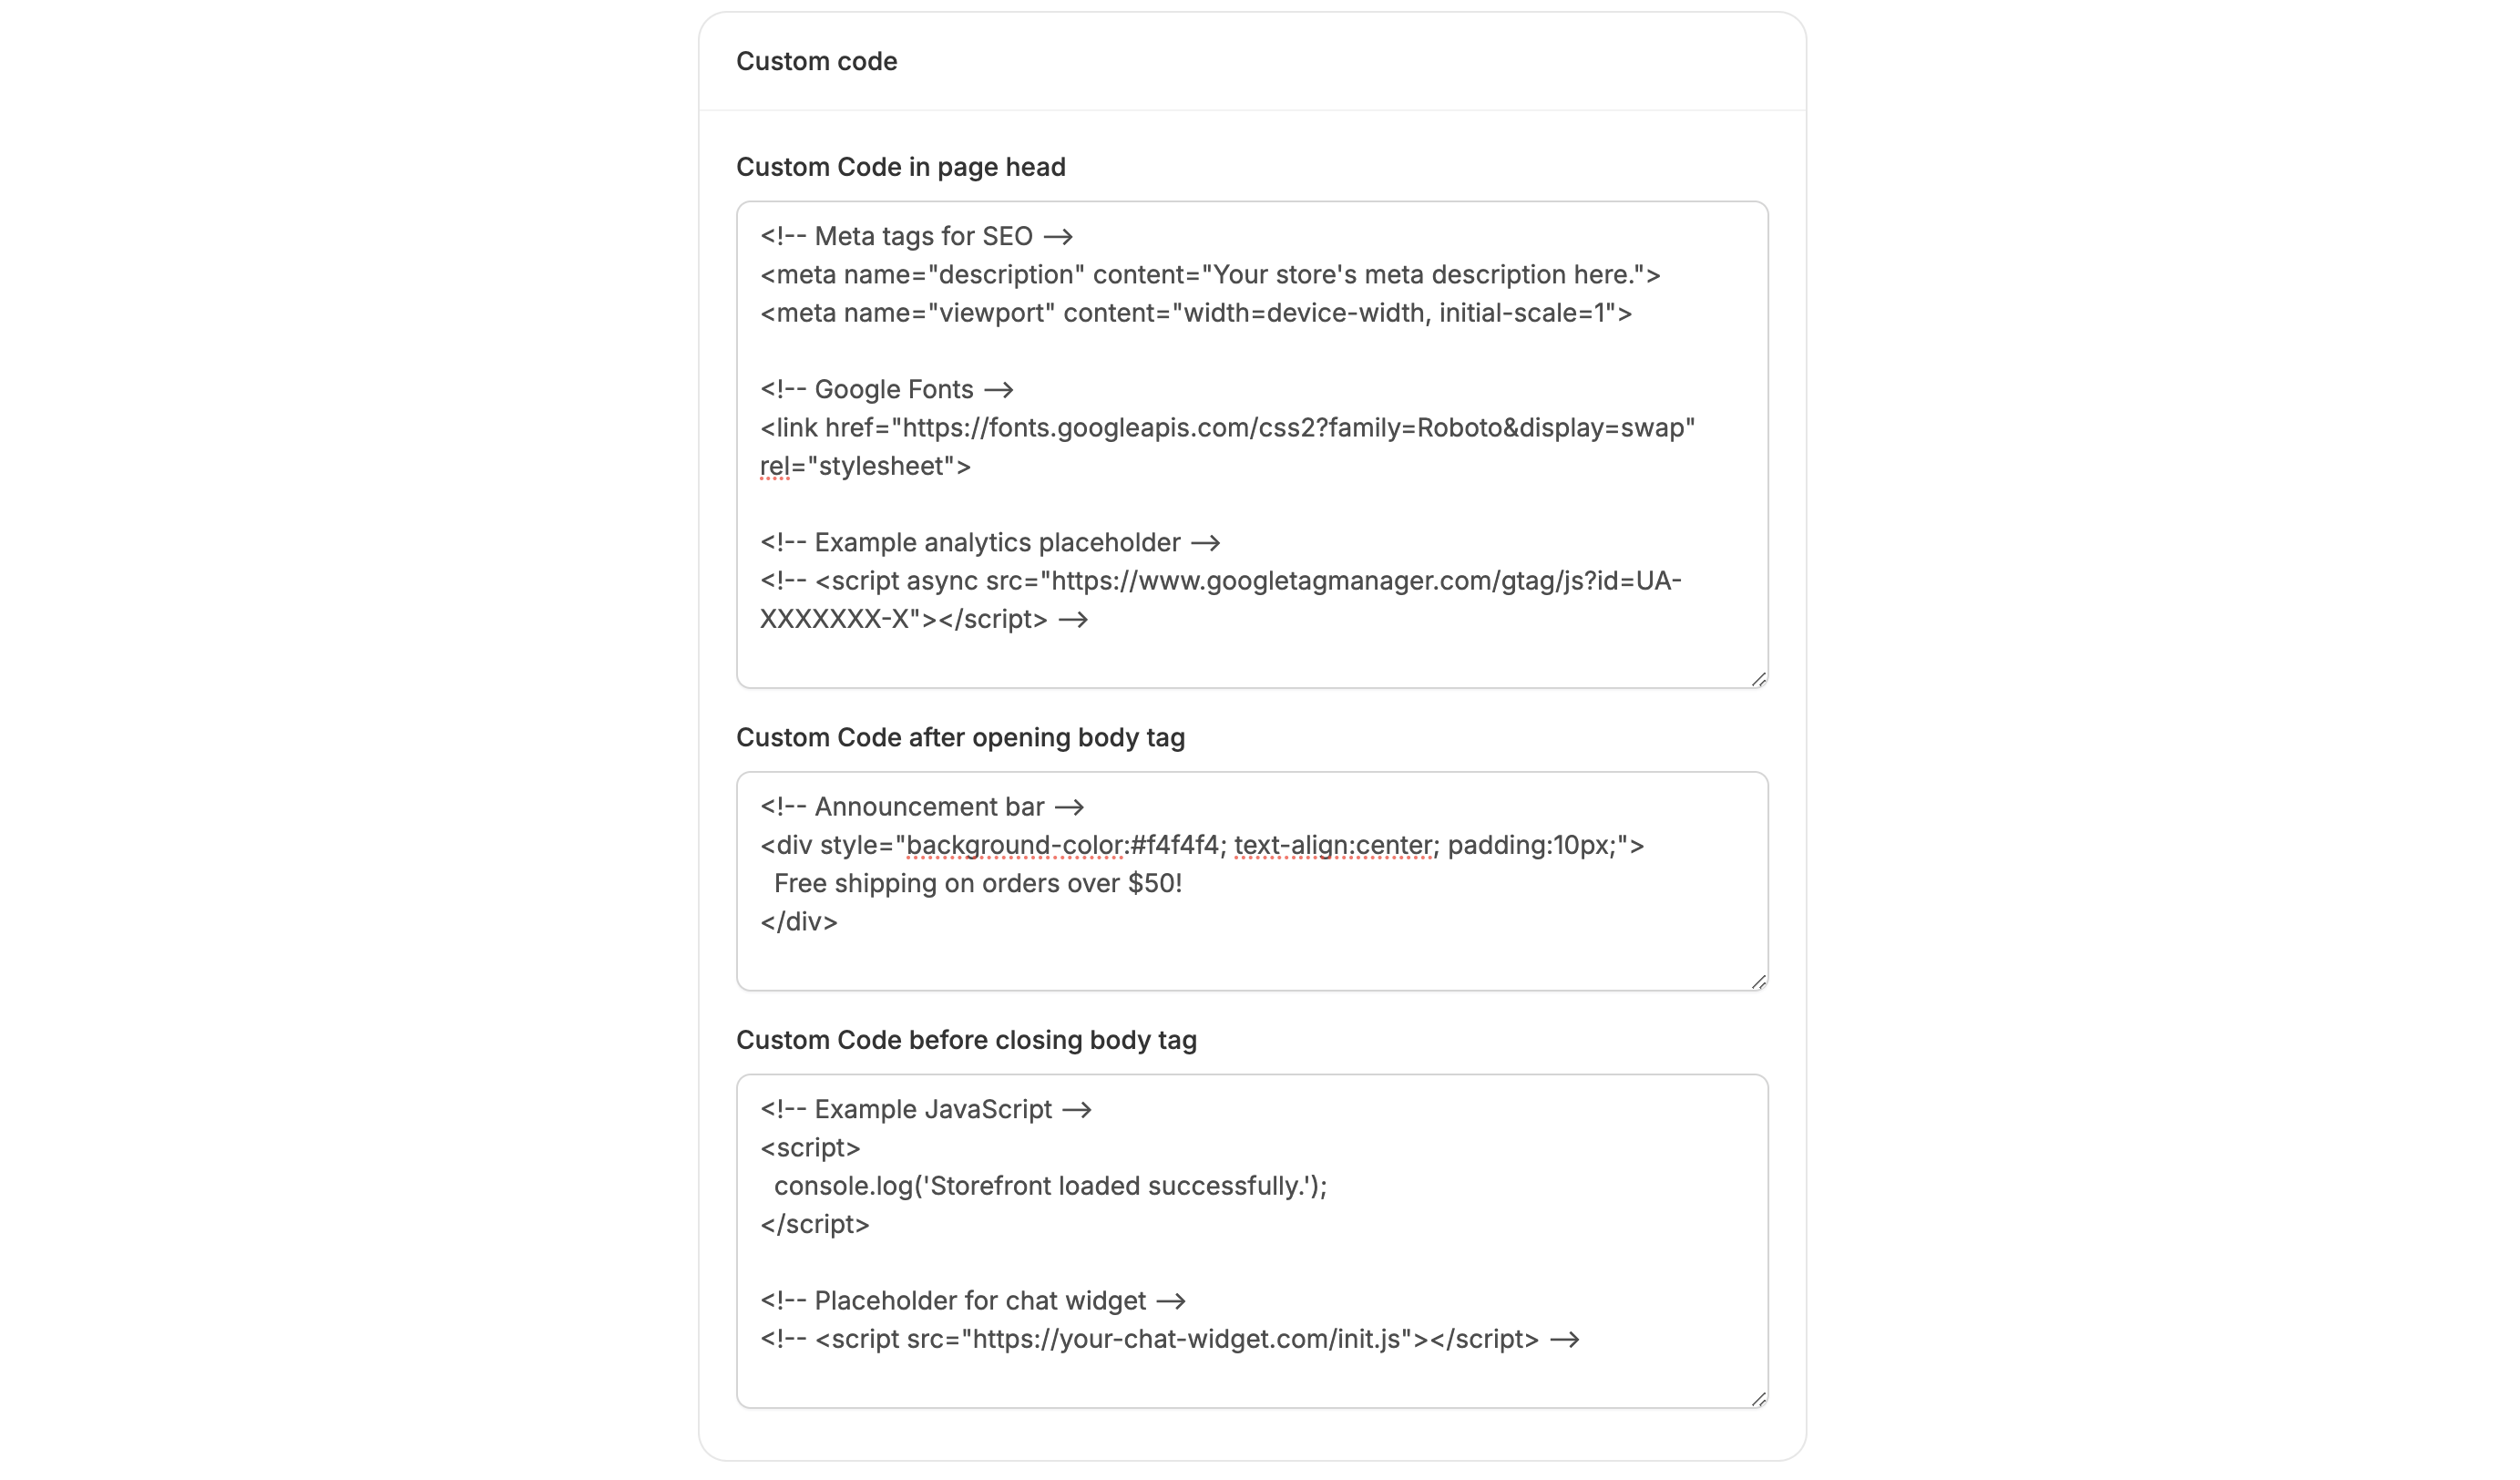
- Head Tag - Ideal for analytics scripts, SEO metadata, or style overrides.
- After <body> or Before </body> - Great for tracking scripts or additional JavaScript.
Images
Favicon Image
- Recommended size: 120×120px
- Simply upload your image and click Update
- Helps reinforce brand recognition and professionalism.
Preview Image
- Recommended size: 1200×600px
- Upload and click Update
- A compelling preview image can increase clicks and improve brand recall.
Social Media Links
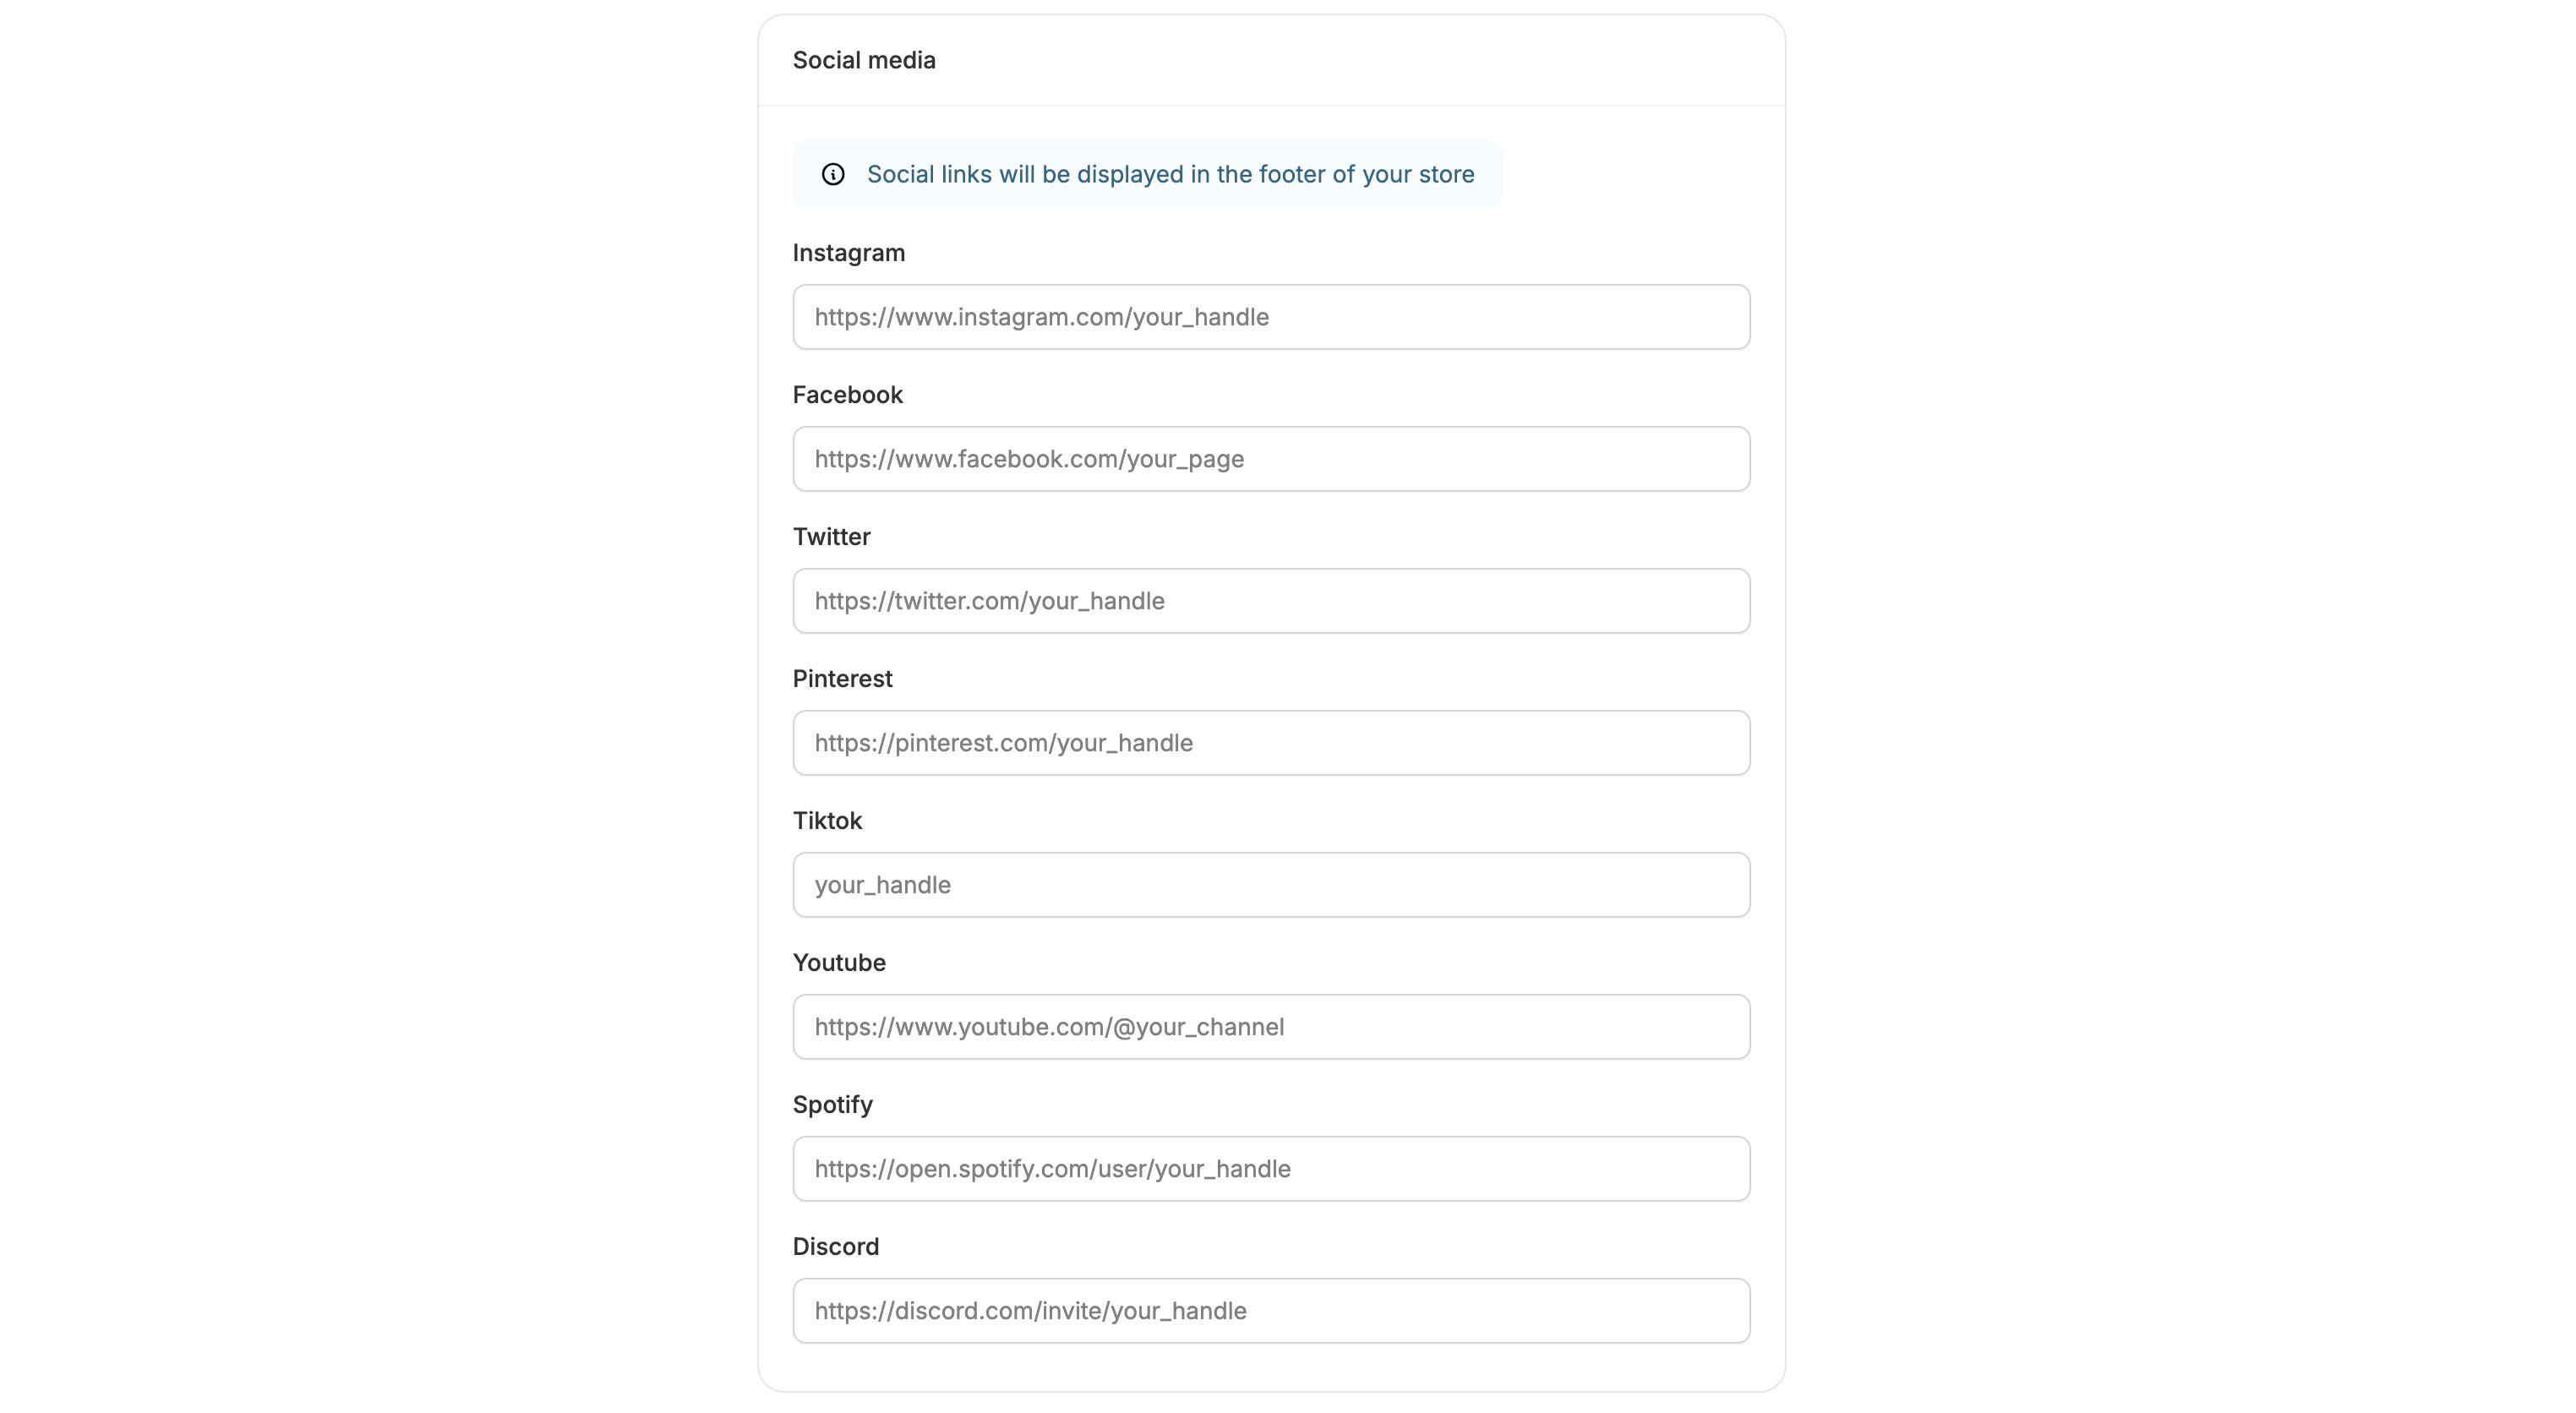
- TikTok
- YouTube
- Spotify
- Discord