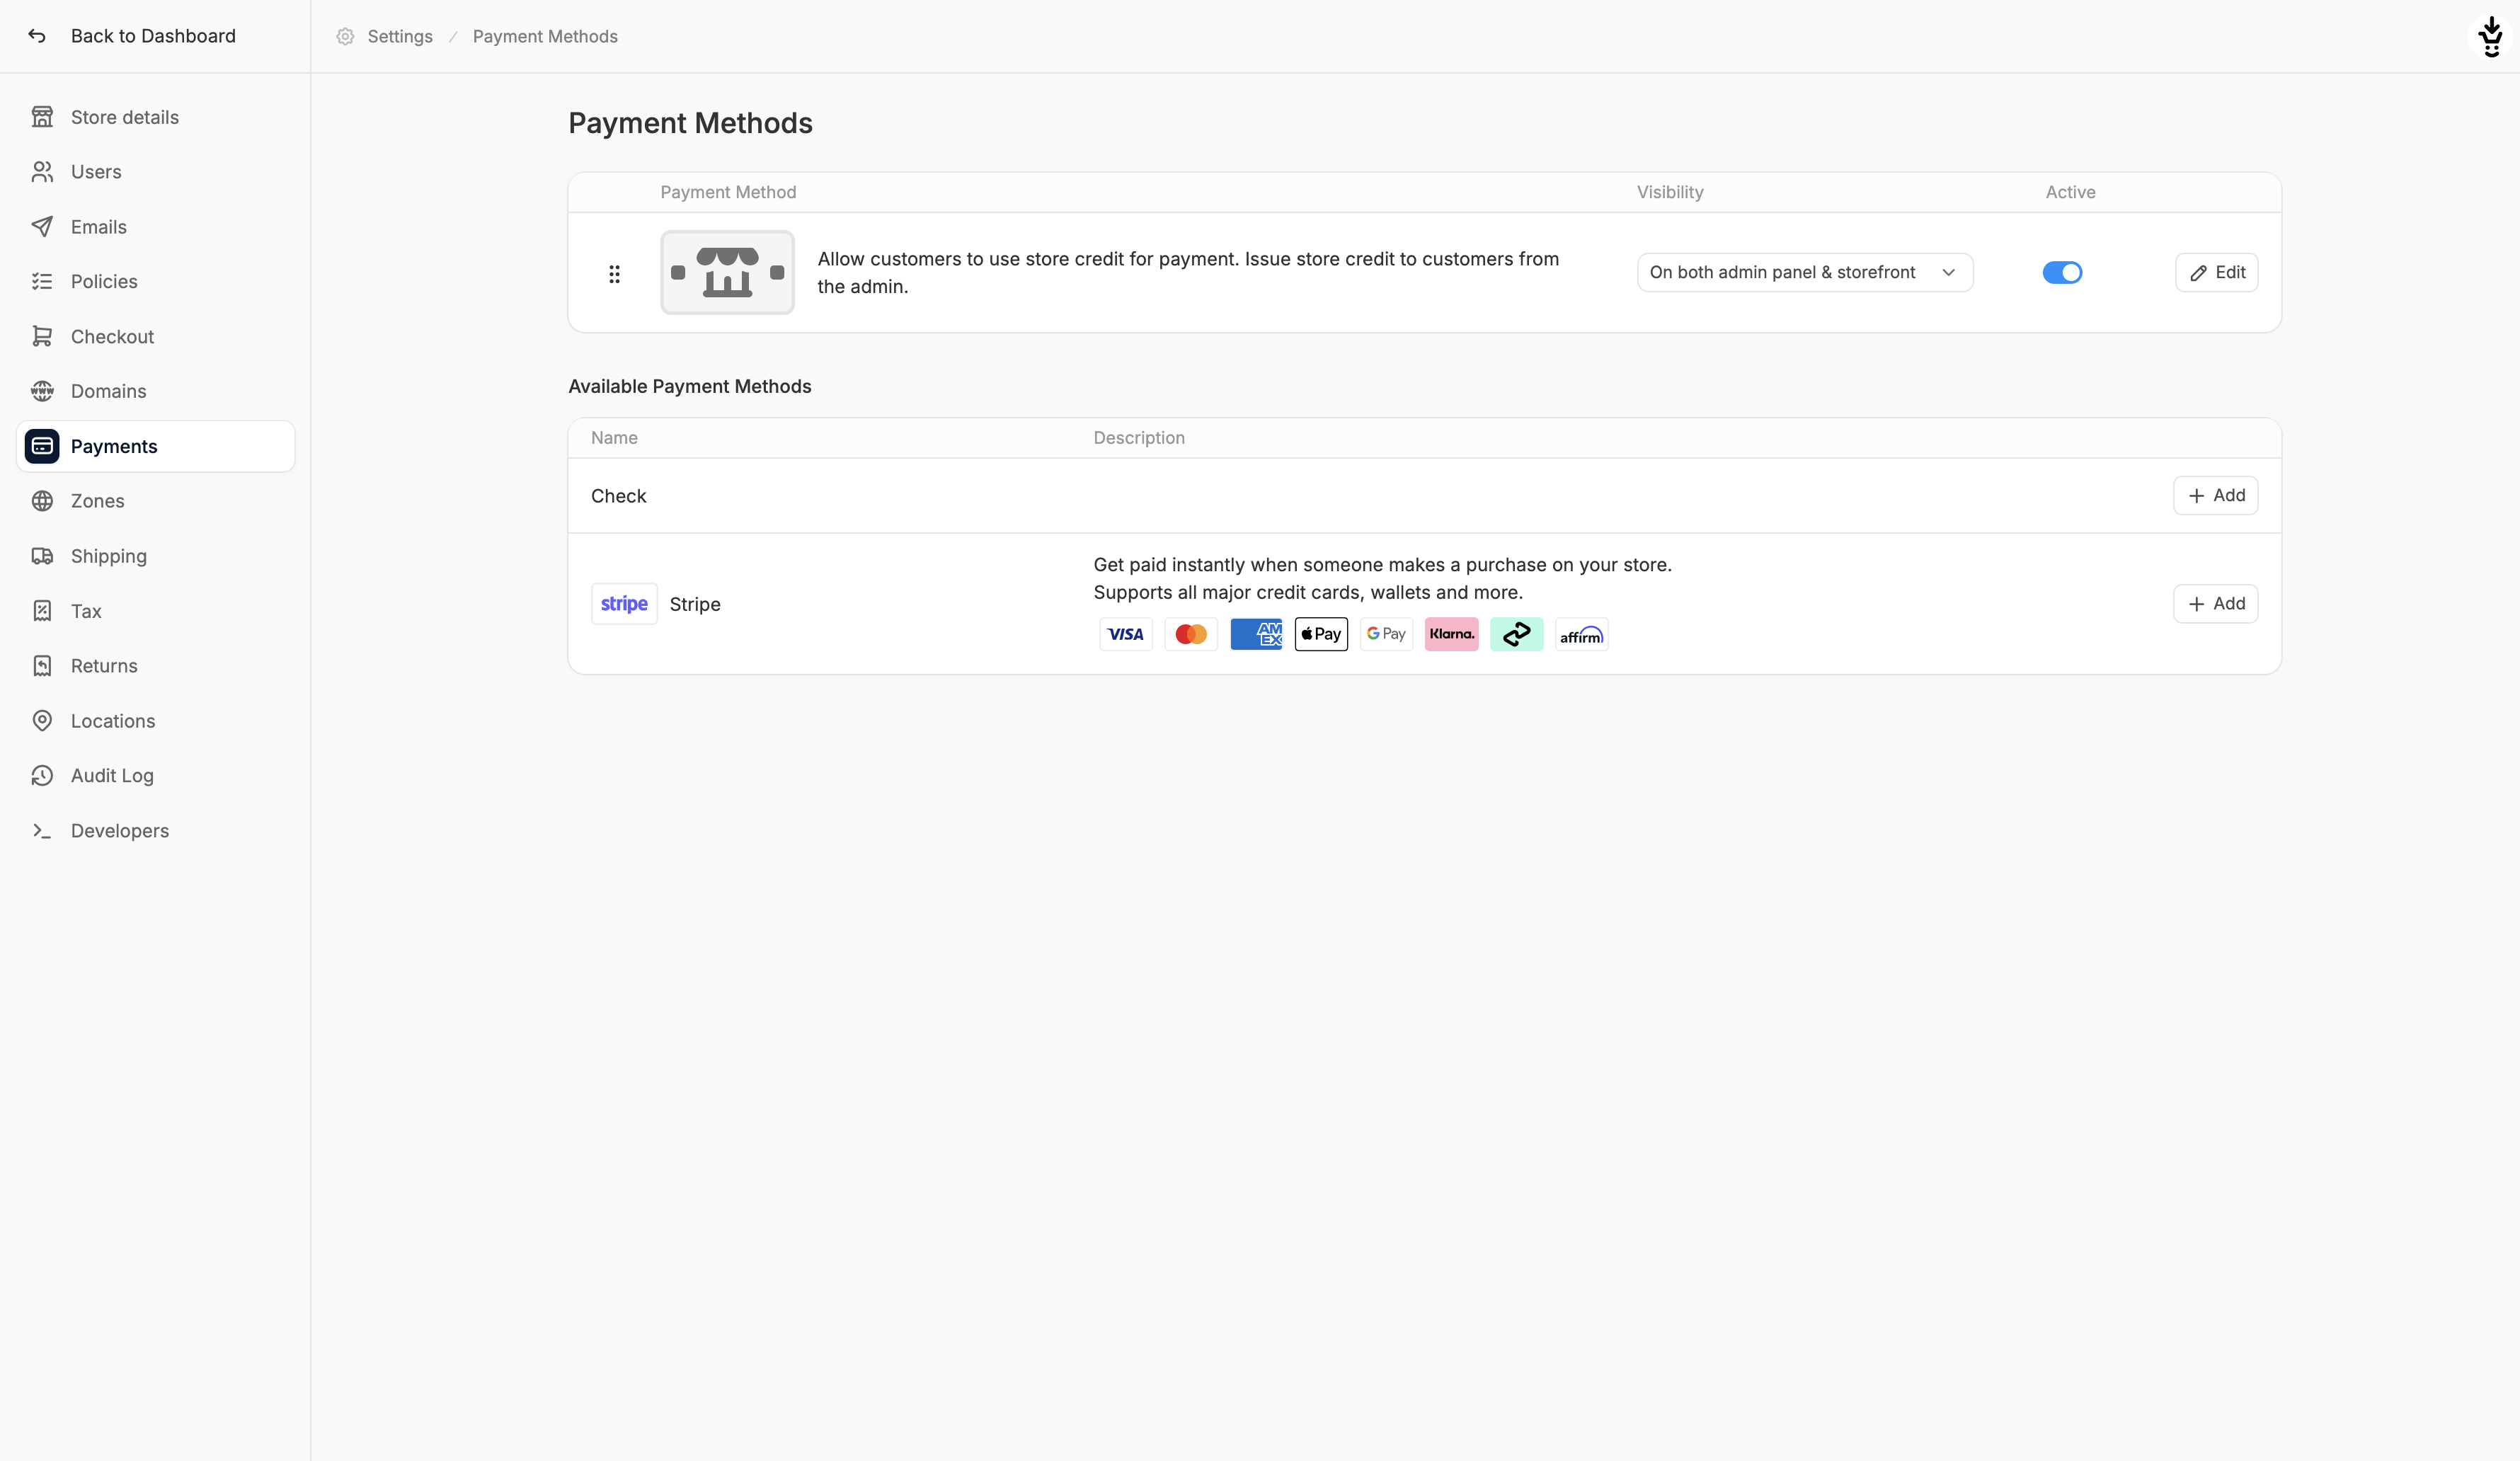
Payment Methods Overview
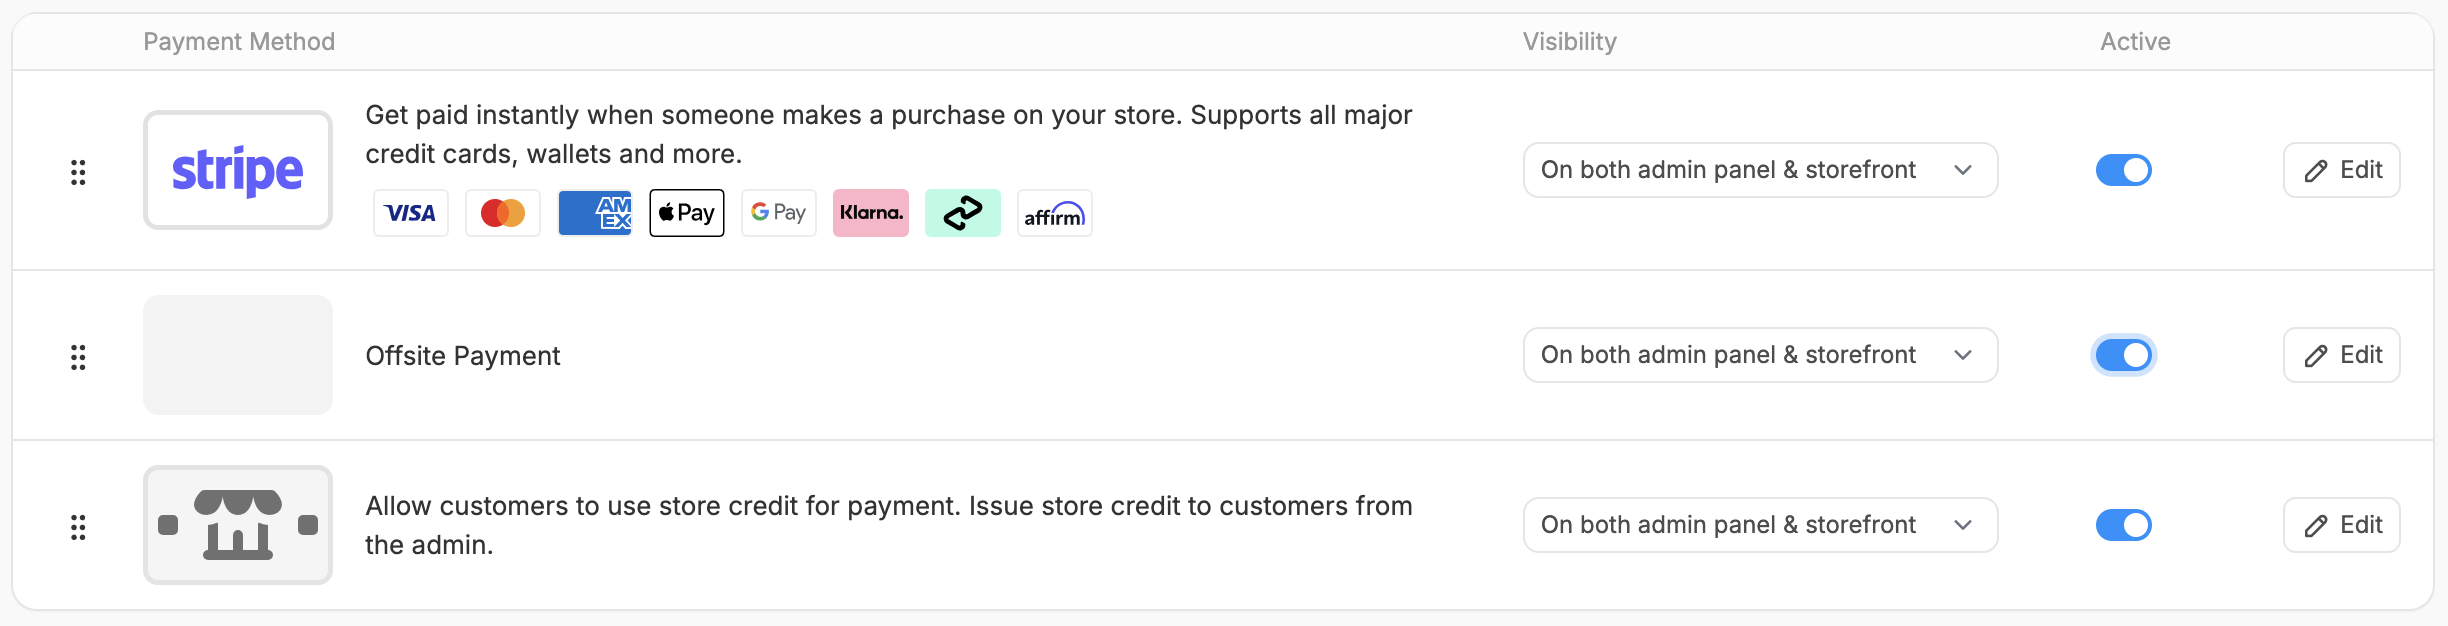
Enabled Payment Methods
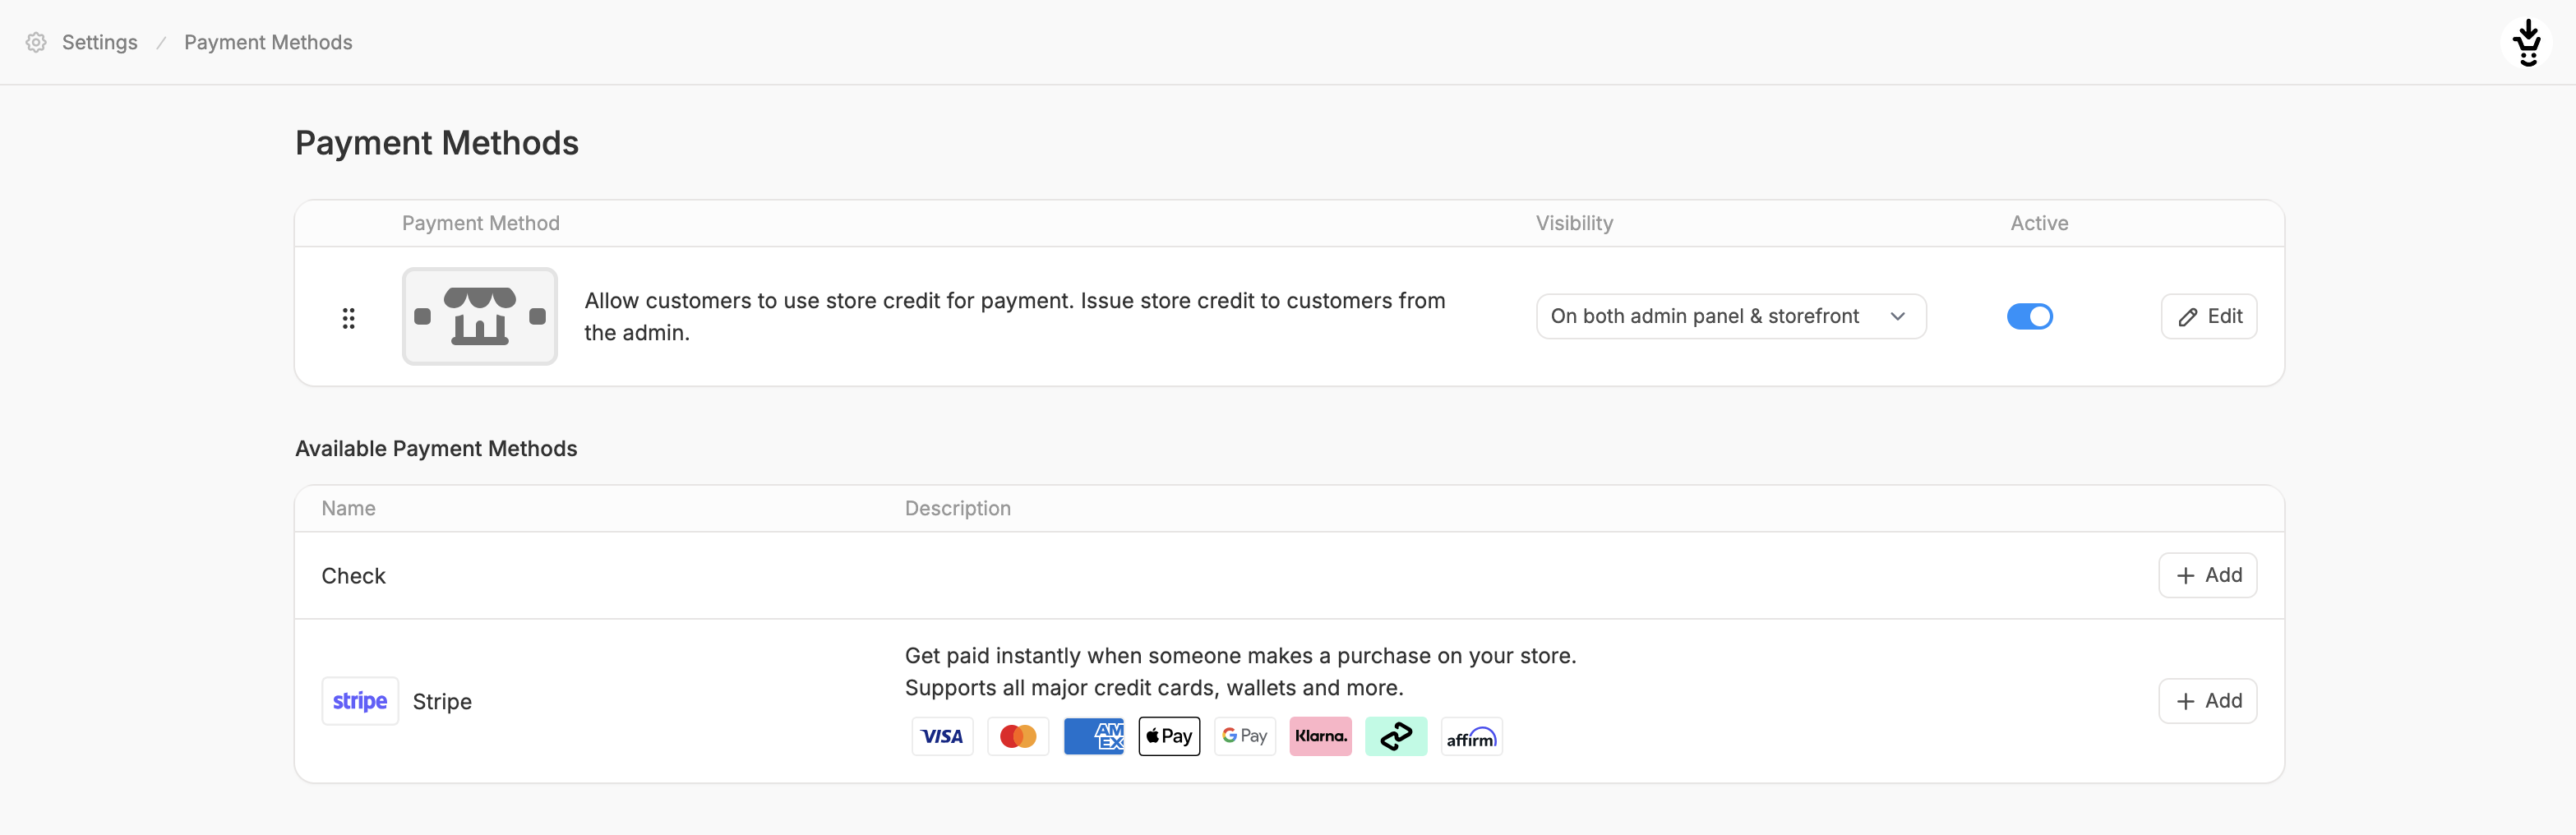
Available Payment Methods

Default Payment Methods
By default, the following payment methods are available in Spree:- Store Credits: allow customers to pay using store credits issued by the admin, enabled by default
- Offsite Payment: labelled as “Check”, not enabled by default
Third-Party Payment Methods
Additional payment gateways (e.g., Stripe) can be made available by having your developers install the relevant gems. For example, Stripe gateway is free to use, but requires adding the spree_stripe gem to your store’s codebase before it becomes available in the admin interface. For more information about our native Stripe integration, see Integrations → Stripe Gateway. Once a payment method has been installed, it appears in the Available Payment Methods list. From there, it can be added, configured, or removed as needed.Add a Payment Method
To add a payment method, click Add on the corresponding row in the Available Payment Methods list. This will direct you to the payment method creation form for that method.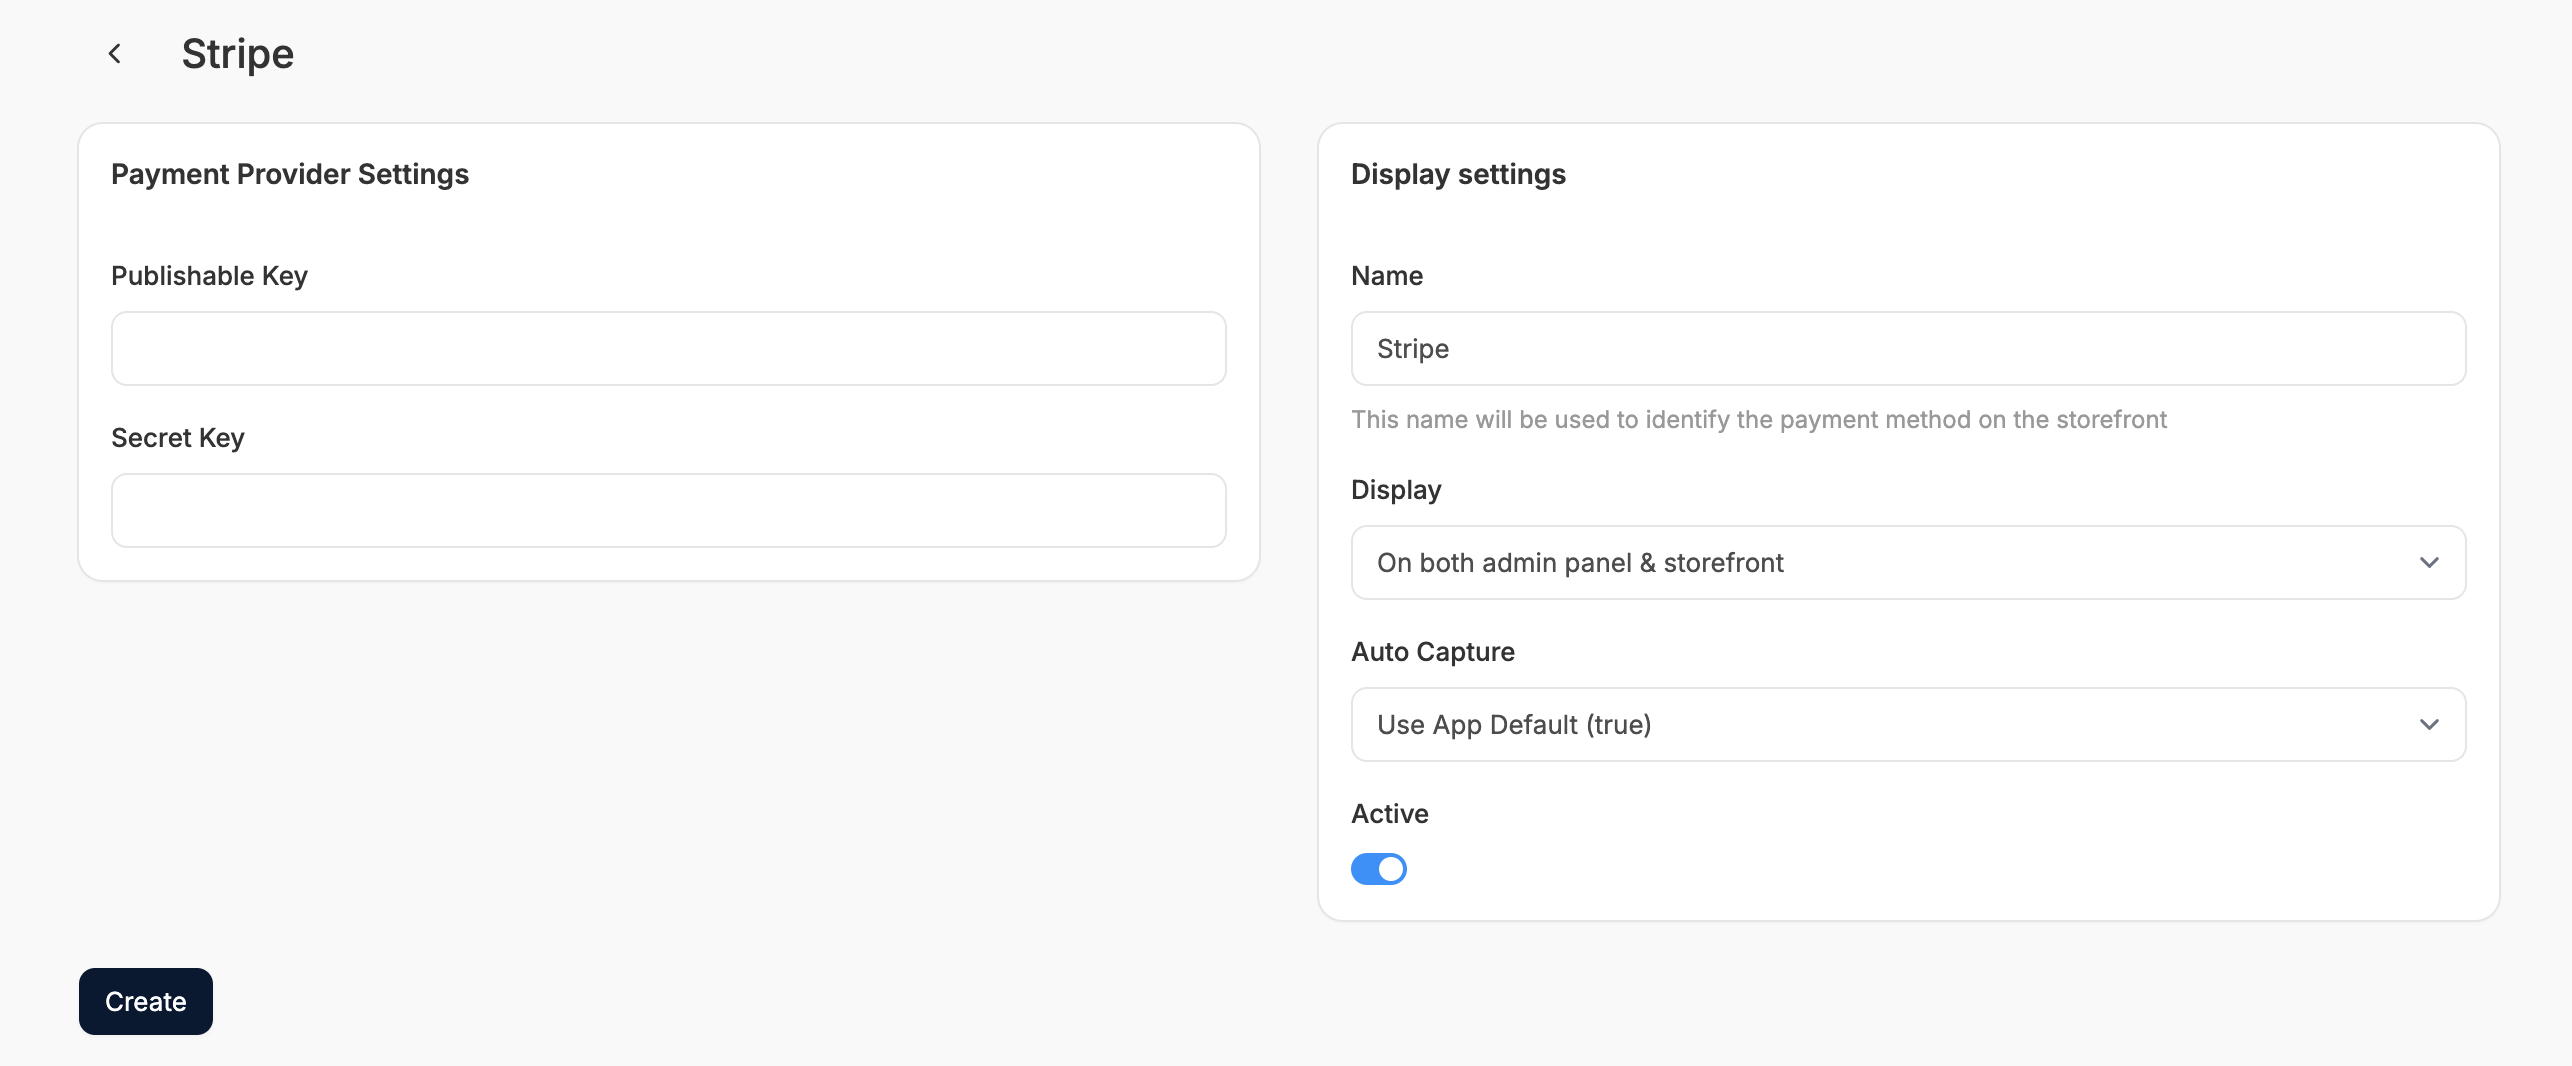
Payment Provider Settings
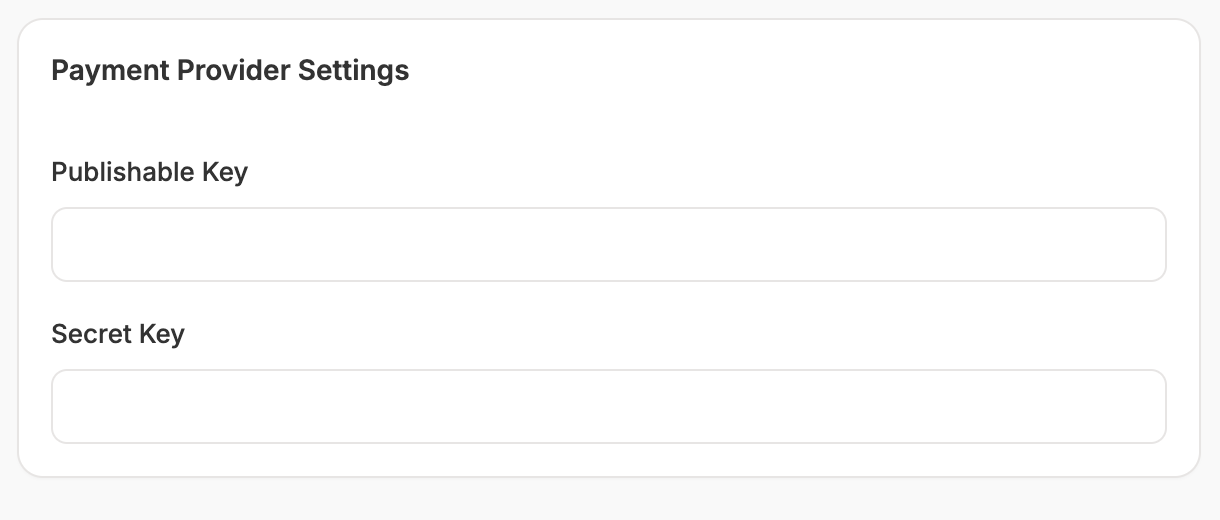
This section only applies to third-party payment methods.
Display Settings
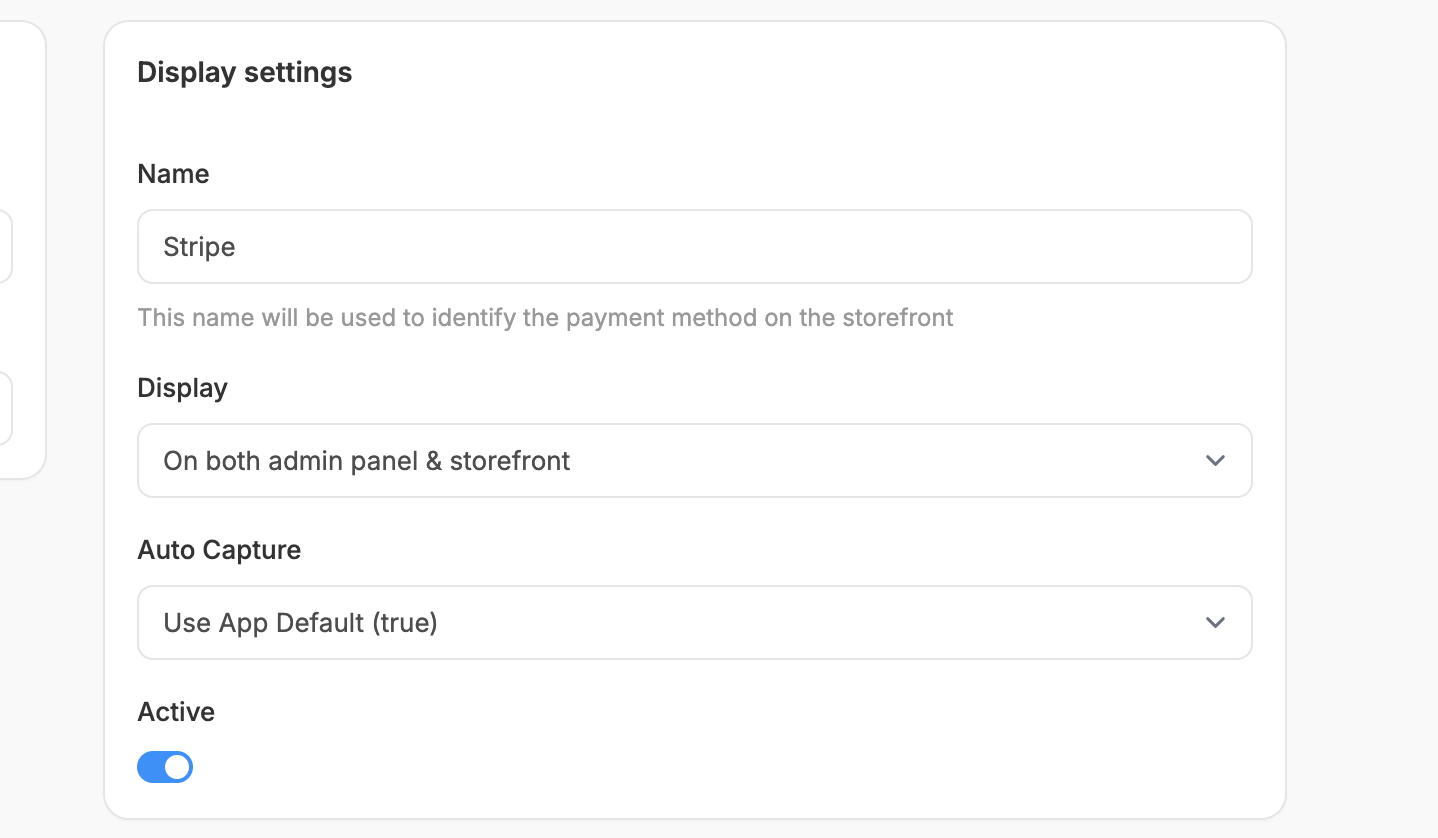
- Name: The name displayed on the storefront
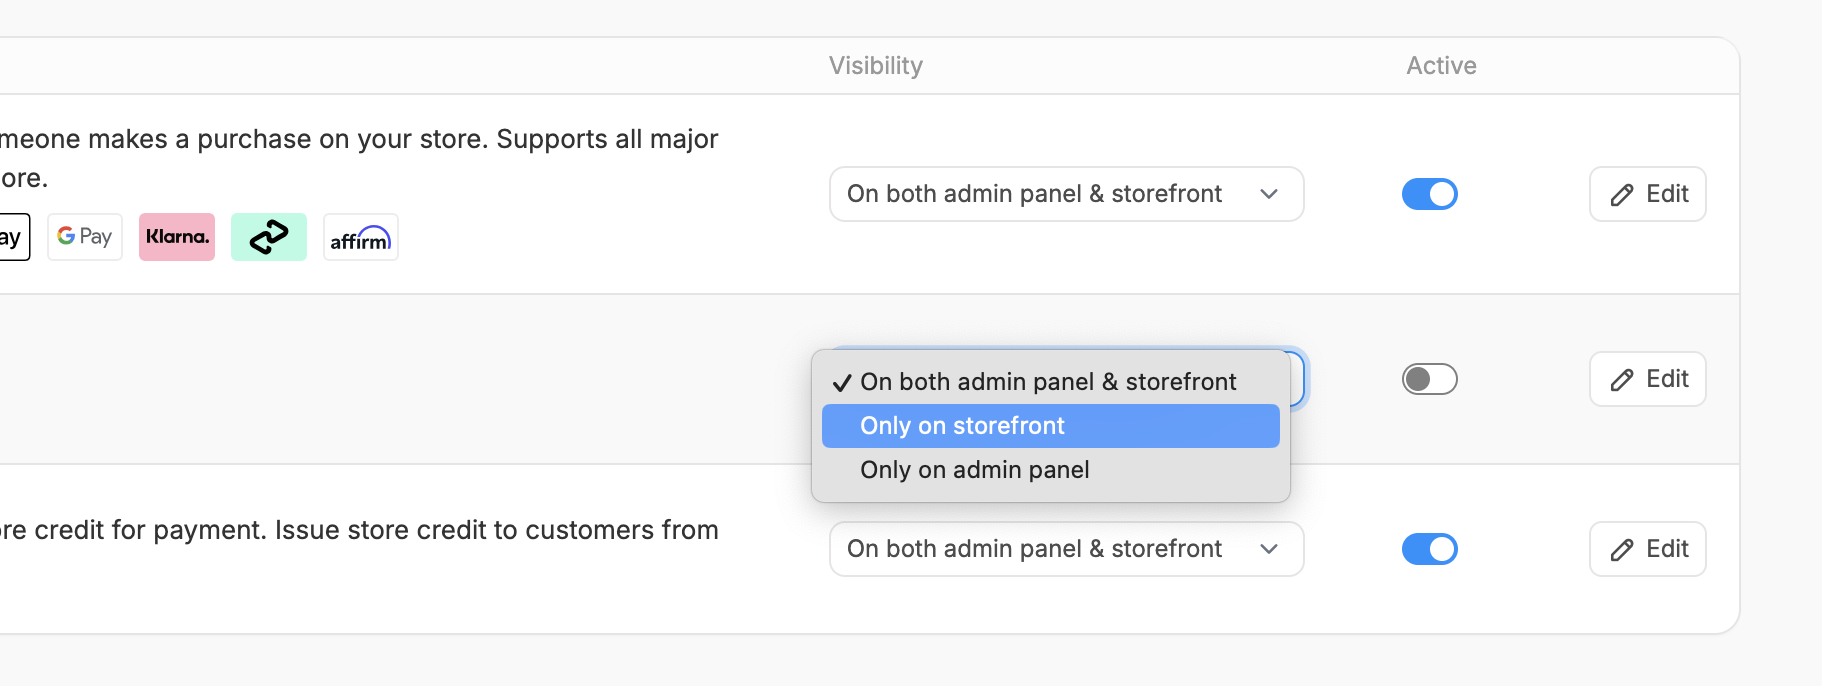
- Display: Where the method is available for use
- On both the admin panel & storefront
- Only on storefront
- Only on admin panel
- Auto Capture: Determines whether payment is captured automatically at the time of authorization. Use the app default or override it per method.
- Status: Toggle whether the payment method is available for use in orders. Inactive methods are hidden but not deleted.
Create
Once you’ve entered all the required fields, click Create to add the payment method. The method will now be listed in your store’s enabled payment methods and will be available to users on checkout (provided it is active and visible).Edit a Payment Method
To edit a payment method, click on the corresponding row in the enabled payment methods list. This will direct you to the edit form for that method.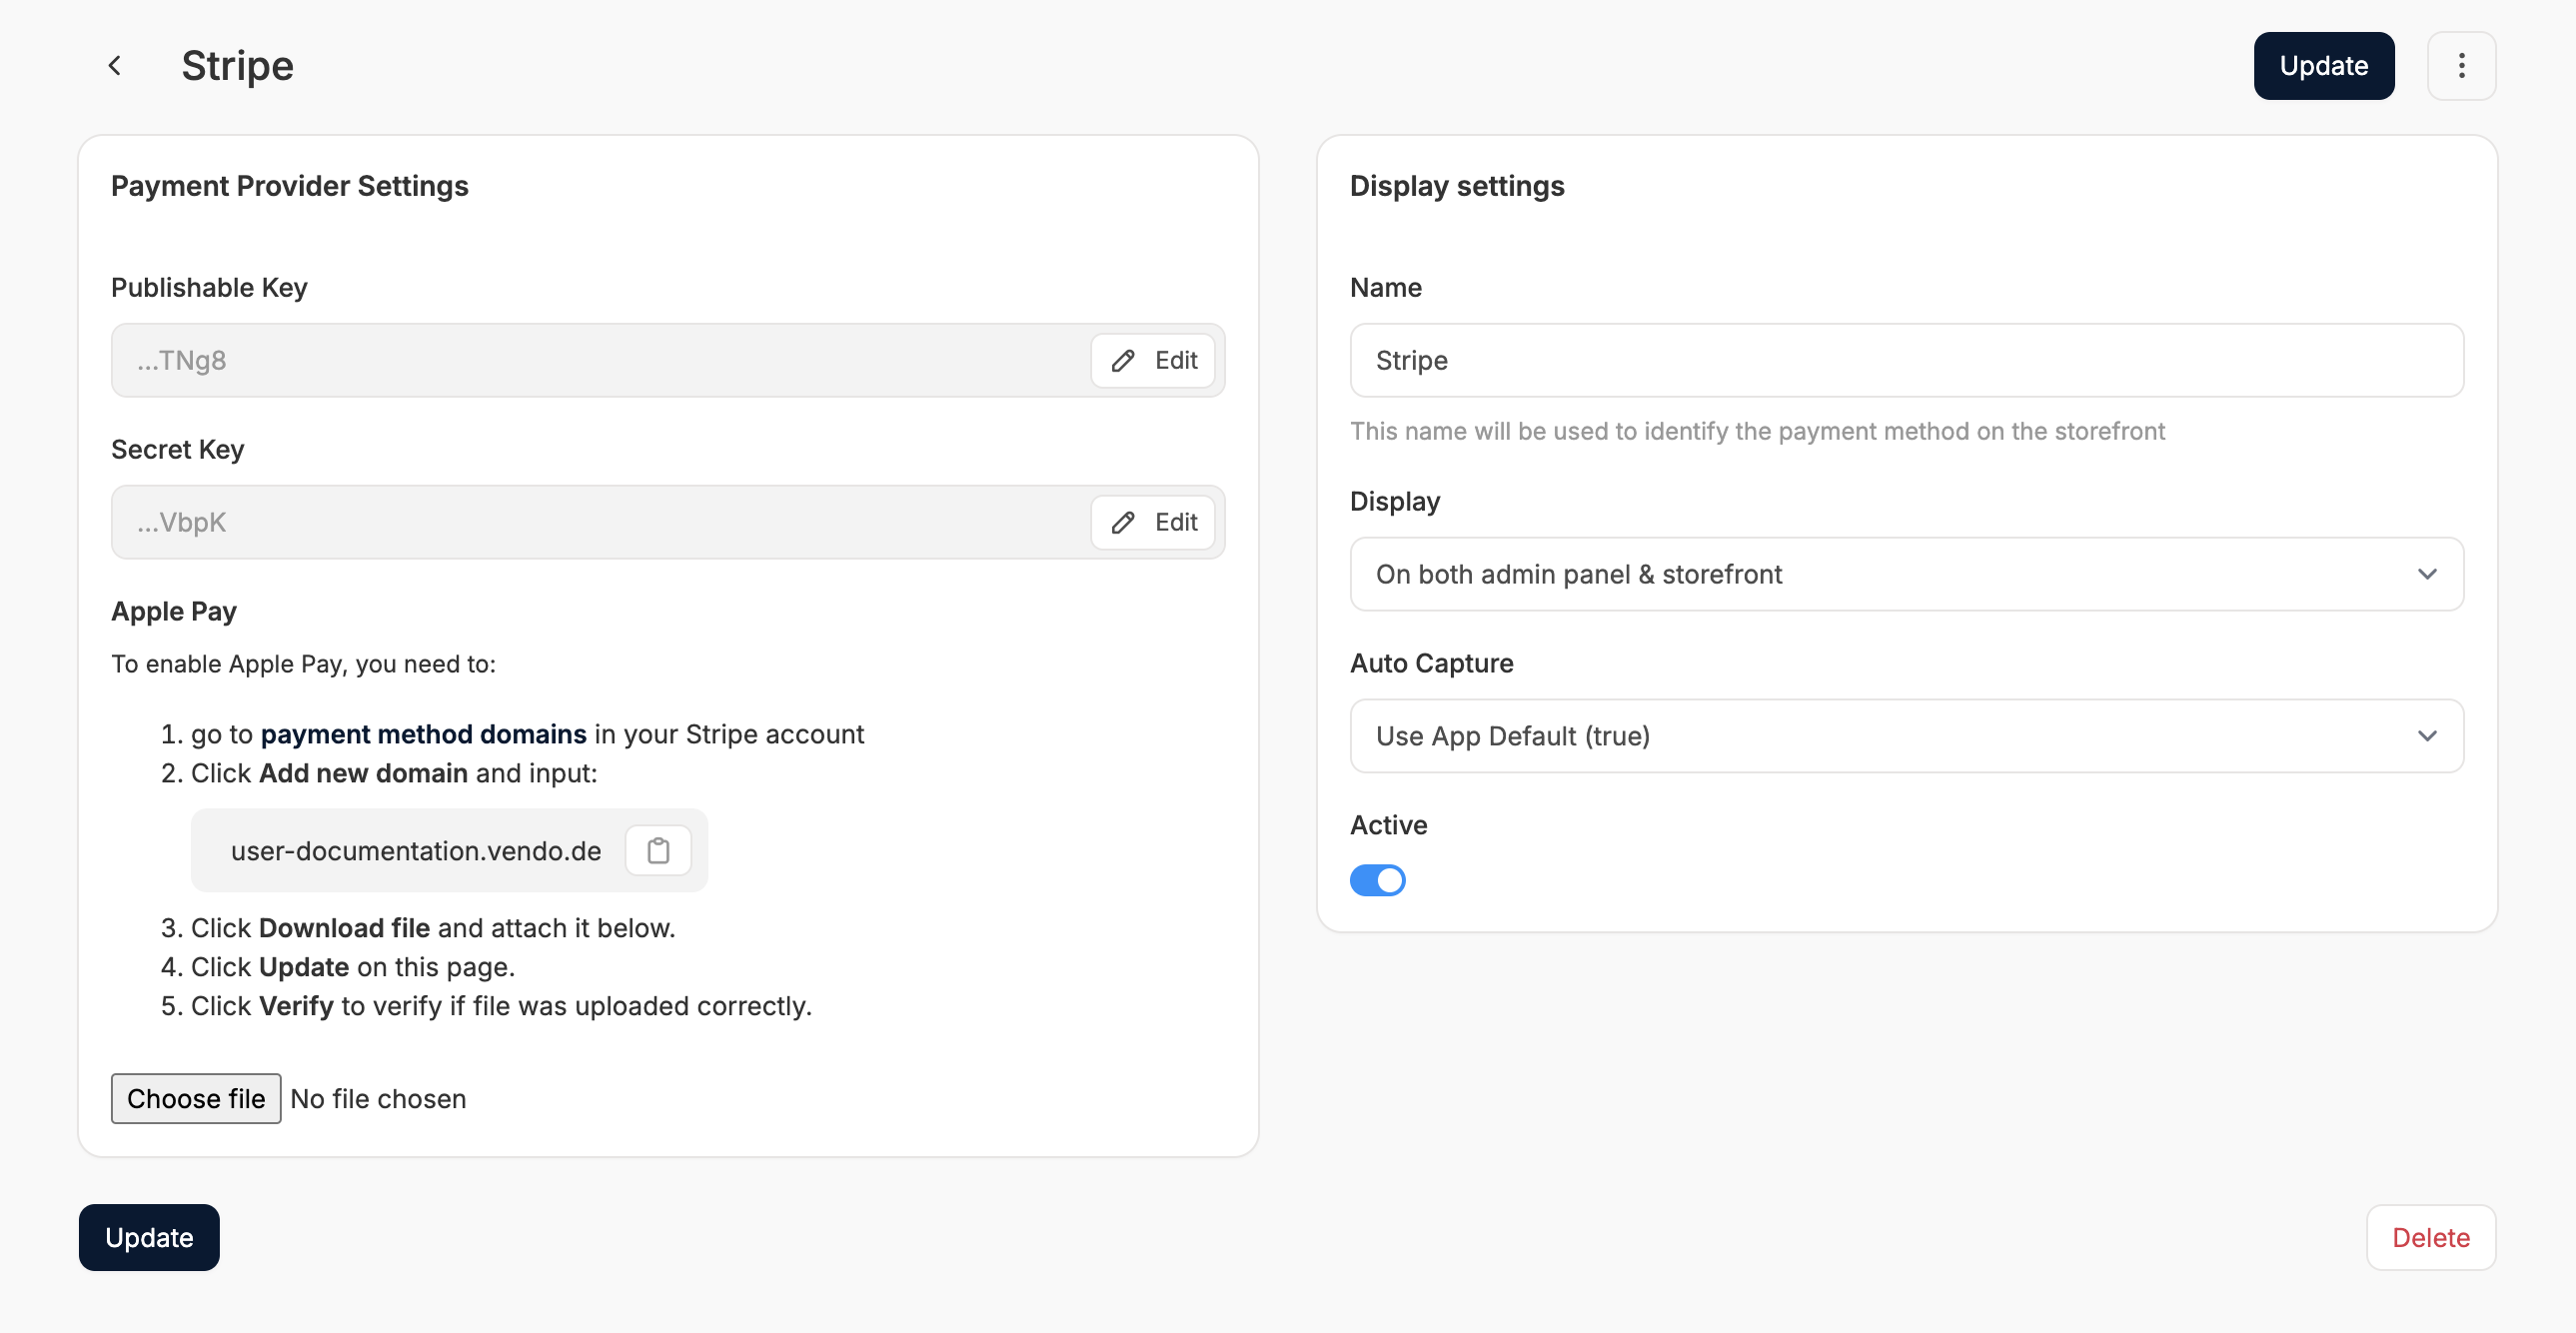
Delete a Payment Method
To remove a payment method, simply open the edit form as shown above and click Delete.Deleting a payment method moves it from the enabled payment methods list back into the available payments list. It does not uninstall the associated gem. A developer would need to remove it from the codebase if complete deactivation is desired.