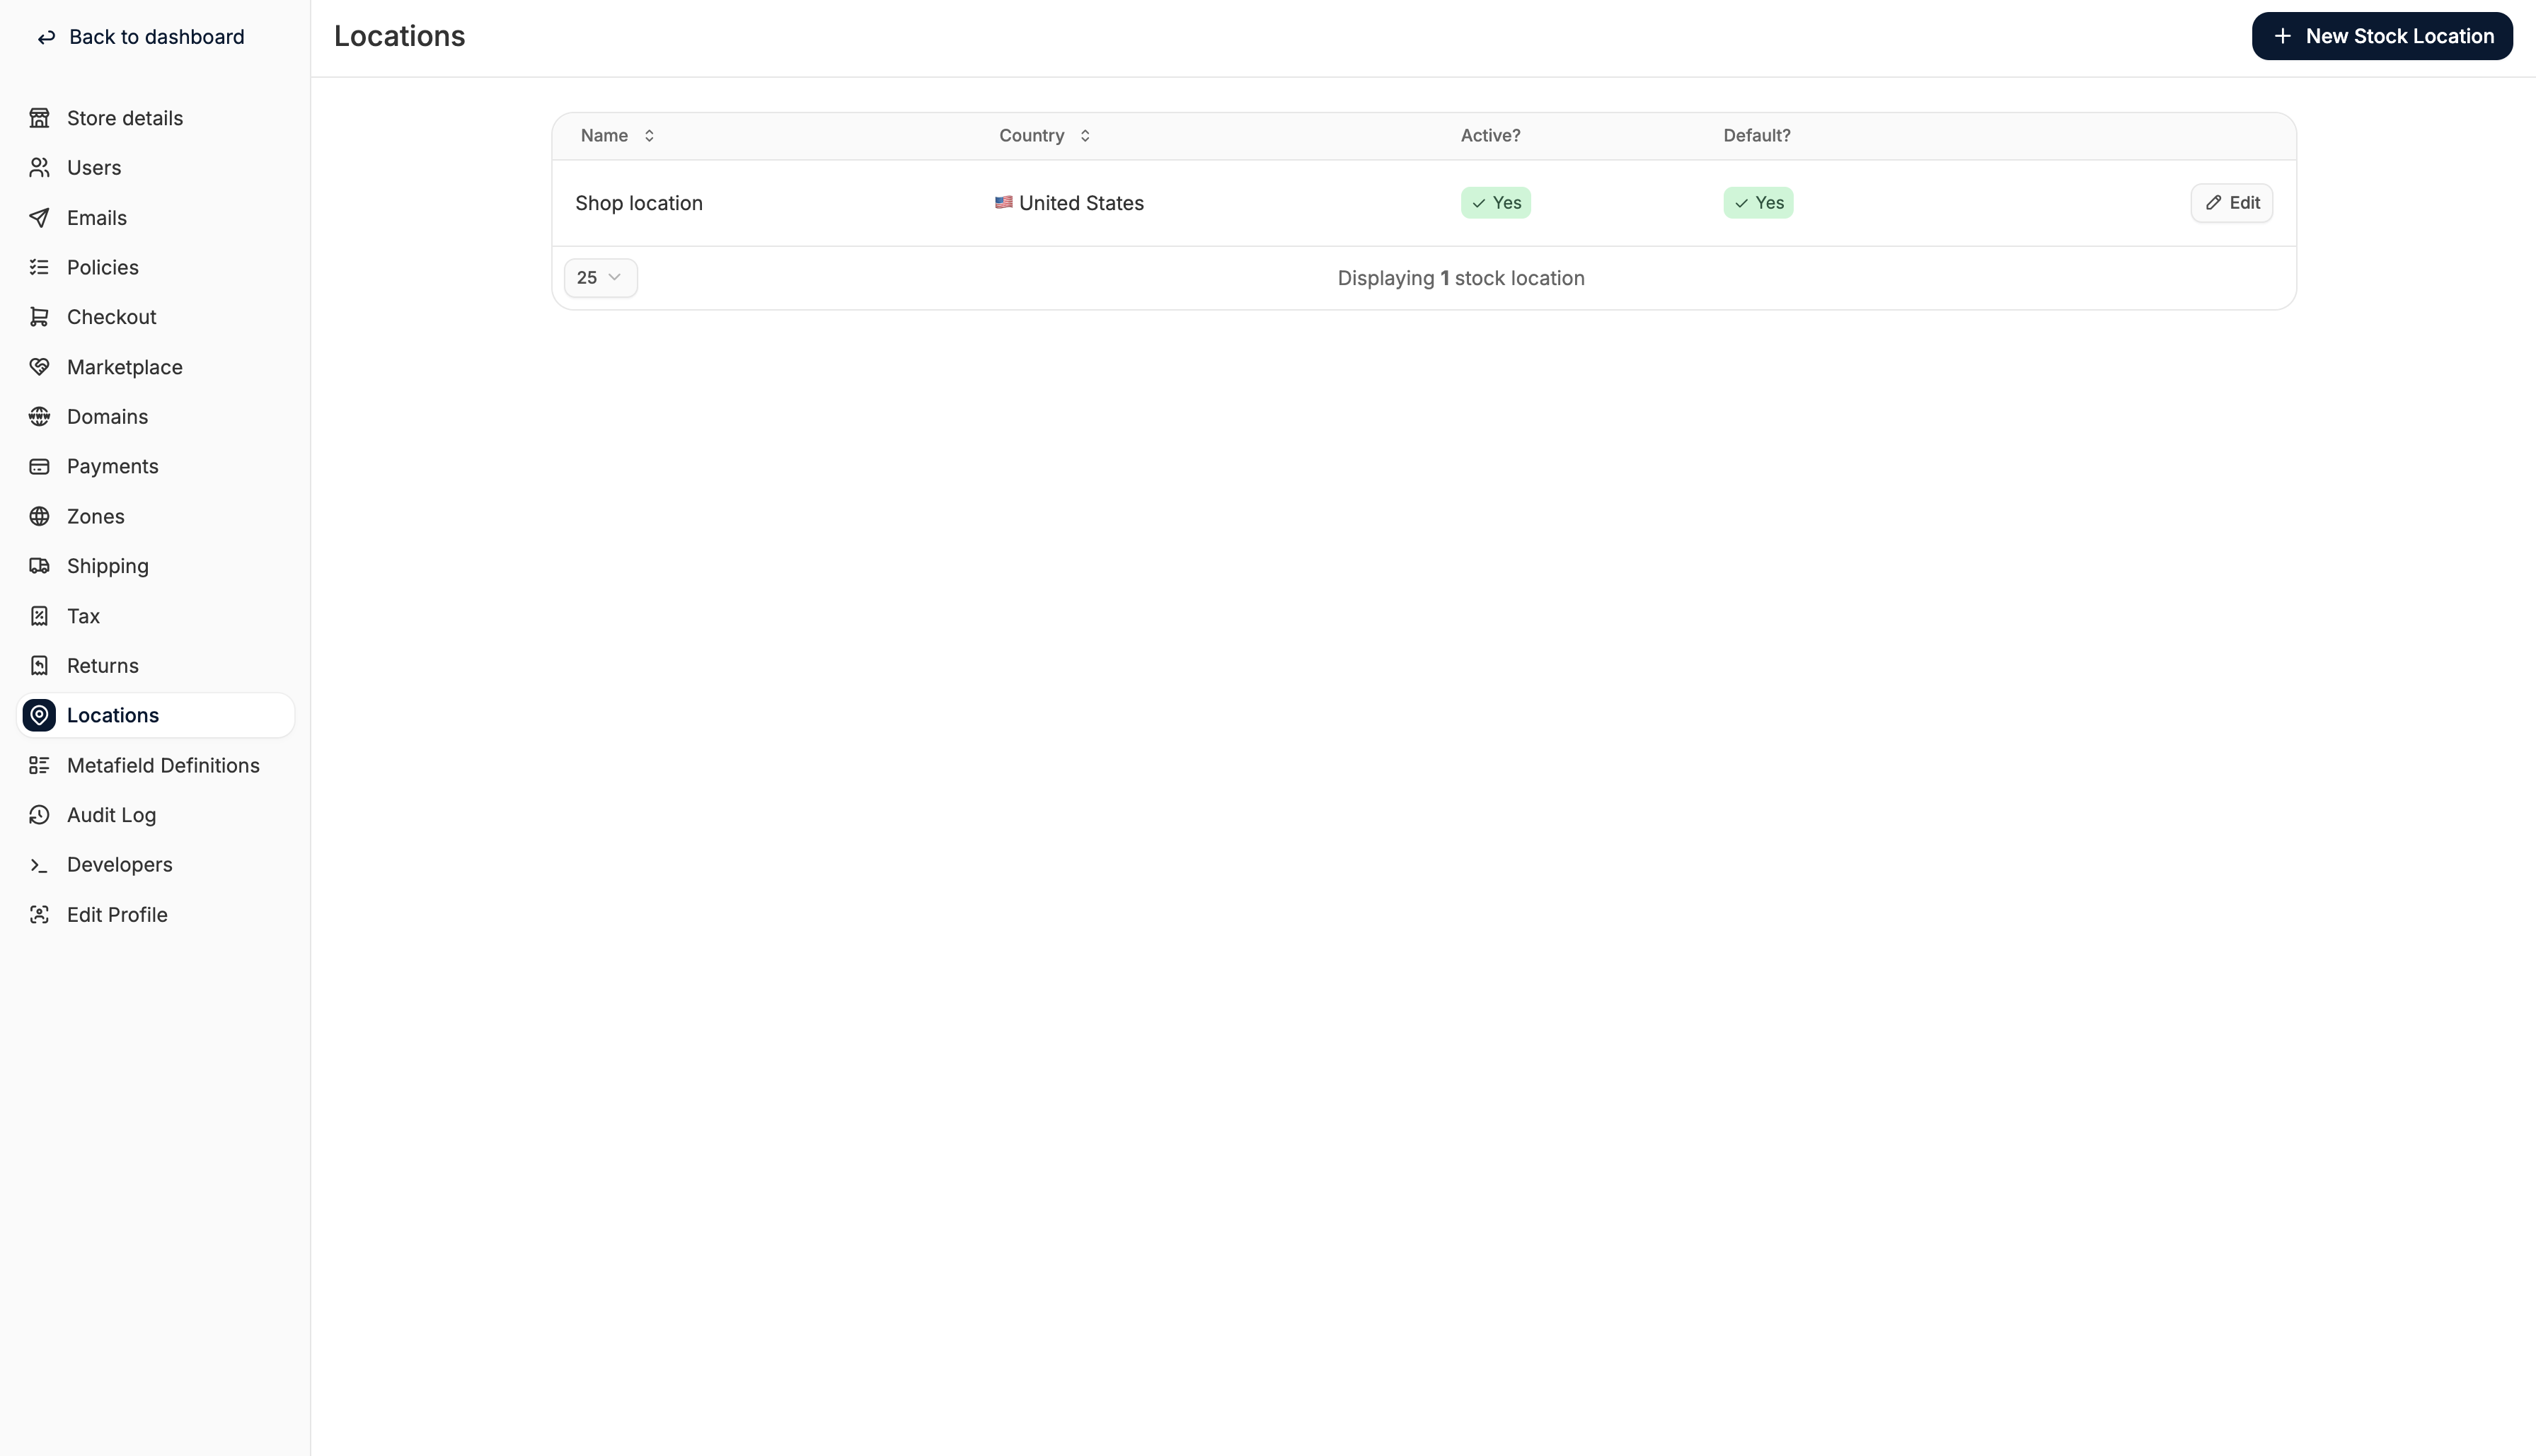
Add a New Location
To add a new Location, click on New Stock Location in the top right corner. This will open the Location creation form.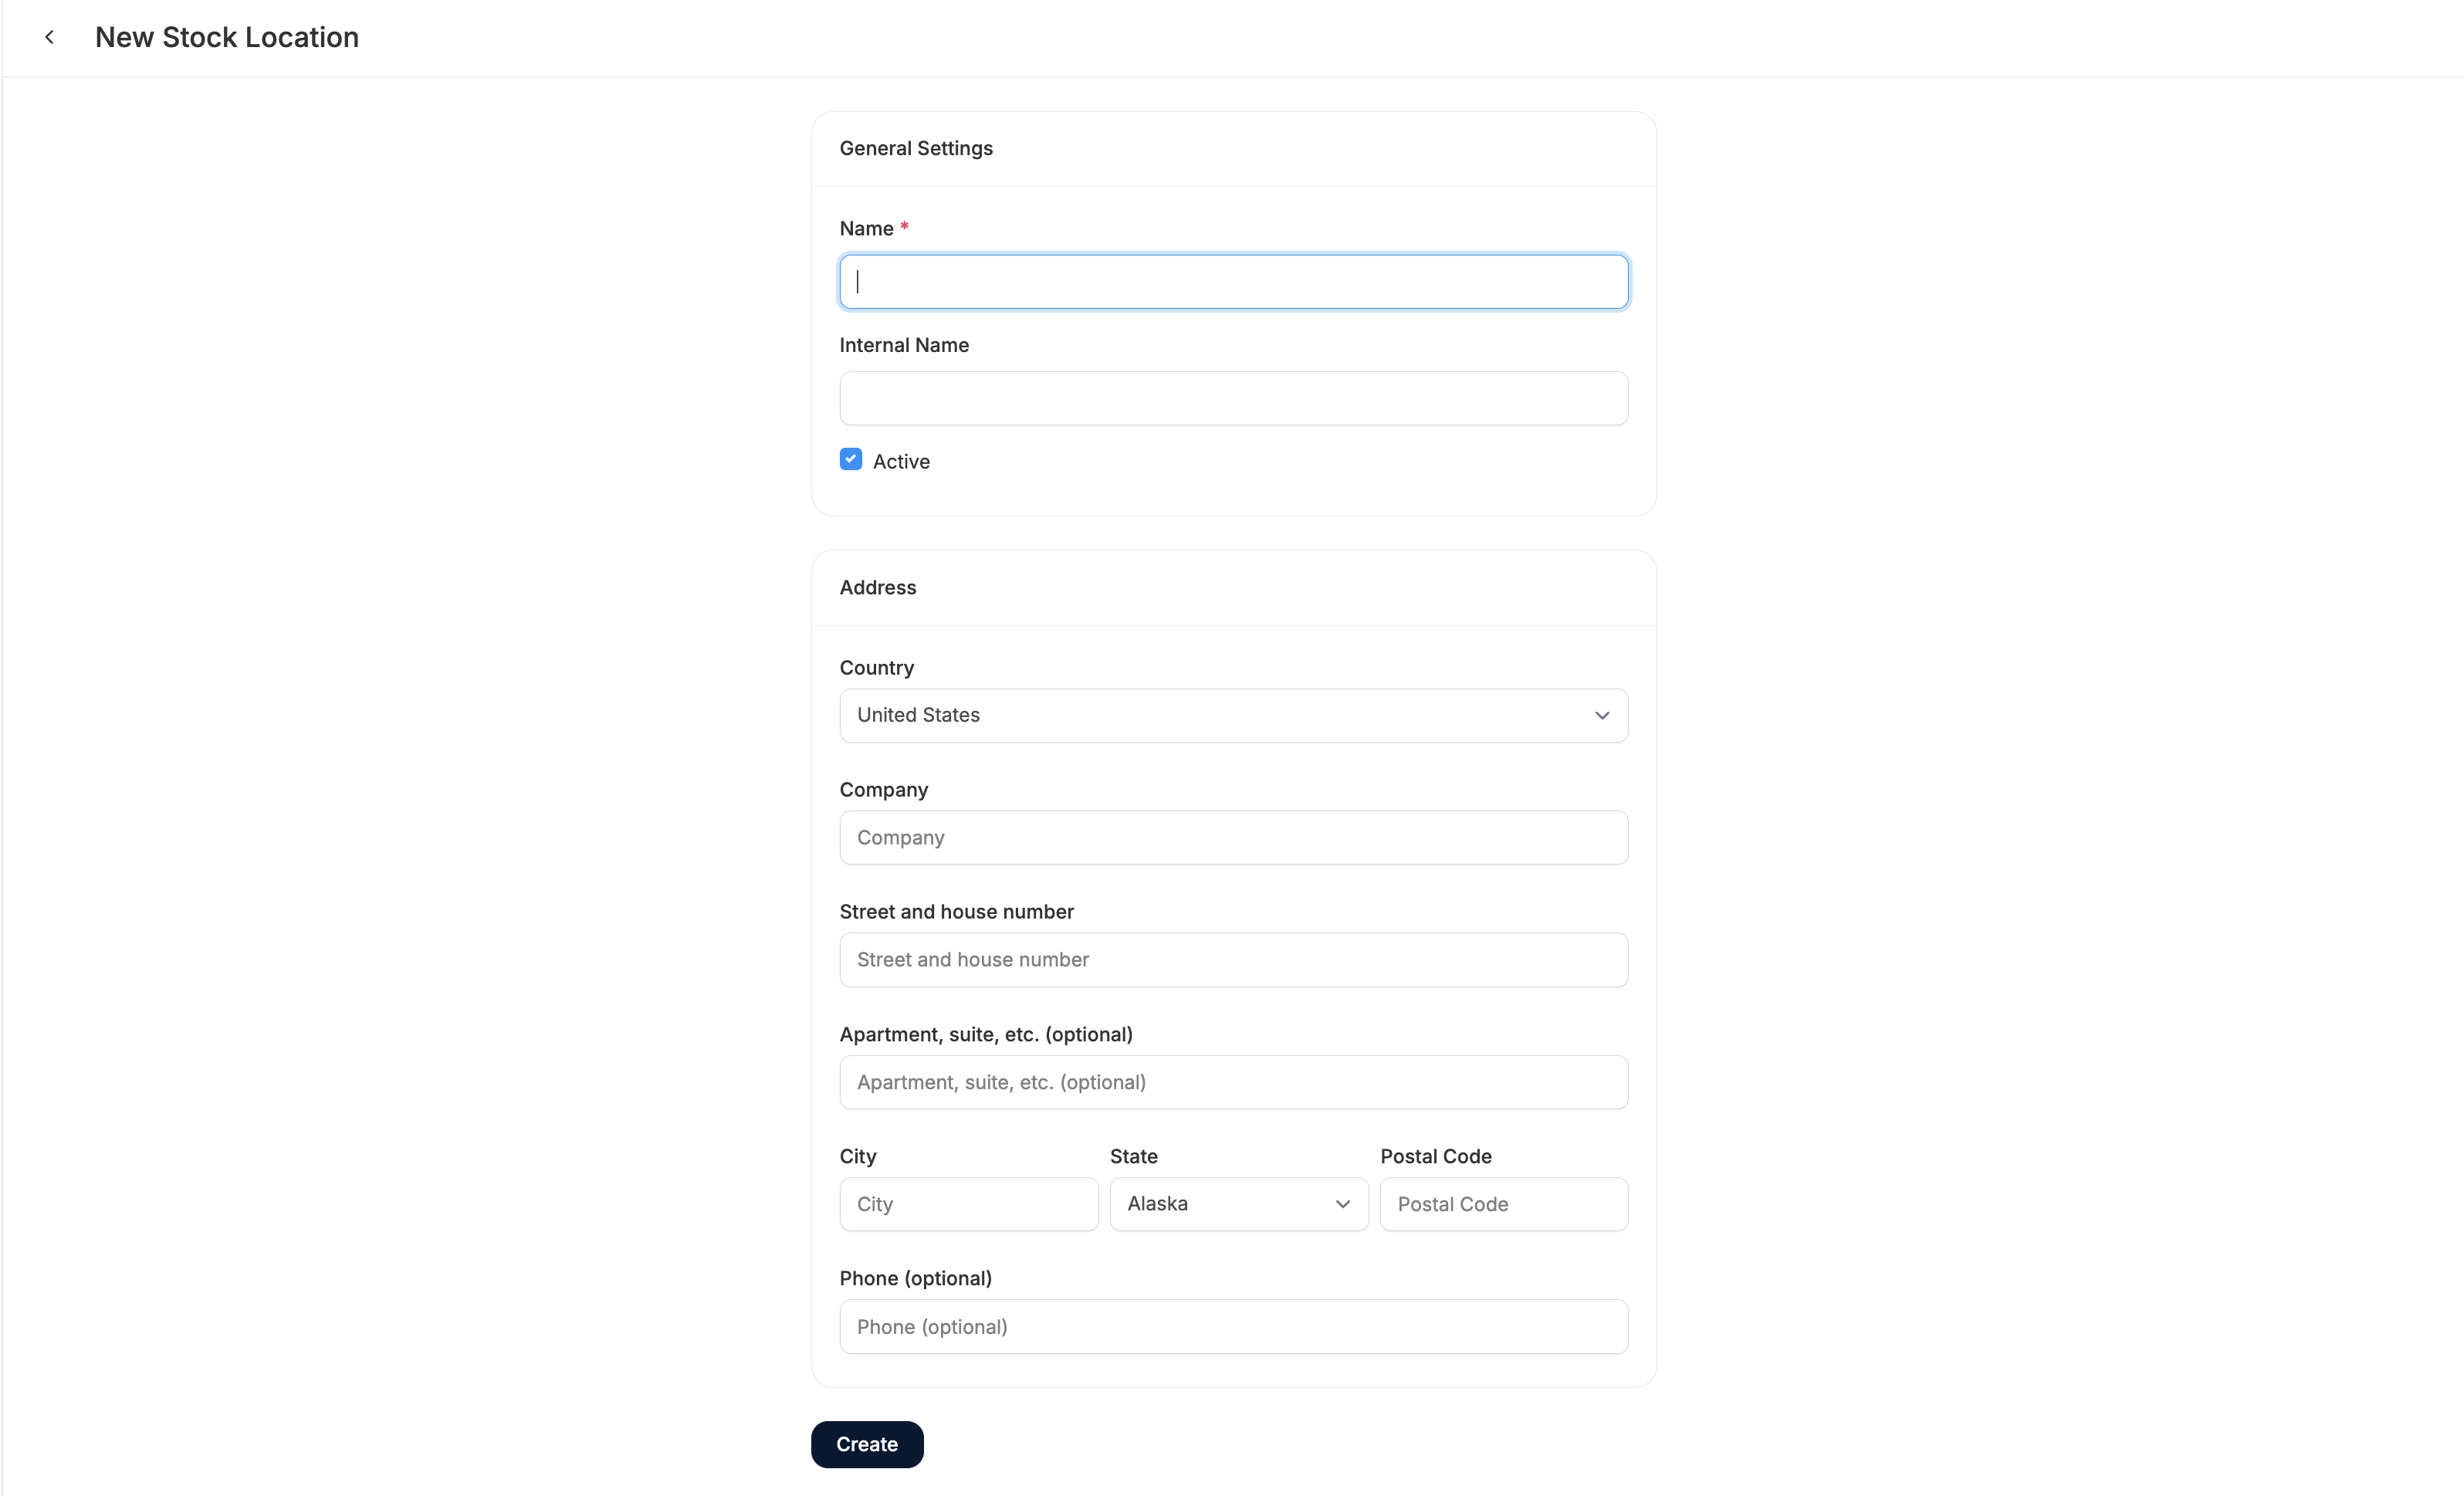
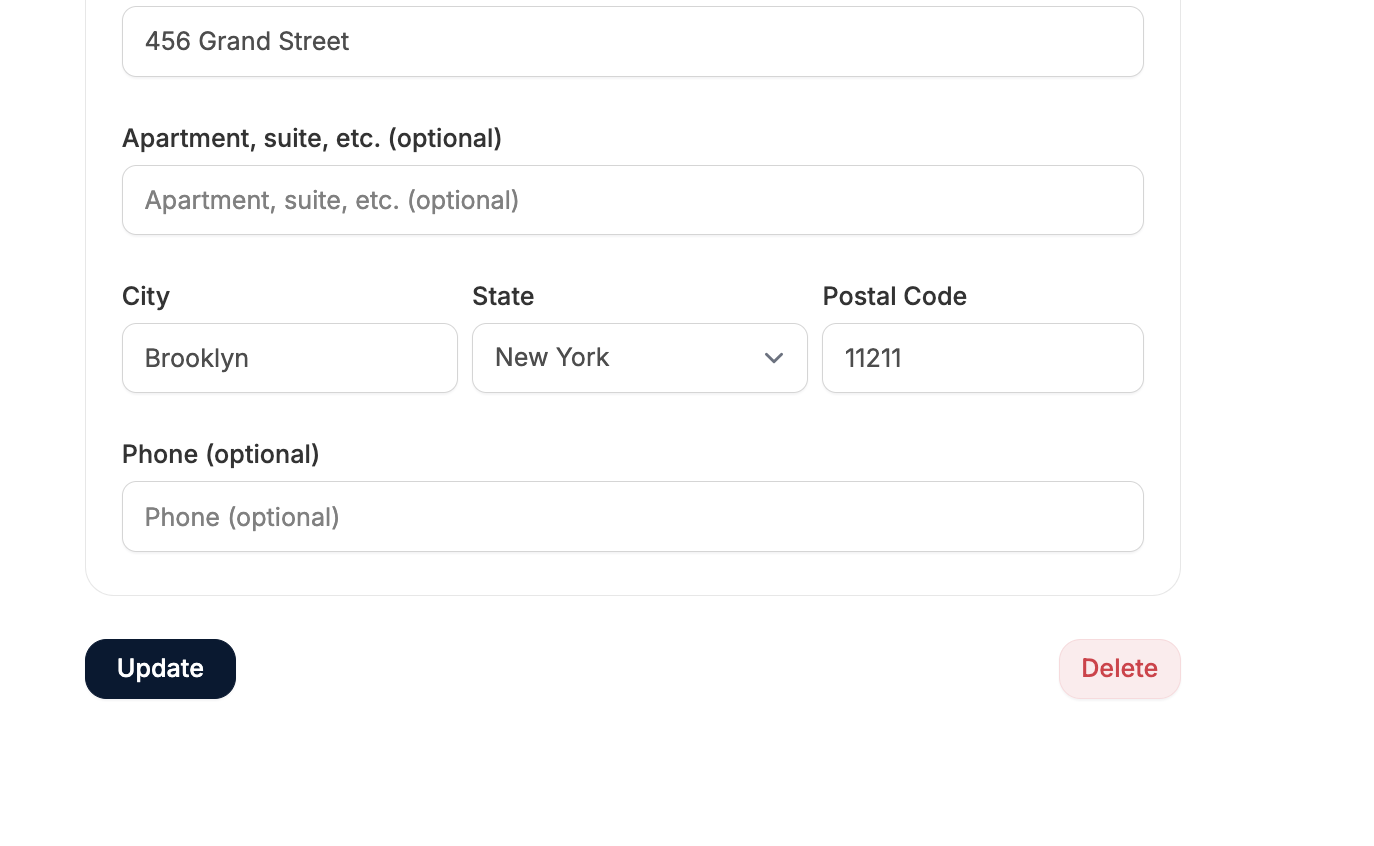
Edit a Location
To edit a Location, simply click Edit on the right-hand side of the Location’s row, and update the information as necessary.Set a Default Location
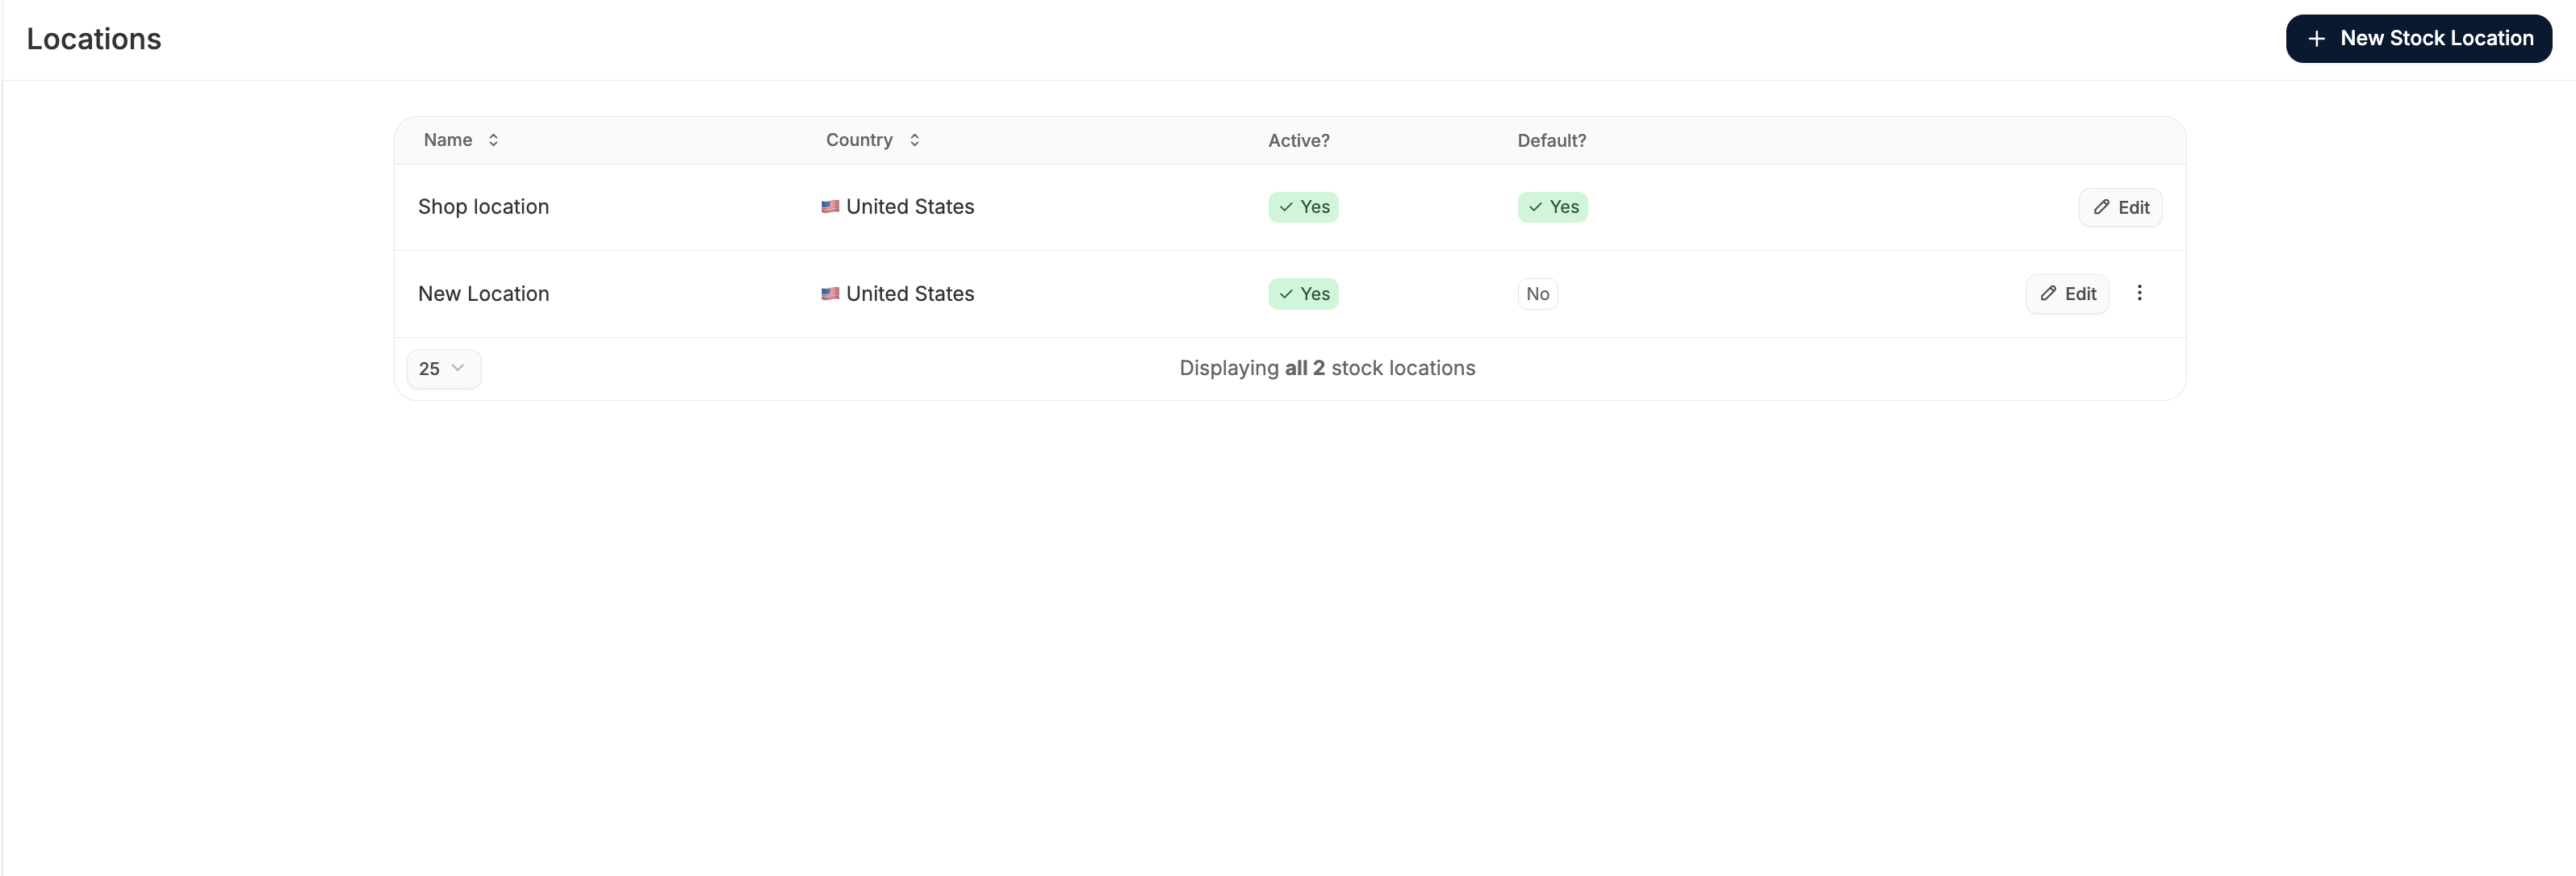
To set your default Location, click the three-dot menu on the right-hand side of the Location’s row and select Mark as default from the menu.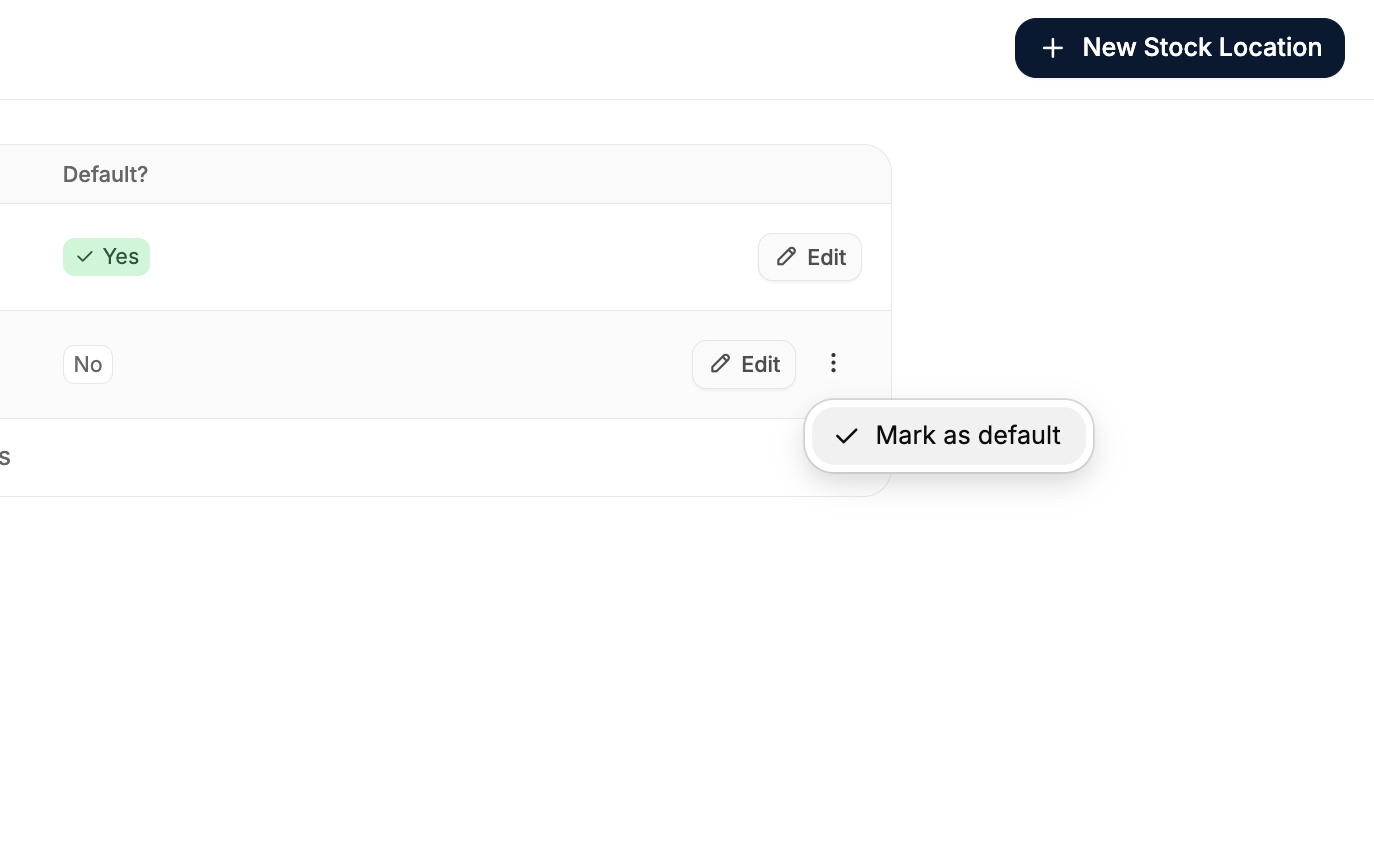
Delete a Location
To delete a Location, click Edit on the right side of the Location’s row to open the Location edit form, and click Delete at the bottom of the page.