Creating a New Metafield
To create a metafield definition go to Settings → Metafield Definitions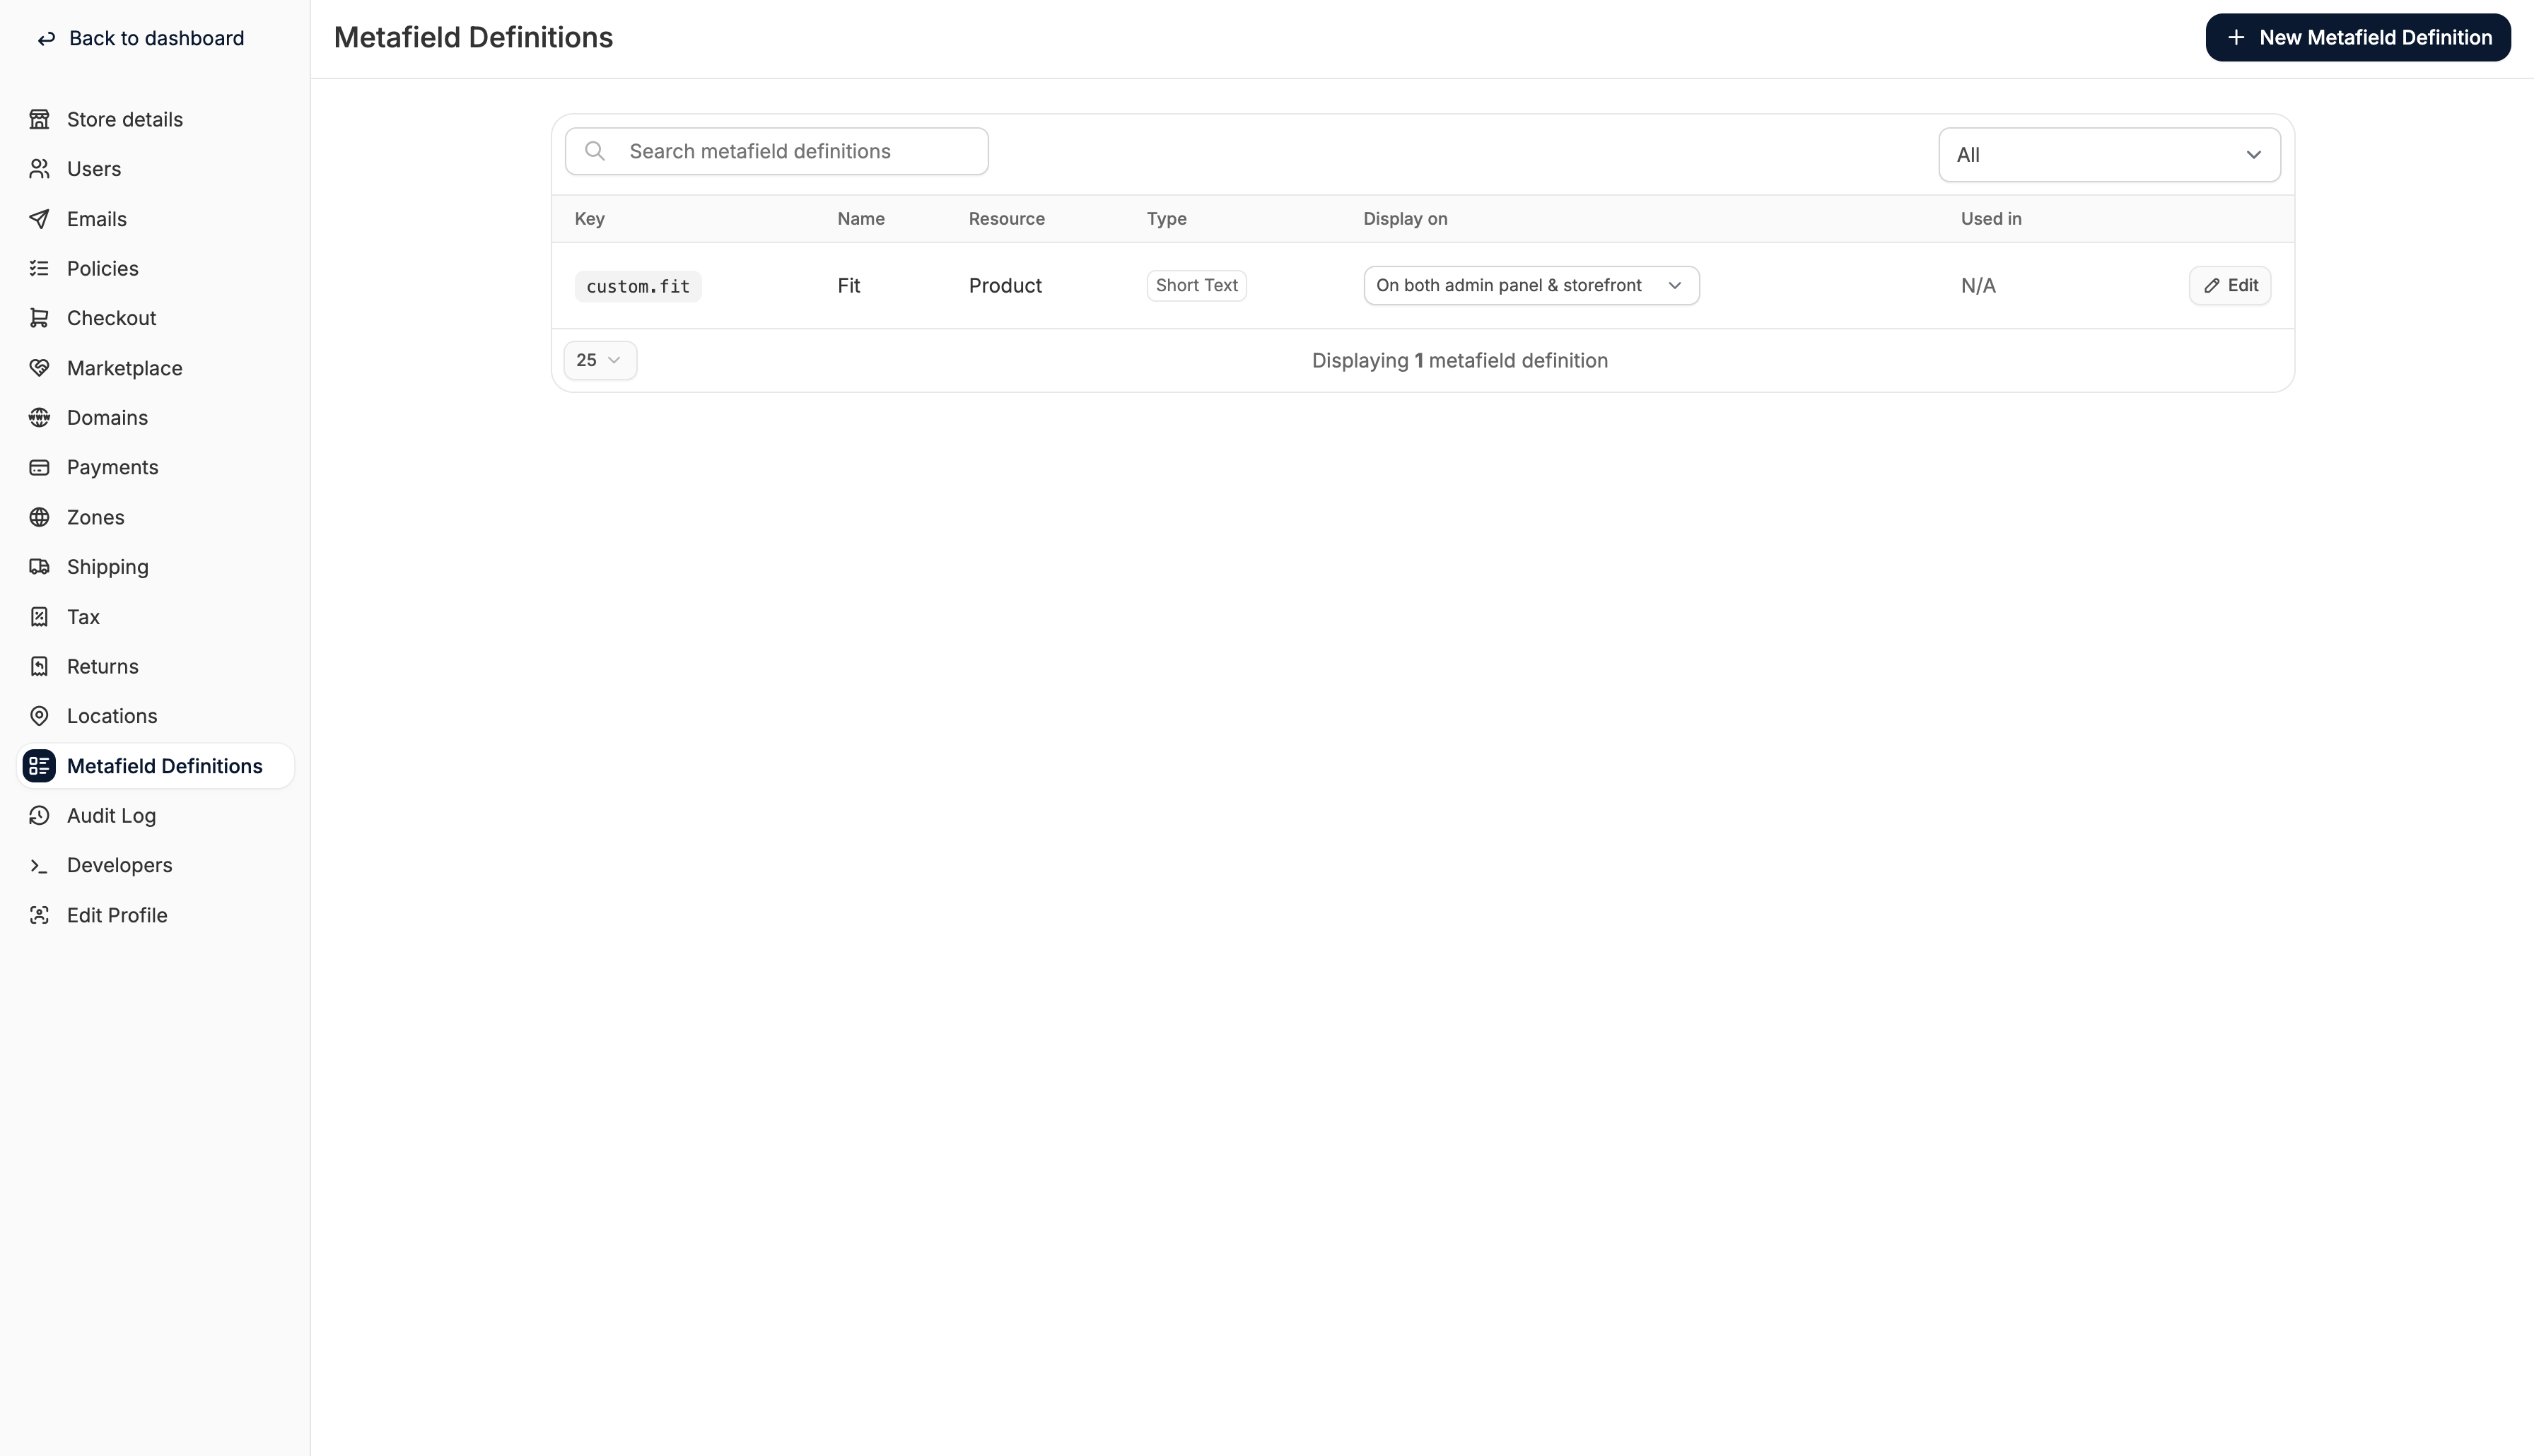
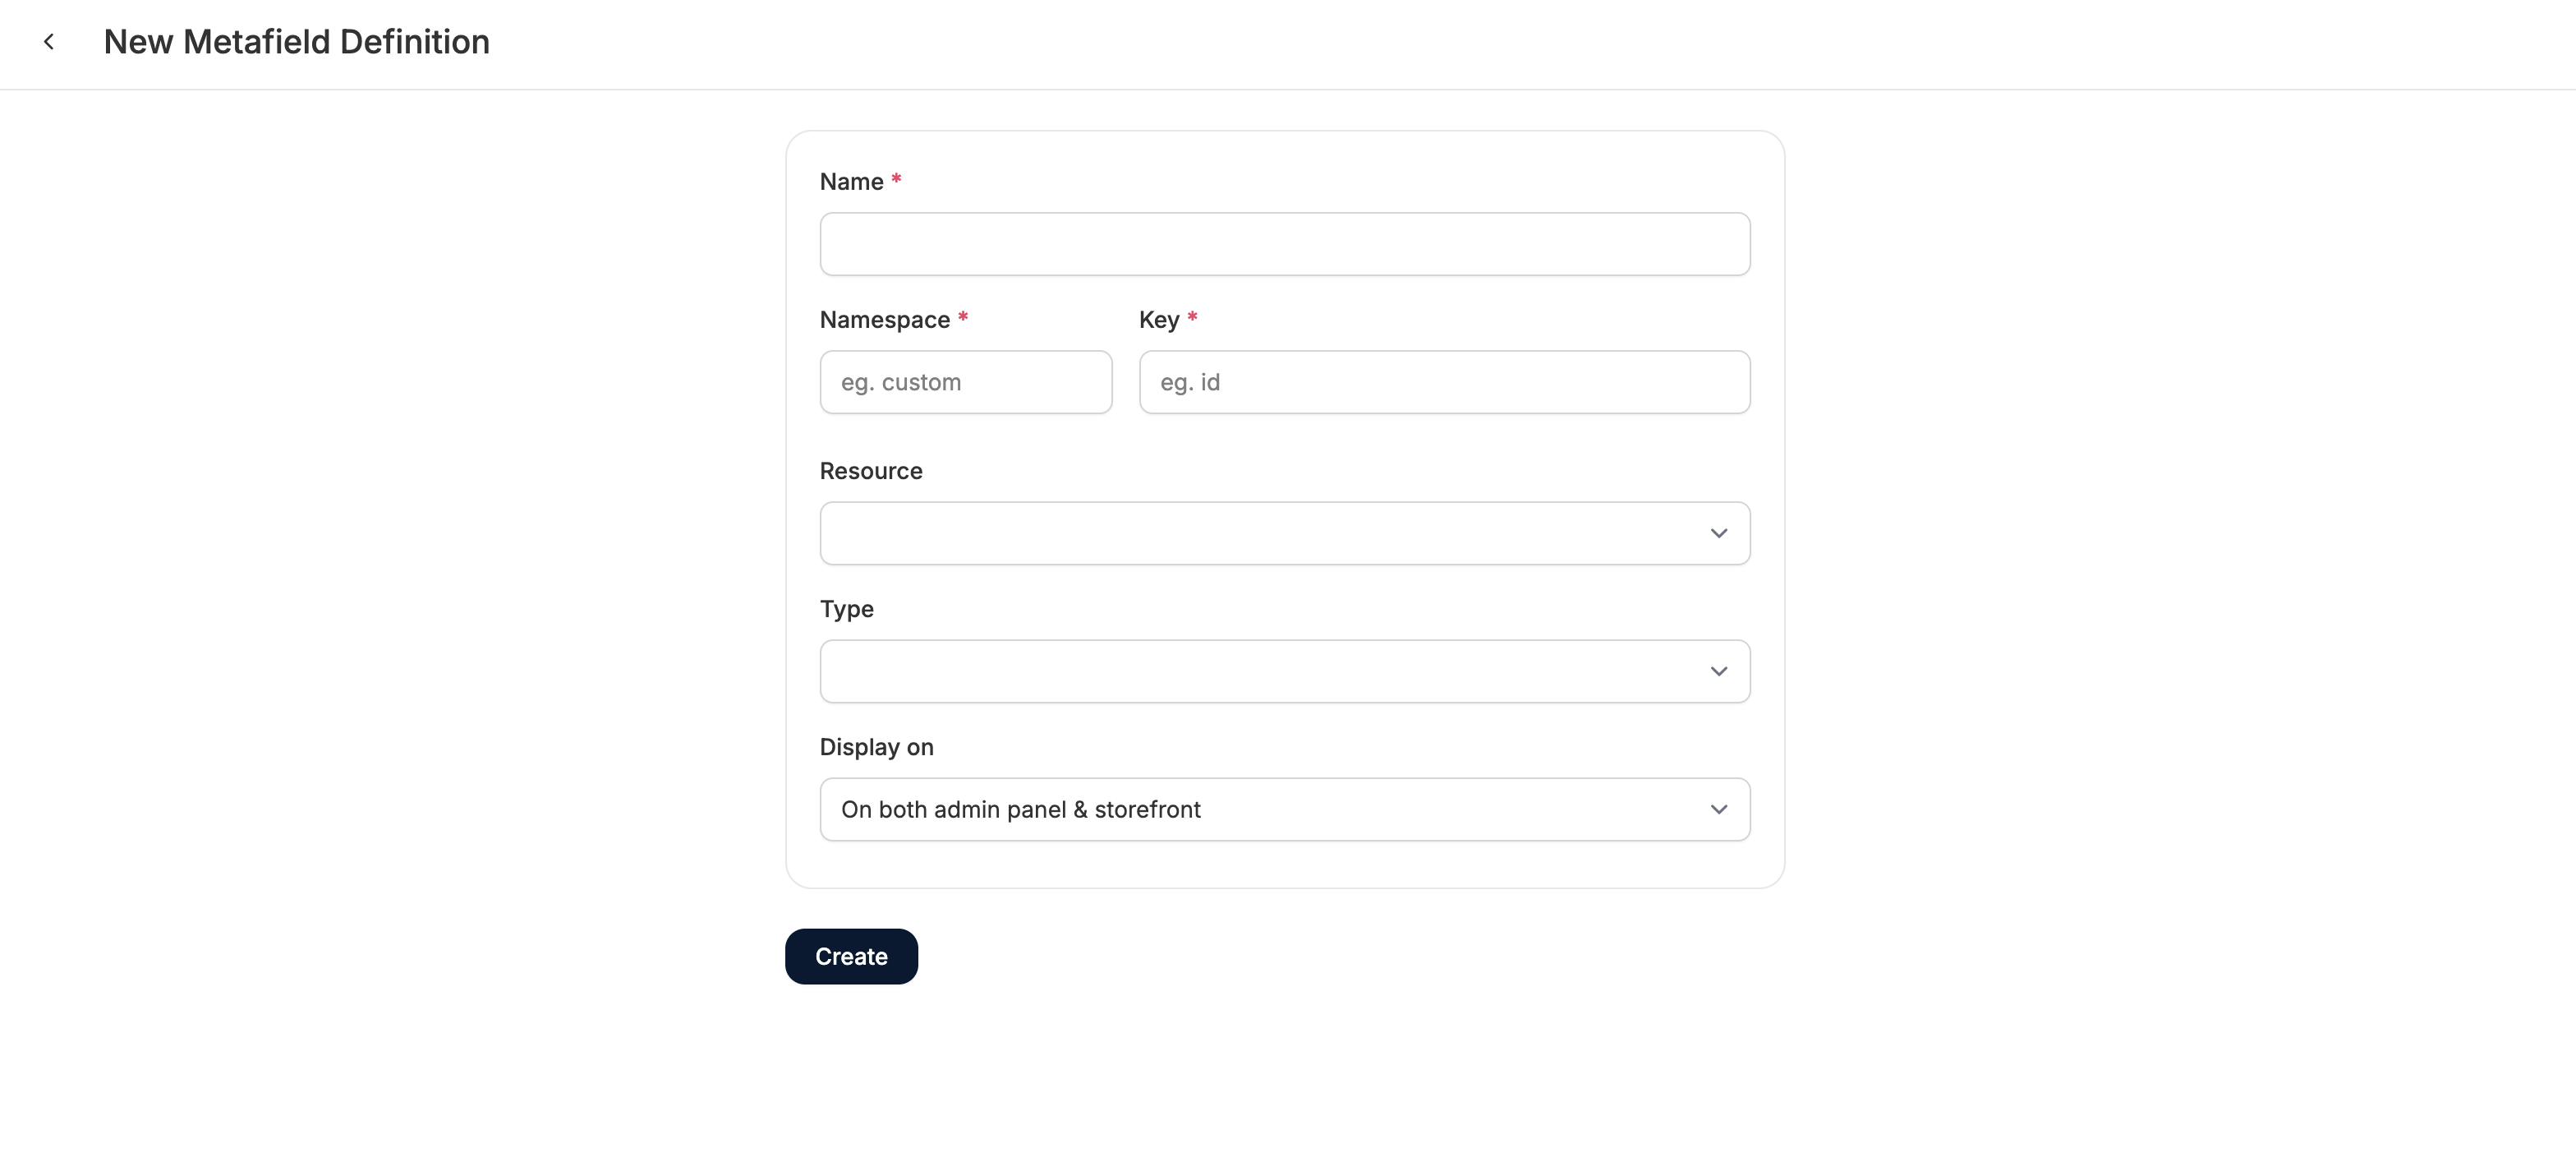
- Name - this is the display name for the field, shown in the dashboard and/or storefront
- Namespace - used to group metafields and avoid naming conflicts
- We recommend using something like “custom” for internal or merchant-defined fields
- Avoid using common Spree model names like product, order, or variant as these may conflict with existing integrations
- Key - the unique identifier for the field, combined with the namespace
- e.g.: custom.material, custom.internal_note
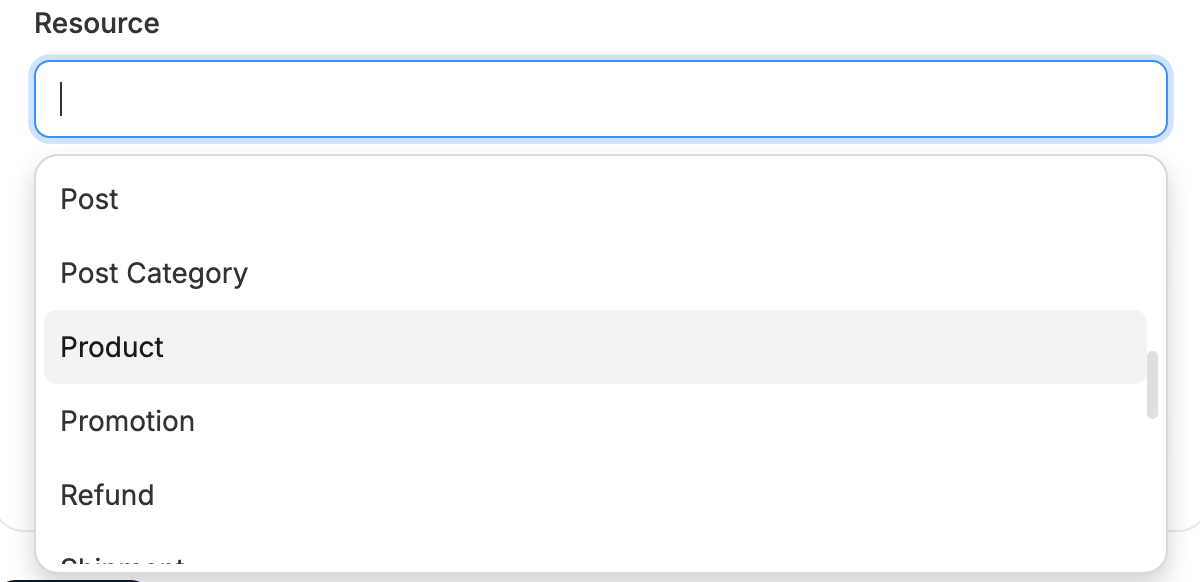
- Resource - choose the object the metafield applies to (see full list below)
- Type - the format of data the field should accept (see examples below)
- Display on - choose whether this field appears in the Admin only, or Admin and Storefront.
Supported Resources
- Address - e.g., delivery instructions
- Asset - e.g., alt text or copyright
- Credit Card - e.g., vault token
- Customer Return - e.g., return reason detail
- Gift Card - e.g., personal message
- Image - e.g., display priority or alt tag
- Line Item - e.g., engraving or personalization notes
- Newsletter Subscriber - e.g., subscription source
- Option Type - e.g., an extended description for color choices
- Option Value - e.g., color hex code
- Order - e.g., internal comment, PO number
- Payment - e.g., external transaction reference
- Payment Method - e.g., risk profile or processor ID
- Payment Source - e.g., metadata from payment gateway
- Post - e.g., featured tag
- Post Category - e.g., CTA label
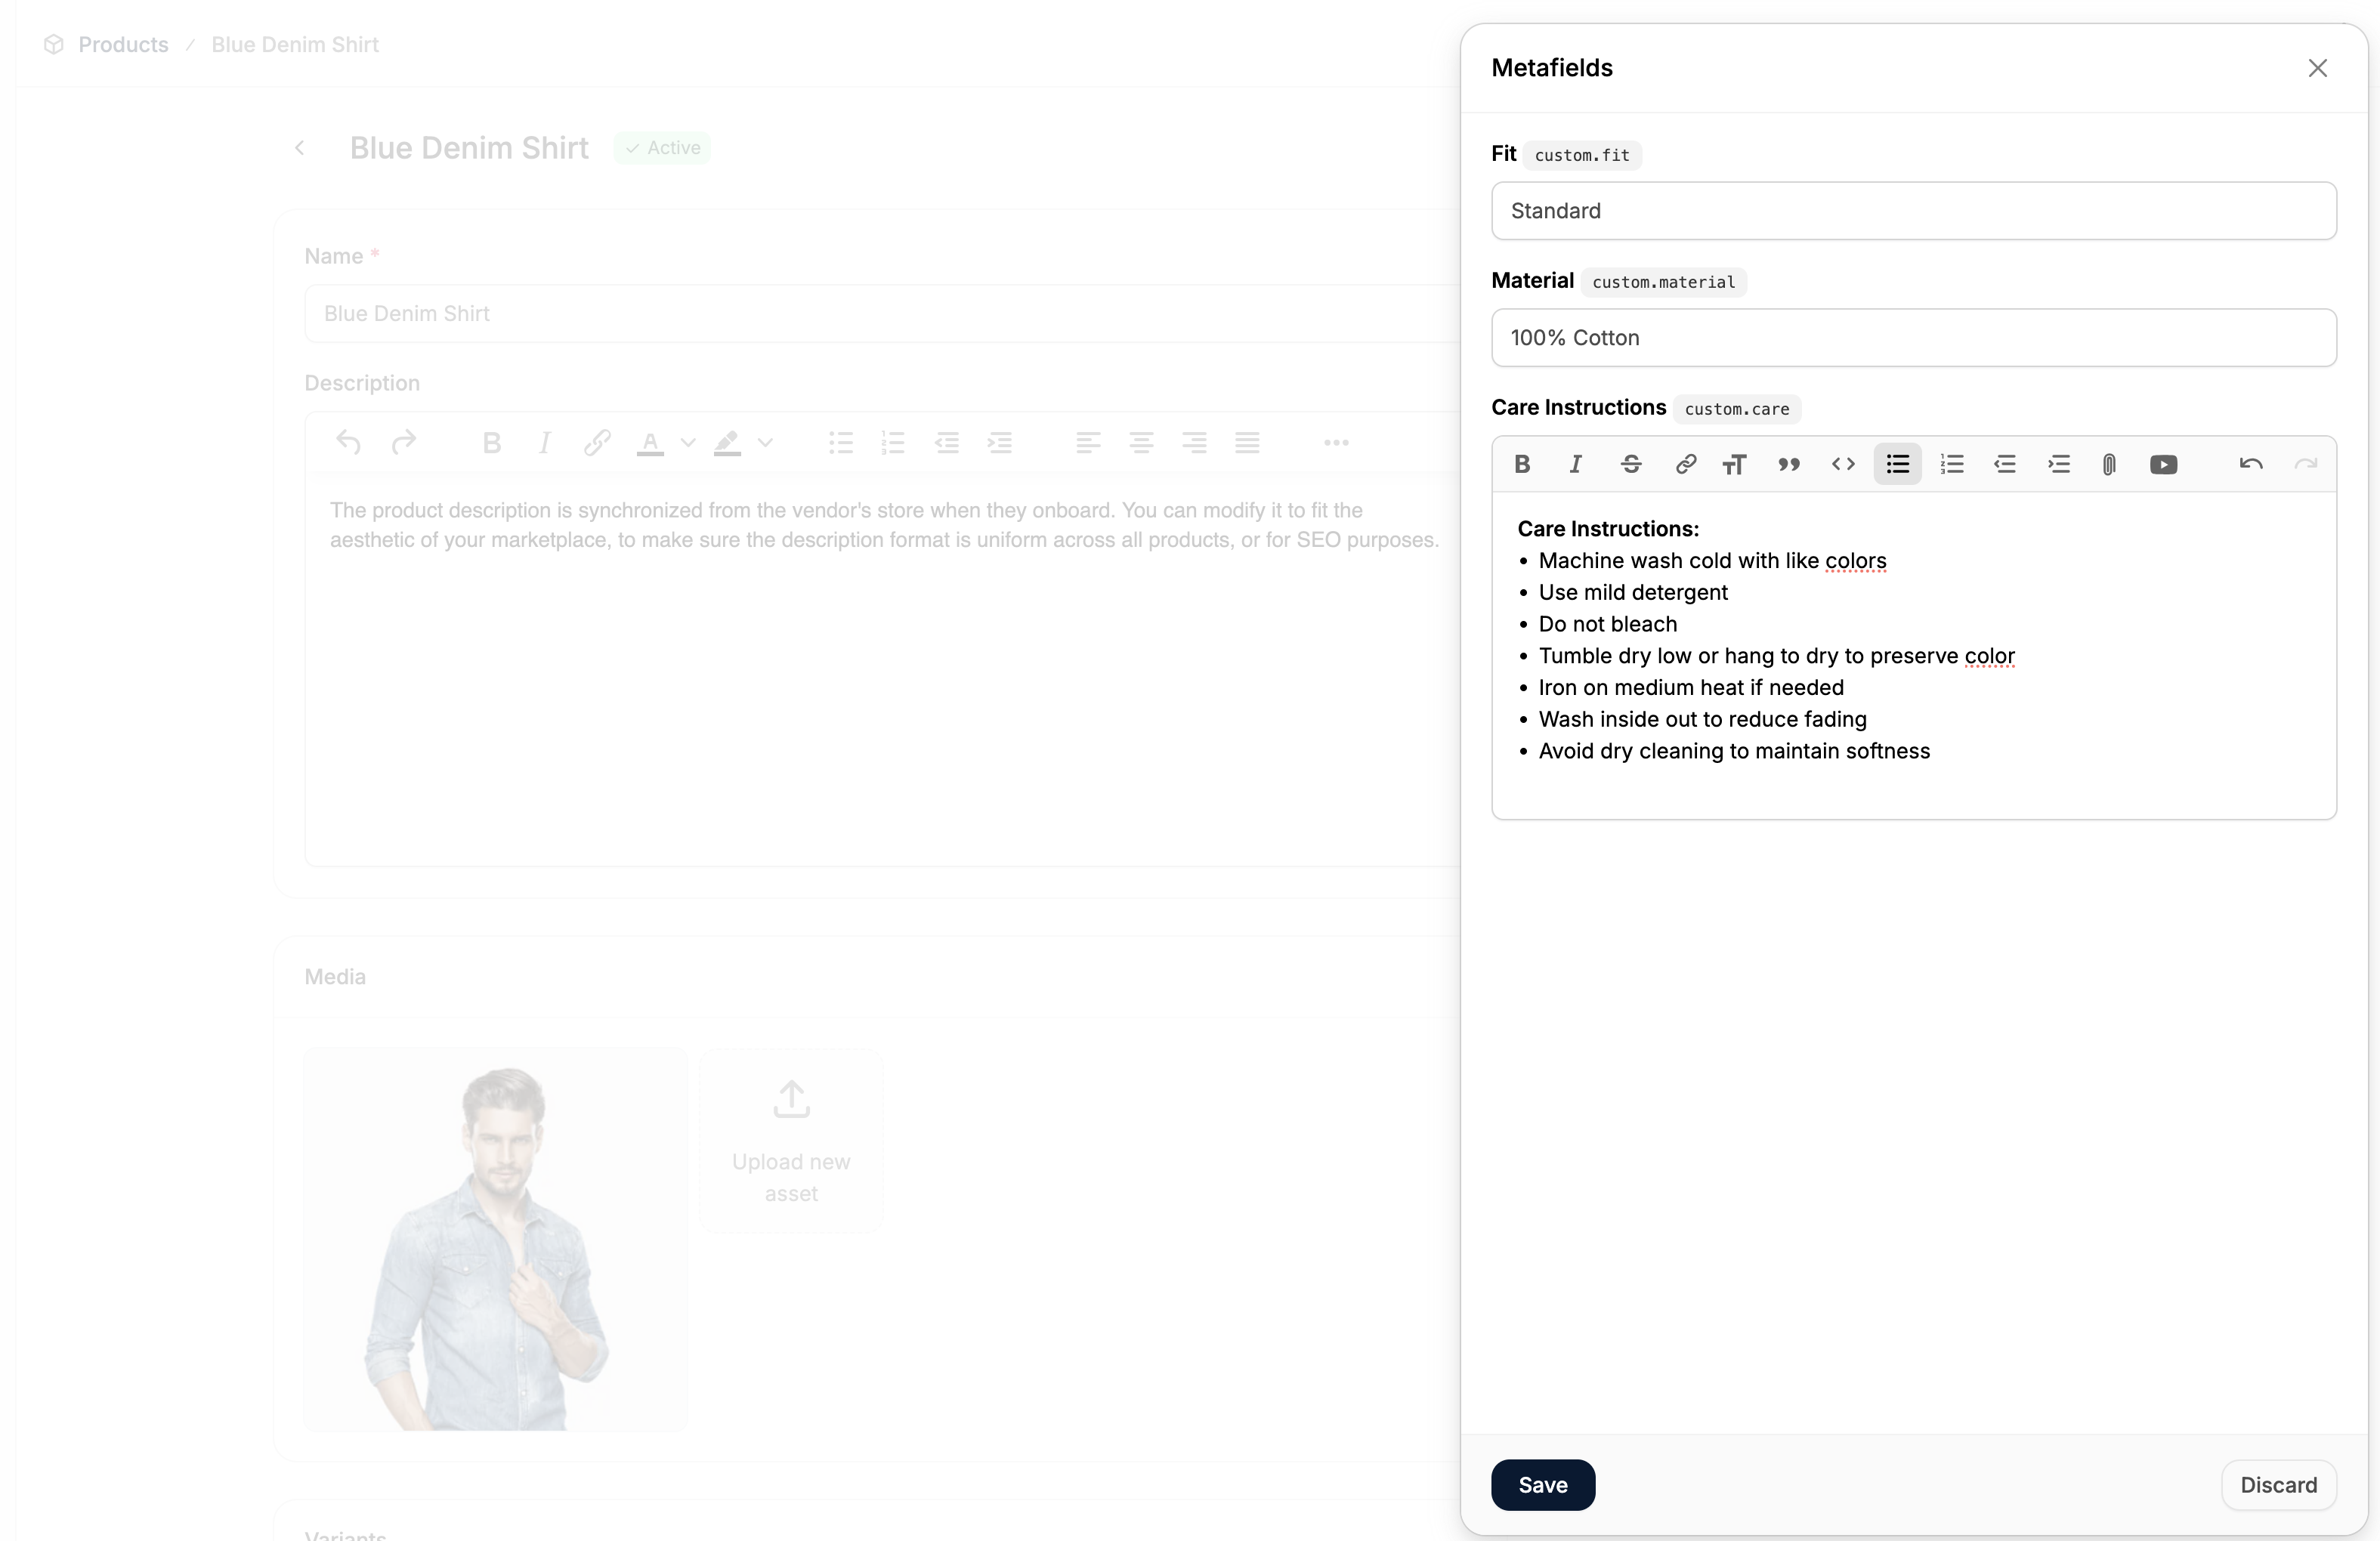
- Product - e.g., material, sustainability rating, care instructions
- Promotion - e.g., campaign name
- Refund - e.g., refund reason detail
- Shipment - e.g., fragile/handling notes
- Shipping Method - e.g., carrier code
- Stock Item - e.g., e.g., warehouse bin location
- Stock Transfer - e.g., batch ID or receiving note
- Store - e.g., store tagline or branding metadata
- Store Credit - e.g., usage restrictions
- Tax Rate - e.g., compliance category
- Taxon - e.g., display badge (“New”, “Sustainable”)
- Taxonomy - e.g., navigation group metadata
- Variant - e.g., spec sheet URL, sizing details
- User - e.g., loyalty tier
- Vendor - e.g., vendor profile details
Supported Data Types
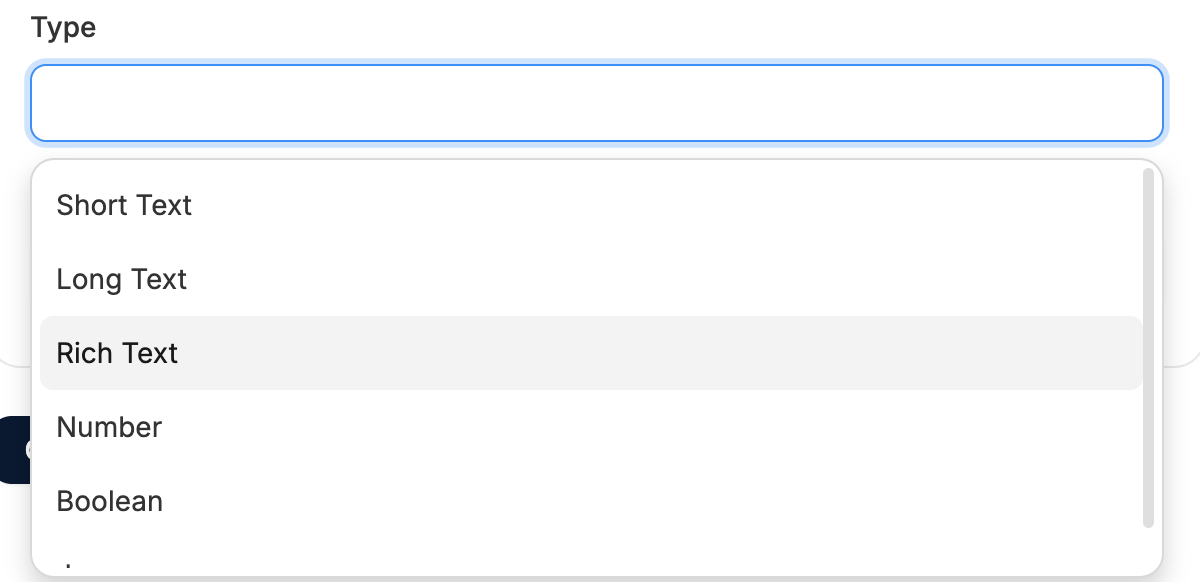
- Short Text - for single-line strings, e.g., “Cotton” or “Blue”
- Long Text - multi-line content, e.g., care instructions
- Rich Text - text with formatting options, e.g., marketing blocks
- Number - any numeric value, e.g., 4.5 (rating), 12 (inches)
- Boolean - true/false flags, e.g., “Is this product fragile?” = true
- JSON - for structured data or multiple related attributes
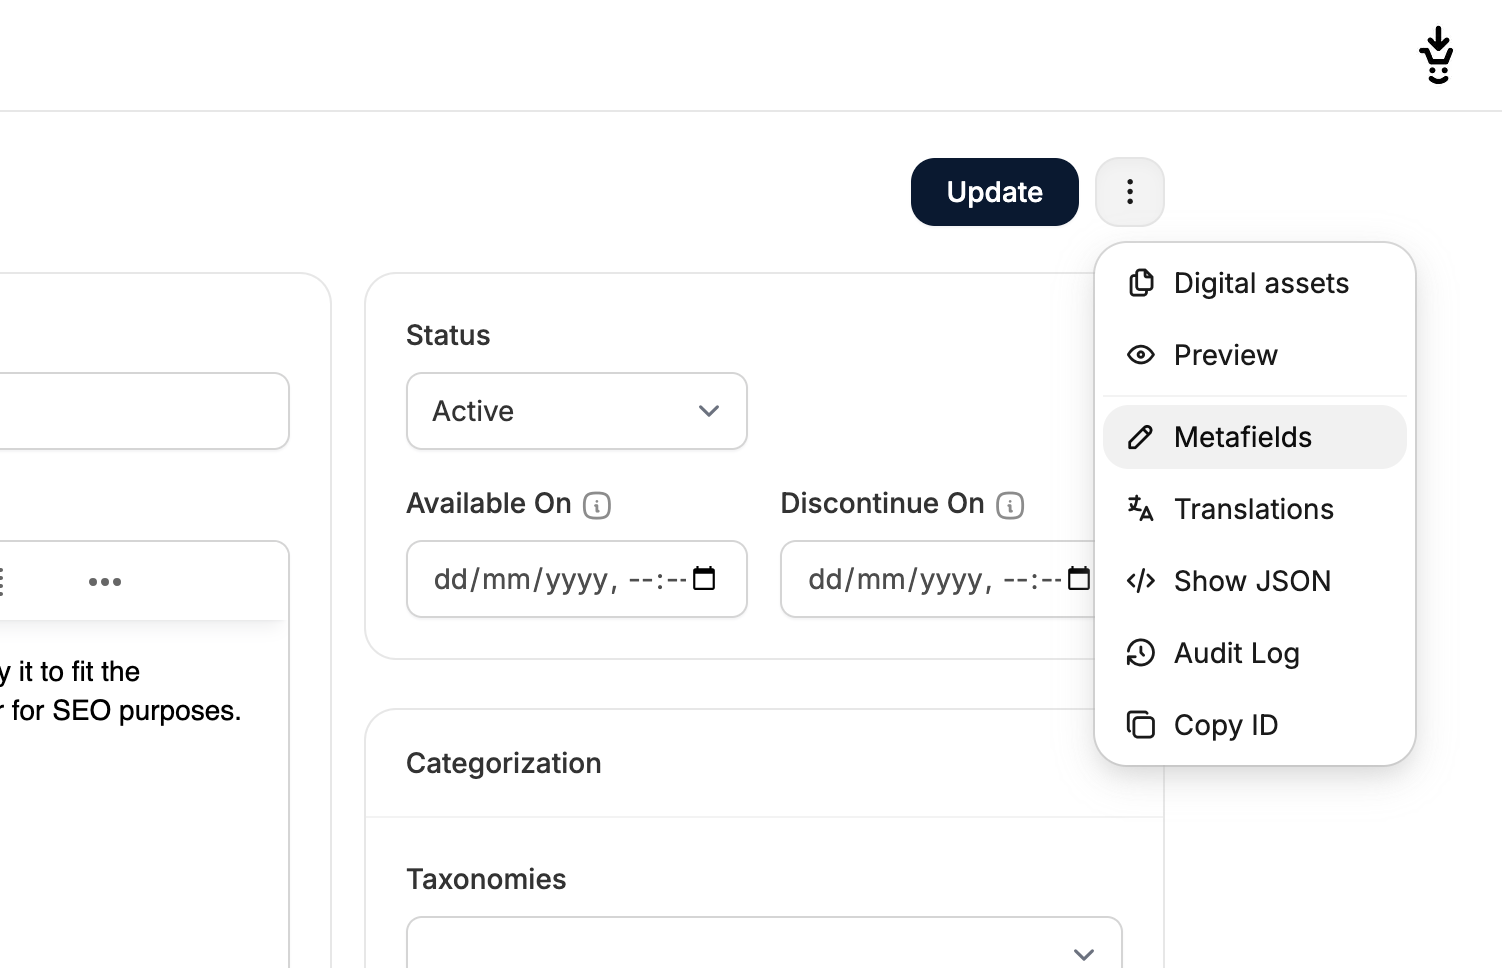
Adding Metafield Values
Once your metafield definition has been created, you can enter values in a few different ways:Individually in the Admin Dashboard
First, navigate to the relevant resource (e.g., Product, Order, Shipment).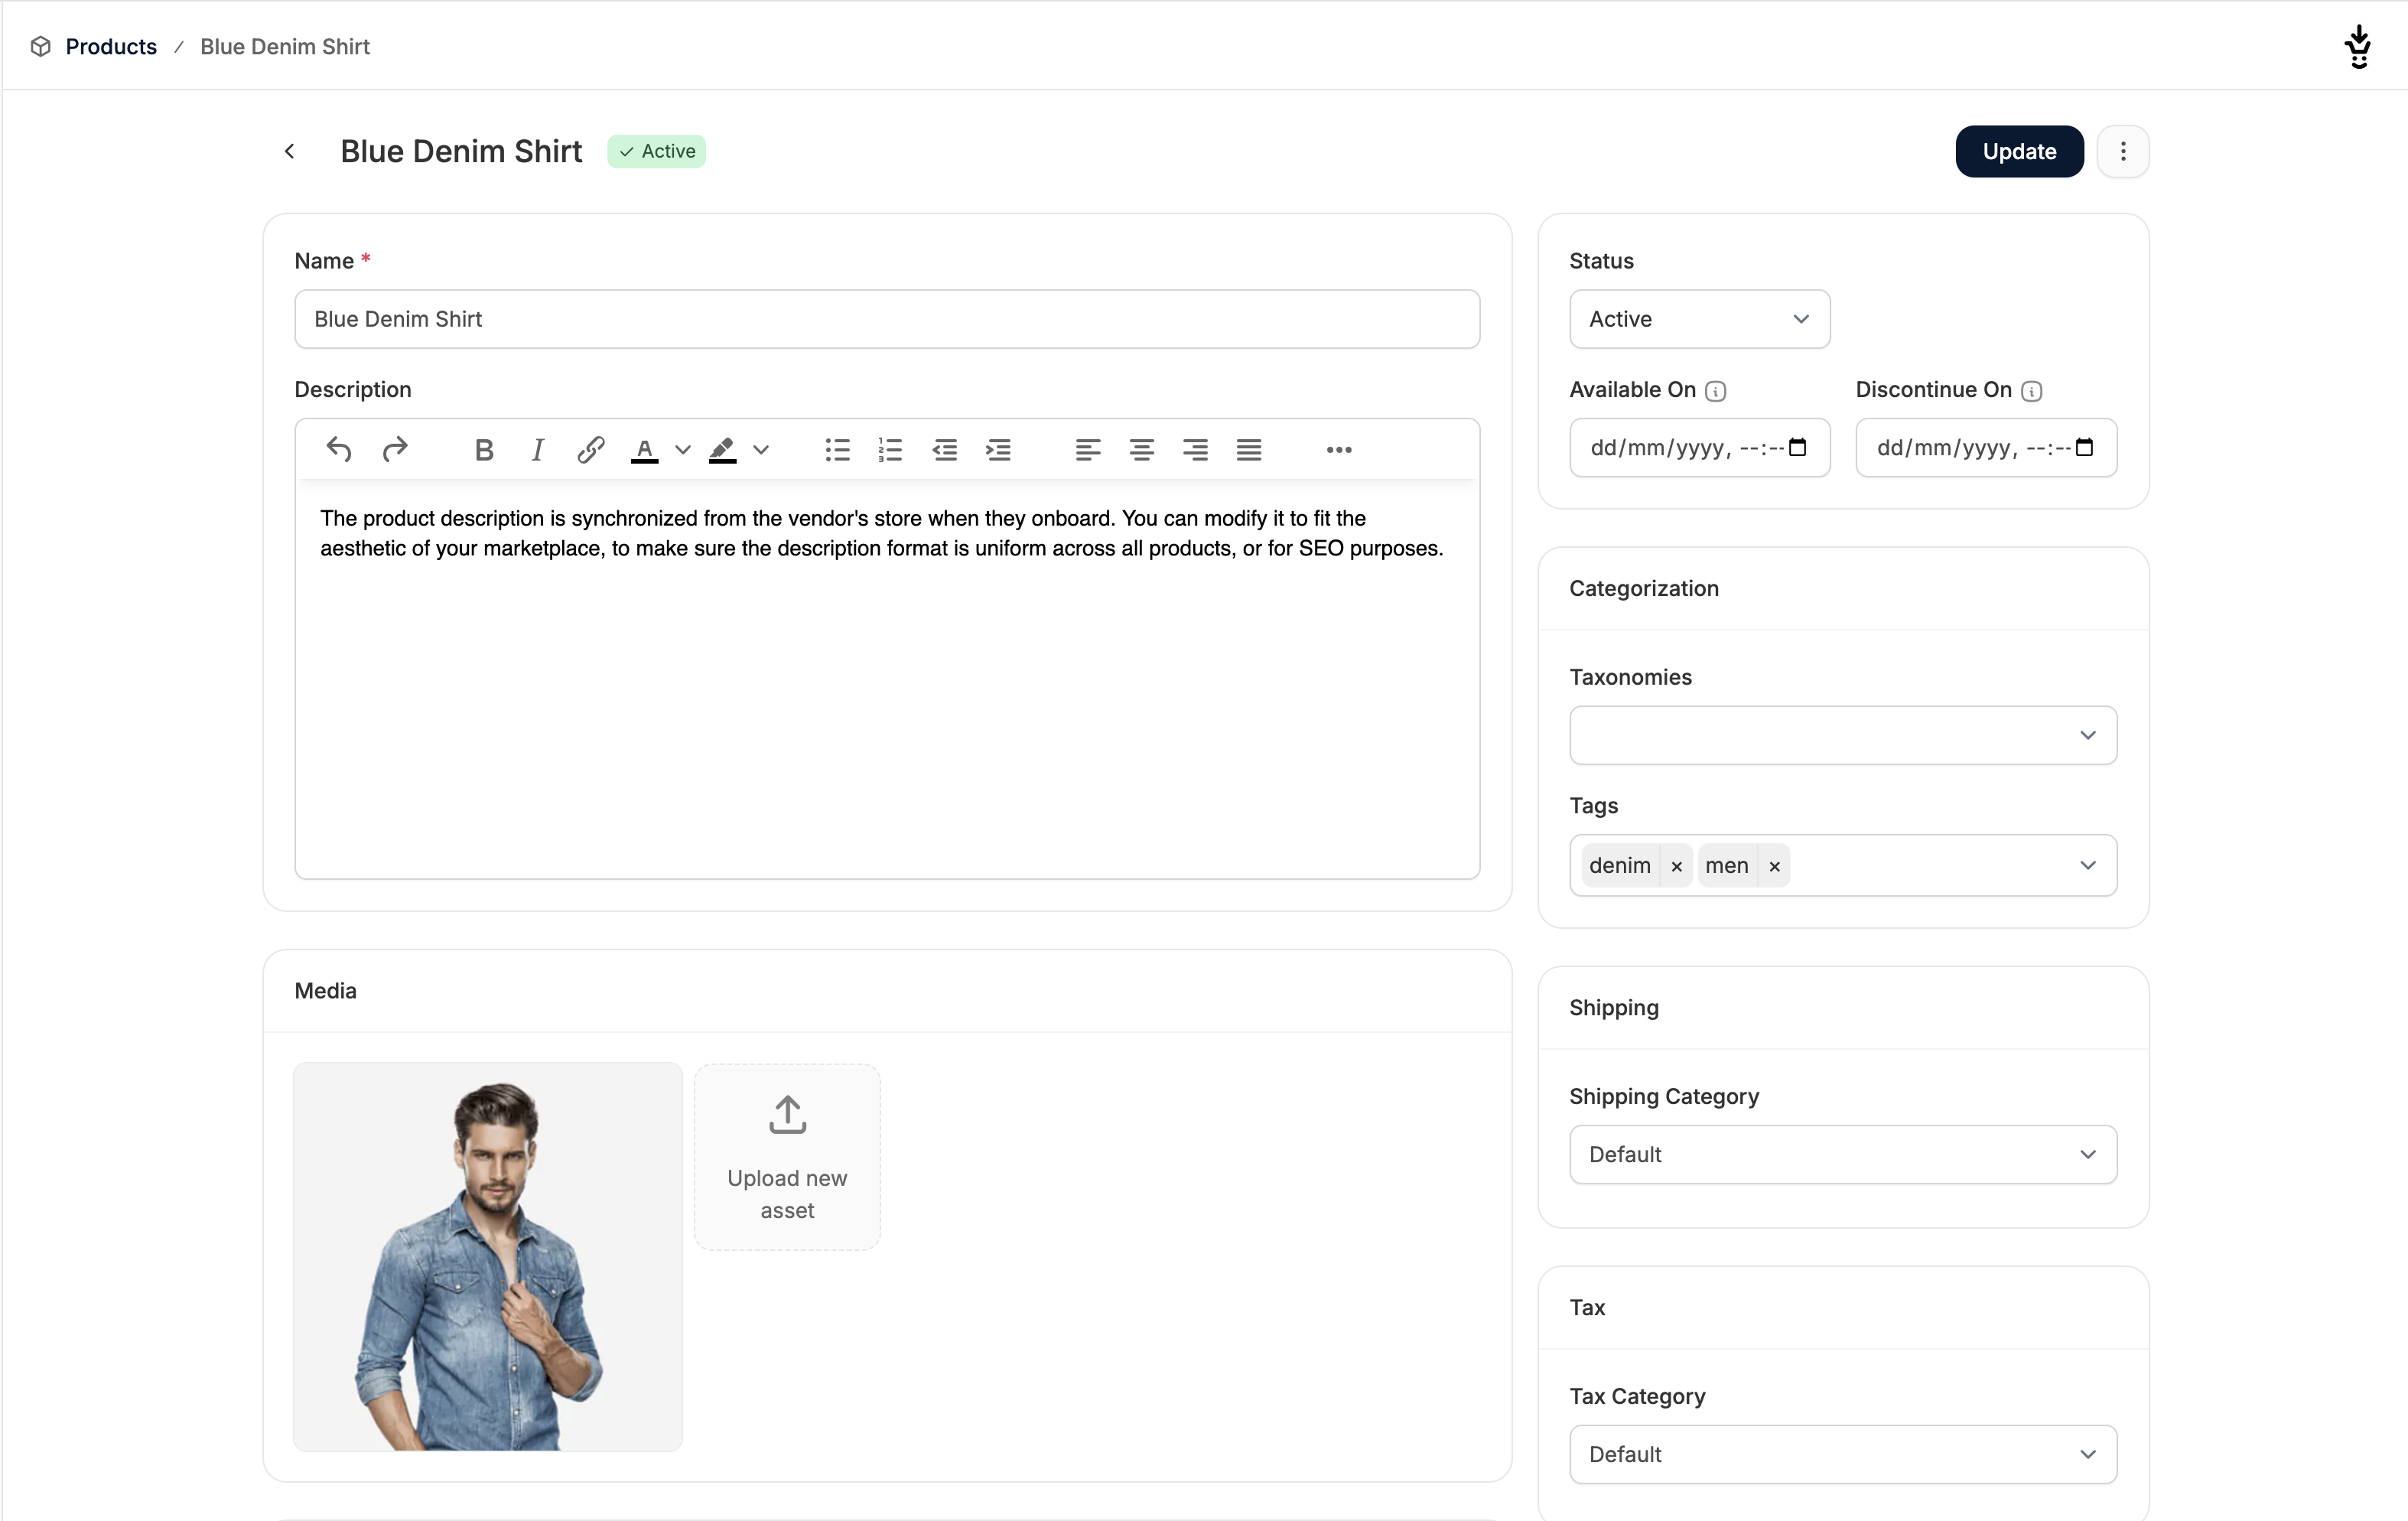
In Bulk (Products Only)
Product metafields can also be imported or updated in bulk by:- Adding columns to your CSV file using this format: metafield.namespace.key (e.g. metafield.custom.material)
- Entering the desired values for each product row.
- Importing the file when uploading a new product catalog