Efficient order processing is essential for running a successful ecommerce business. In Spree, processing an order typically involves two key steps: capturing payment and fulfilling the order.
To process an order, navigate to the Orders tab of the Spree dashboard.
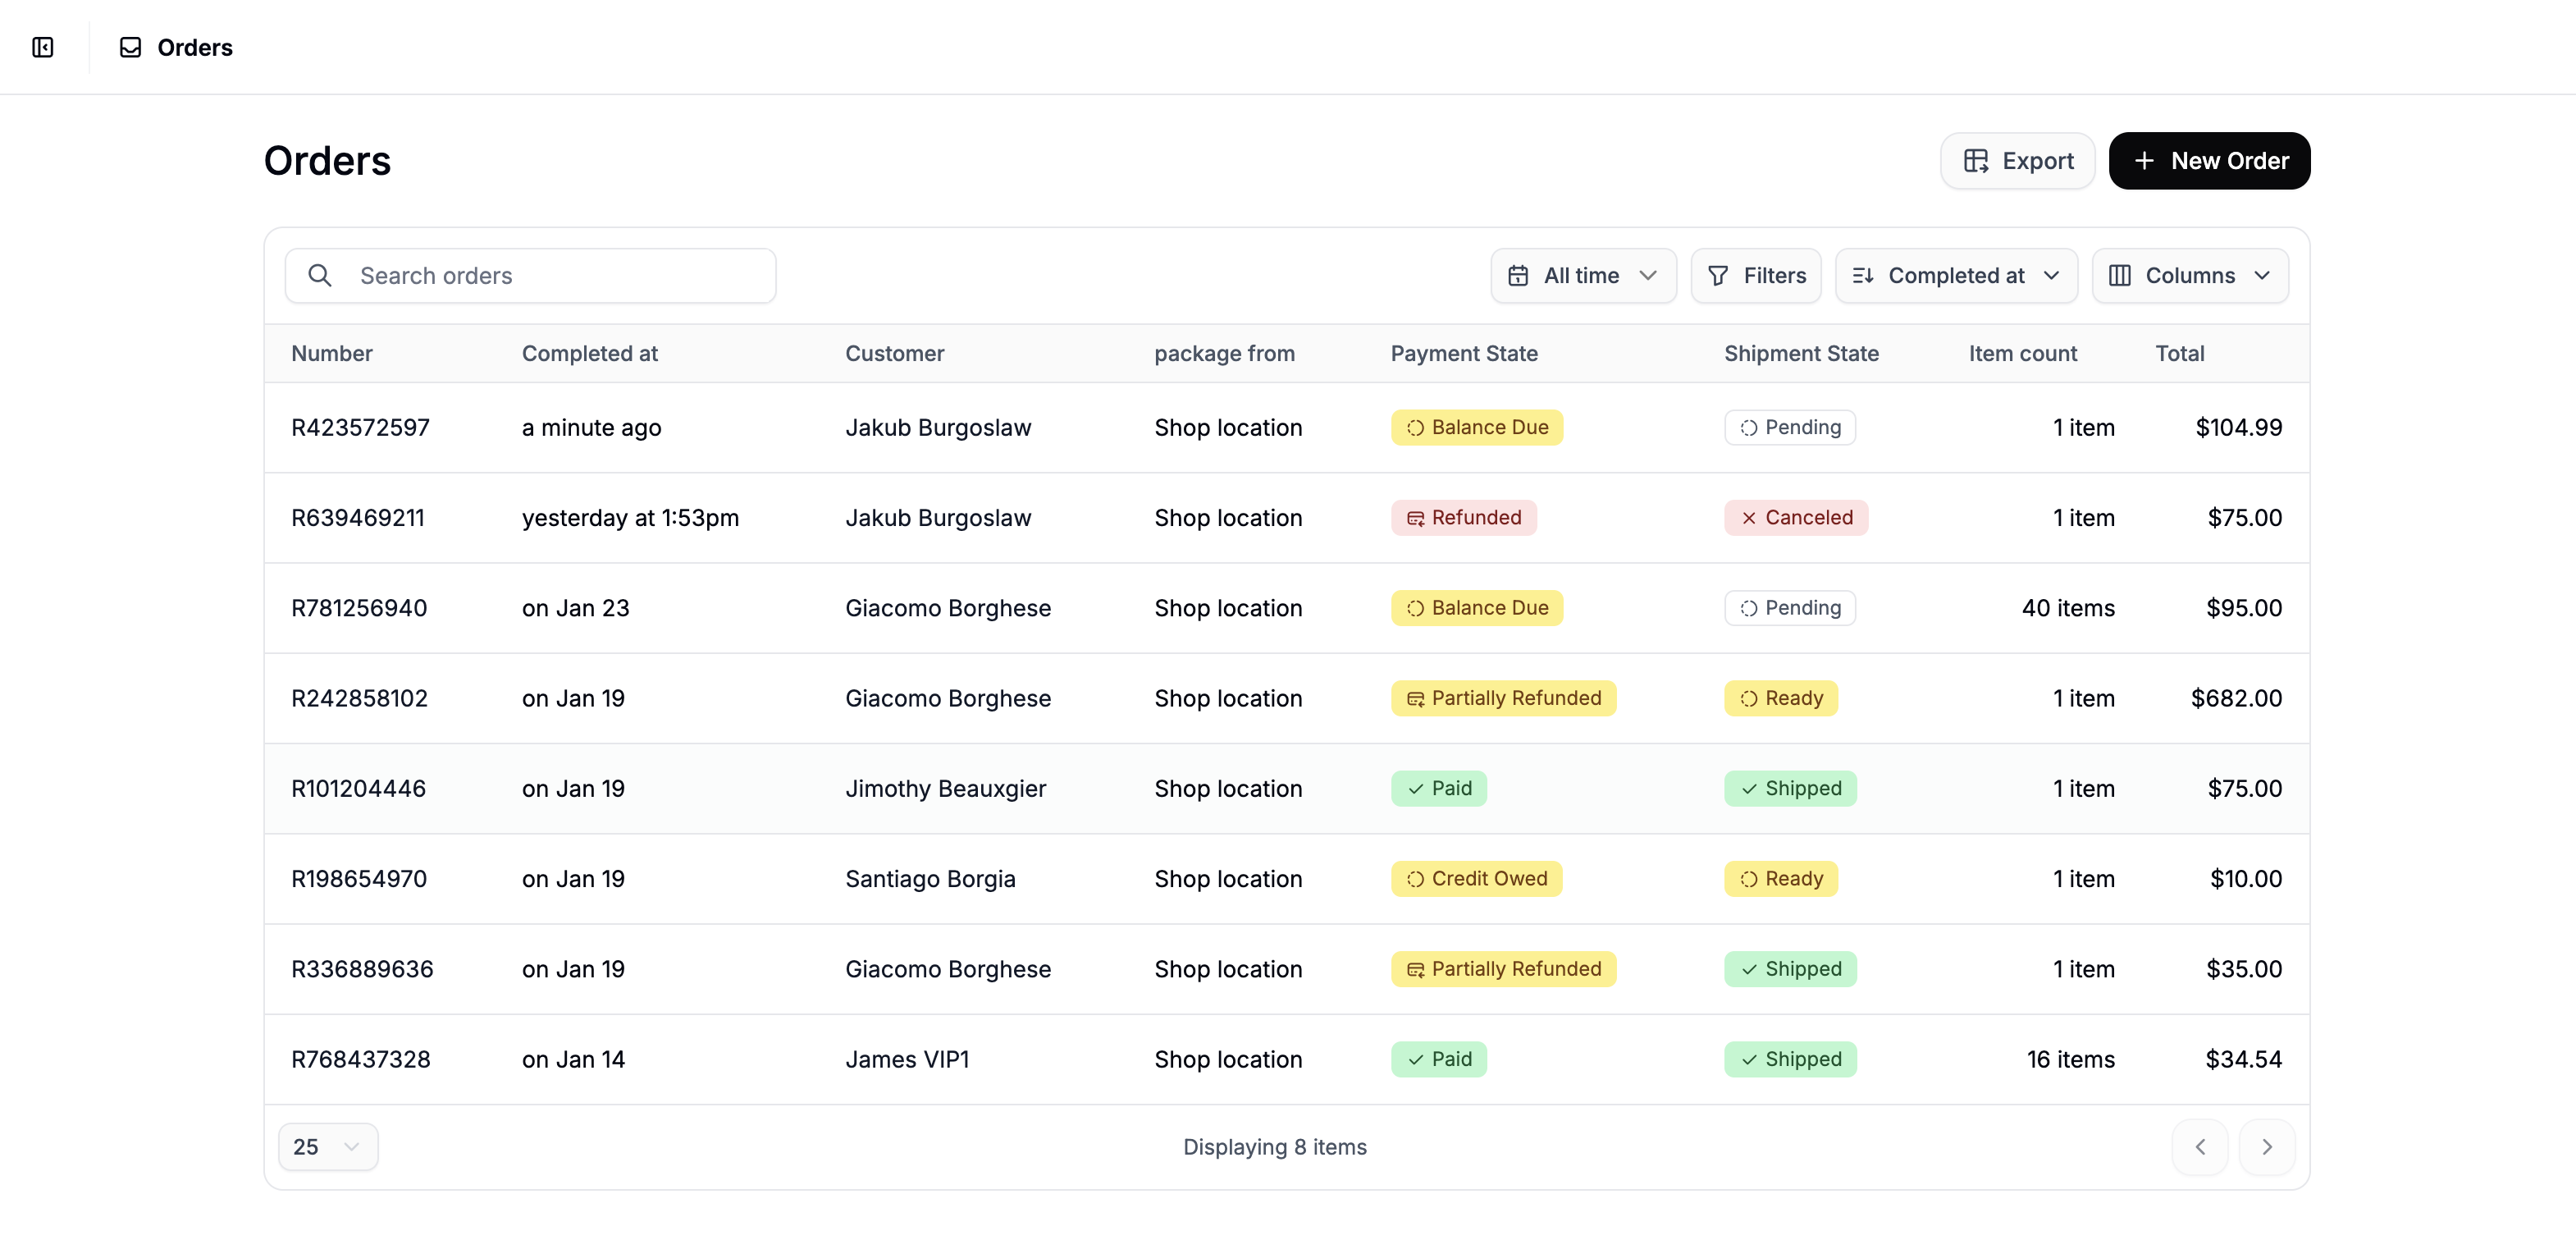 From here, simply click on the order you want to process to open the order page.
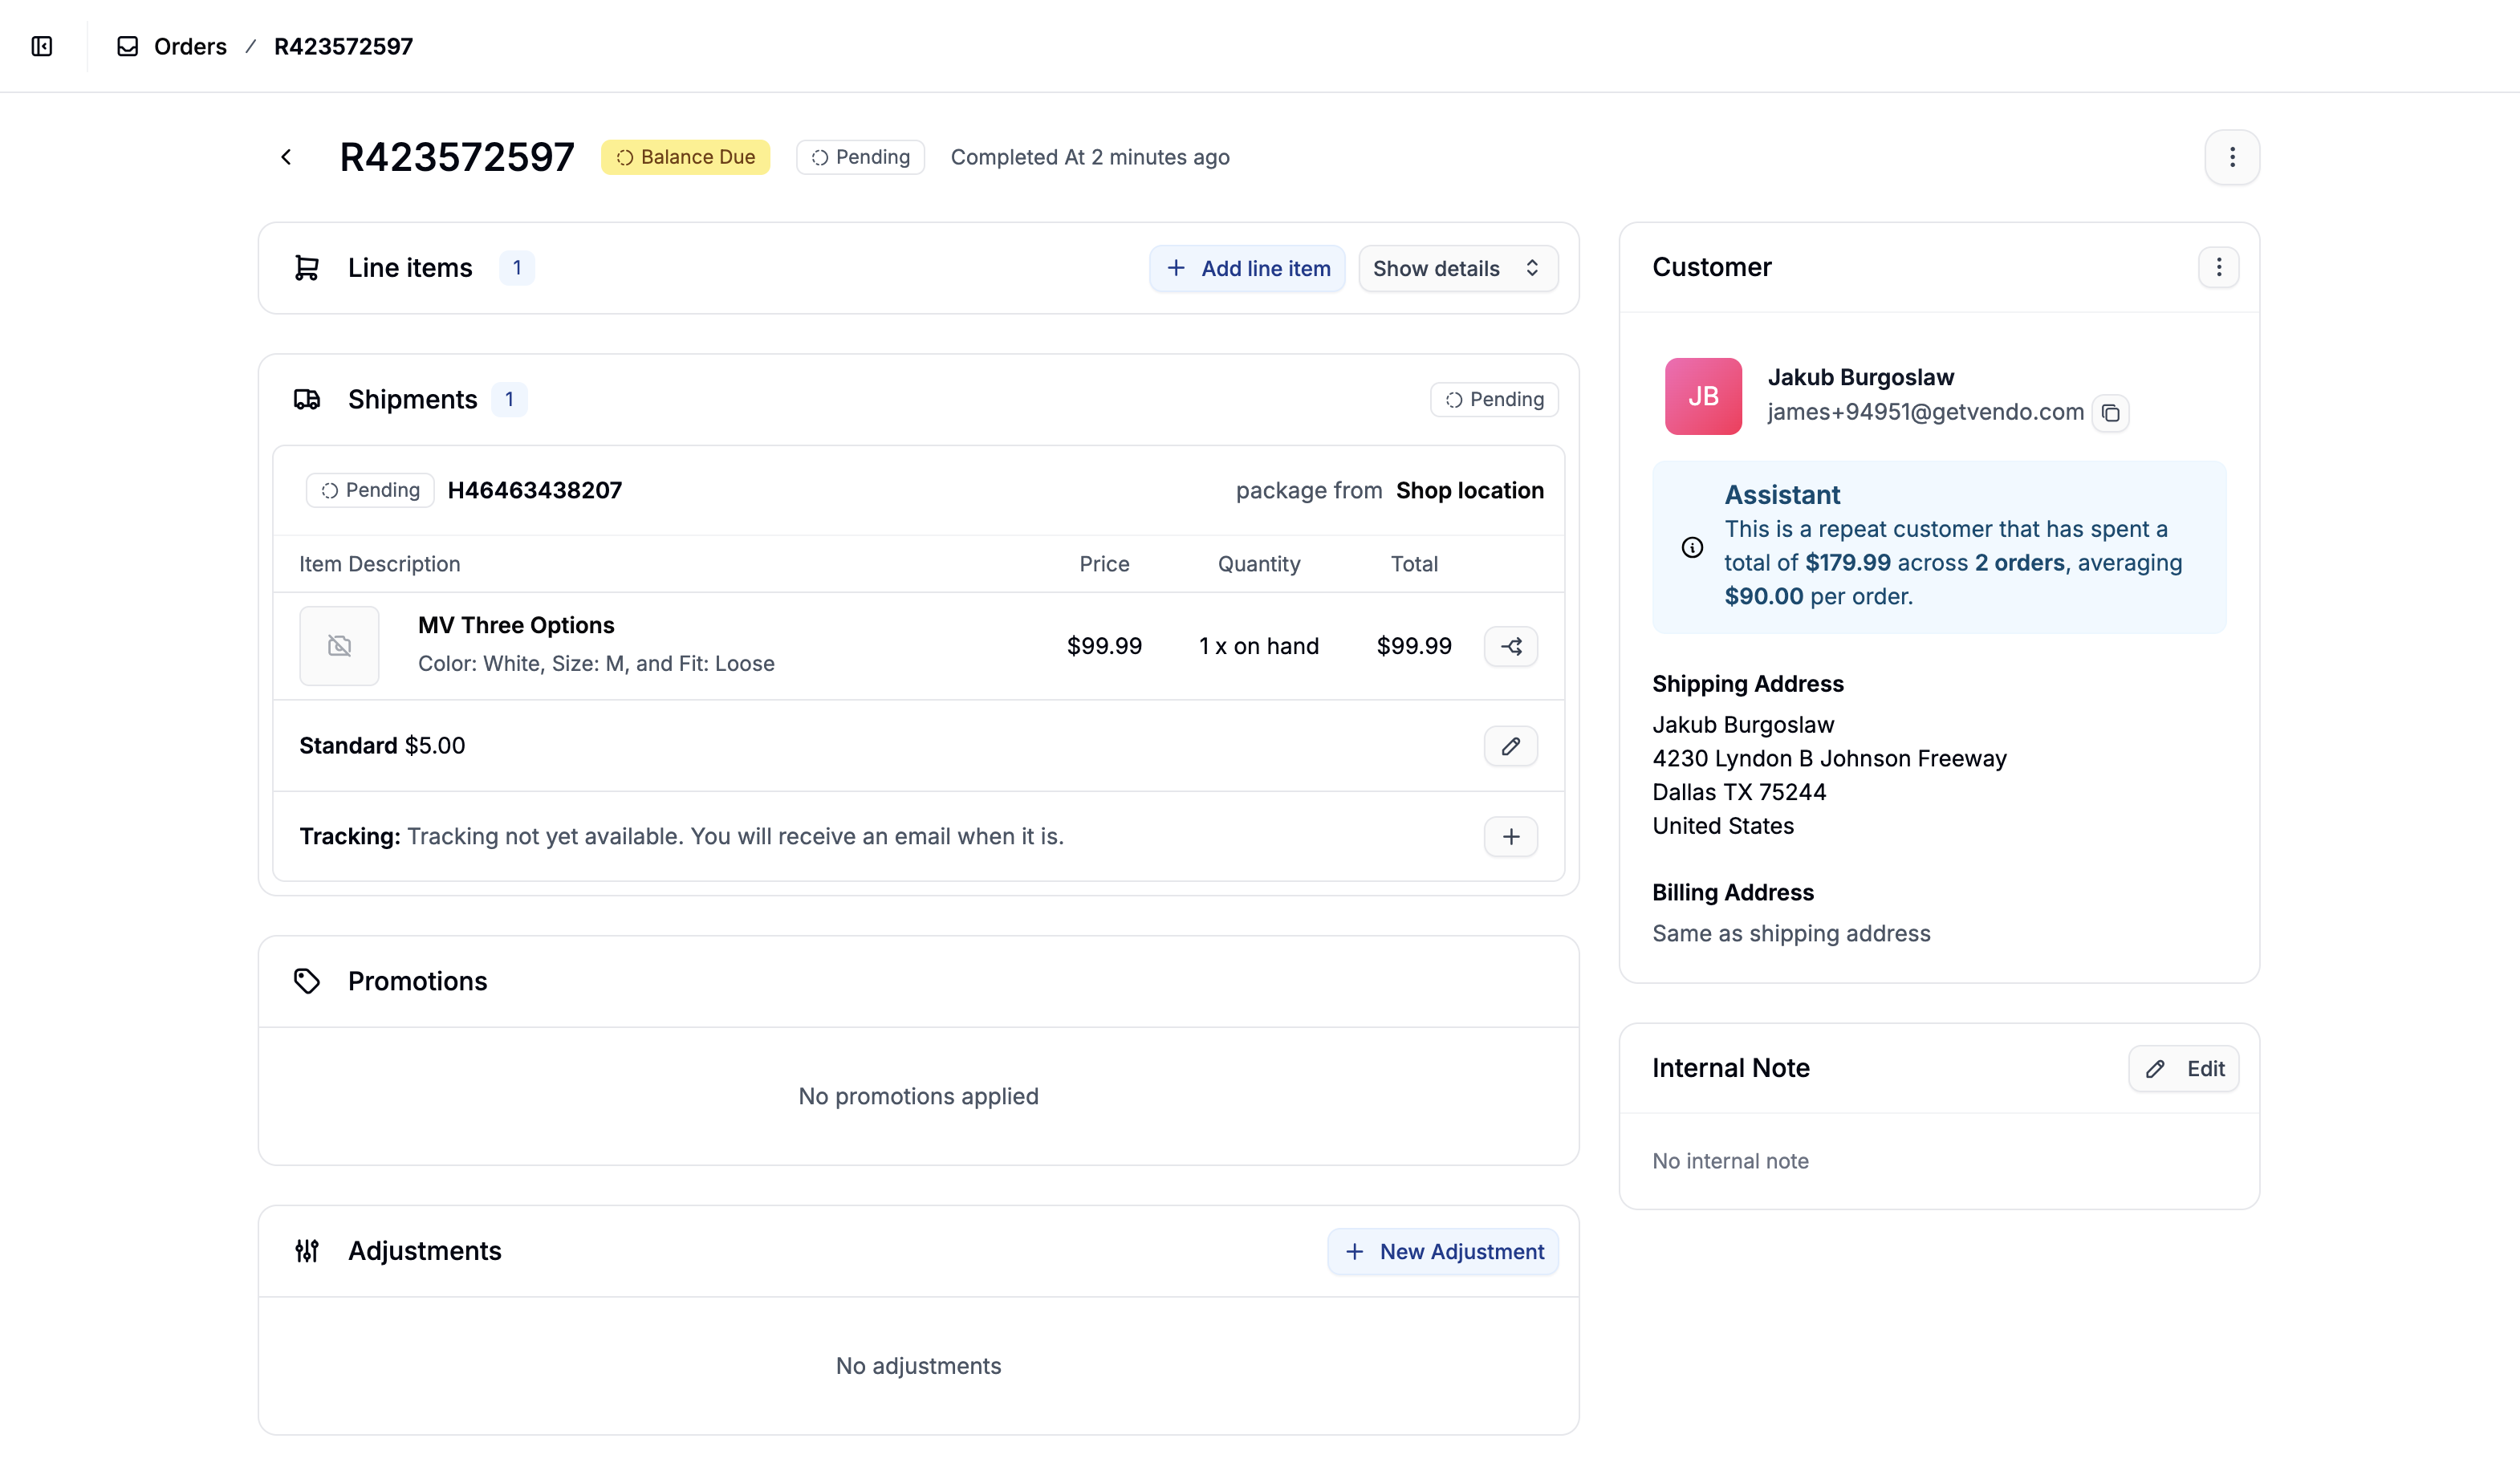 Here you’ll see a full overview of the order, including payment and shipment details.
Payment Capture
 Some businesses (especially B2C) choose to auto-capture payments when an order is placed. Others prefer to manually capture payments later - for example, after stock is verified or fraud checks are completed.
If you are auto-capturing payments, proceed to Order Fulfillment.
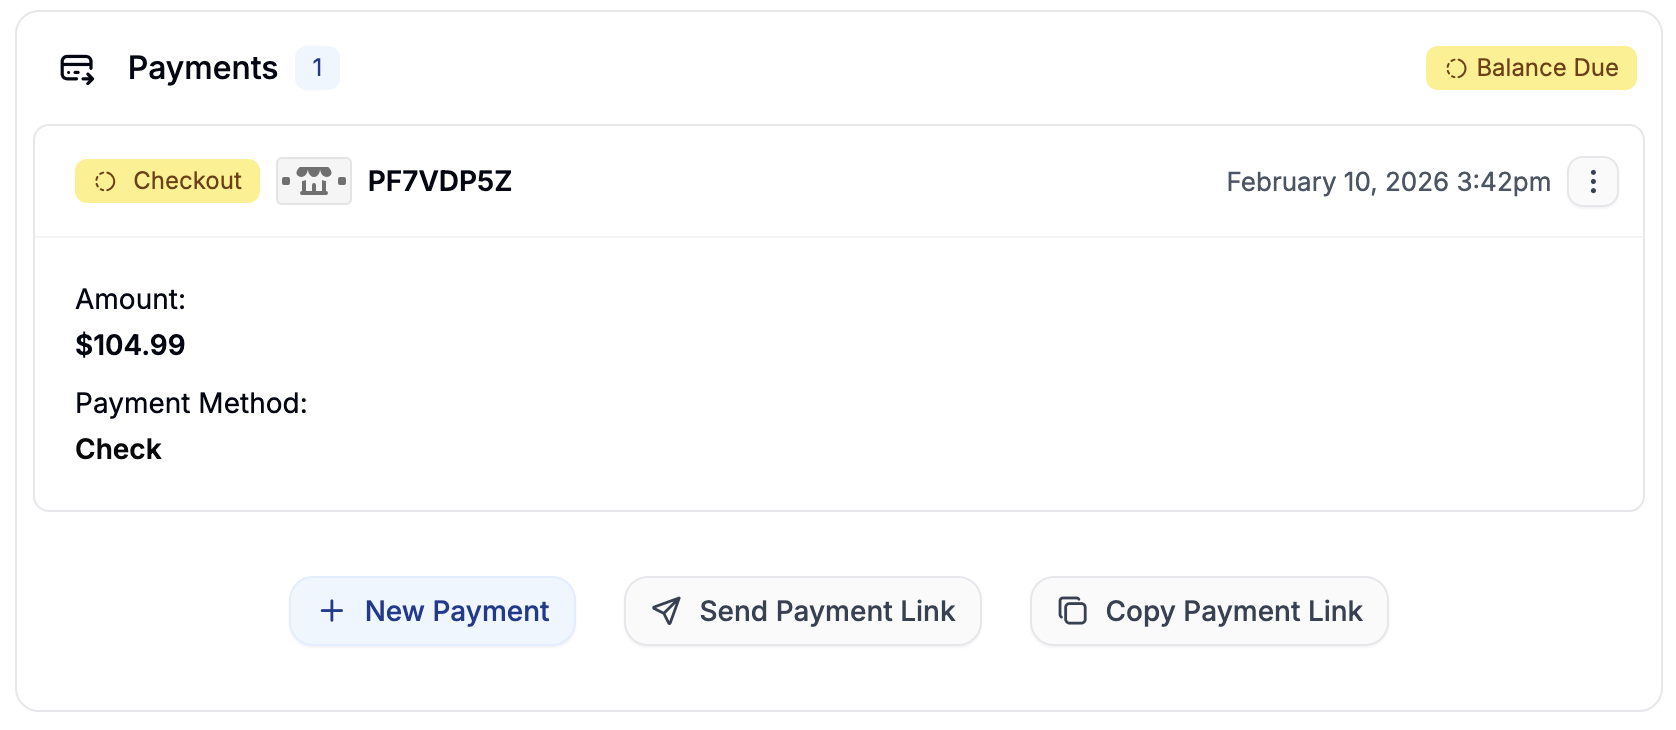
Option 1: Manually Capture an Existing Payment
 If the payment is already authorized (e.g., via credit card or bank transfer), you can capture it manually:
- Click the three-dot menu next to the existing payment.
- Select Capture.
The payment status will update to Paid, and you will now be able to fulfill the order via the shipment section.
Option 2: Add a New Payment
 If the original payment failed, or if the customer wants to pay via a different method, you can create a new payment.
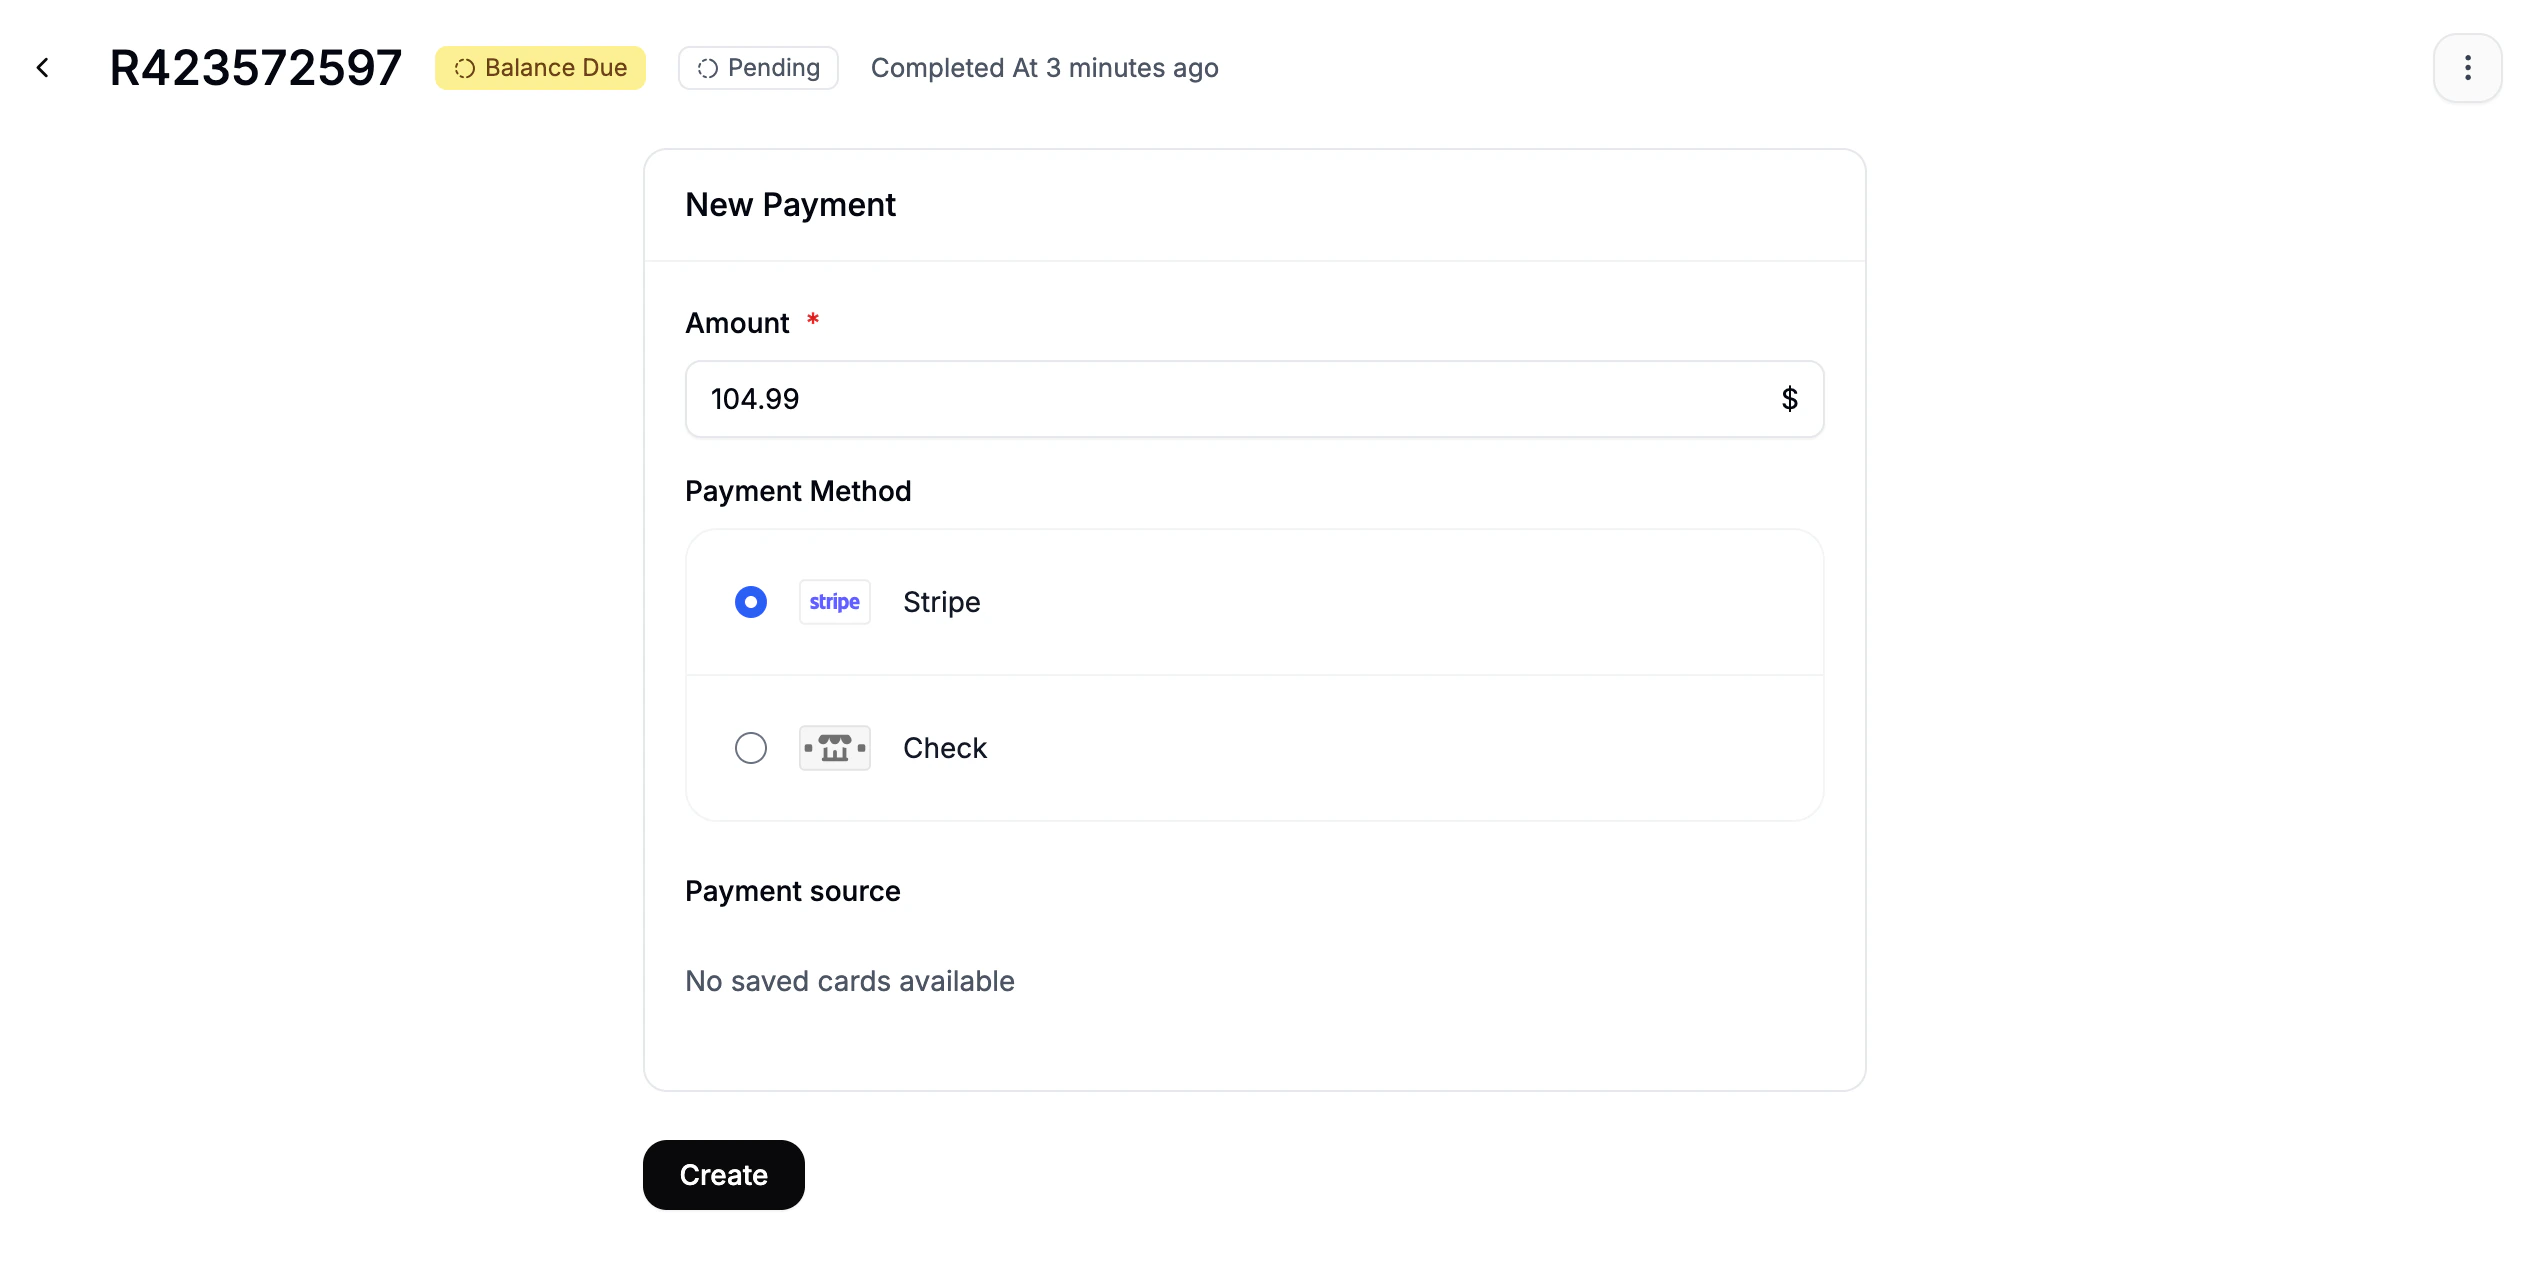
Simply click the New Payment to open the payment creation form, and fill out the fields
If the original payment failed, or if the customer wants to pay via a different method, you can create a new payment.
Simply click the New Payment to open the payment creation form, and fill out the fields
- Amount (defaults to order total)
- Payment Method
- Payment Source (e.g. saved credit card)
Click Create to finalize the new payment.
You can now either:
- Capture the payment immediately if the details are saved
Depending on the payment method used for the order, the refund or capture process may happen automatically or may require manual action.
Order Fulfillment
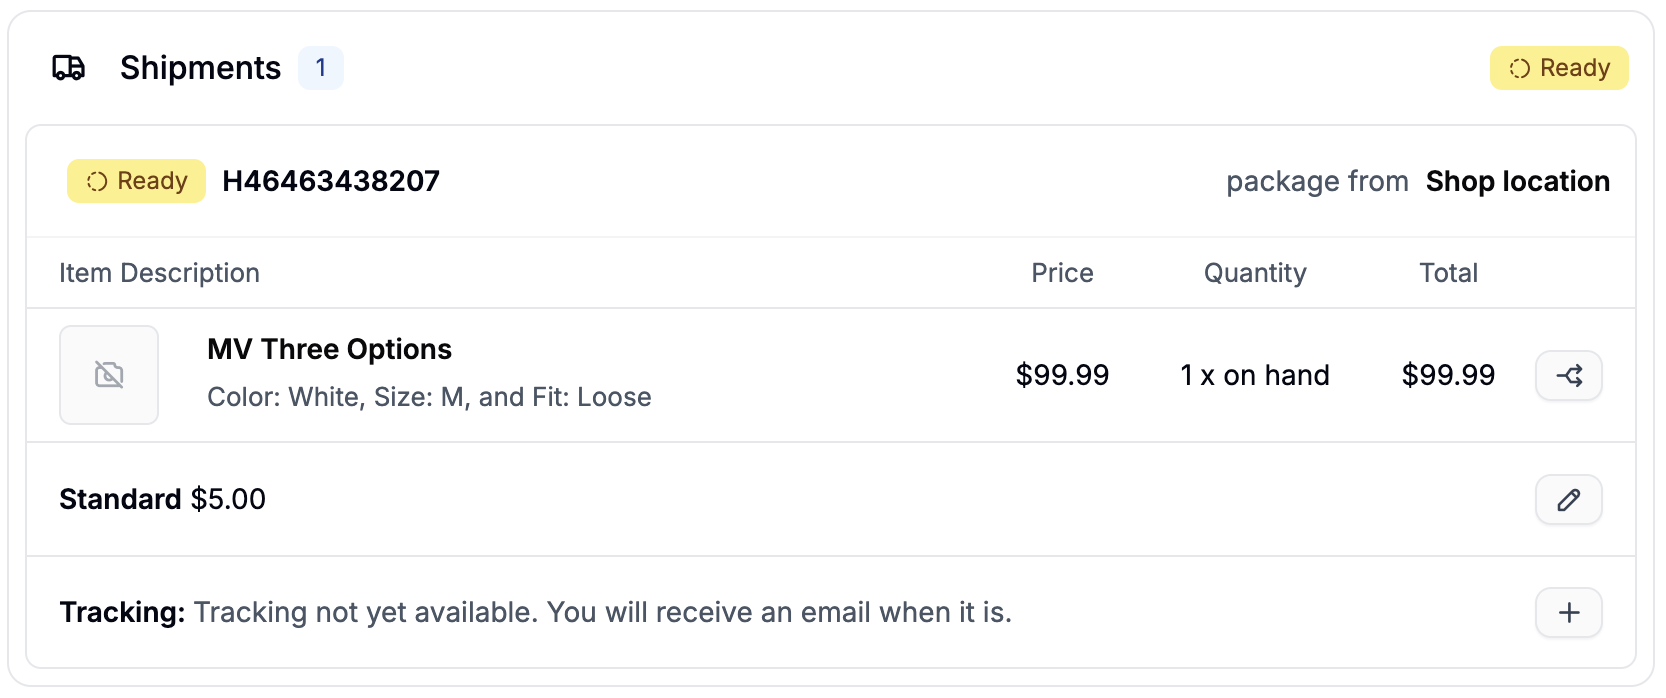 Once payment has been captured, you’re ready to fulfill the order via the Shipments section.
Before shipping, make sure you have:
Once payment has been captured, you’re ready to fulfill the order via the Shipments section.
Before shipping, make sure you have:
- The correct tracking number
- The correct carrier, based on the customer’s shipping selection
Add Tracking Details
 To add tracking details to the shipment:
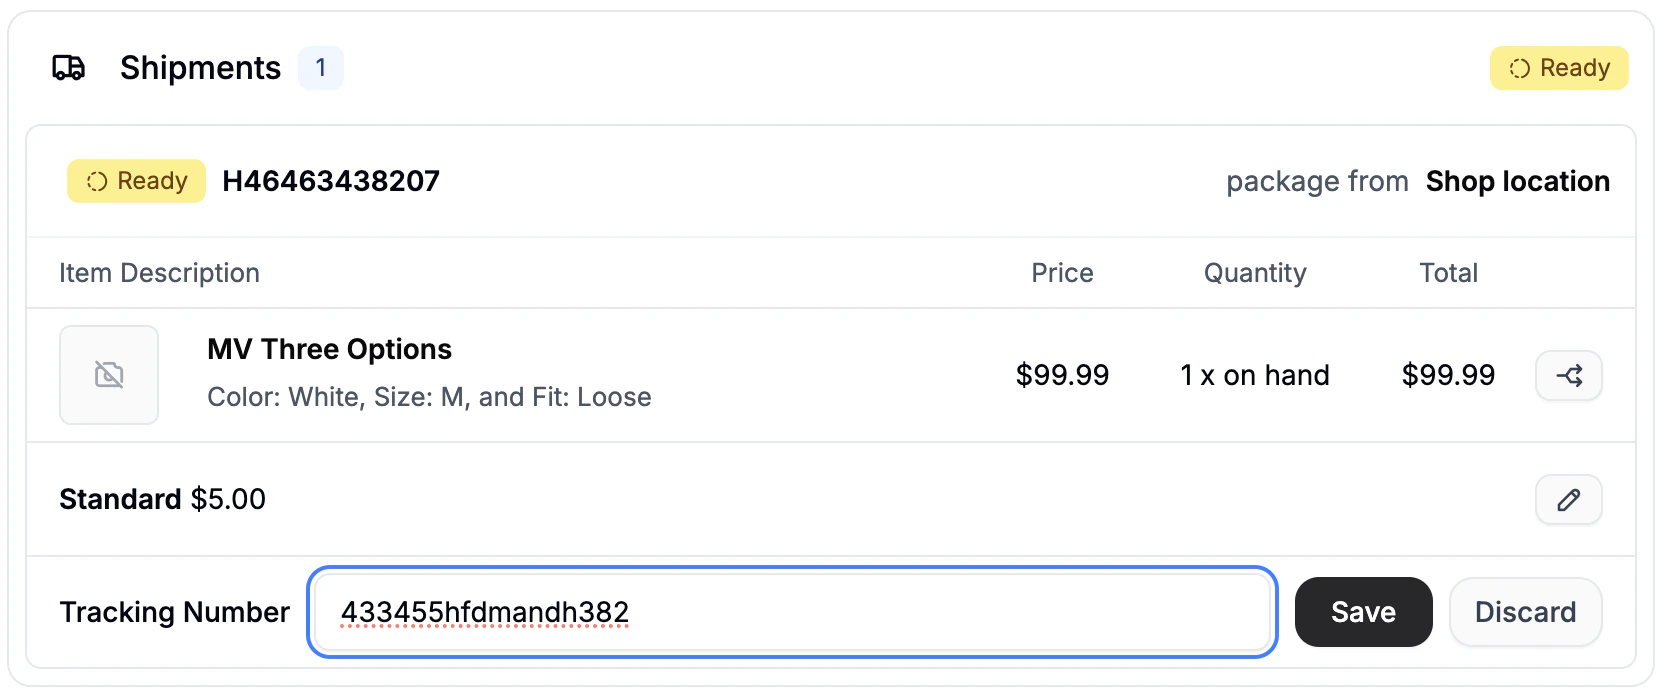
- Click the + icon in the Tracking subsection.
- Enter the tracking number.
- Click Save.
Ship the Order
Double-check that everything is correct and click Ship to complete the order.
The order’s shipment status will update to Shipped, and the customer will receive a confirmation email with tracking details.
Order Completed
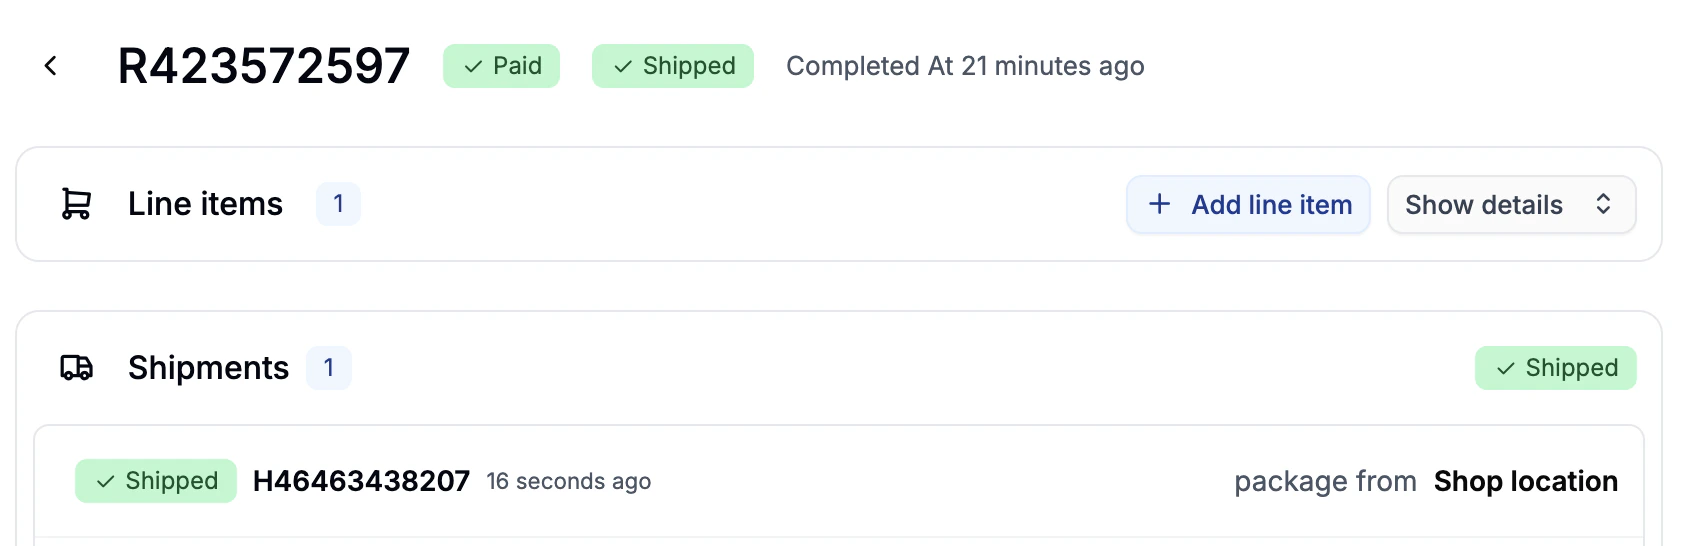 At this point, the order will have:
- Payment State: Paid
- Shipment State: Shipped
This means the order has been successfully processed and is now complete from your business’ point of view. All that’s left is for the customer to receive their shipment.