Depending on your business model, you might need to manually create customer accounts—for example, when processing phone or in-person orders, handling wholesale clients, or migrating data from another platform.
This ensures customer details are accurately recorded in the system, enabling better order tracking, personalized service, and targeted marketing.
Create a New Customer
To a create a new customer, navigate to Customers in the admin dashboard.
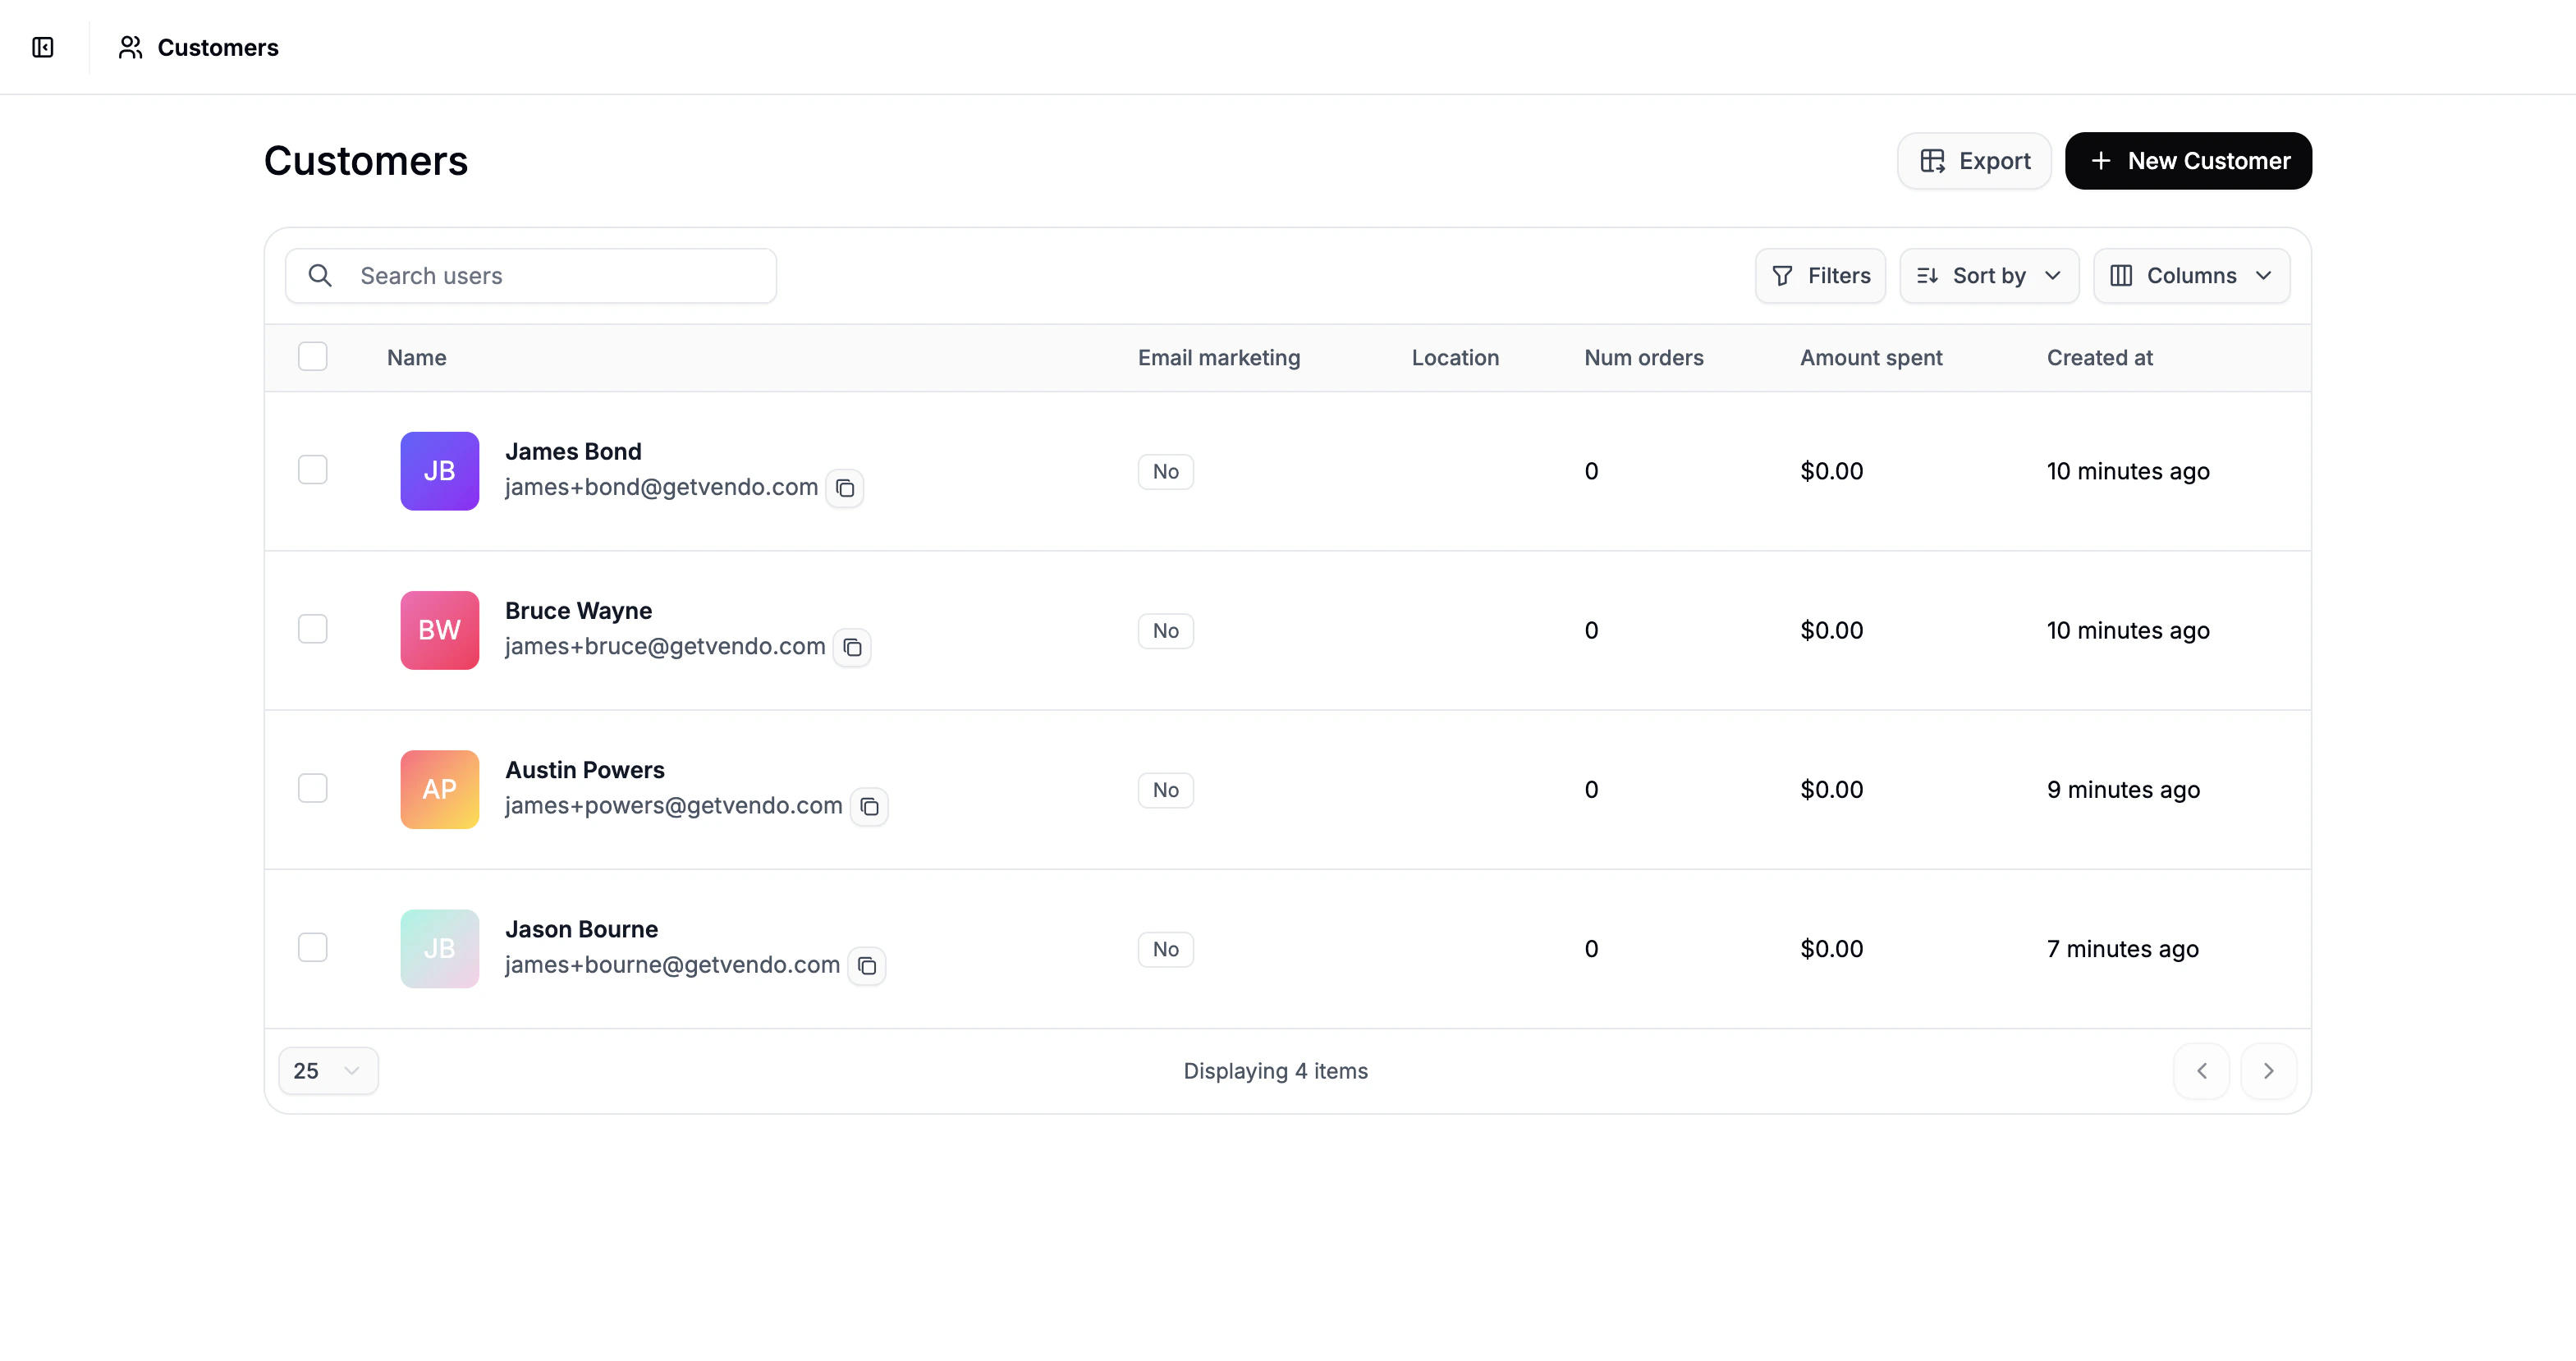 Click New Customer in the top-right corner to open the creation form.
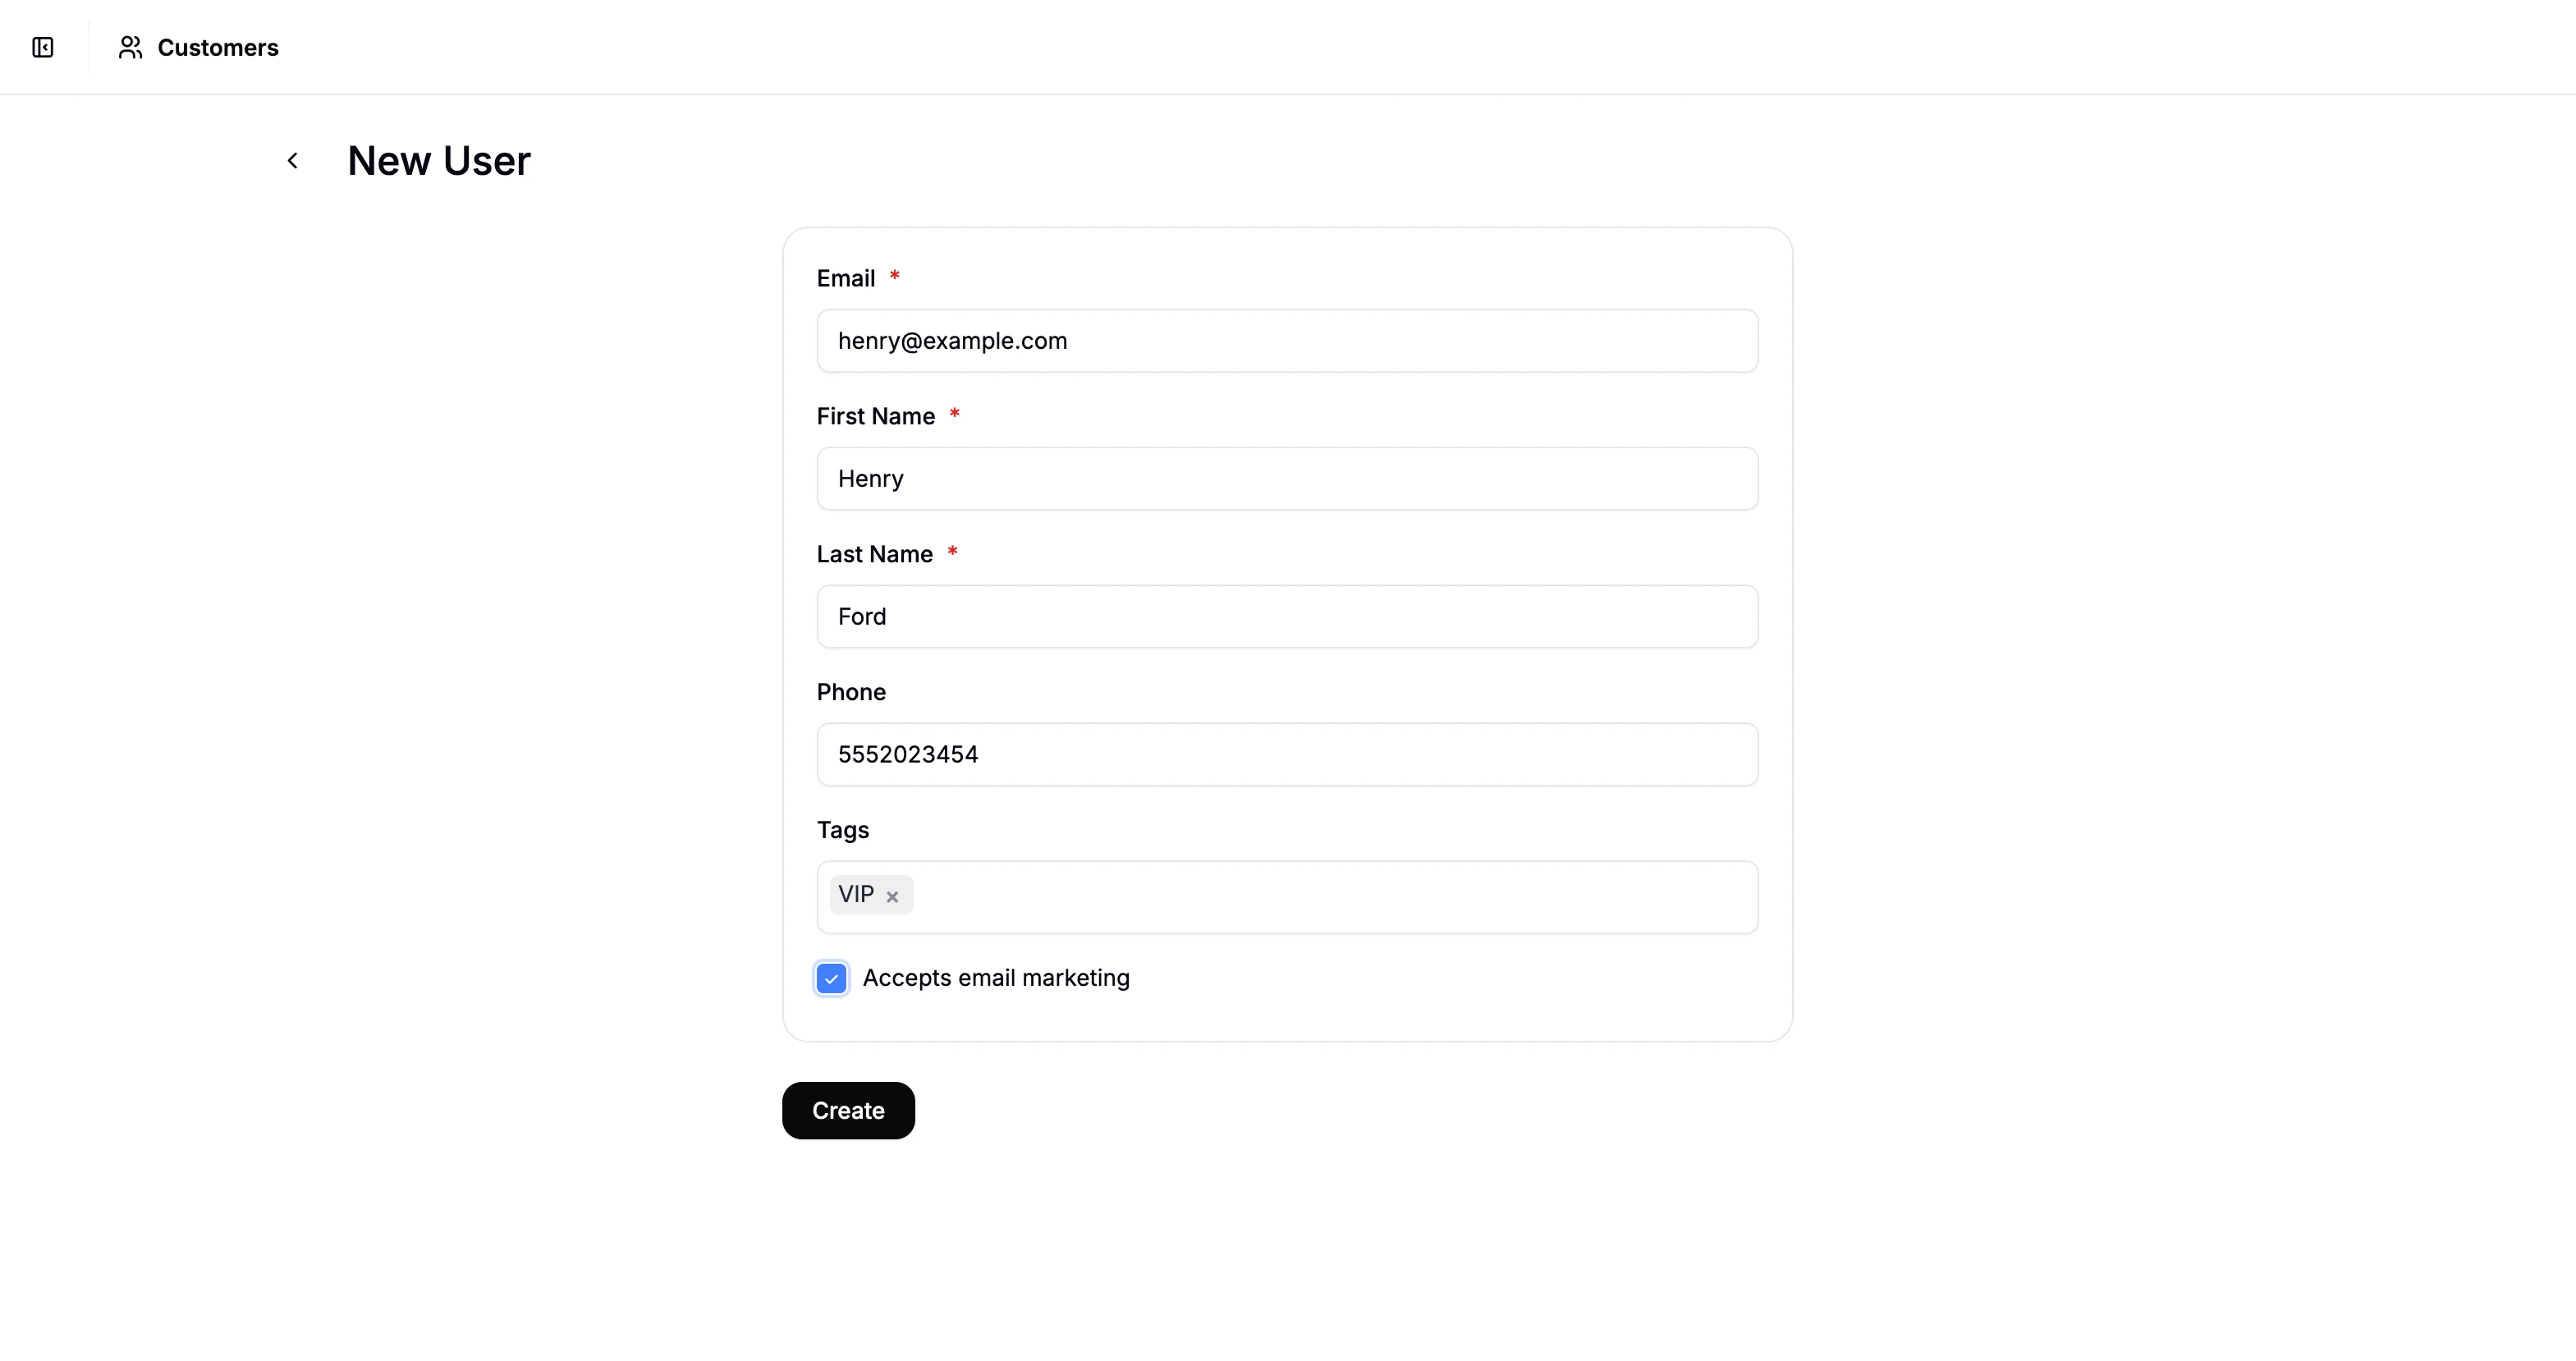 Fill in the following customer fields:
- Email
- First Name
- Last Name
- Phone Number (optional)
- Tags (optional)
Tags help you categorize and segment customers based on purchasing behavior or account type, and can improve filtering, reporting, and personalization.
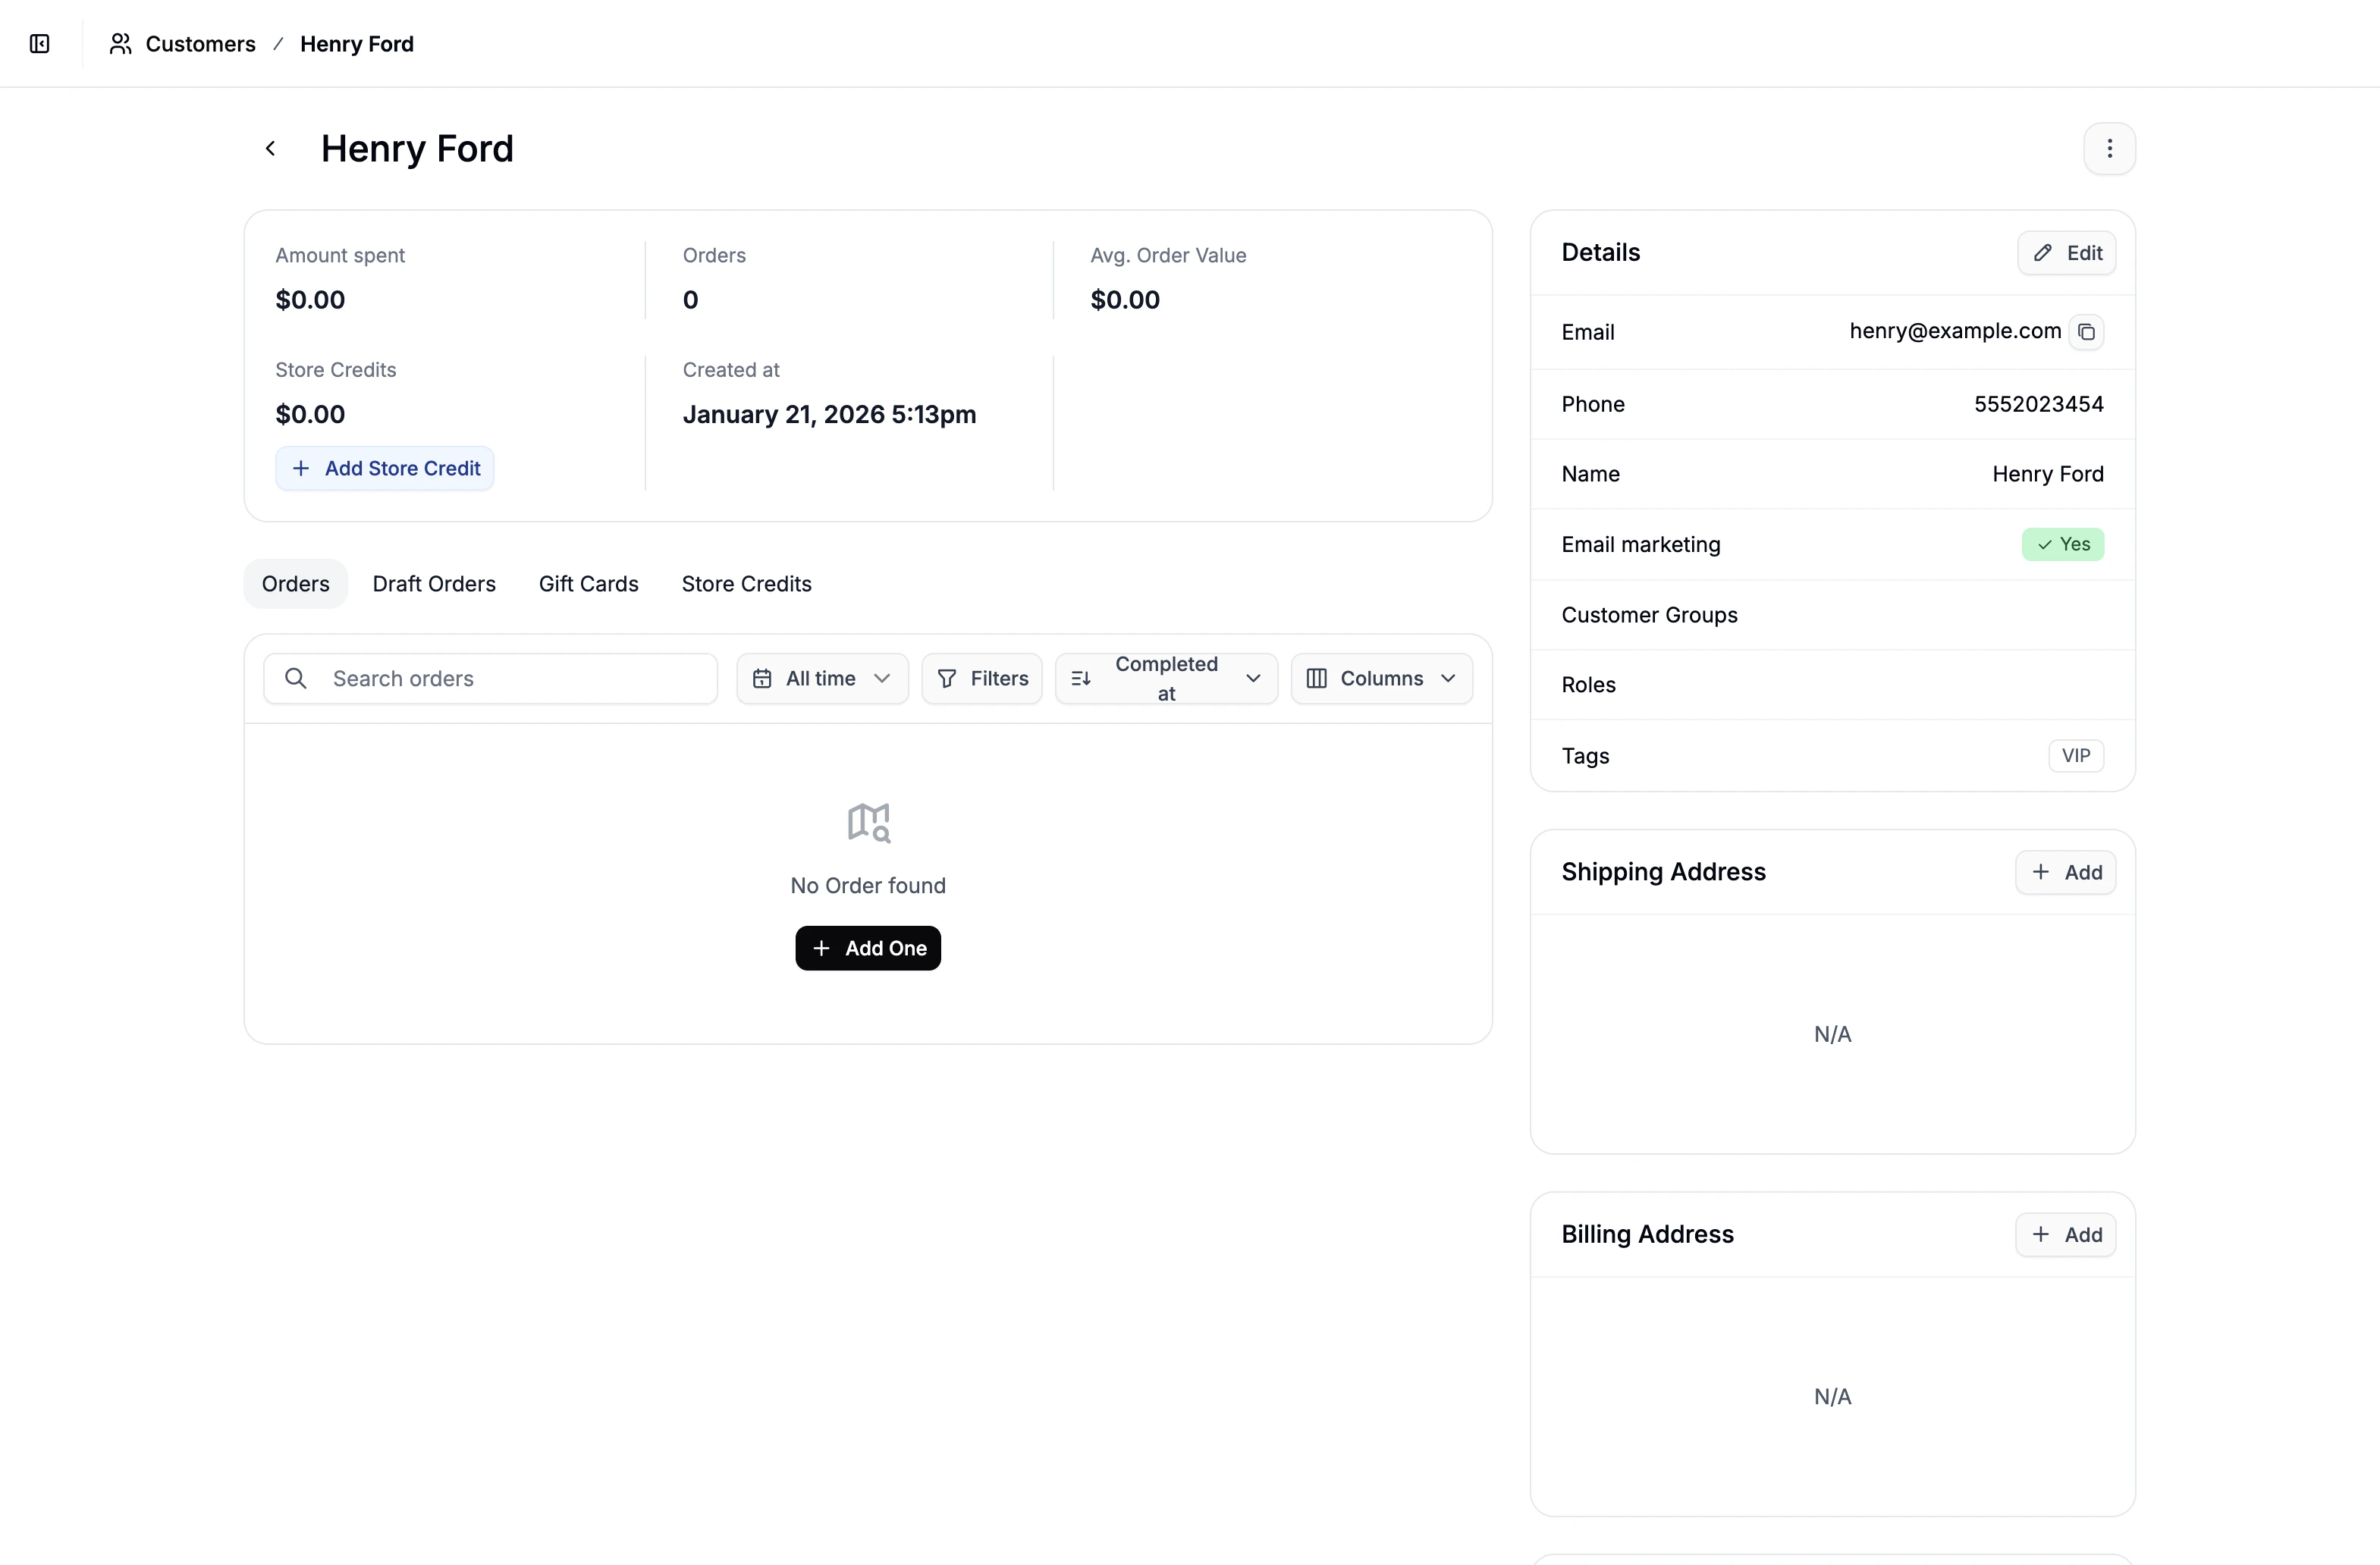 From here, you can add additional customer details and manage everything related to the customer - including their orders, store credit, gift cards, and more.
Add Shipping Address
 To add the customer’s shipping address, follow these steps:
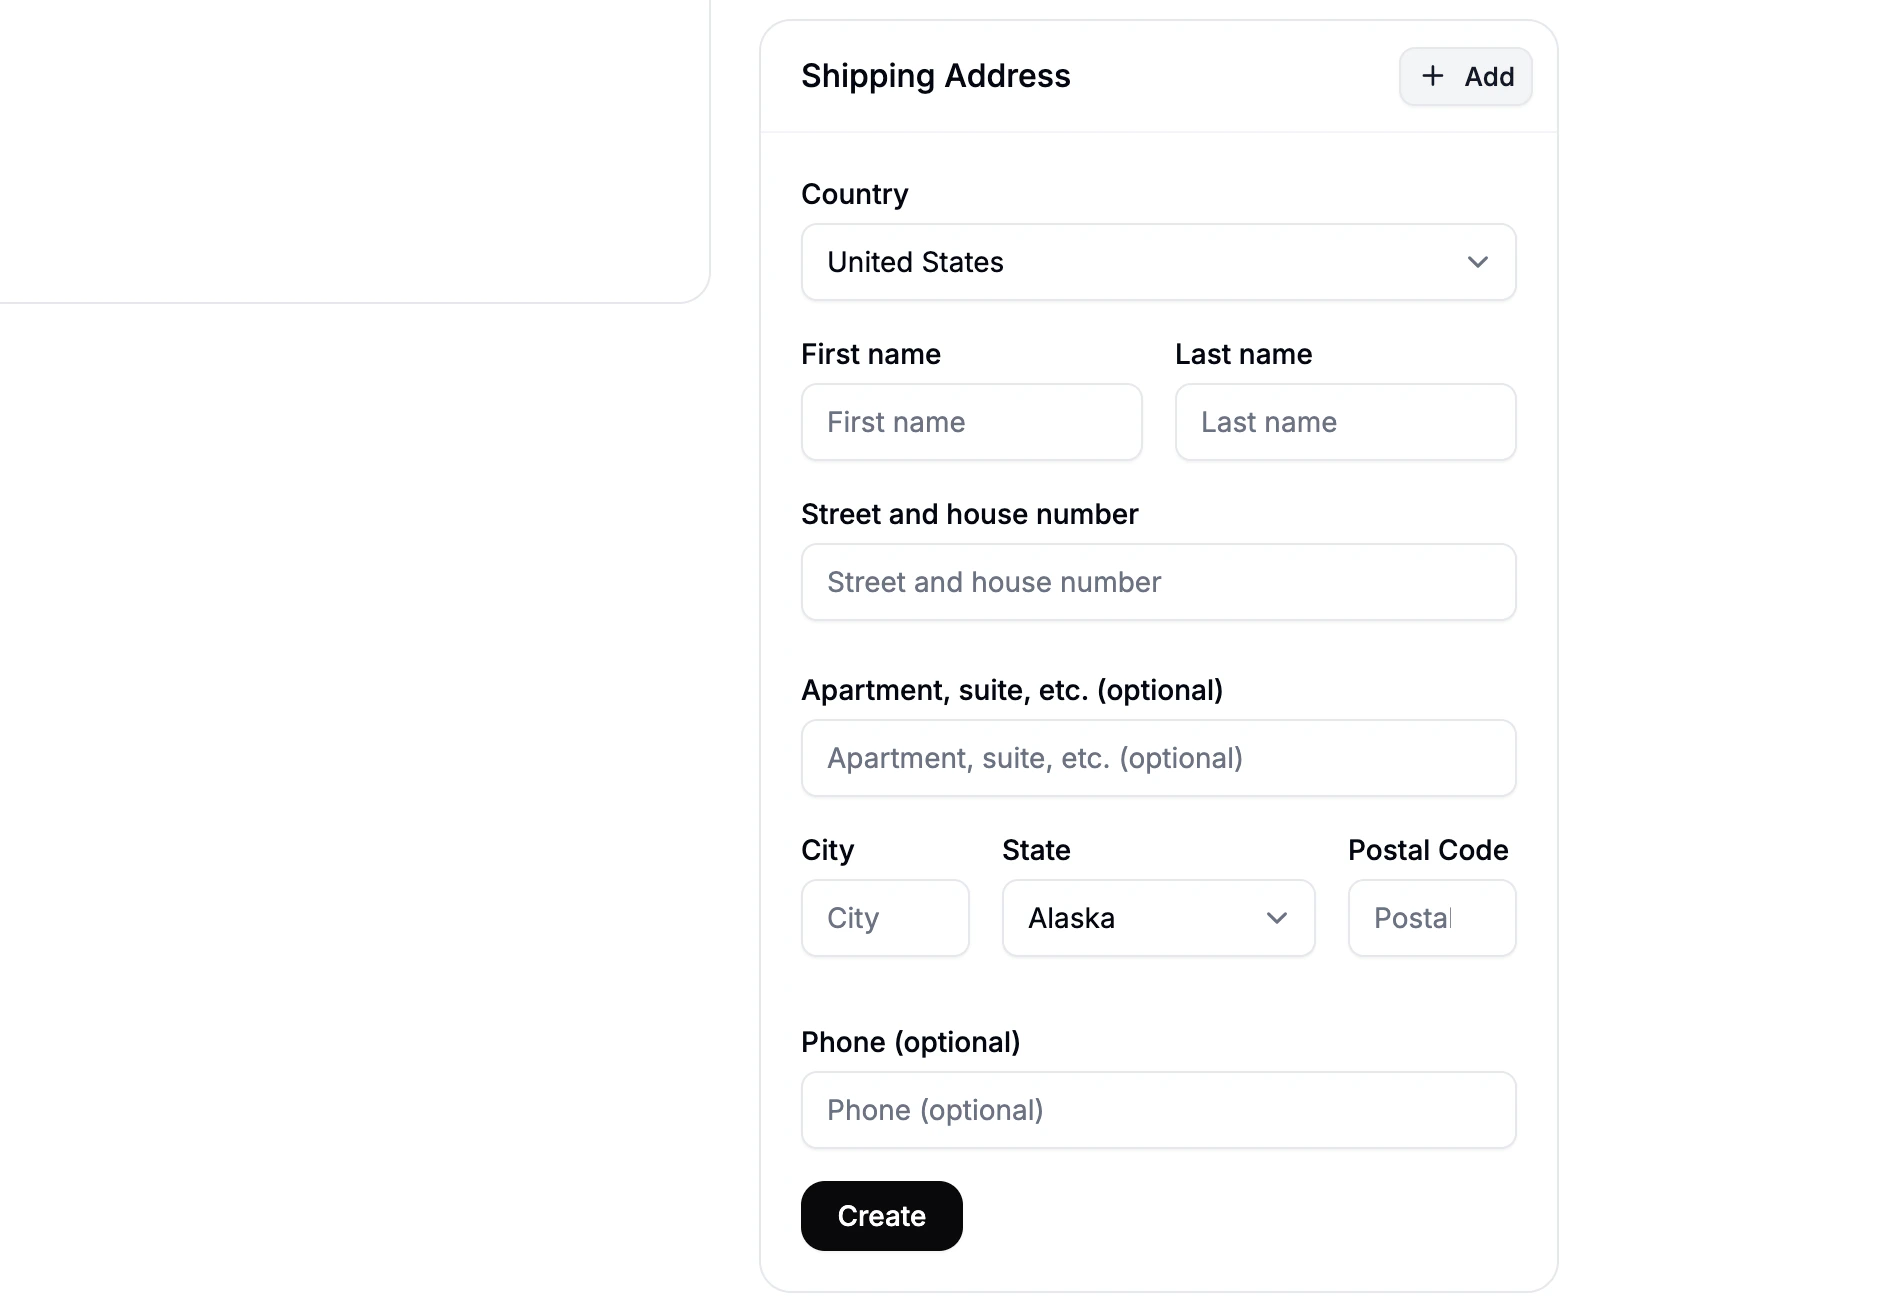
- Locate the Shipping Address section of the customer’s profile
- Click Add to open the address form
- Fill in the customers shipping details and click Create
Once created, you’ll be able to preview the customer’s shipping address.
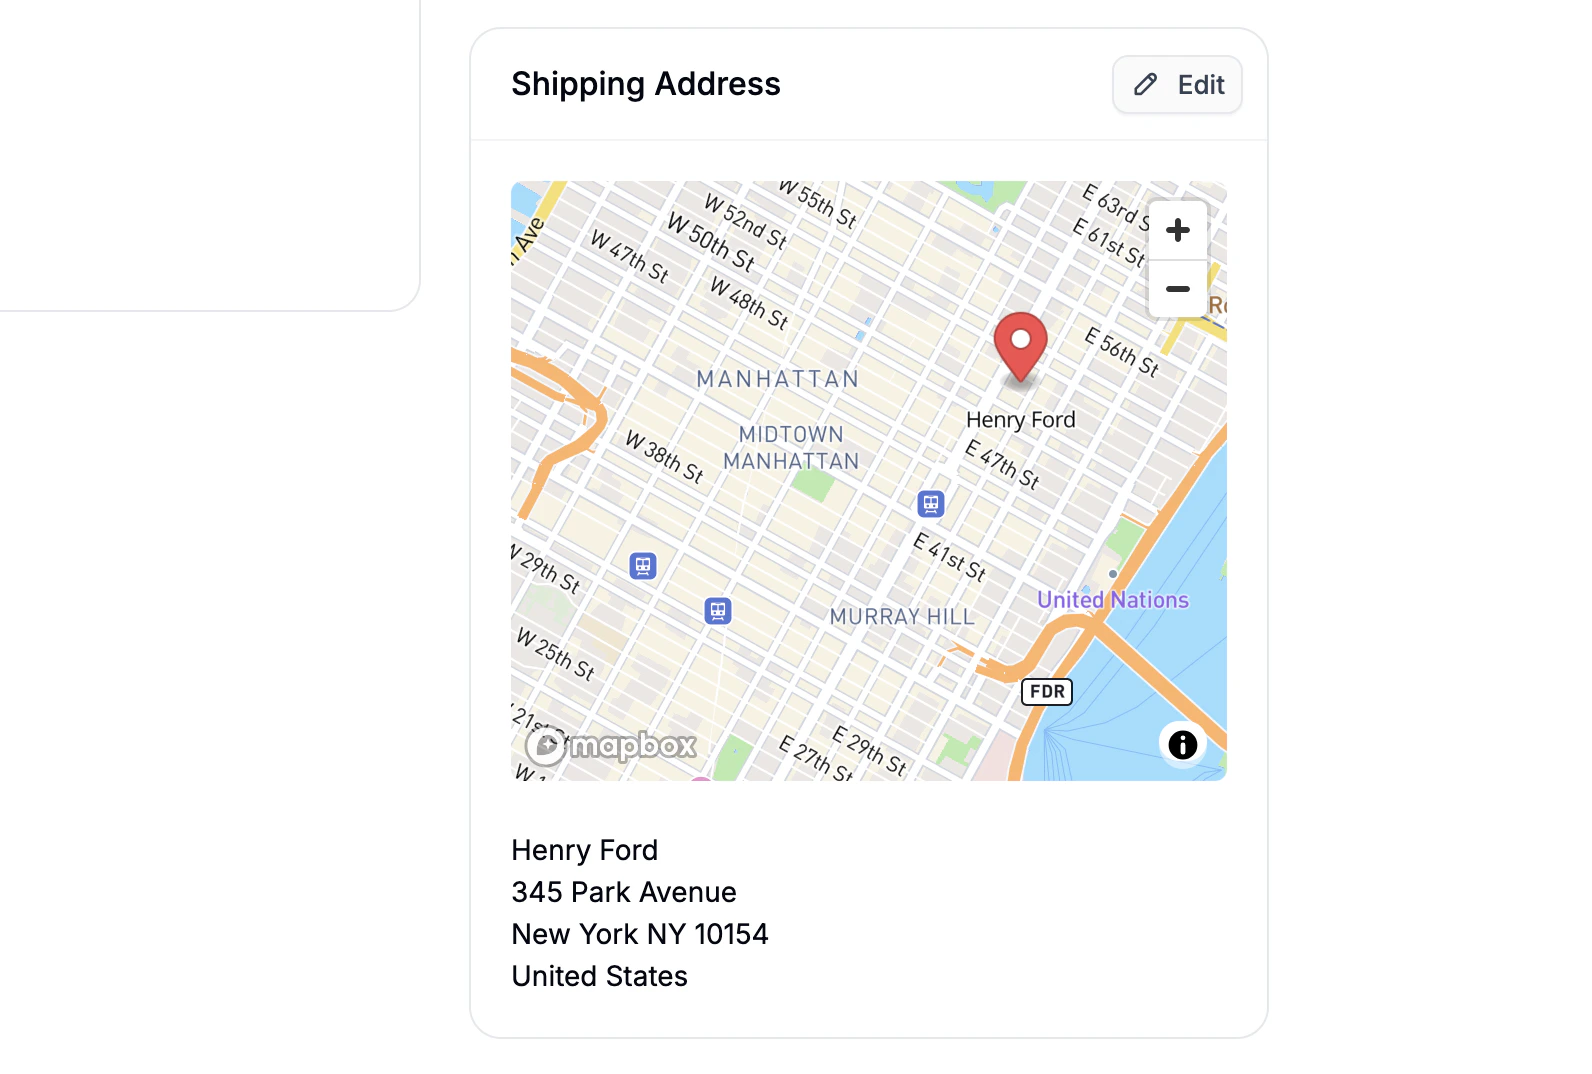
If your store has the Google Maps API connected, a map will appear alongside the saved address, pinpointing the customer’s location. This can help visually confirm the accuracy of the address.
Add Billing Address
By default the billing address is set to Same as Shipping Address.
To use a different billing address:
- Click Edit under the Billing Address section.
- Select Add New Address, enter the billing address, and click Create.
Customer Login Access
In order for the customer to access their account, they must initiate a password reset on the storefront using the email address tied to their profile.