This guide covers multi-region pricing — different prices within the same currency across regions. If you need different currencies for different regions (e.g., USD for the US and EUR for Germany), see Set Up Multi-Currency Pricing instead.
Prerequisites
Before you start, you should have:- At least one active market already configured with EUR as its currency. In this example, a Germany market with EUR is already set up and your products have EUR prices.
- Familiarity with how Price Lists work. See Price Lists for a full reference.
1. Create Markets for France and Spain
Each region needs its own Market in Spree before you can target it with a Price List. To create Markets, navigate to Settings → Markets in the admin dashboard.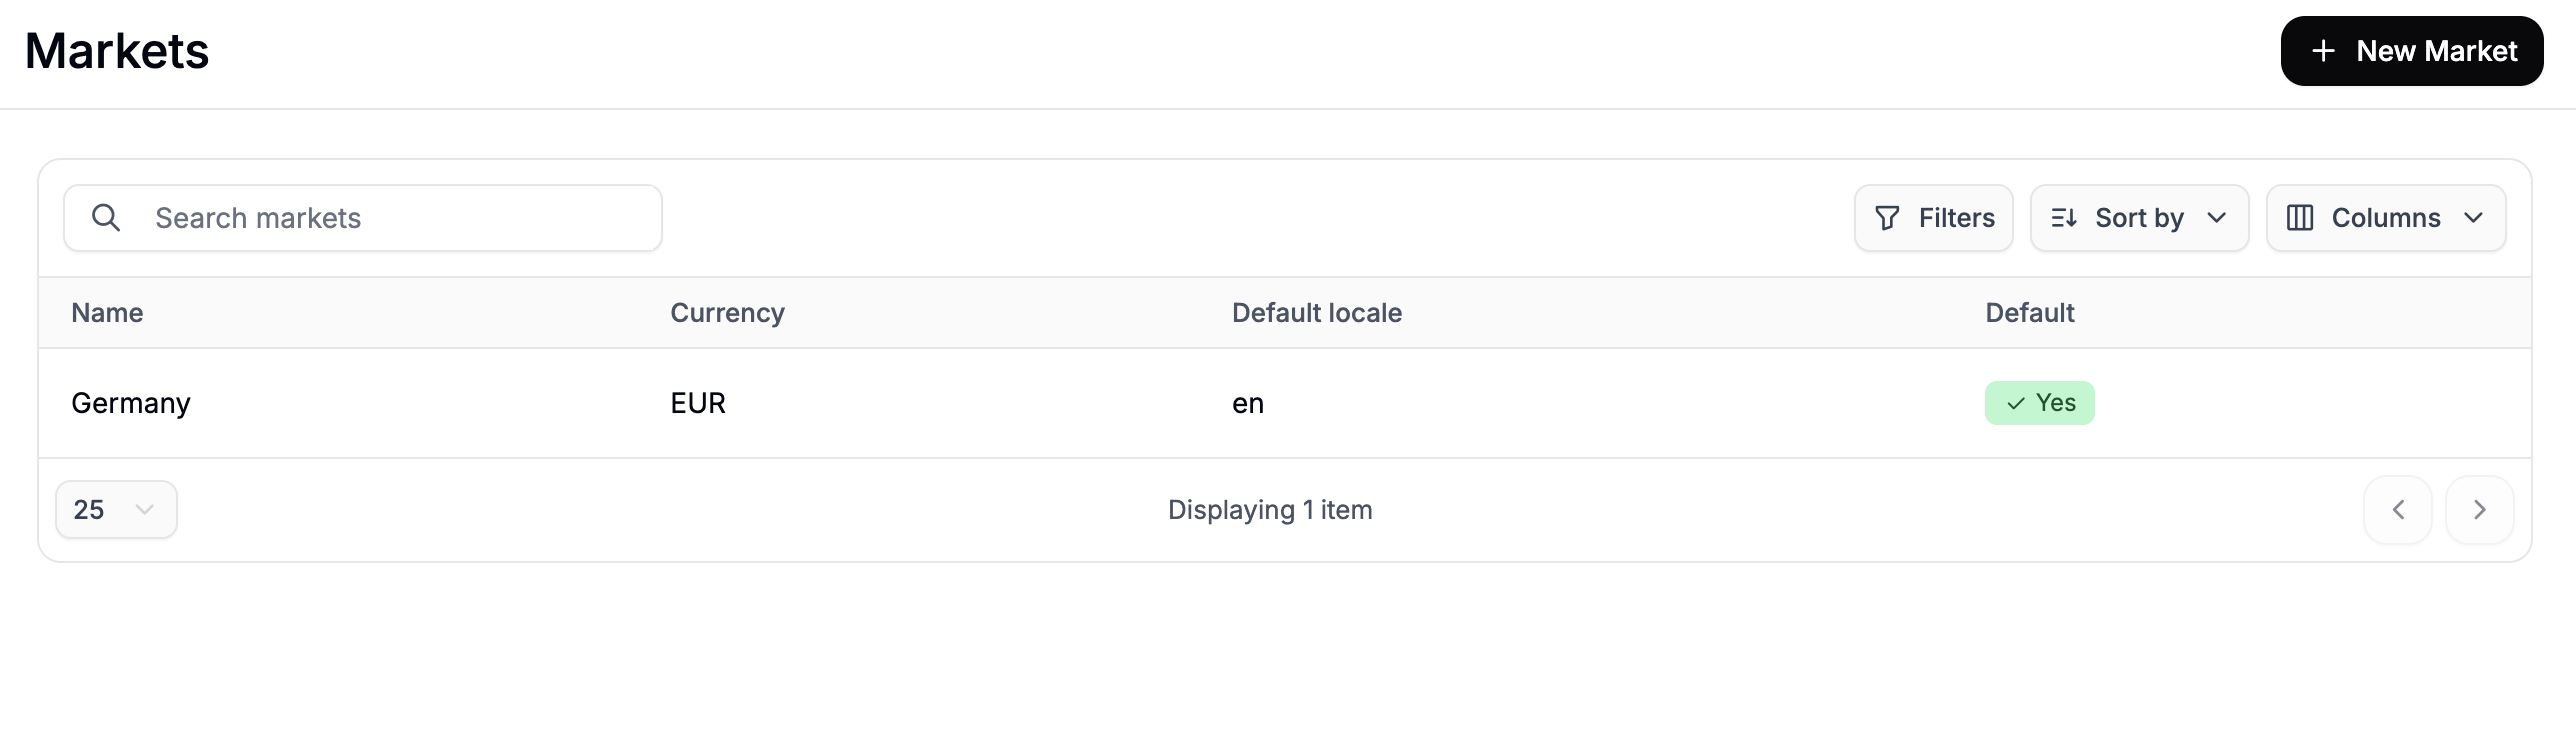
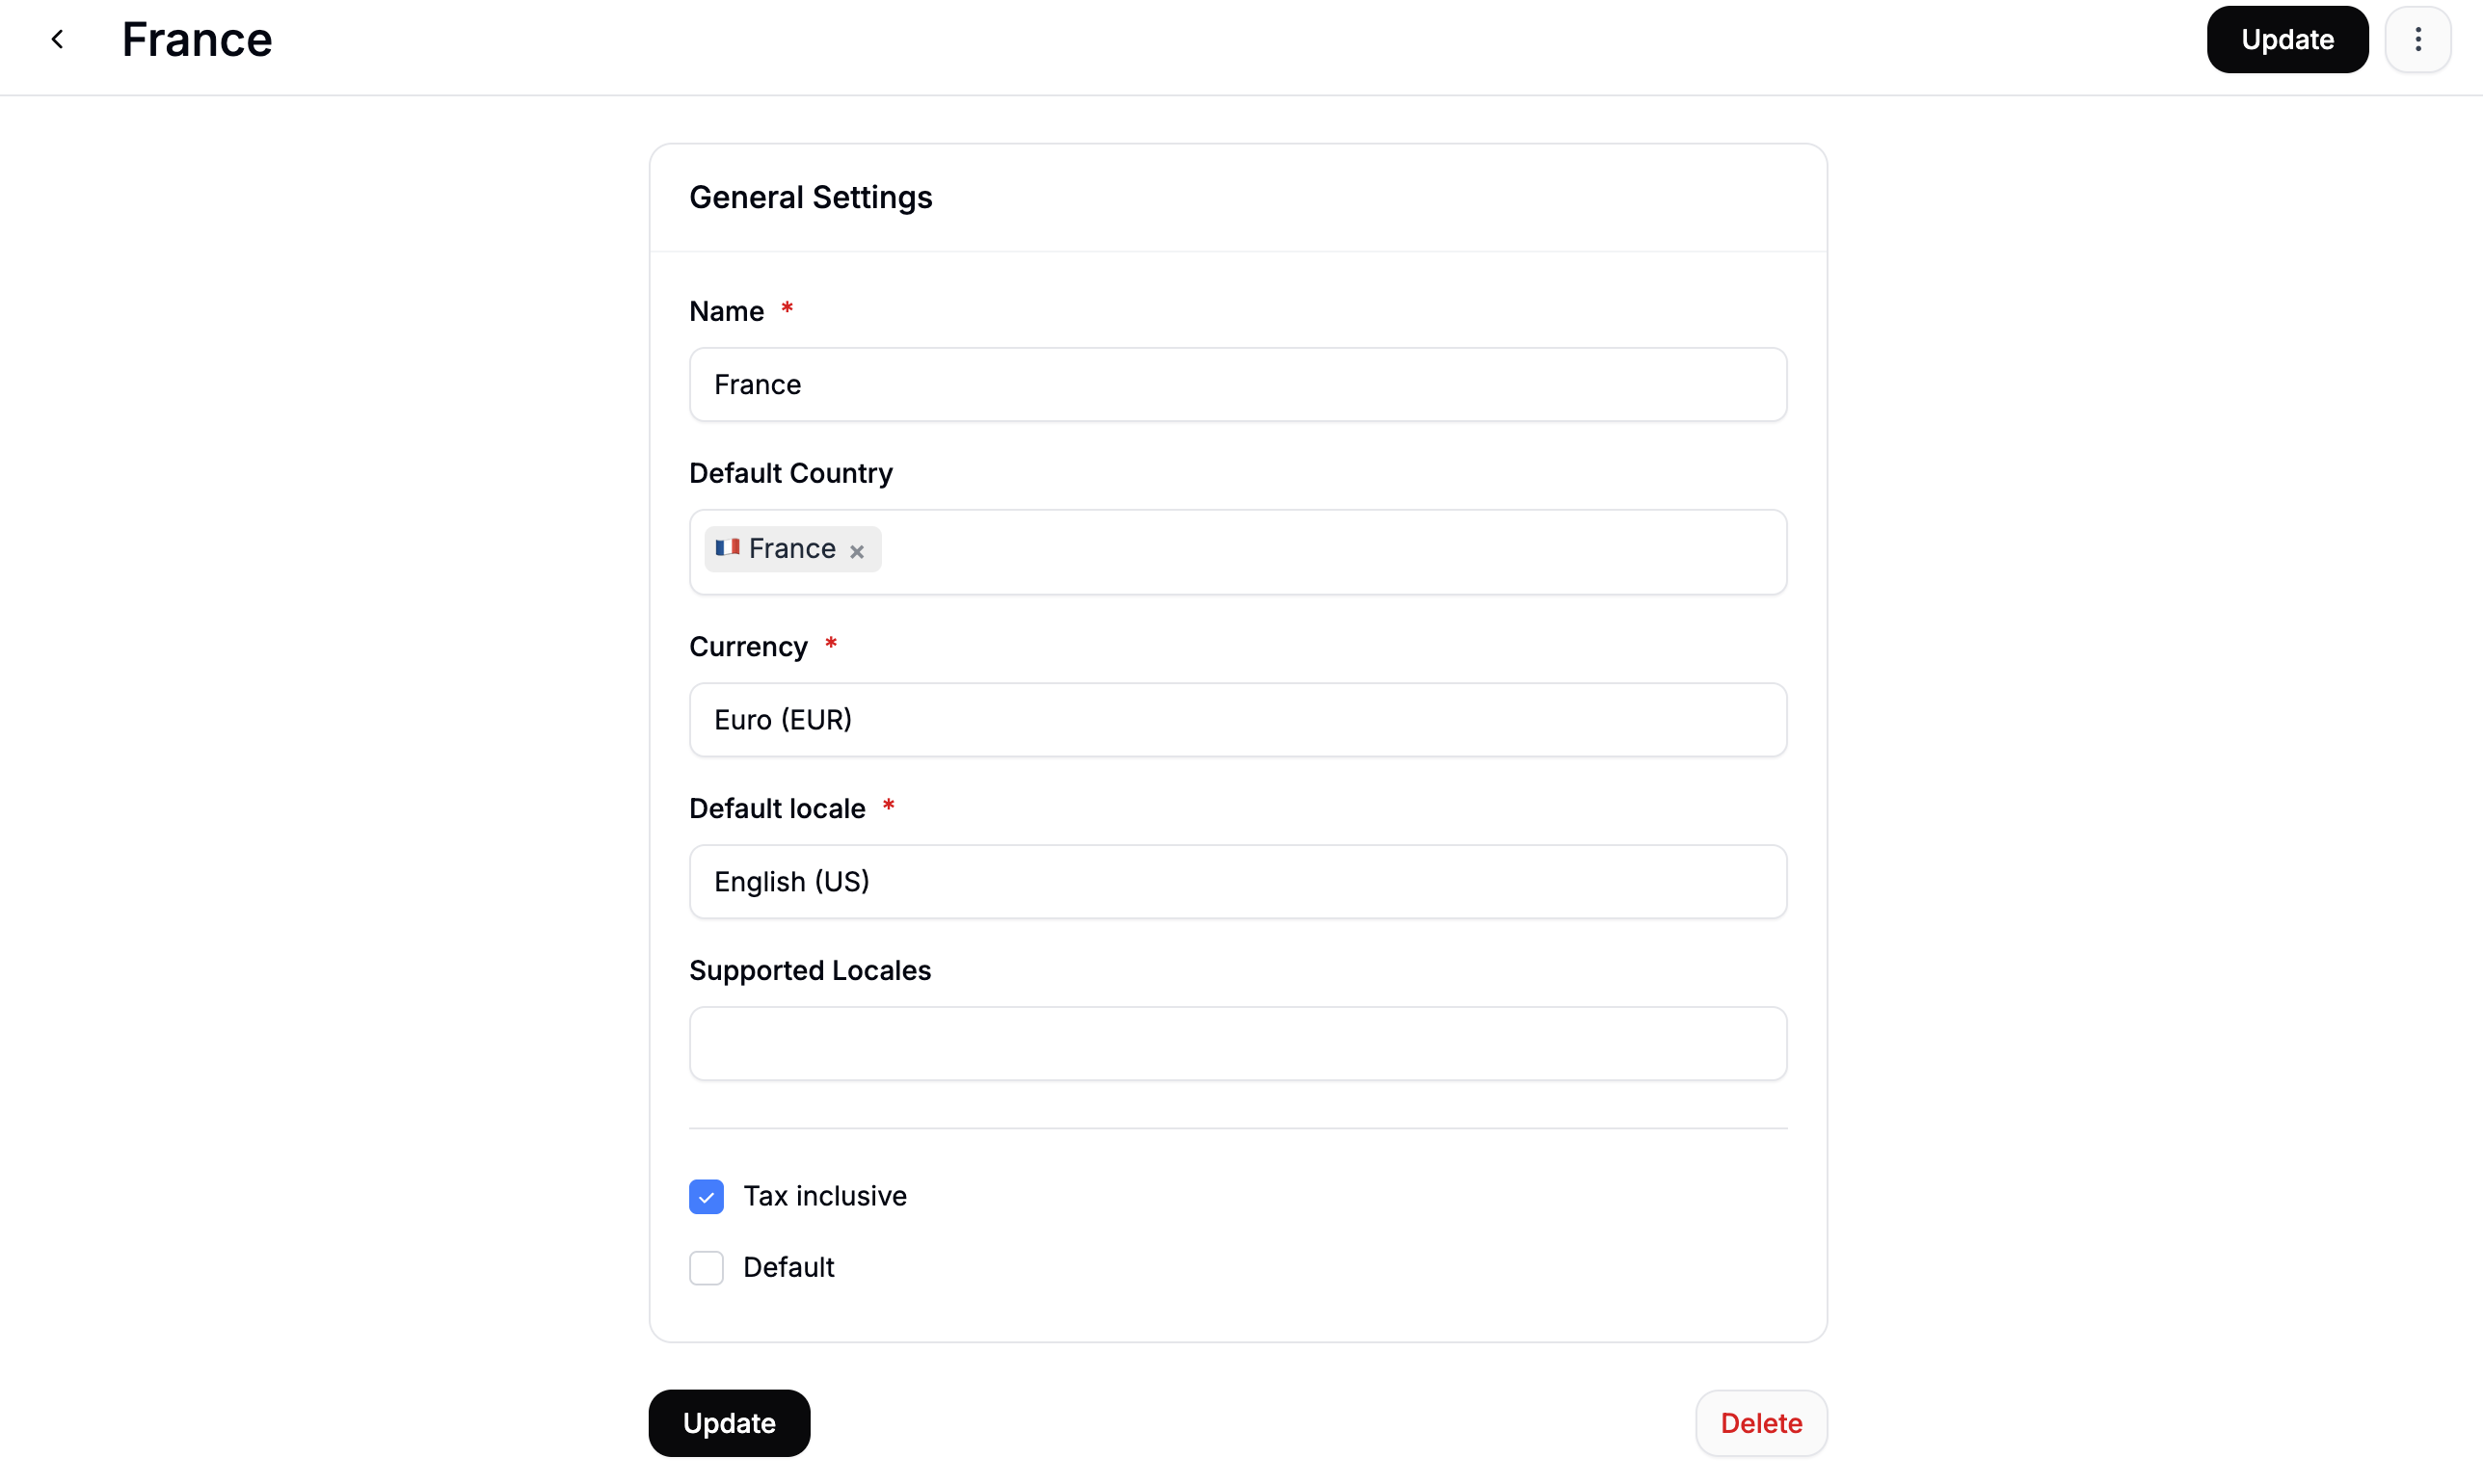
- Name —
France - Default Country —
France - Currency —
EUR - Default Locale —
FRfor French, orDEif your storefront runs in German - Tax Inclusive — check this if prices should display with VAT included, which is standard practice in EU markets
- Default — leave unchecked
Spain and Default Locale to ES.
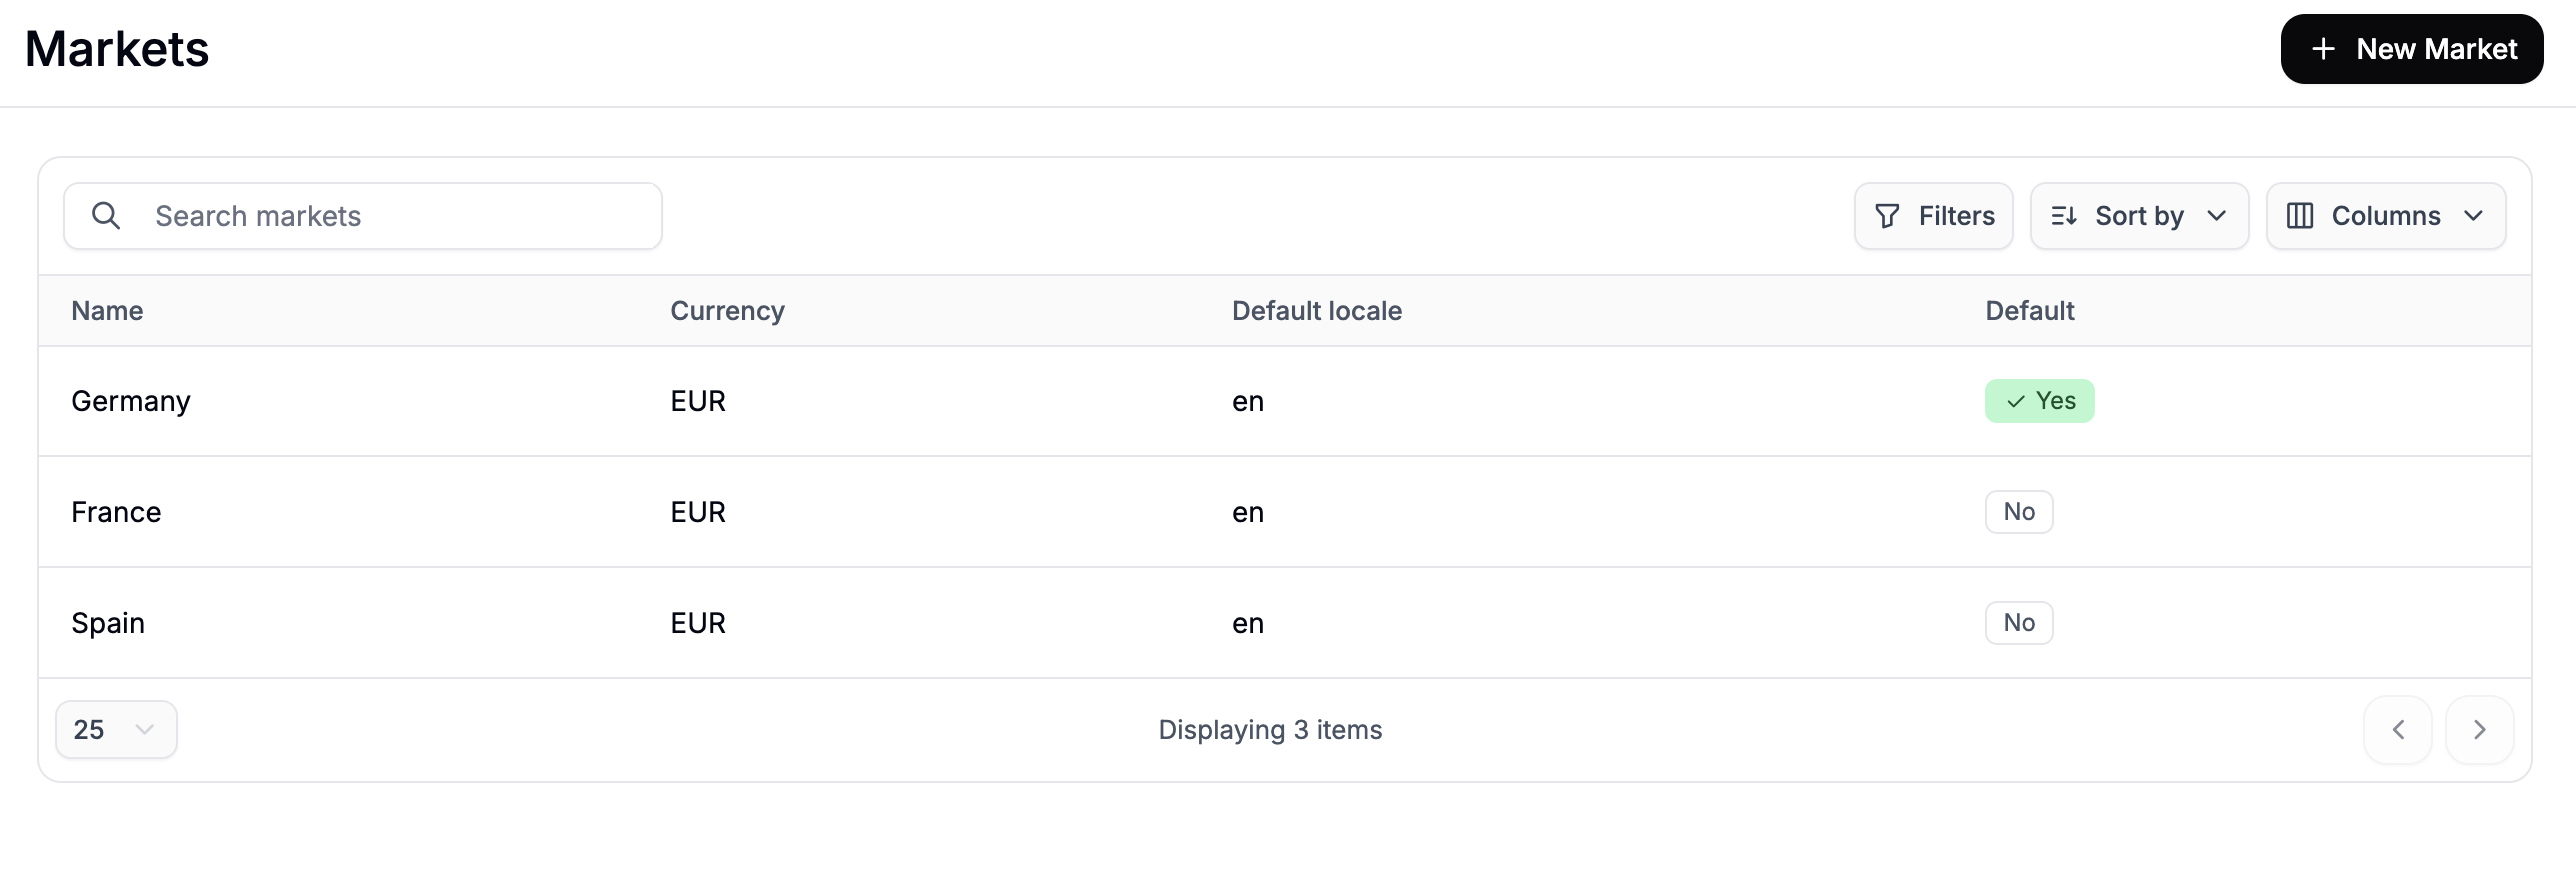
Once done, all three markets — Germany, France, and Spain — will appear in your Markets list.
2. Create a Price List for Each Market
With your markets in place, you’ll now create a Price List for each one. A Price List targeted at a specific market will override your base EUR prices for customers shopping in that market. To create Price Lists, navigate to Products → Price Lists in the admin dashboard and click New Price List.
- Name — e.g.,
France Pricing - Description — optional, but useful for other admins (e.g.,
Regional EUR prices for the French market) - Start Date / End Date — leave blank if this pricing should apply indefinitely
Add a Market Rule
In the price list editor, click Add Rule and select Market from the rule type dropdown. Select France from the market options.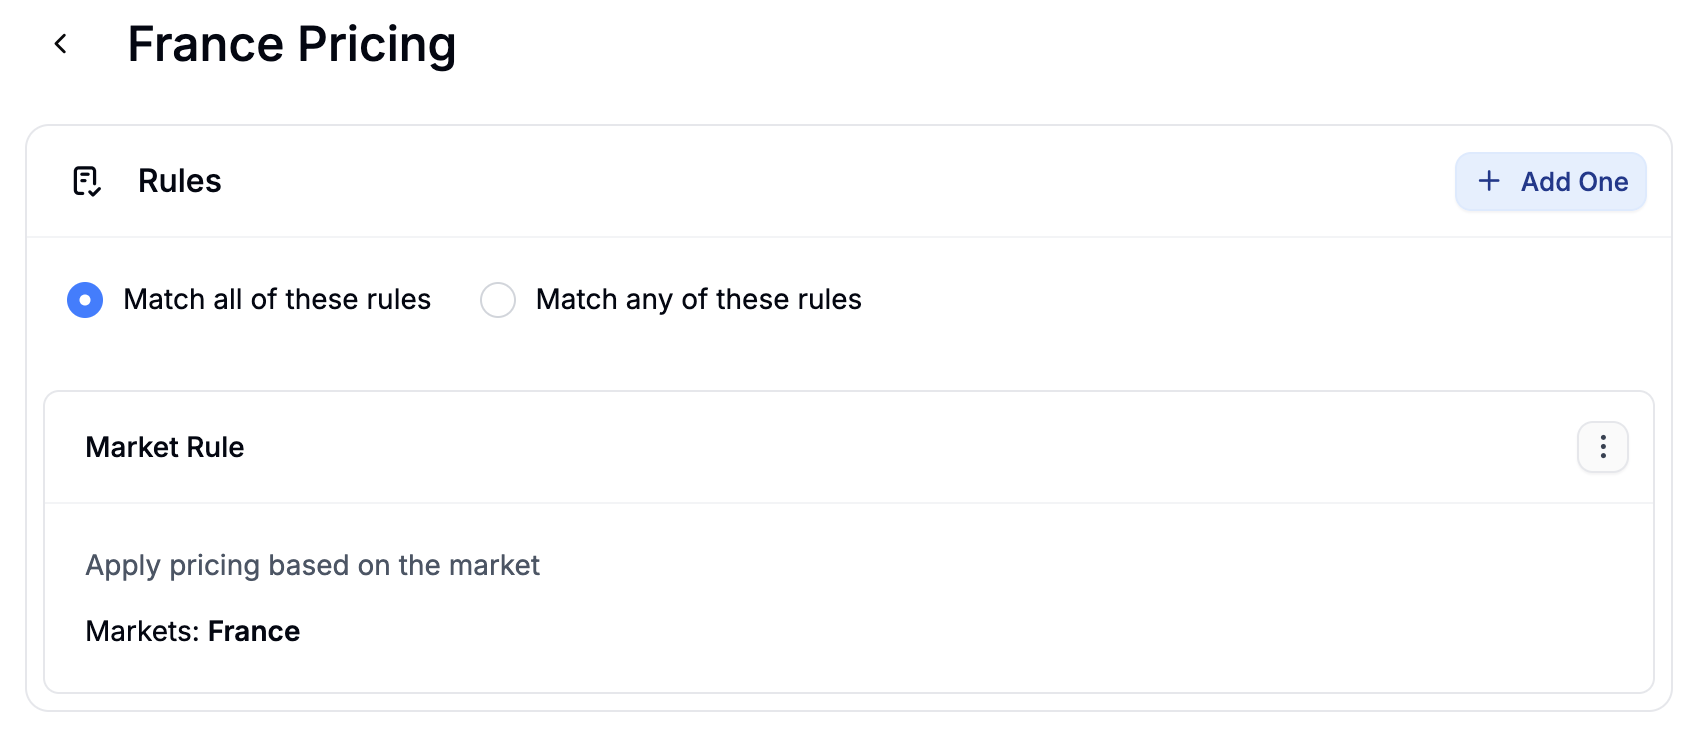
Add Products and Set Prices
Click Add Products to open the product selector. Search for and select the products you want to price differently for France, then click Add Selected. Once the products appear in the list, click Edit Prices to open the price editor. Make sure EUR is selected in the currency switcher, then enter the regional prices for France in the Price column.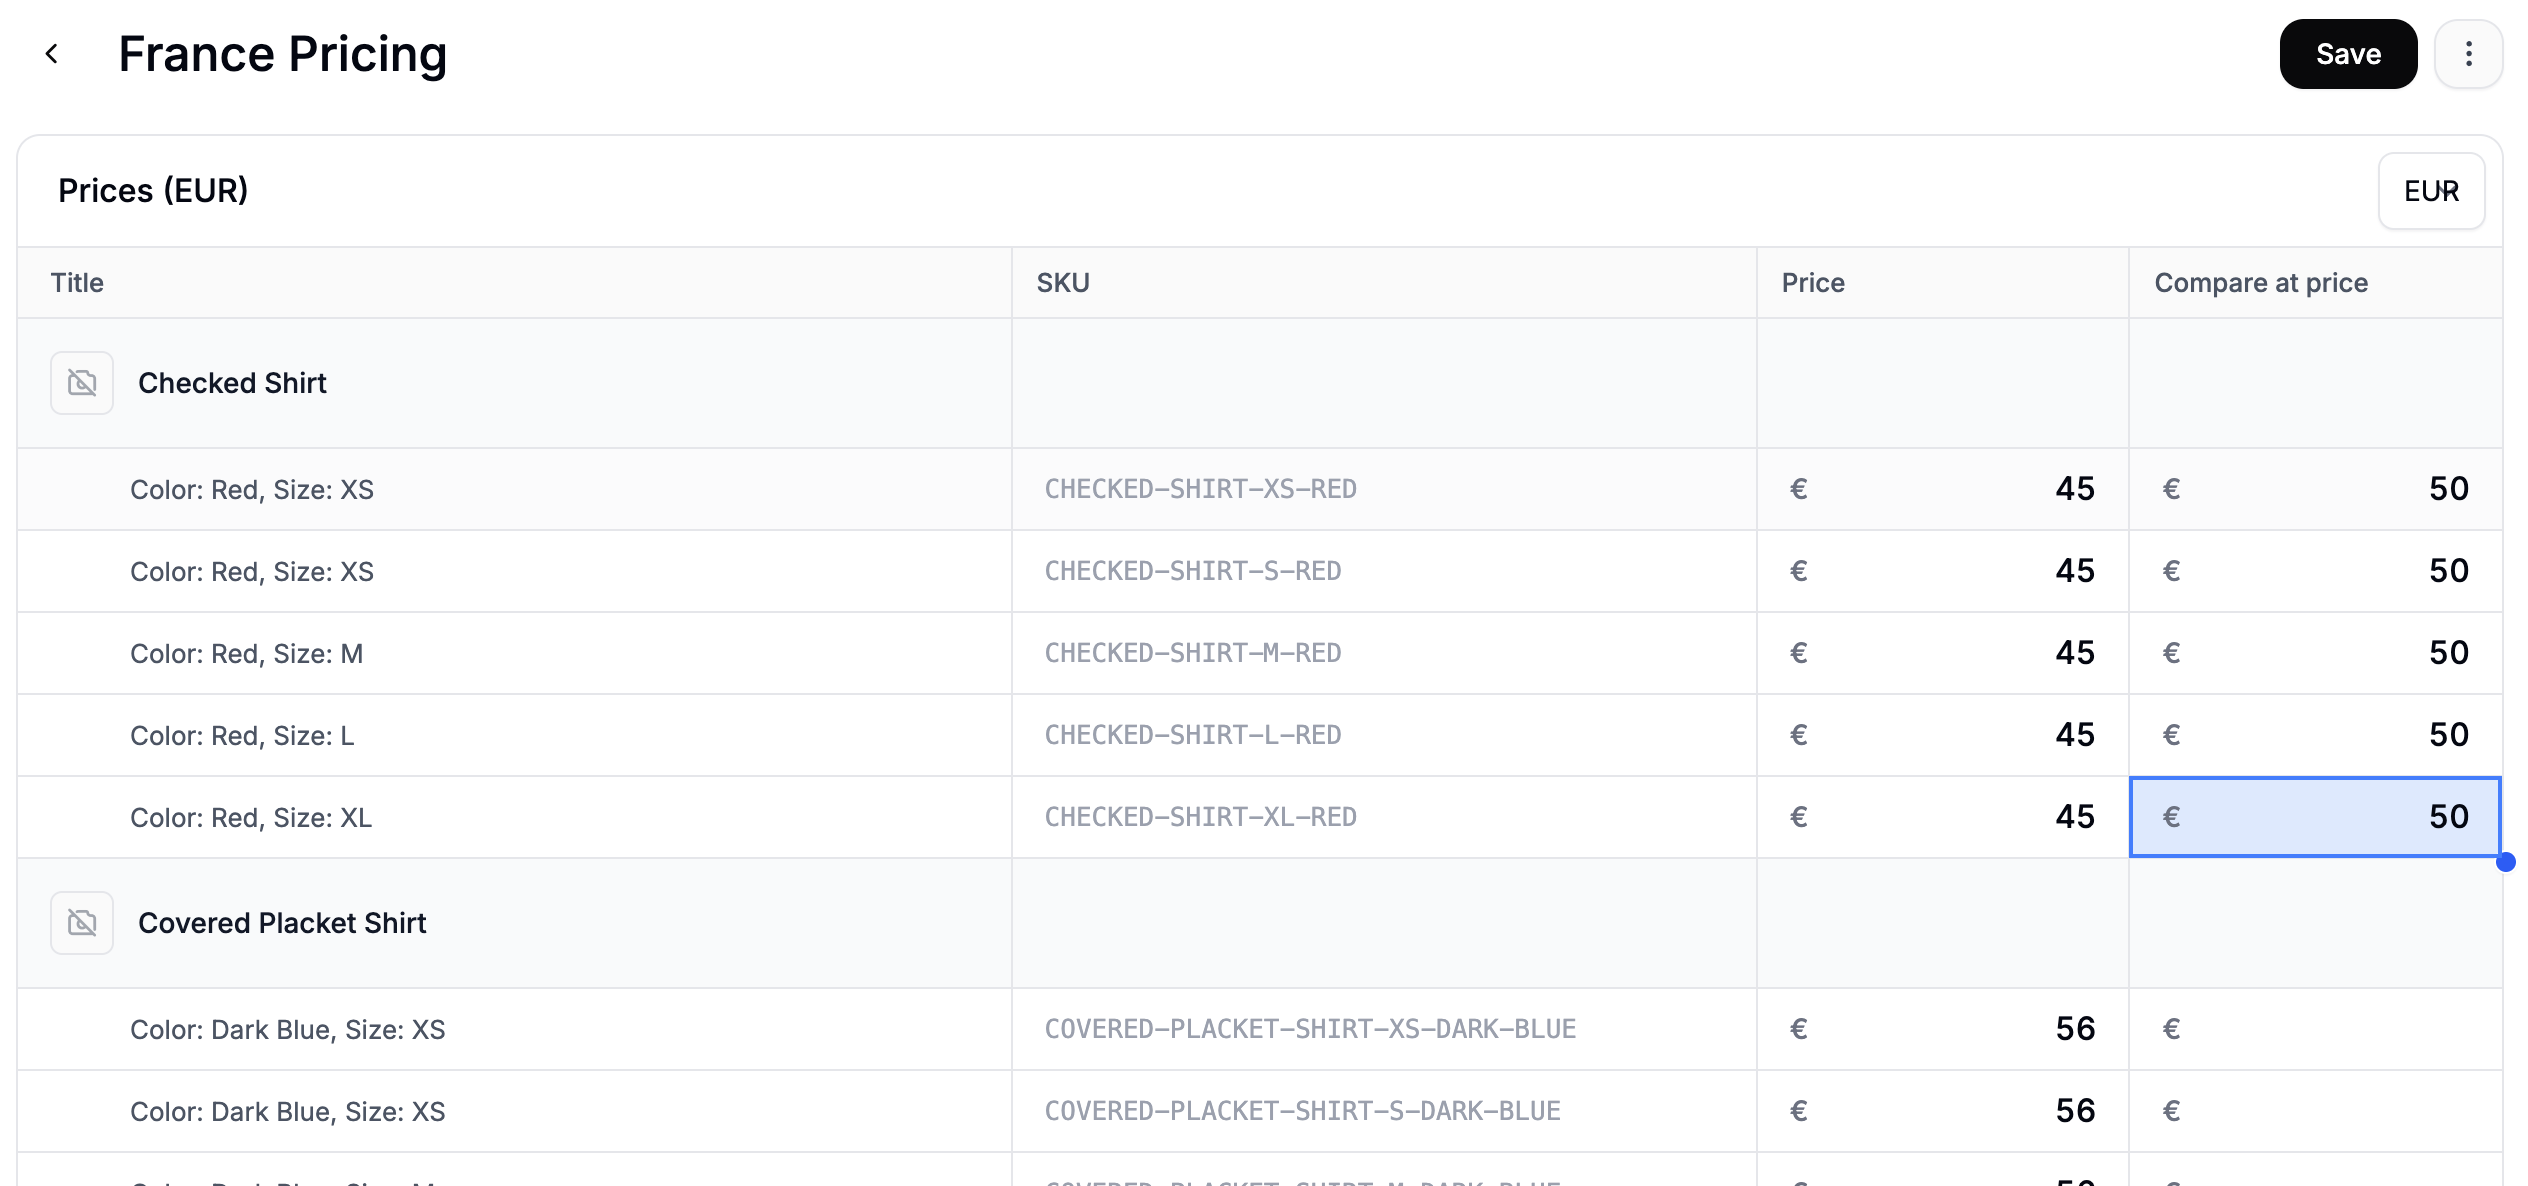
Spain Pricing, set the Market rule to Spain, and enter the appropriate EUR prices for Spanish customers.
3. Verify on the Storefront
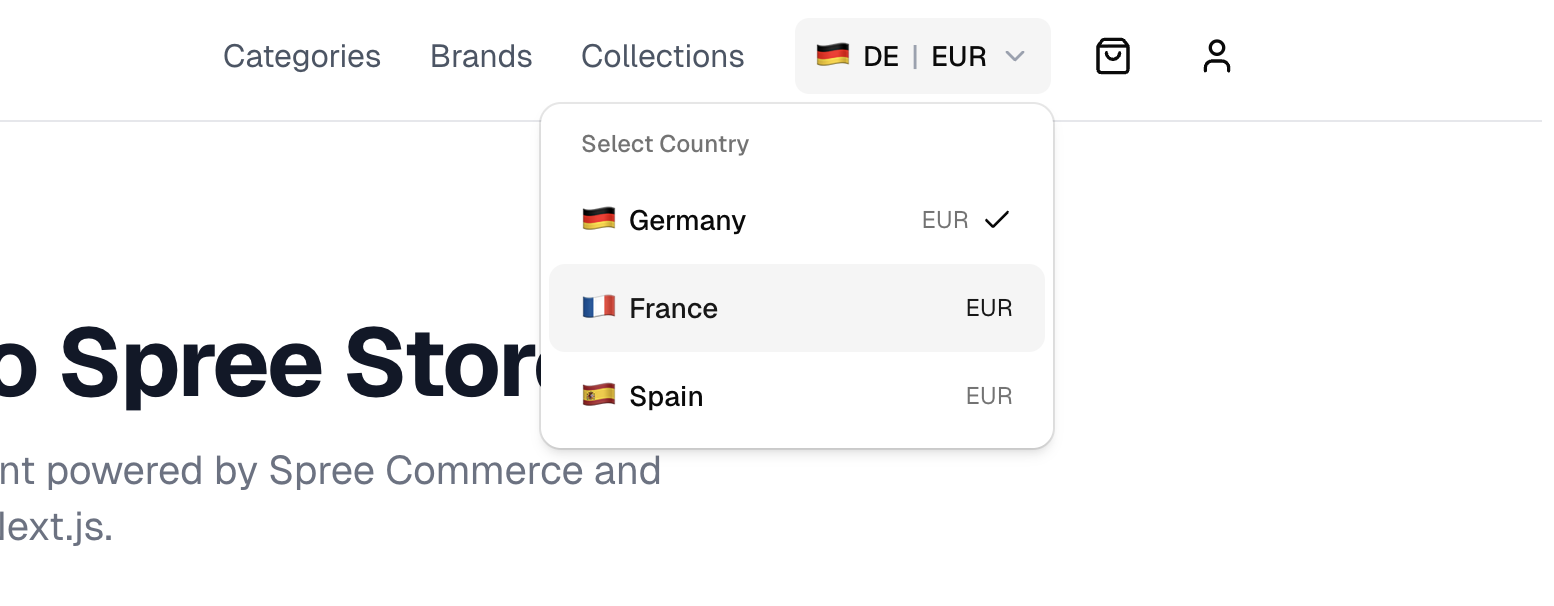
Once your markets and price lists are active, verify that the correct prices appear for each region.- Visit your storefront and look for the market switcher in the navigation. If you’re using the Spree Next.js starter storefront, this appears in the navigation bar.
- Switch to France / EUR and note the price shown for a product you included in the France price list.
- Switch to Spain / EUR and confirm the price changes to reflect the Spain price list.
- Switch back to Germany / EUR and confirm the base EUR price is shown (since Germany has no regional price list).
- The product has been added to the correct price list
- The price list is set to Active
- The Market rule on the price list is correctly set to the intended market
Next Steps
- Set Up Multi-Currency Pricing — sell in different currencies for different regions
- Price Lists — full reference for rules, volume pricing, and customer group pricing
- Markets — full reference for configuring Markets