This guide covers vendors who’ll connect their WooCommerce store to your marketplace. For other vendor types, see Shopify Vendor Onboarding and Manual/CSV Vendor Onboarding.
Prerequisites
Before you can onboard WooCommerce vendors, you’ll need:- The
spree_multi_vendorEnterprise gem installed on your Spree instance.
Admin Setup
This section is for the marketplace owner. Inviting a WooCommerce vendor uses the same invitation flow as Manual/CSV vendors — the vendor chooses WooCommerce as their connection method during their own onboarding.Send the Invitation
To invite a vendor, navigate to Vendors in the admin dashboard.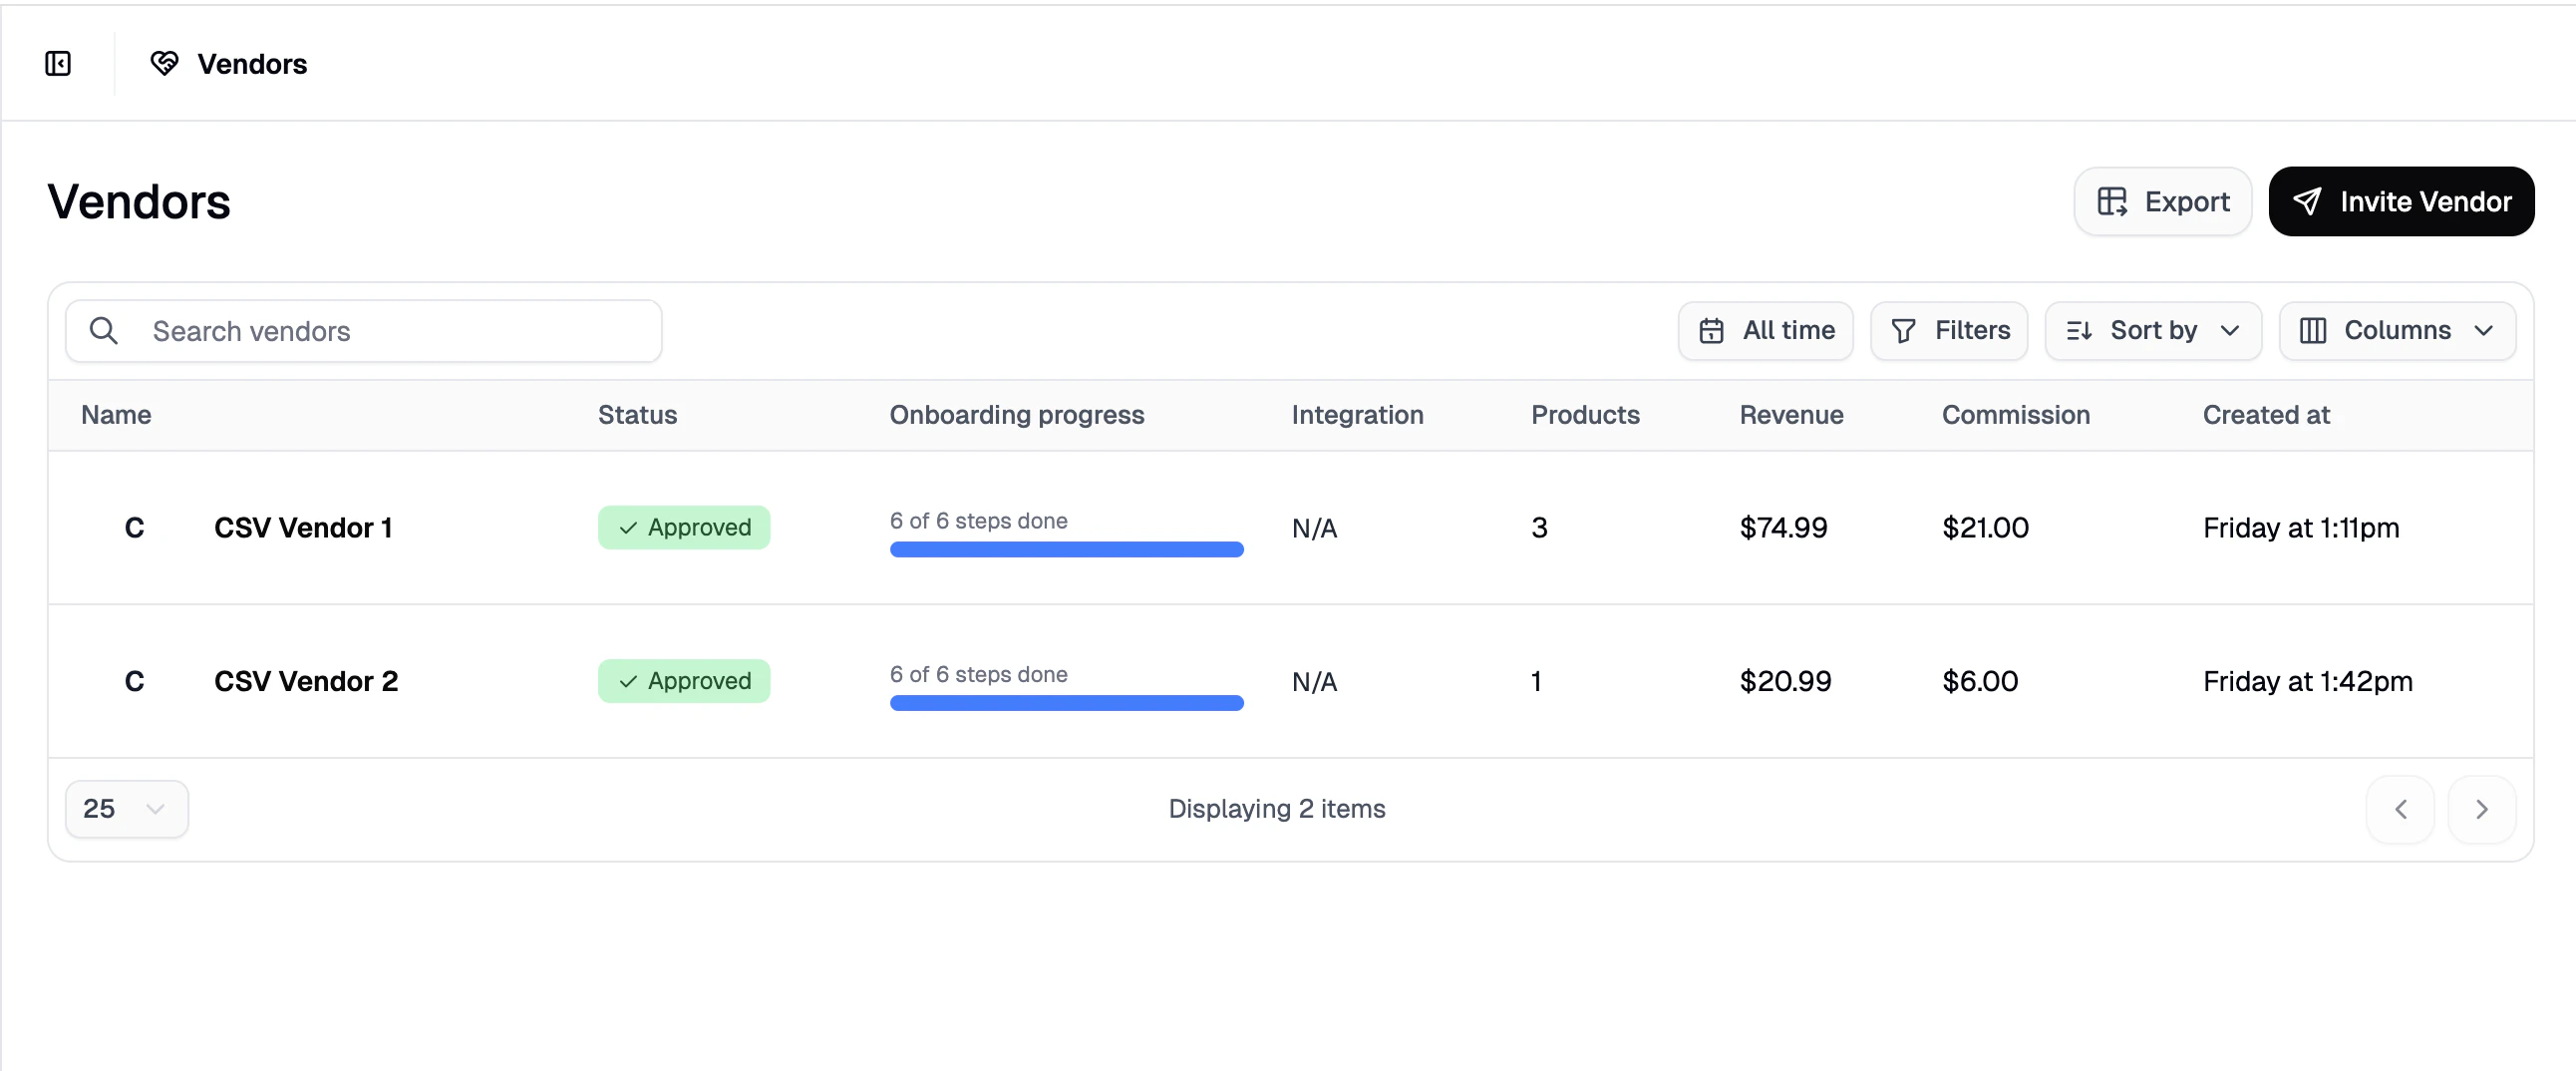
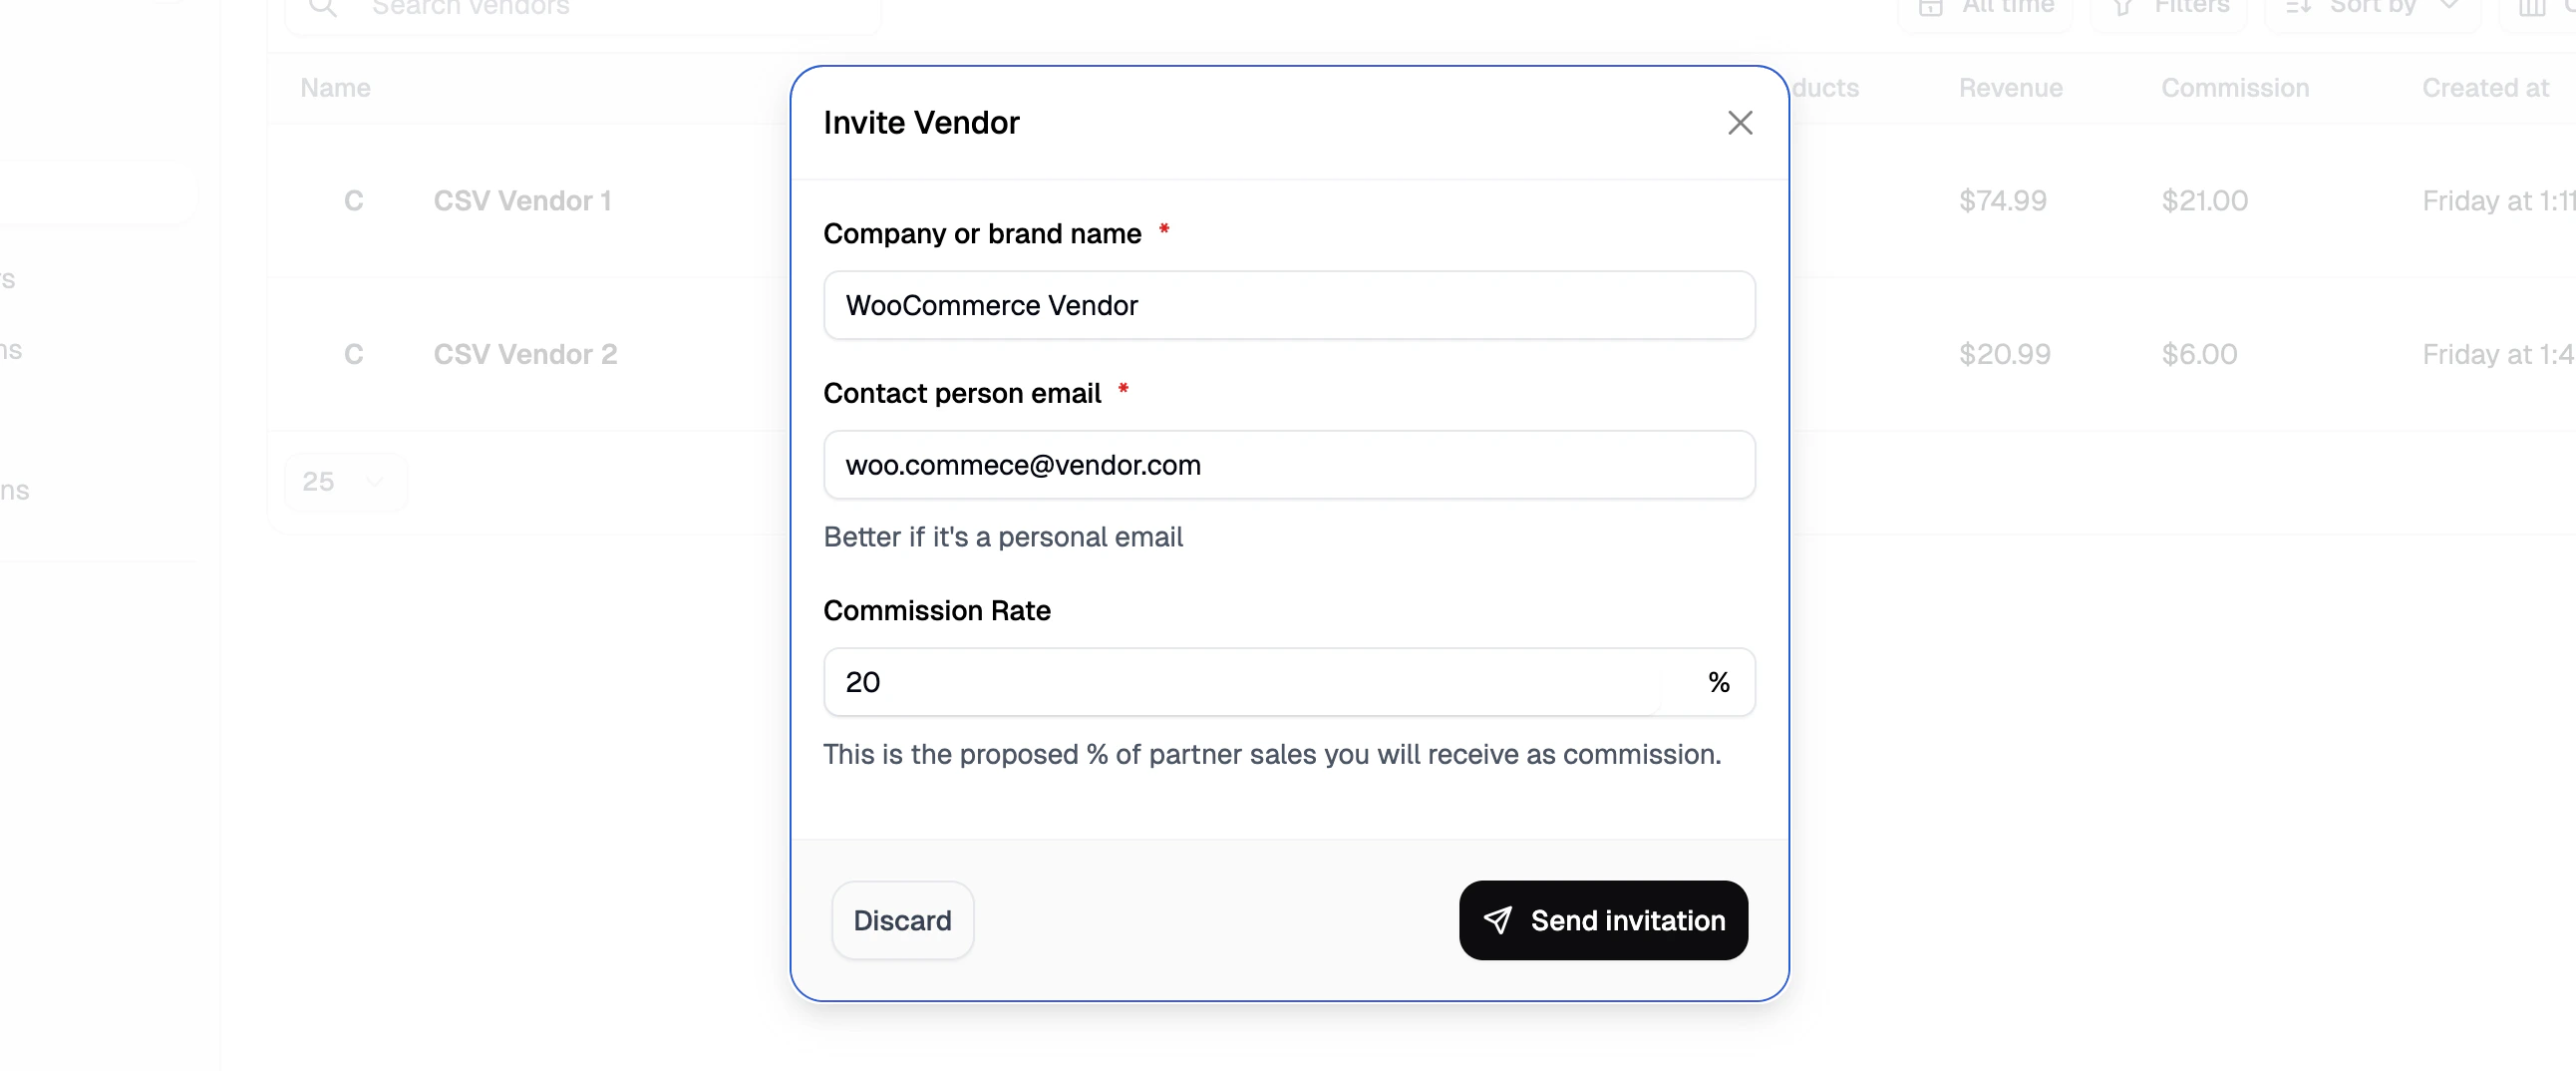
- Company Name or Brand Name - how the vendor will be displayed in the admin dashboard.
- Contact Person Email - the work email address of the person who should receive the invitation.
- Commission Rate - the pre-agreed commission rate to be shared with the marketplace.
The commission rate can be different for each vendor and updated later from the vendor’s profile.
Share the Invitation Link Manually
If the vendor doesn’t receive the email, or they prefer a different communication channel, you can copy the invitation link and send it directly. Click on the vendor in the list to open their vendor profile, navigate to the Invitations subtab, click the three-dot menu, and select Copy invitation link.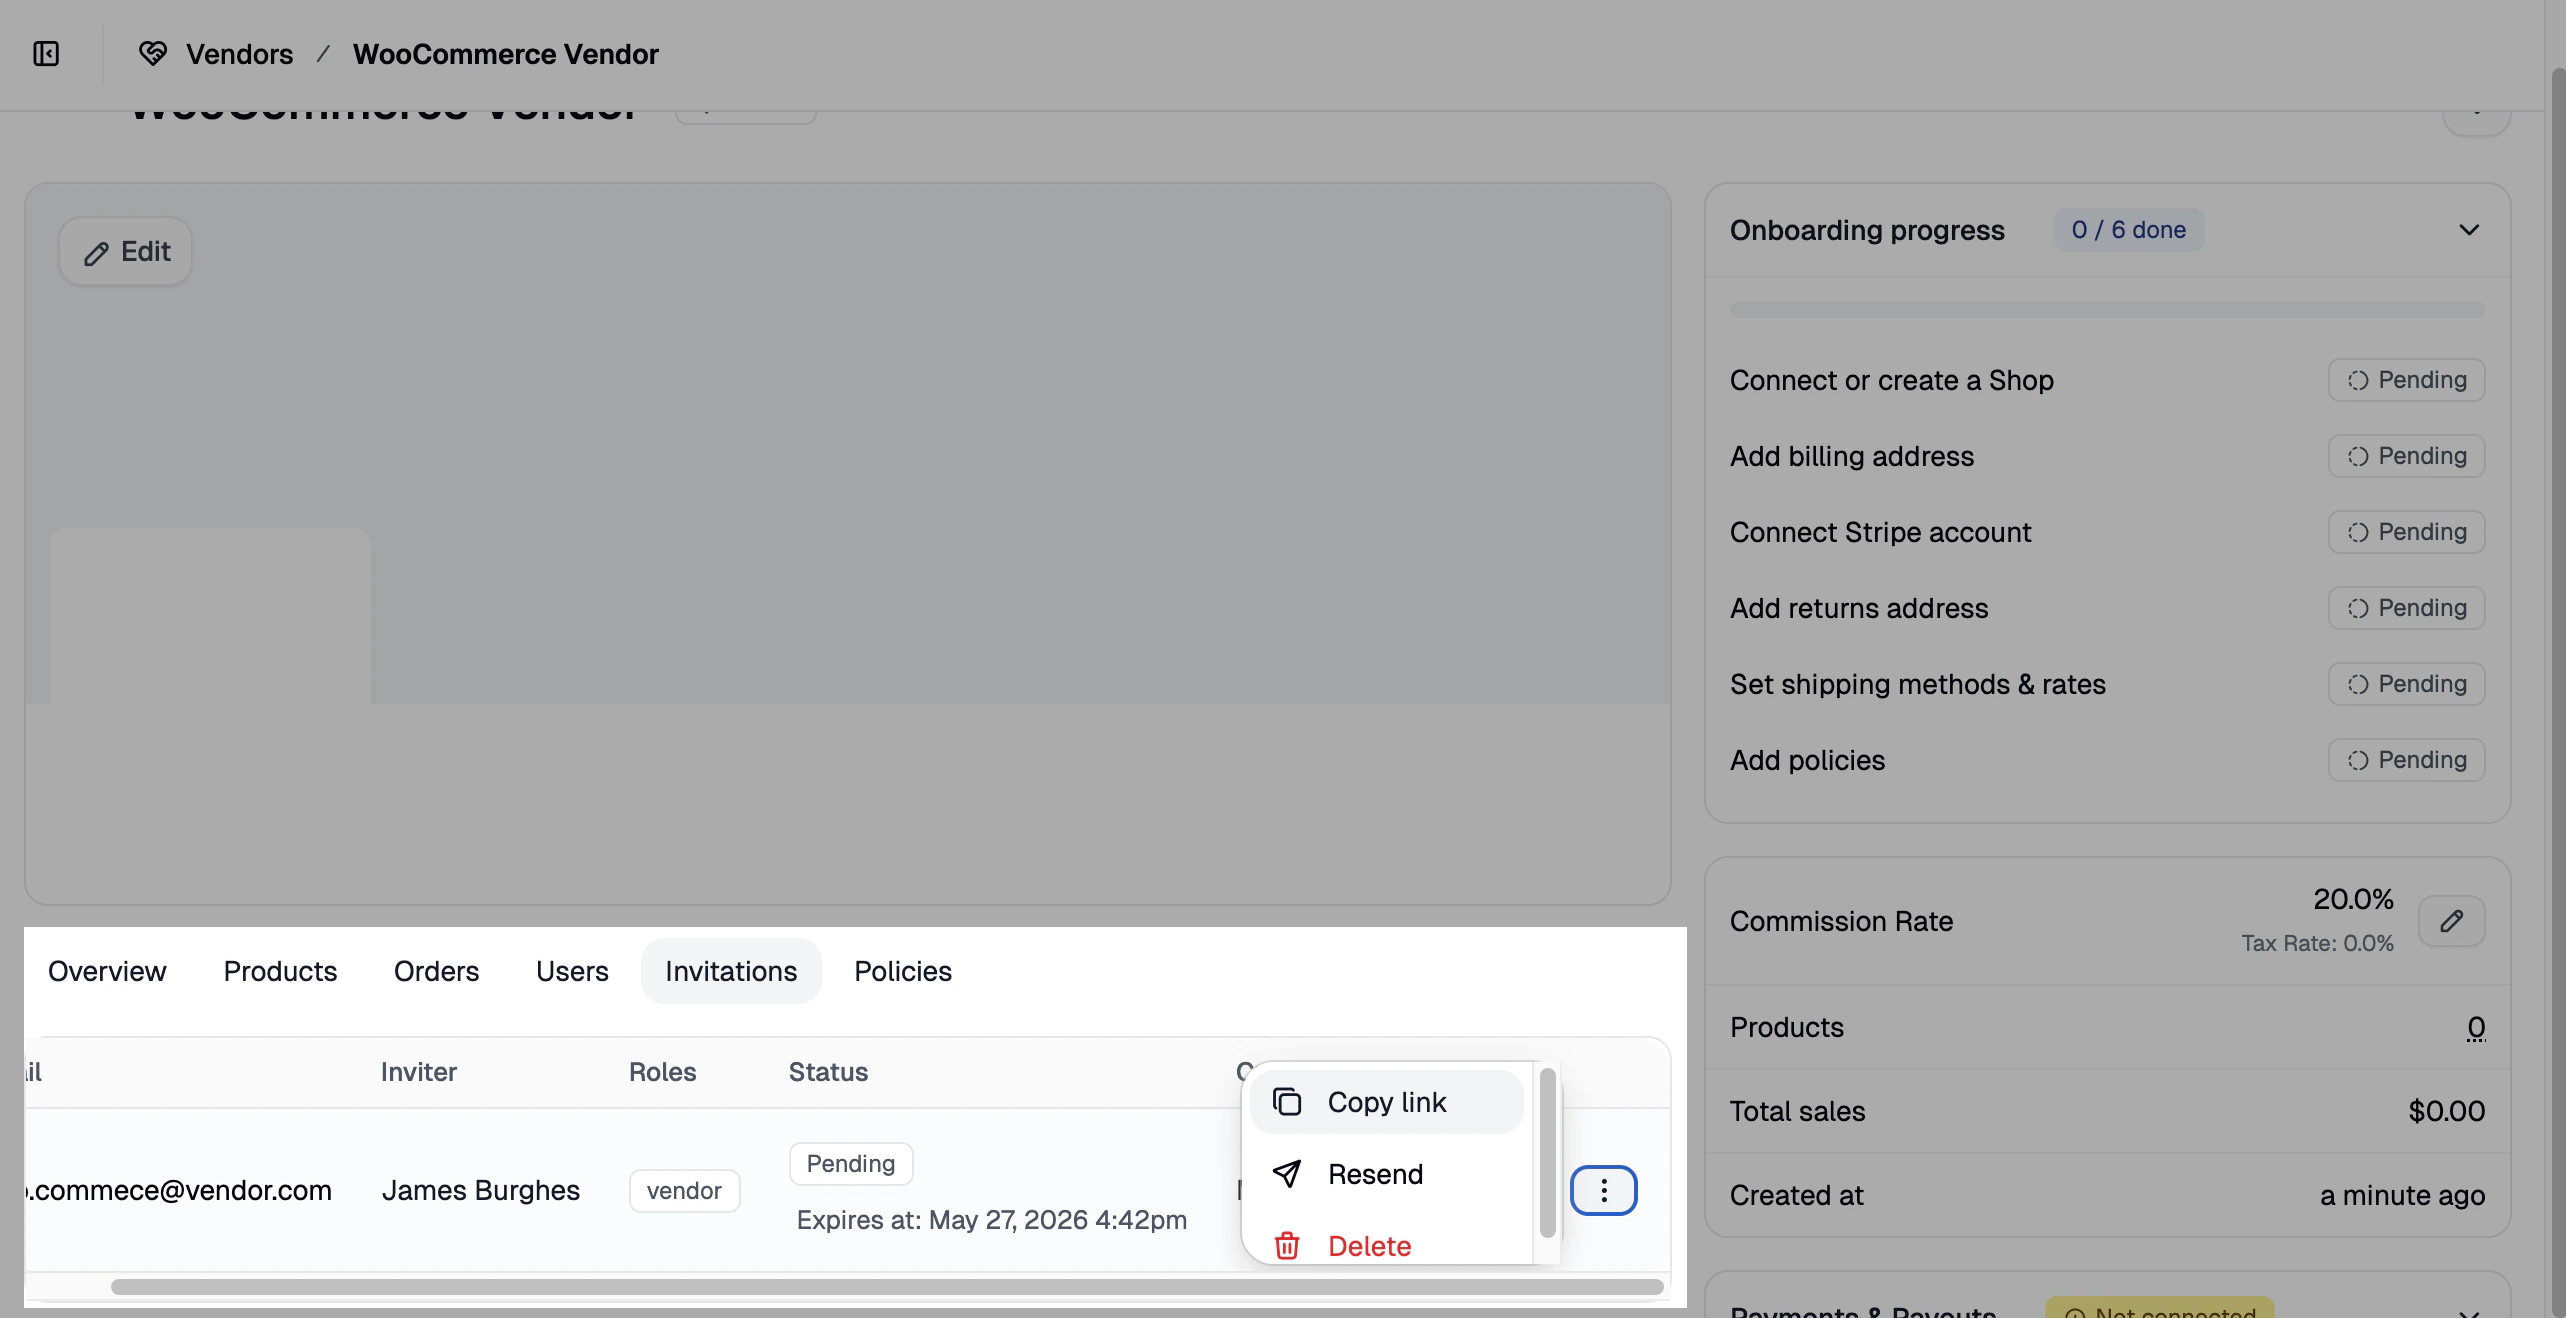
Cancel an Invitation
If you need to withdraw the invitation — whether the wrong contact was invited, the vendor’s details need correcting, or the partnership ended before they began onboarding — navigate to the Invitations subtab as above, click the three-dot menu, and select Delete.Vendor Onboarding
This section is for the vendor. Once you’ve received the invitation from the marketplace owner, follow these steps to connect your WooCommerce store and complete your onboarding.1. Accept the Invitation
You’ll receive an email invitation from the marketplace owner with a link to get started. Click the link to be directed to your vendor account creation page.2. Create Your Vendor Account
Fill in the sign-up form to create your vendor account, then click Create Account.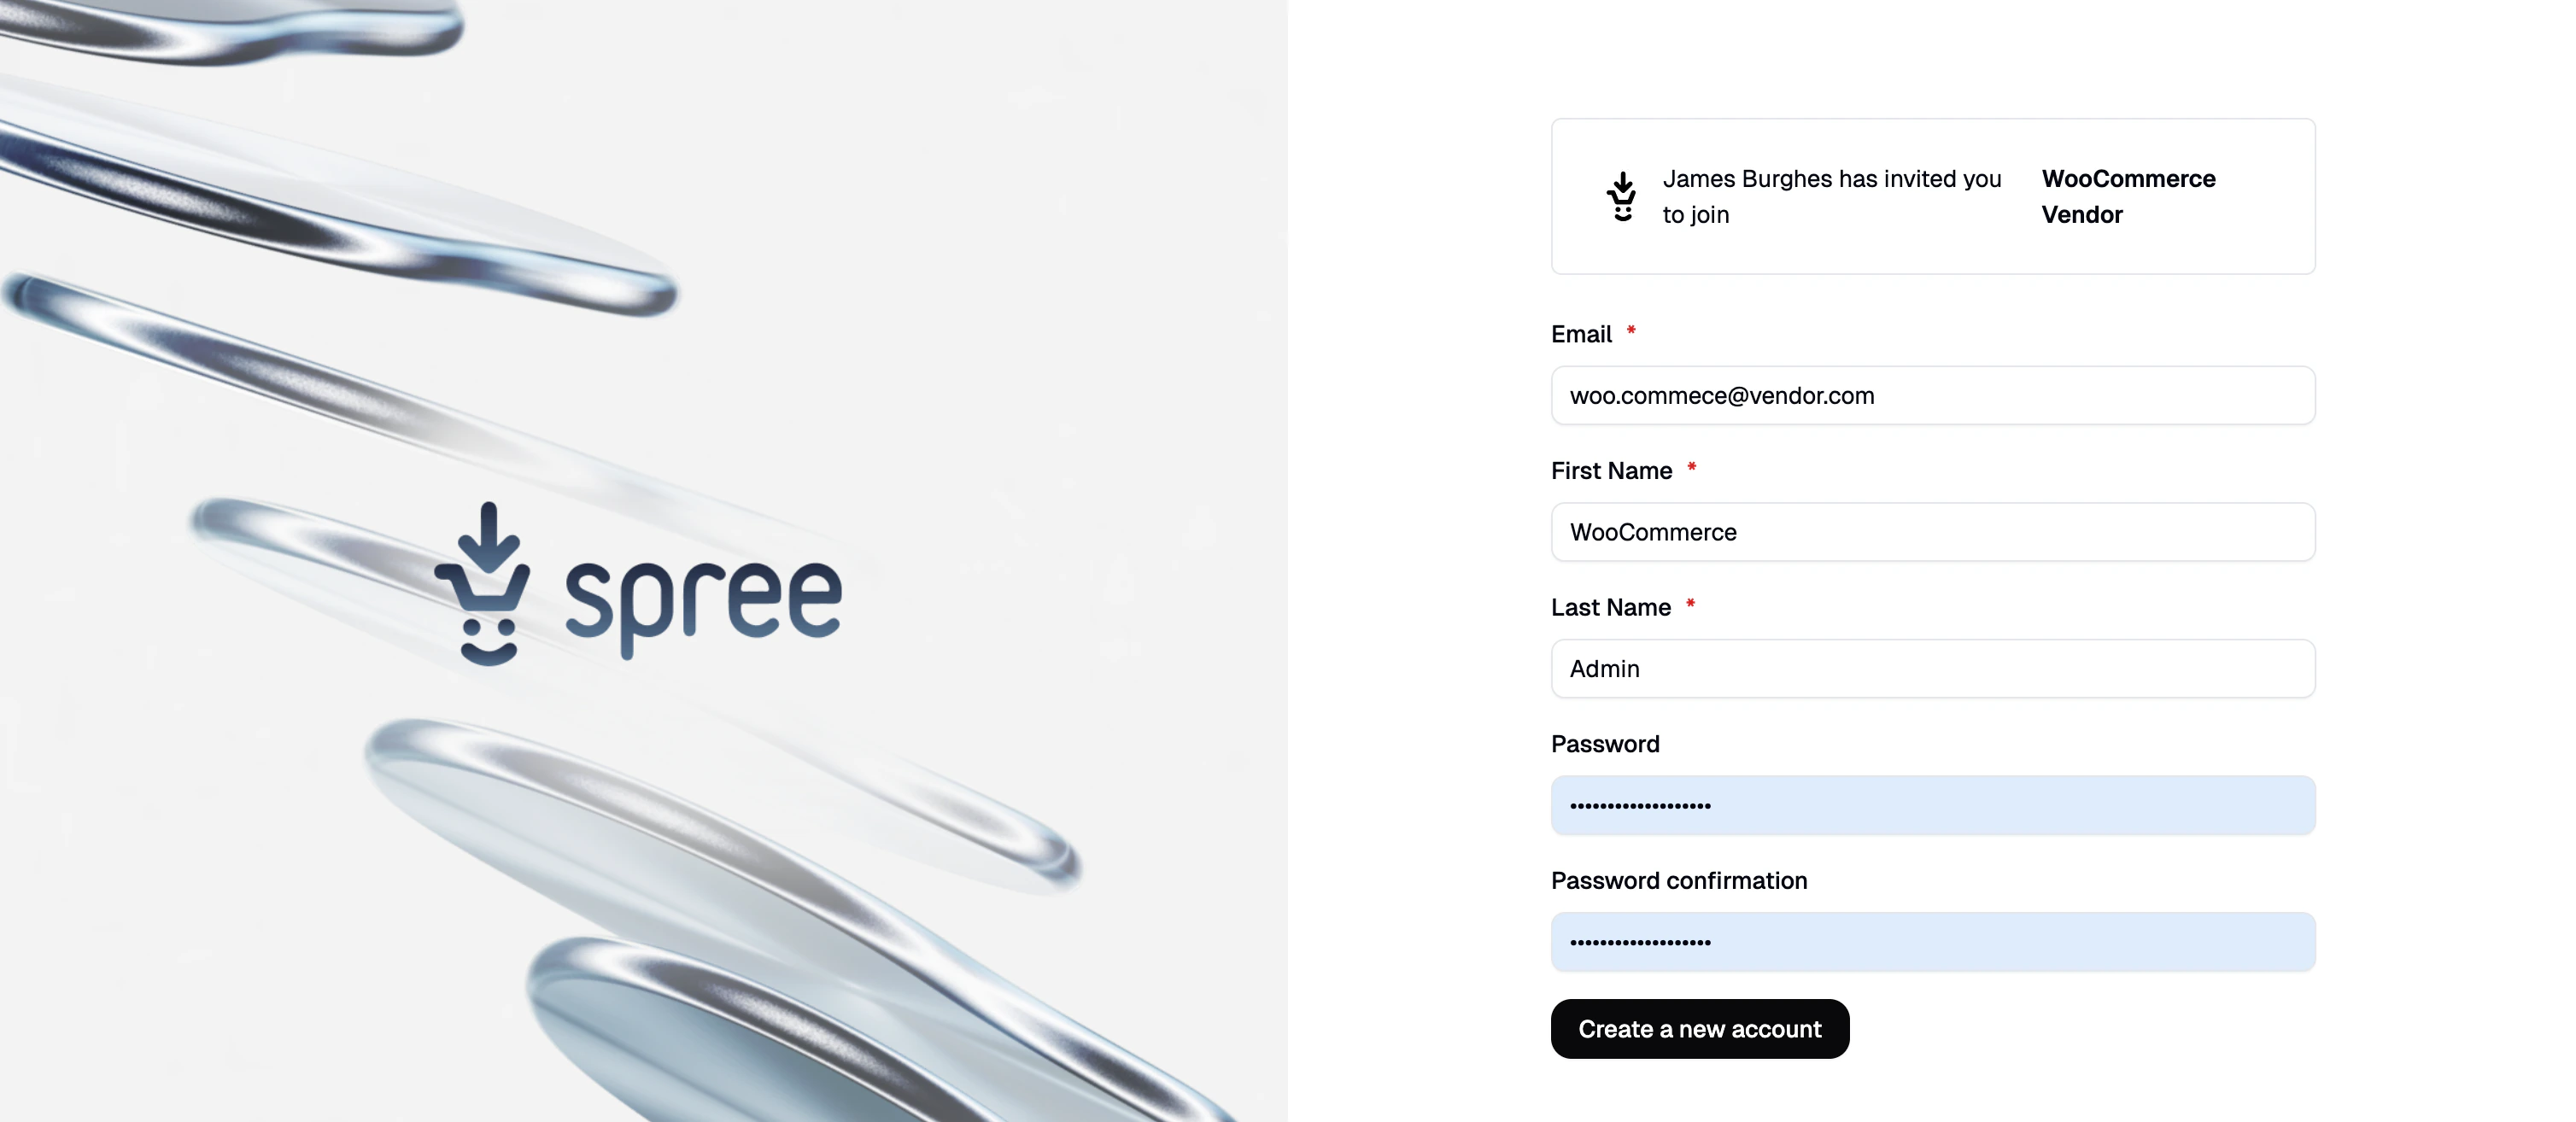
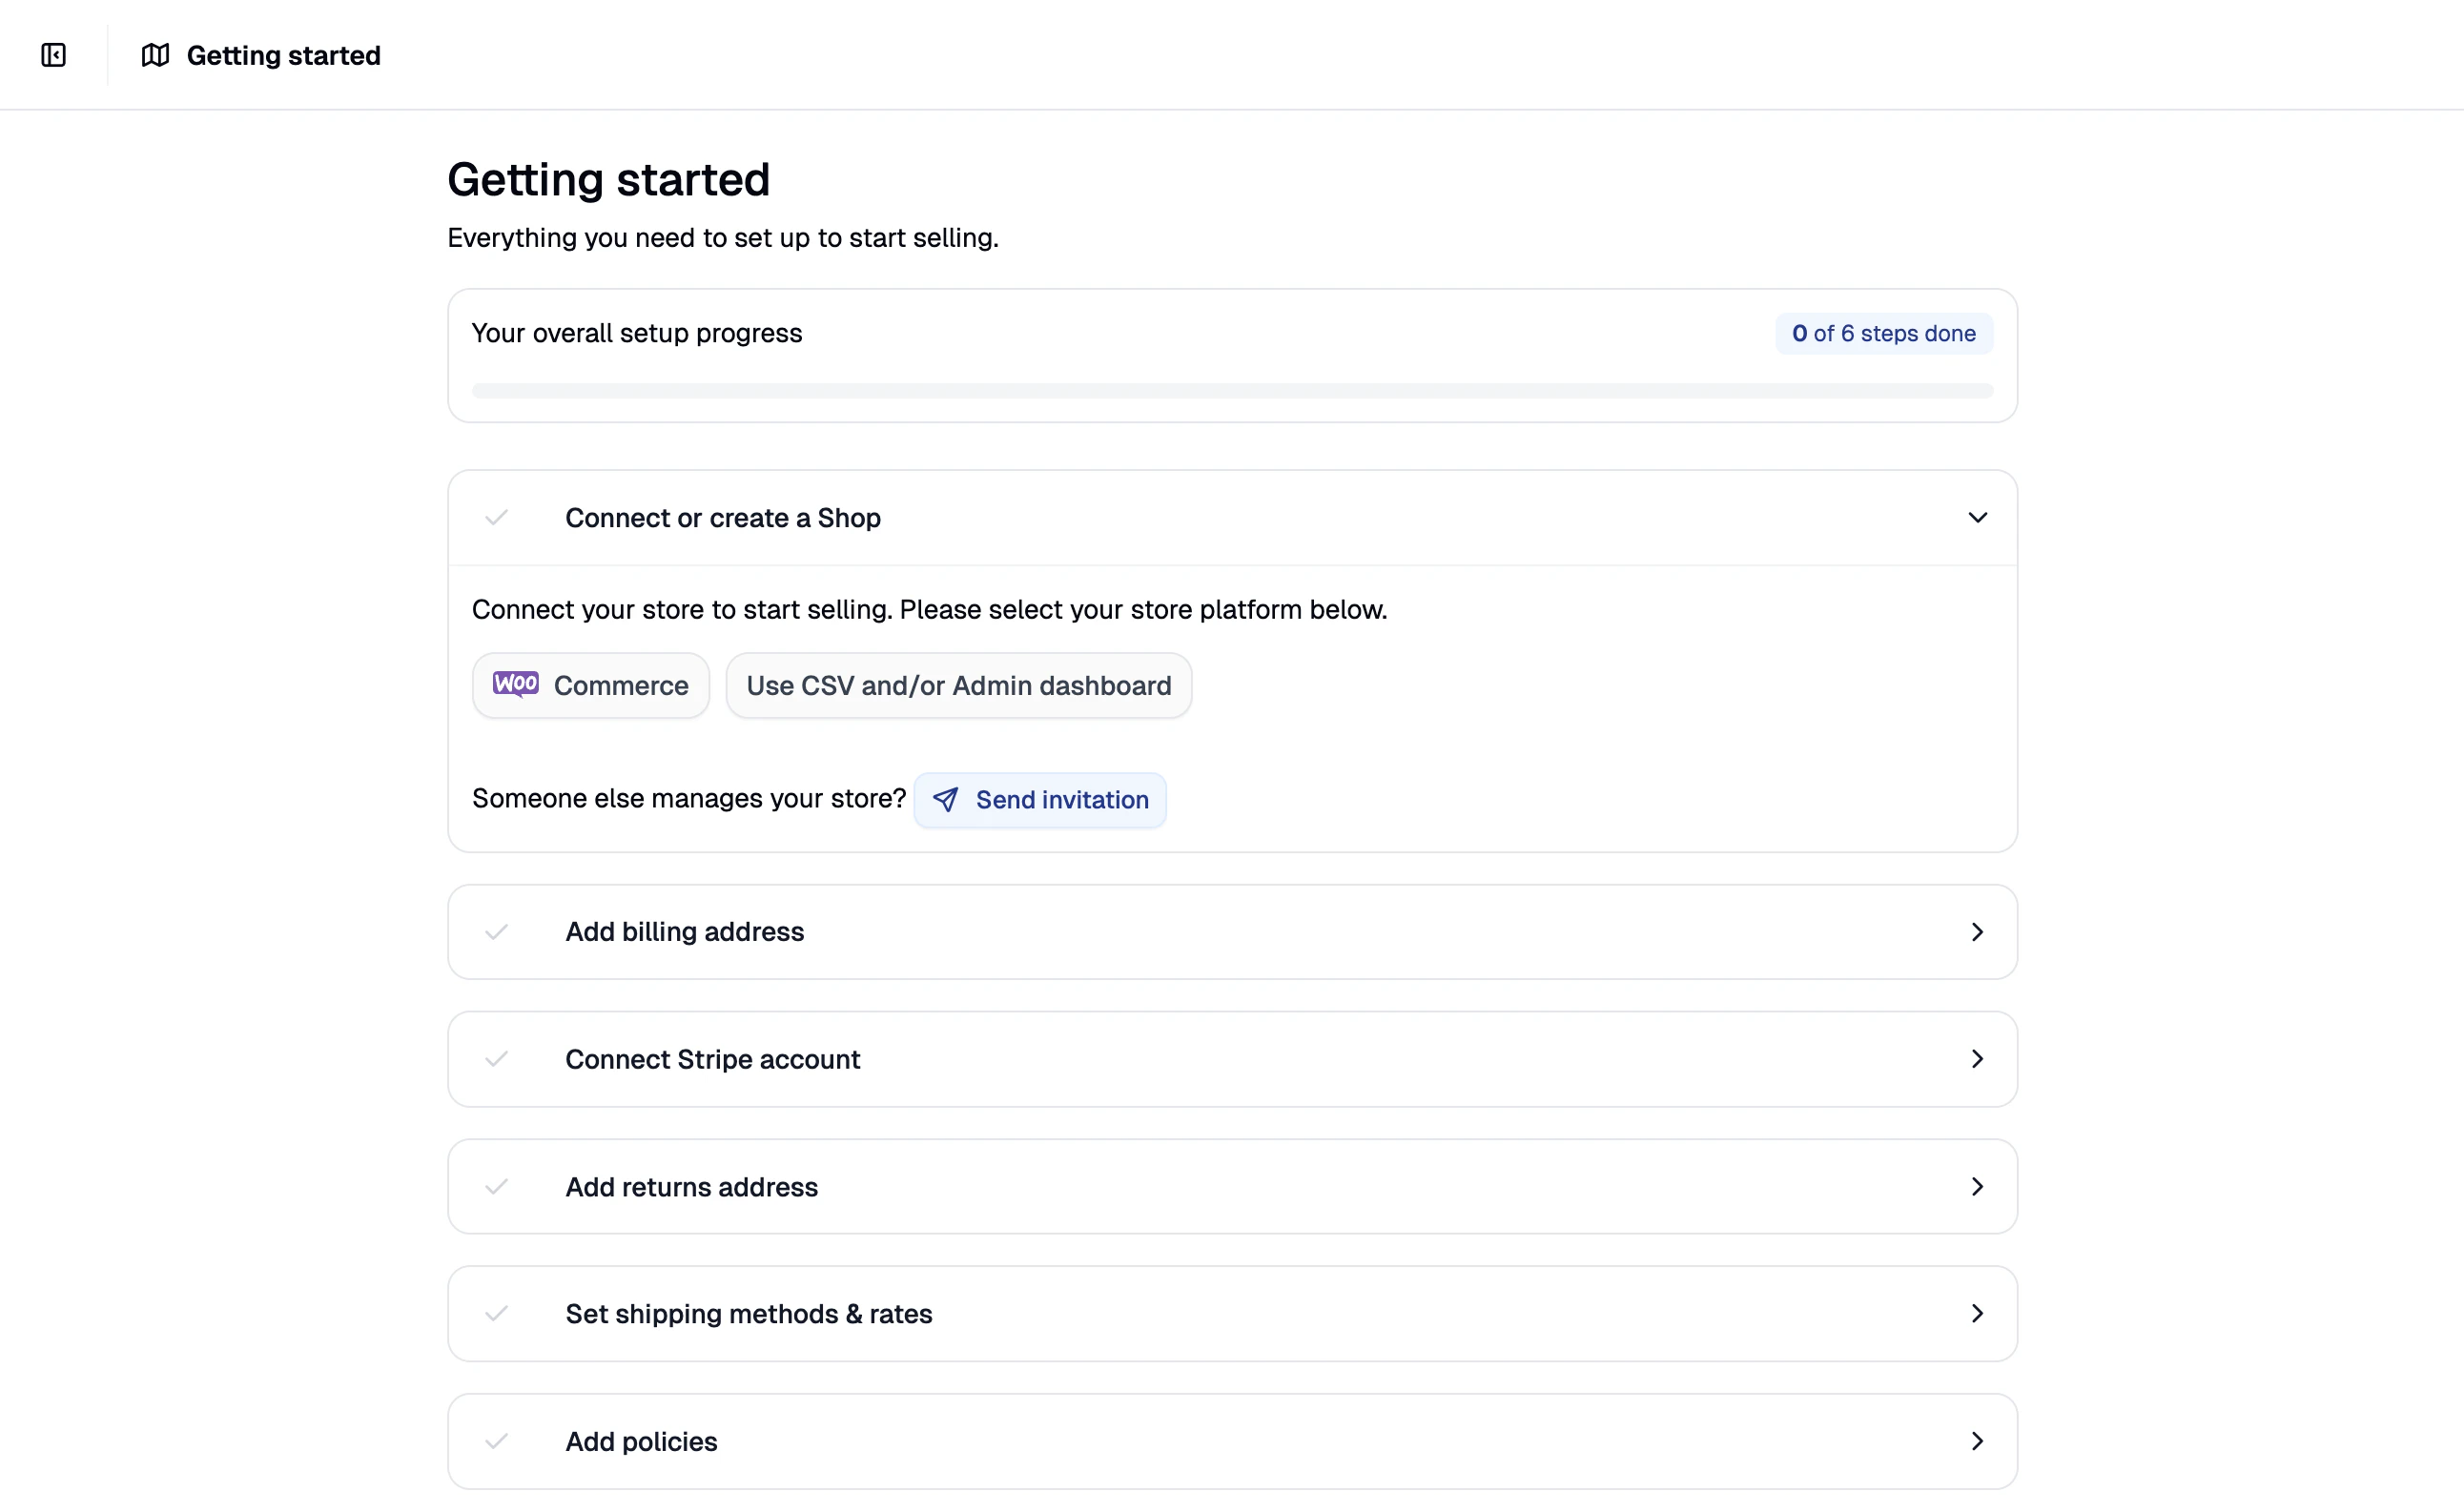
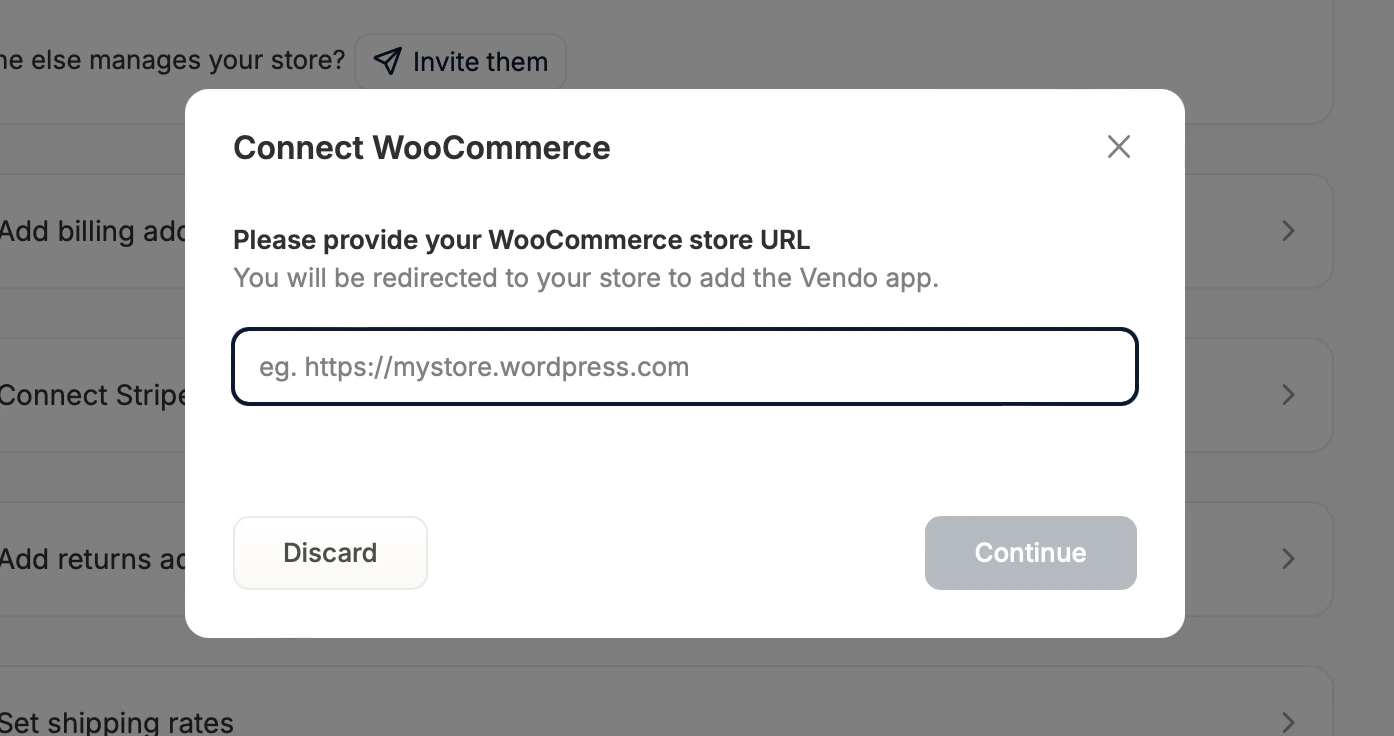
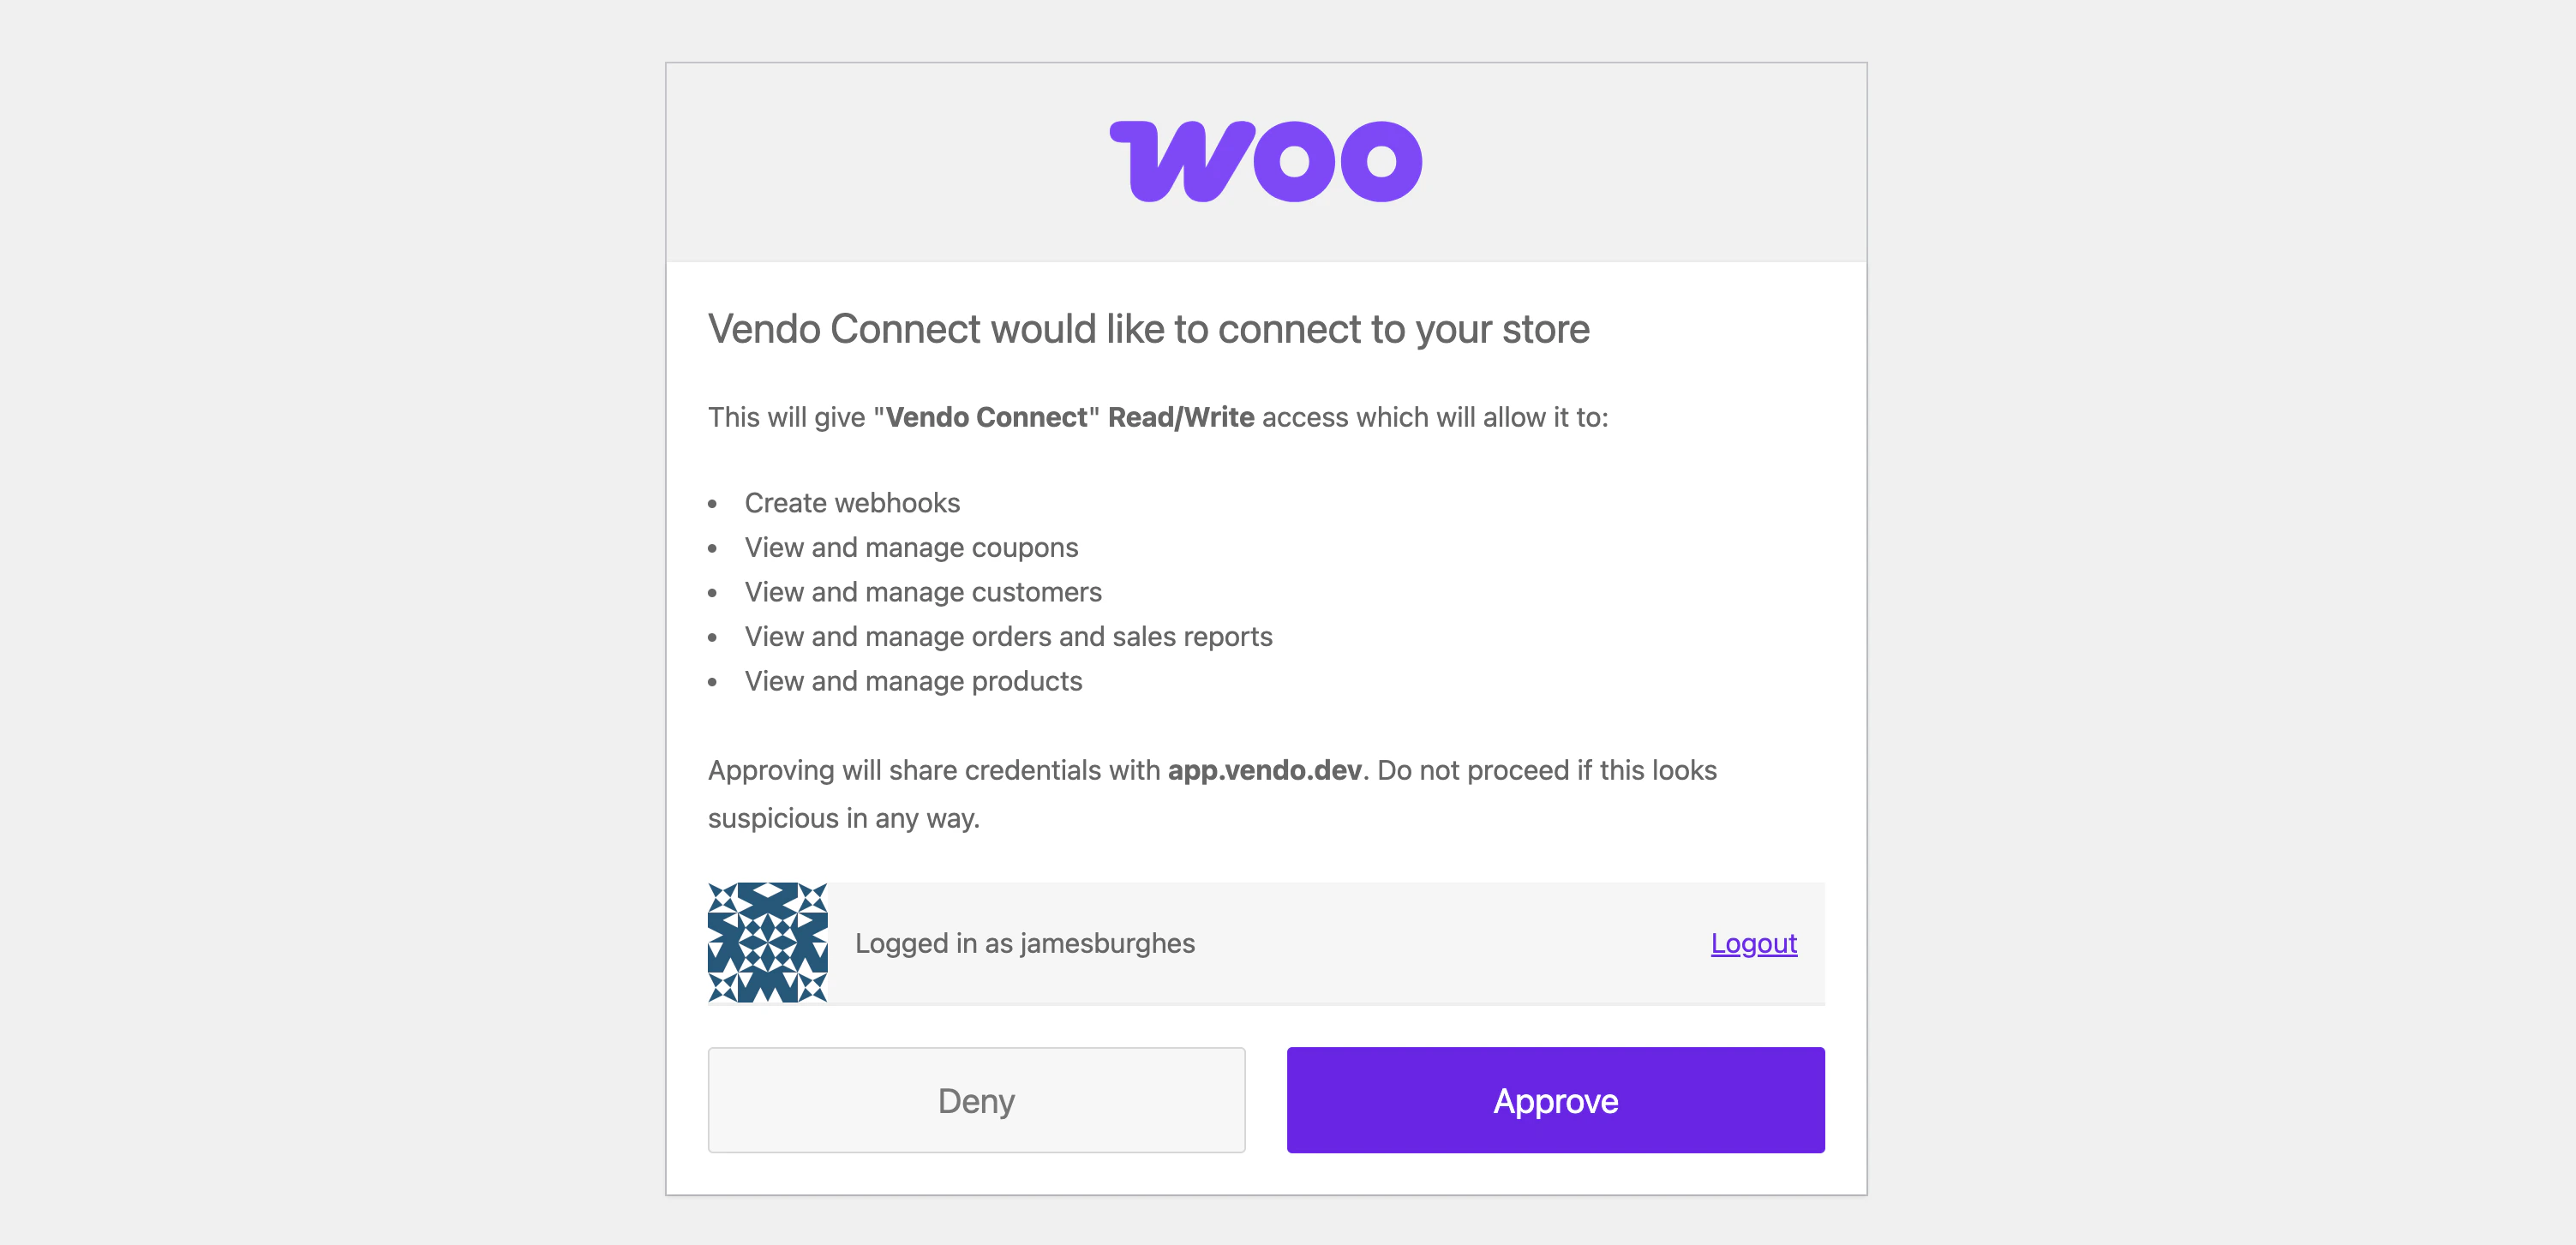
3. Connect Your WooCommerce Store
Click on the Connect or Create a Shop task in the checklist, then click WooCommerce.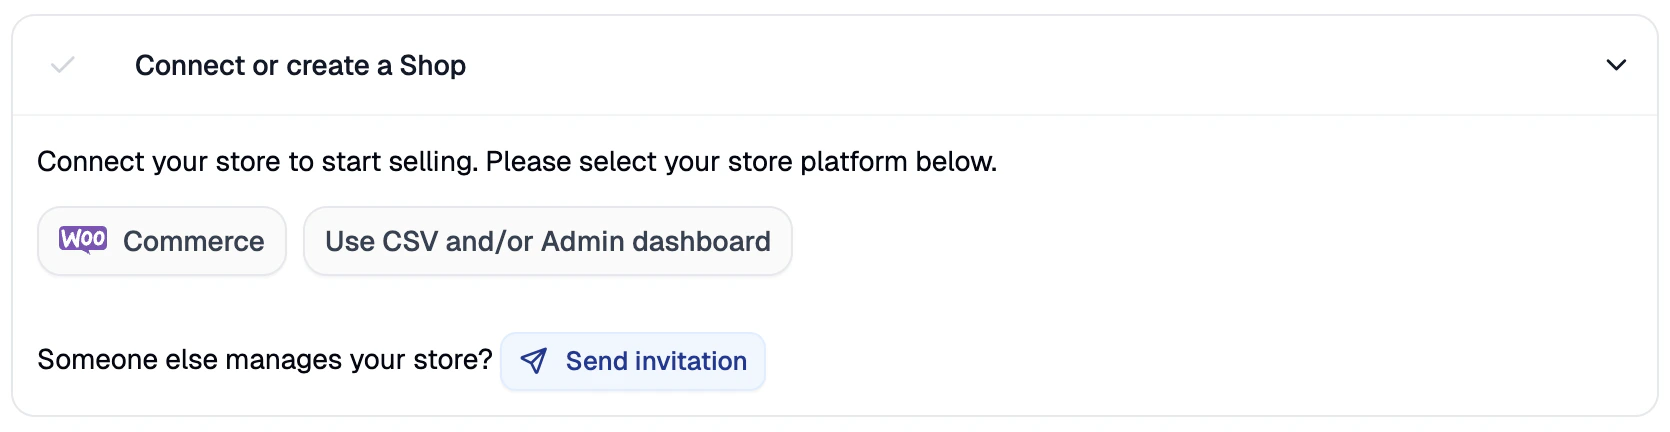
4. Complete Your Remaining Onboarding Tasks
With your store connected, you’ll still need to complete a few more tasks before you can start selling.Add Billing Address
Your company’s billing address is needed for vendor payouts and invoices. Click on the task in your checklist, fill in the form, and click Save.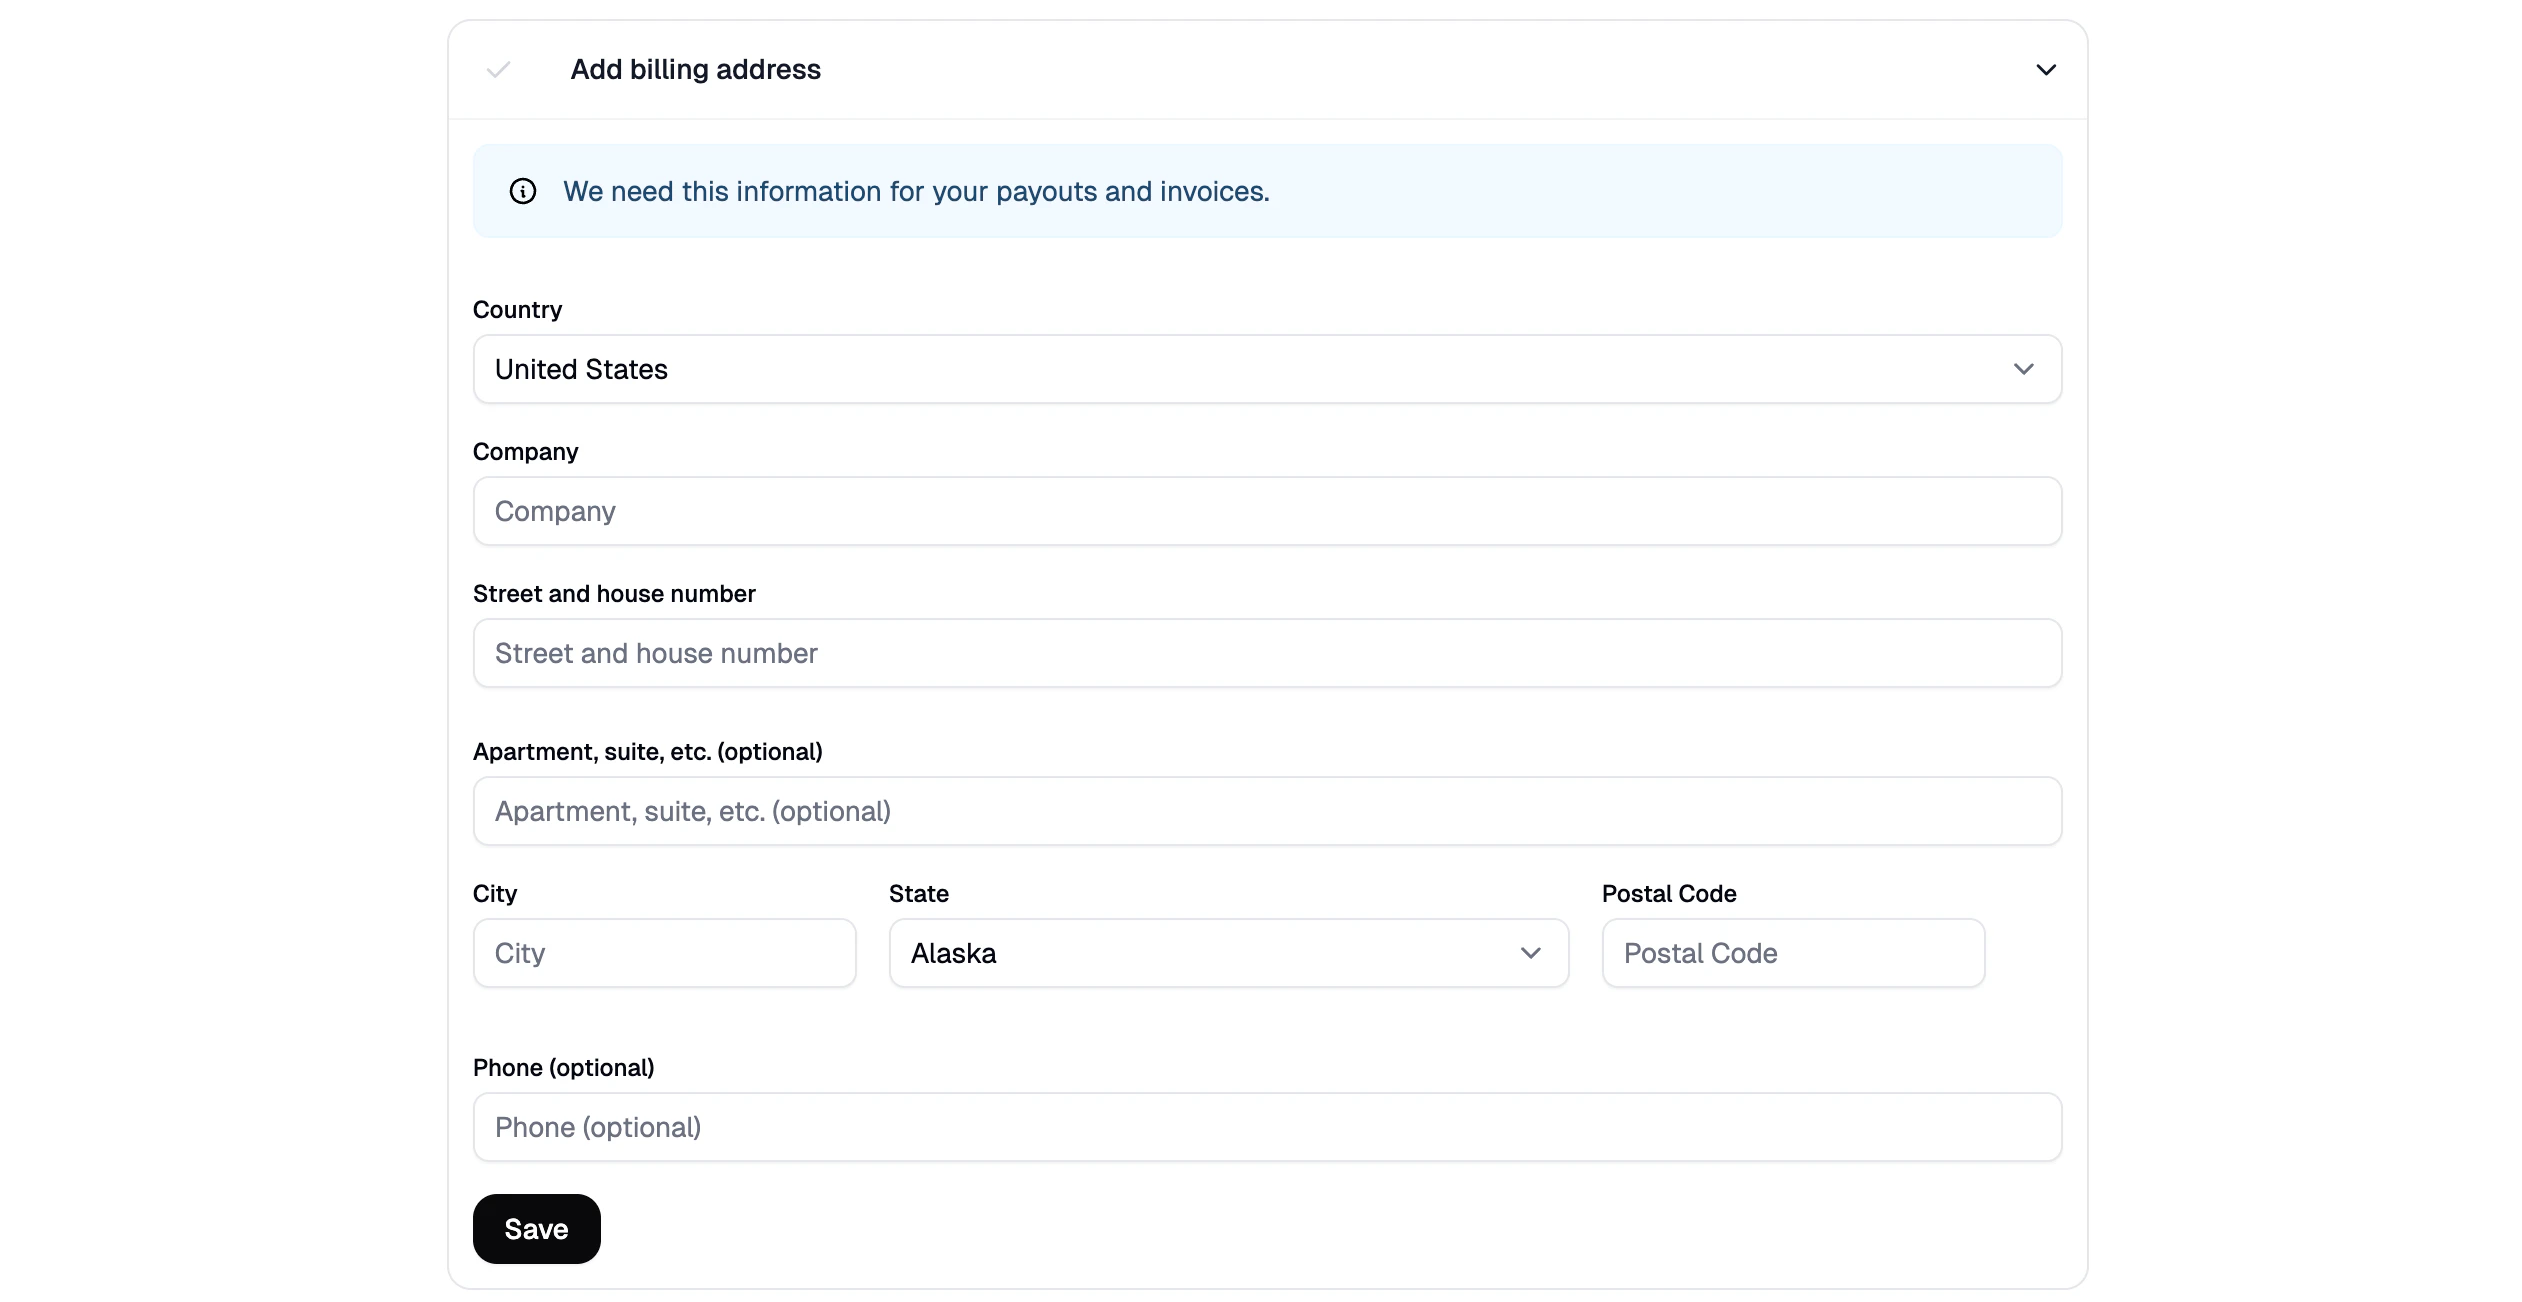
Connect Your Stripe Account
Stripe is used by the marketplace to process payments and send your payouts. To receive your earnings, you’ll need to connect a Stripe account.- Click on Connect Stripe Account in your onboarding checklist.
- Click Connect your bank account to be guided through Stripe’s short onboarding process.
- Follow the Stripe prompts to set up a new account or connect an existing one.
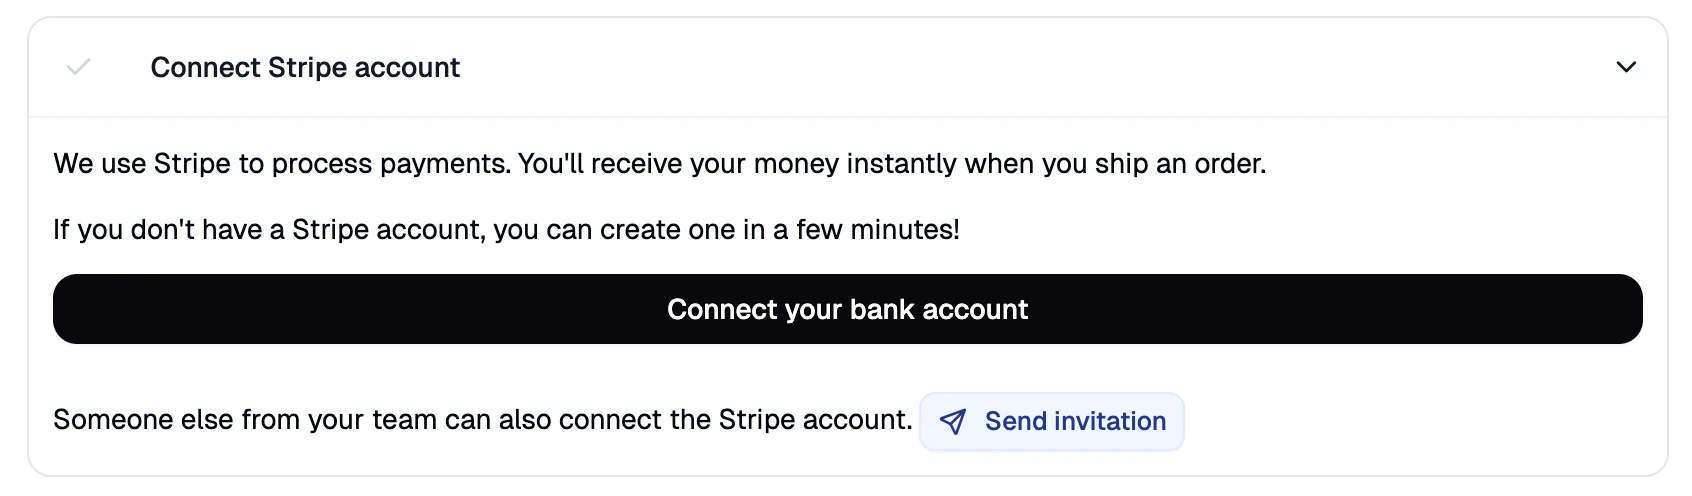
If you’re not the one handling your company’s financials, you can invite another team member to complete this step instead.
Add Returns Address
A returns address ensures customers know where to send returns. Click on the task in your checklist, enter your company’s return address, and click Save.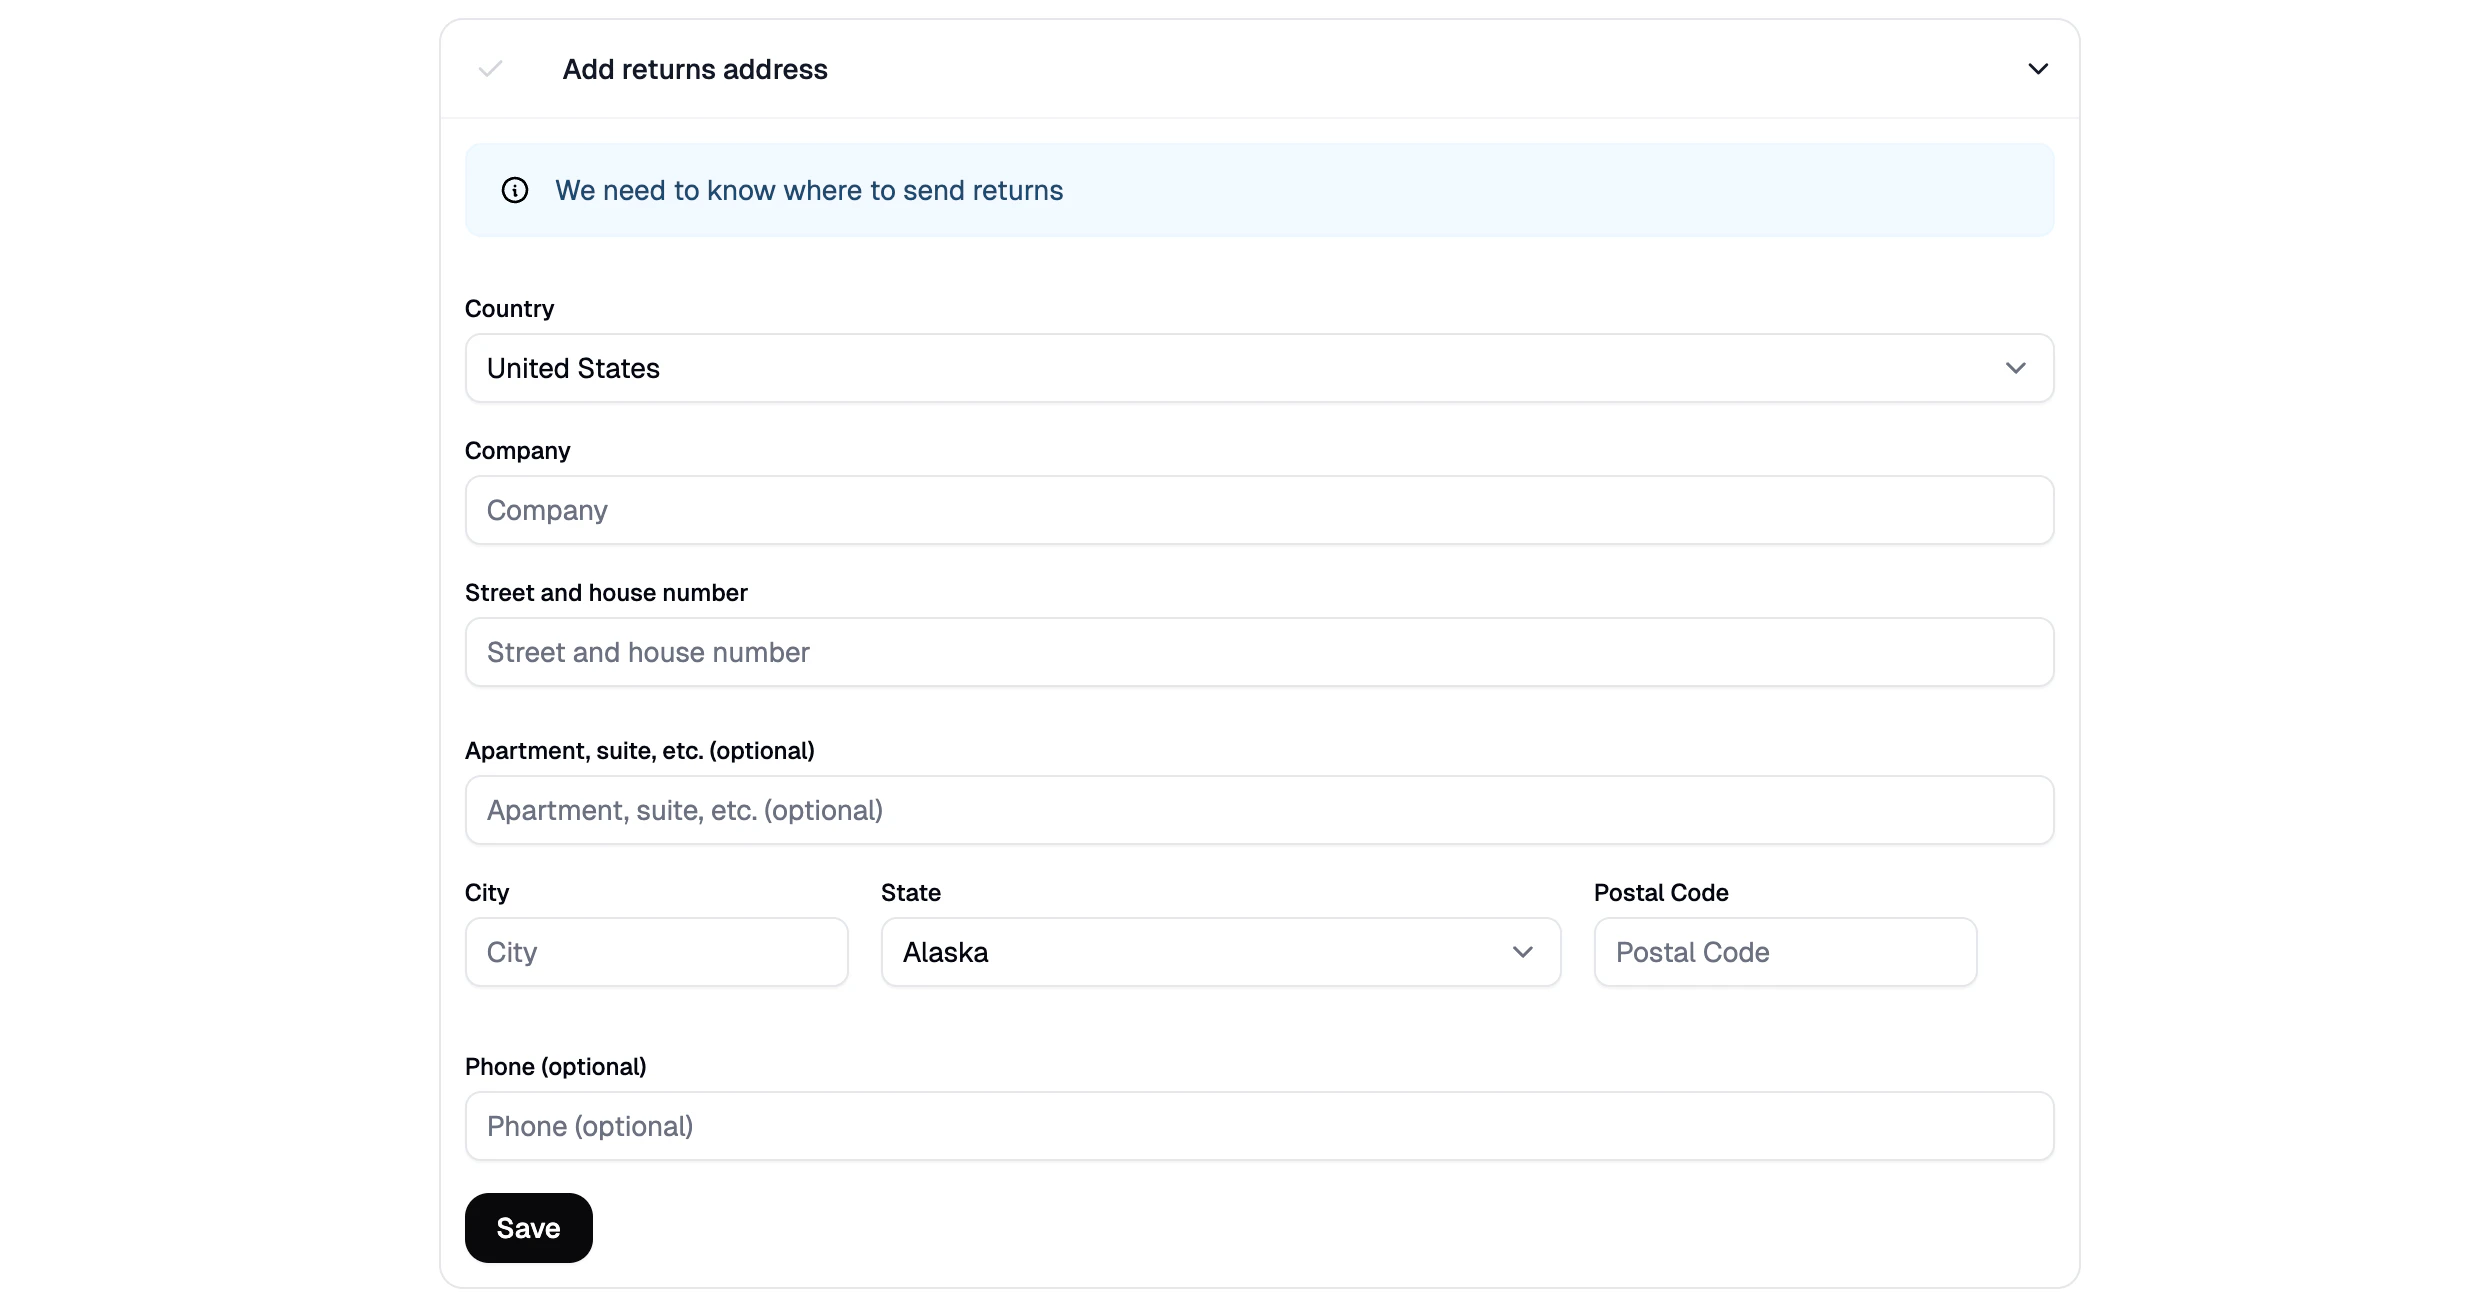
Set Shipping Rates
Your WooCommerce shipping methods are synced to the marketplace automatically, but rates aren’t — you’ll need to set them manually. Click on the Set Shipping Rates task, then click Manage Shipping Rates to be taken to the Settings → Shipping section of your vendor dashboard. Set the rate for each shipping method, then click Confirm Shipping Rates in the top right corner.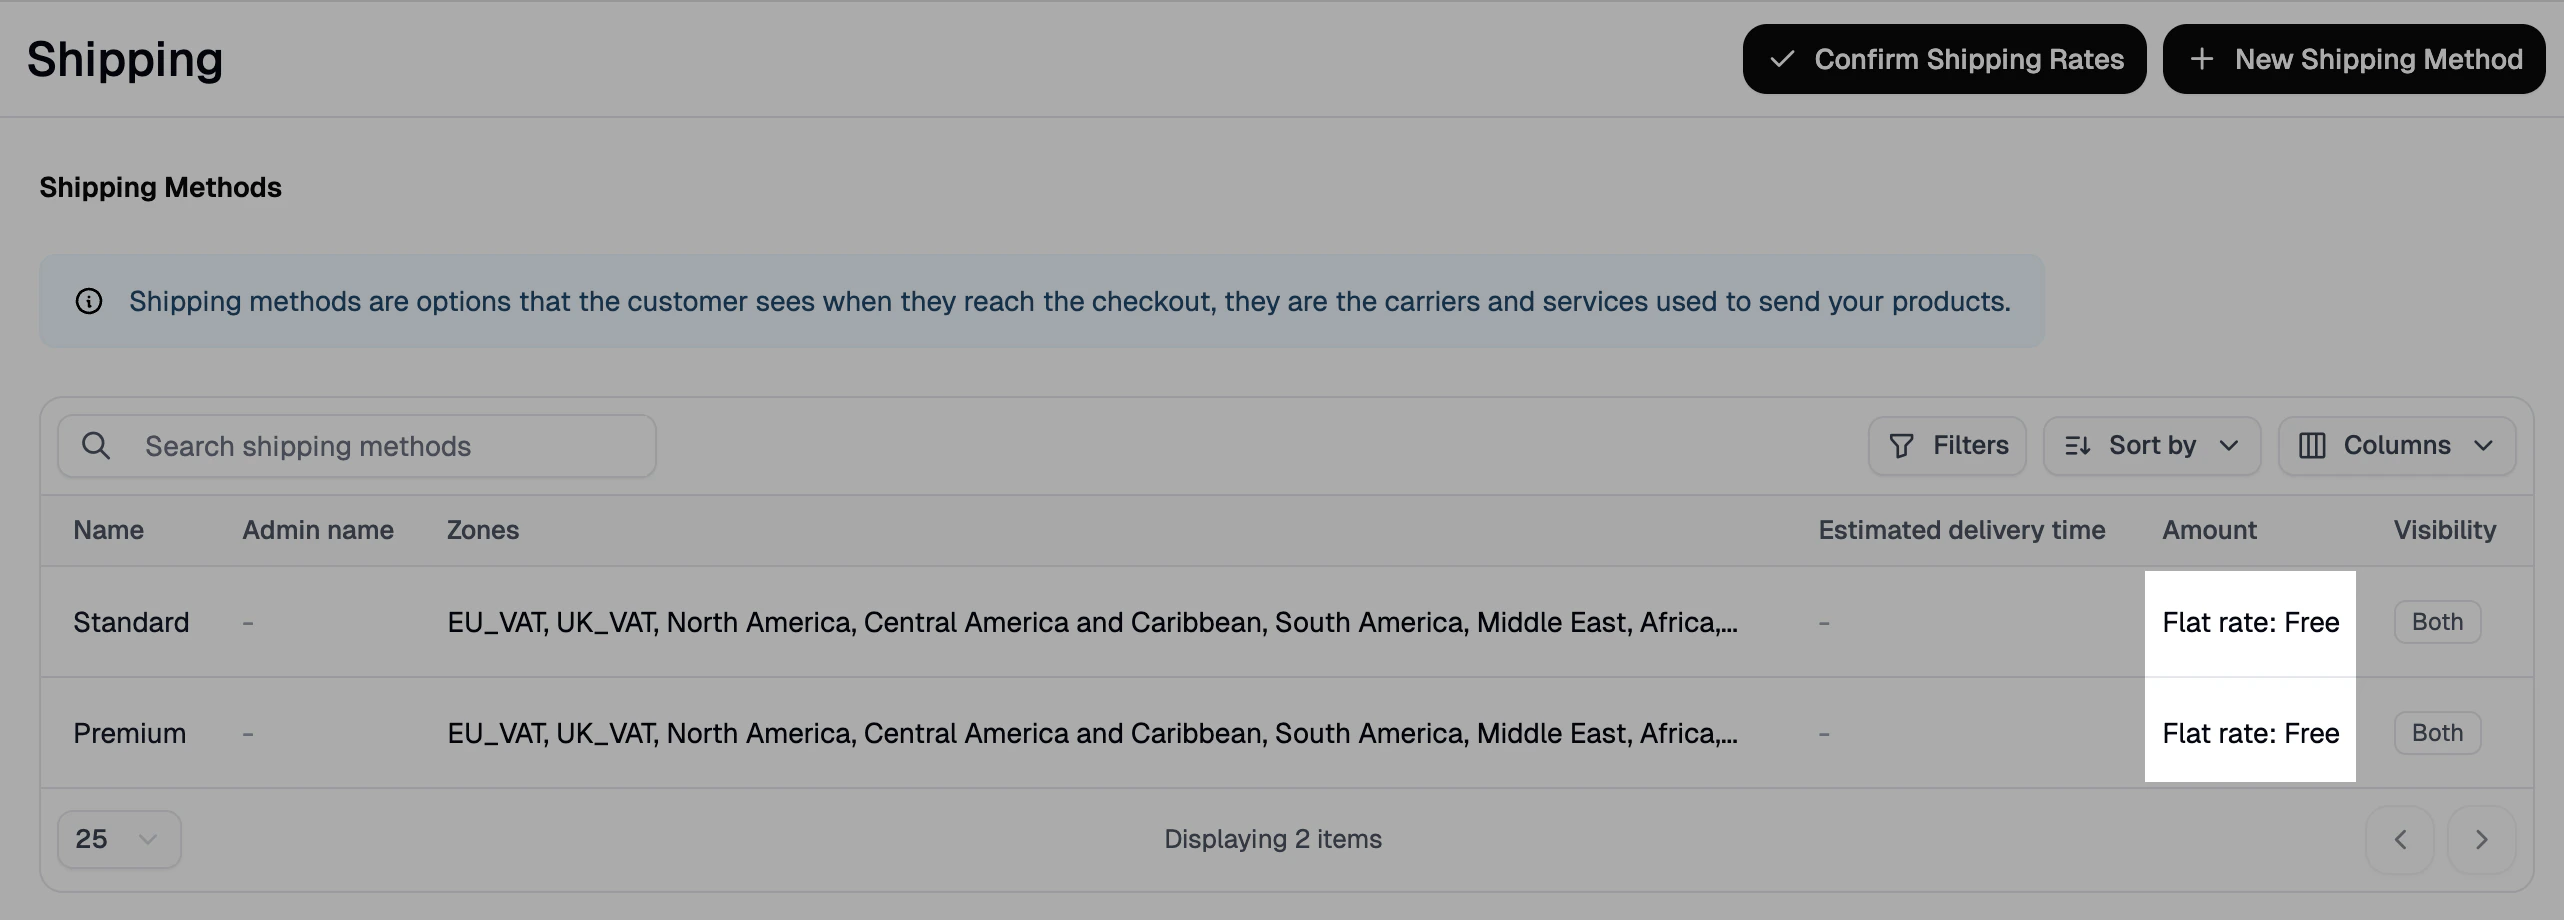
You can edit existing shipping methods or add new ones at any time after onboarding is complete.
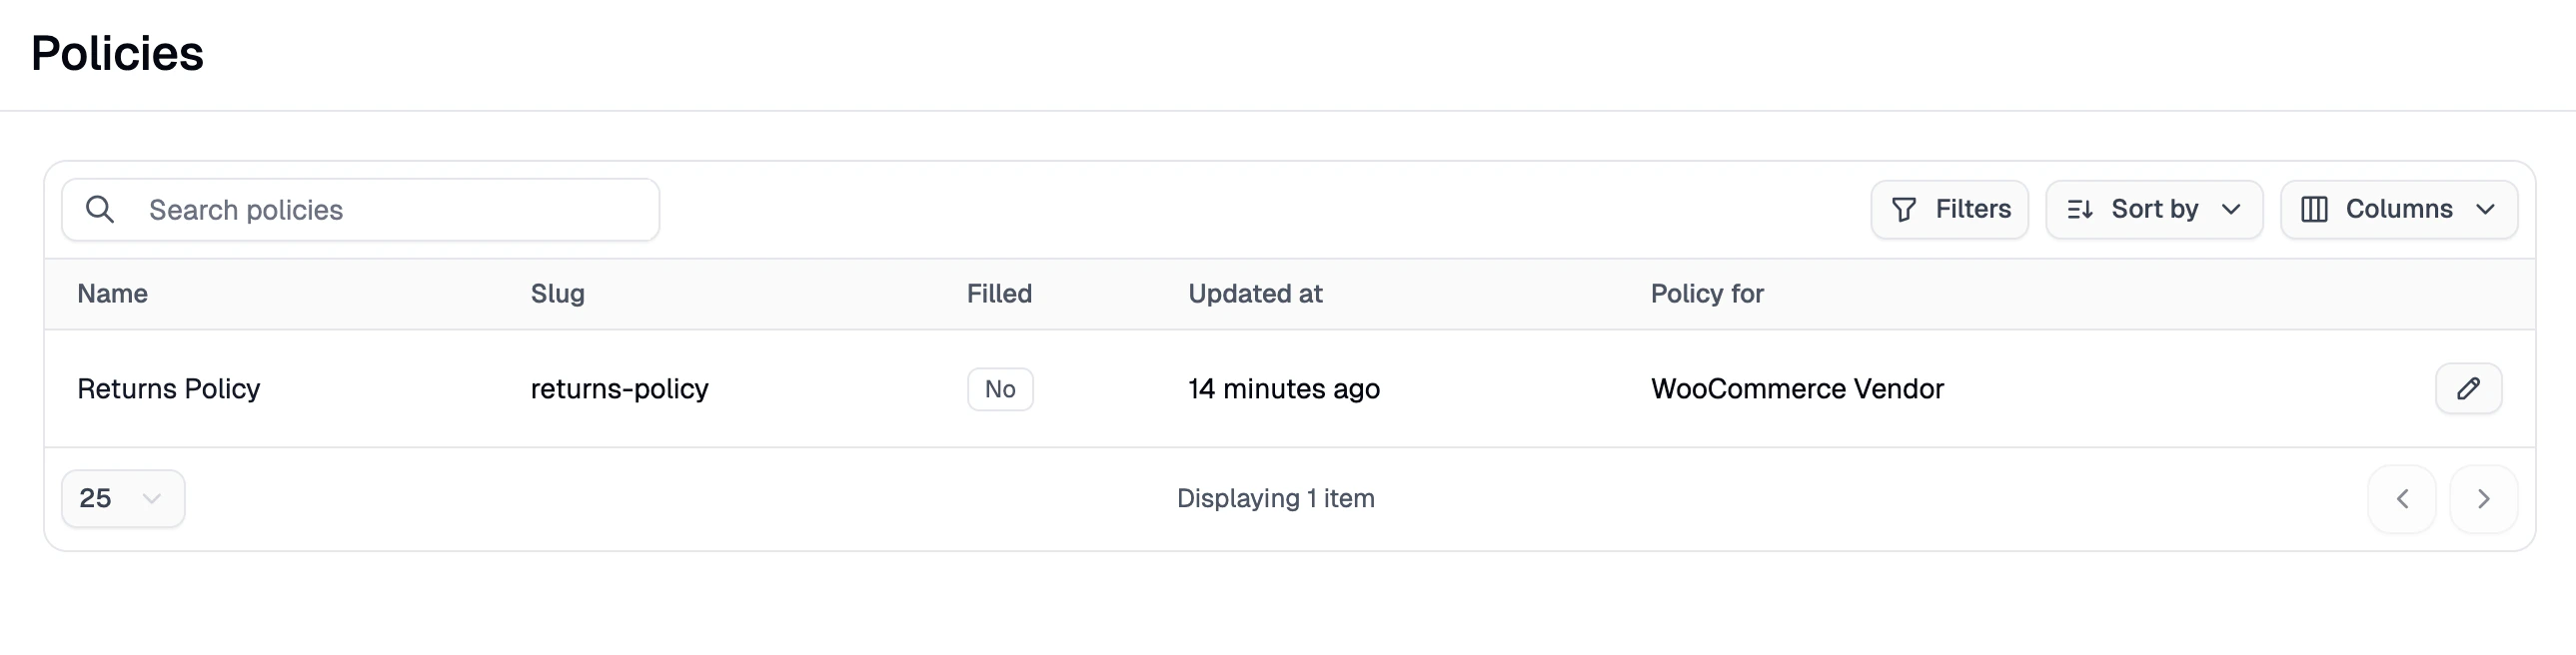
Add Policies
Clear policies build customer trust, sets clear expectations, and helps prevent disputes over shipping, returns and refunds.- Click on Add Policies in your onboarding checklist to be redirected to Settings → Policies.
- Click on the policy you like to update.
- Add content to the field in the policy editor.
- Click Save.
What Syncs Between WooCommerce and the Marketplace
Once your WooCommerce store is connected, the following data syncs automatically:- Active products are imported into the marketplace catalog.
- Inventory levels sync in both directions in real-time.
- Shipping methods sync from WooCommerce to the marketplace — note that rates do not sync and must be set manually in your vendor dashboard.
- Orders placed on the marketplace appear in your WooCommerce dashboard for fulfillment, just like normal WooCommerce orders.
- Fulfillment status and shipment tracking sync back to the marketplace and trigger customer notifications automatically.
- Price updates made in WooCommerce sync to the marketplace.
- Content updates (descriptions, images) sync to the marketplace, unless the marketplace owner has edited them.