Why use Customer Groups?
On their own, groups are just lists. The value comes from what you attach to them — and how Spree uses group membership to automatically personalise what each buyer sees. Pricing tiers — By pairing a customer group with a Price List, every member of that group automatically sees their correct prices the moment they log in. The Price List can override base prices across your entire catalog, or just on specific products. You can have as many groups and price lists as you need — one per customer tier, one per named account, or one per region — and Spree applies the right one without any manual work. When you add a new customer to a group, they inherit the pricing immediately. Exclusive promotions — Promotion rules can be restricted to specific customer groups, so a discount code or automatic offer only applies to the customers it’s meant for. Useful for loyalty rewards, trade-only offers, or onboarding incentives for new wholesale accounts. Single storefront, multiple experiences — Because pricing and promotions are tied to the buyer’s account rather than to separate stores or URLs, retail and trade customers can shop side by side on the same storefront. Public visitors see standard prices; logged-in trade buyers see theirs. No duplicate stores to maintain, no separate login portals to manage.Example: Wholesale, Dealer, and VIP tiers
An industrial supplier runs three buyer types from a single storefront:- Wholesale — registered trade buyers who see a standard wholesale price across the catalog
- Dealer — authorized dealers with a deeper discount tier and access to exclusive product bundles
- VIP — high-volume accounts with individually negotiated pricing
For a full walkthrough of this setup, see Set Up Wholesale Pricing.
Create a Customer Group
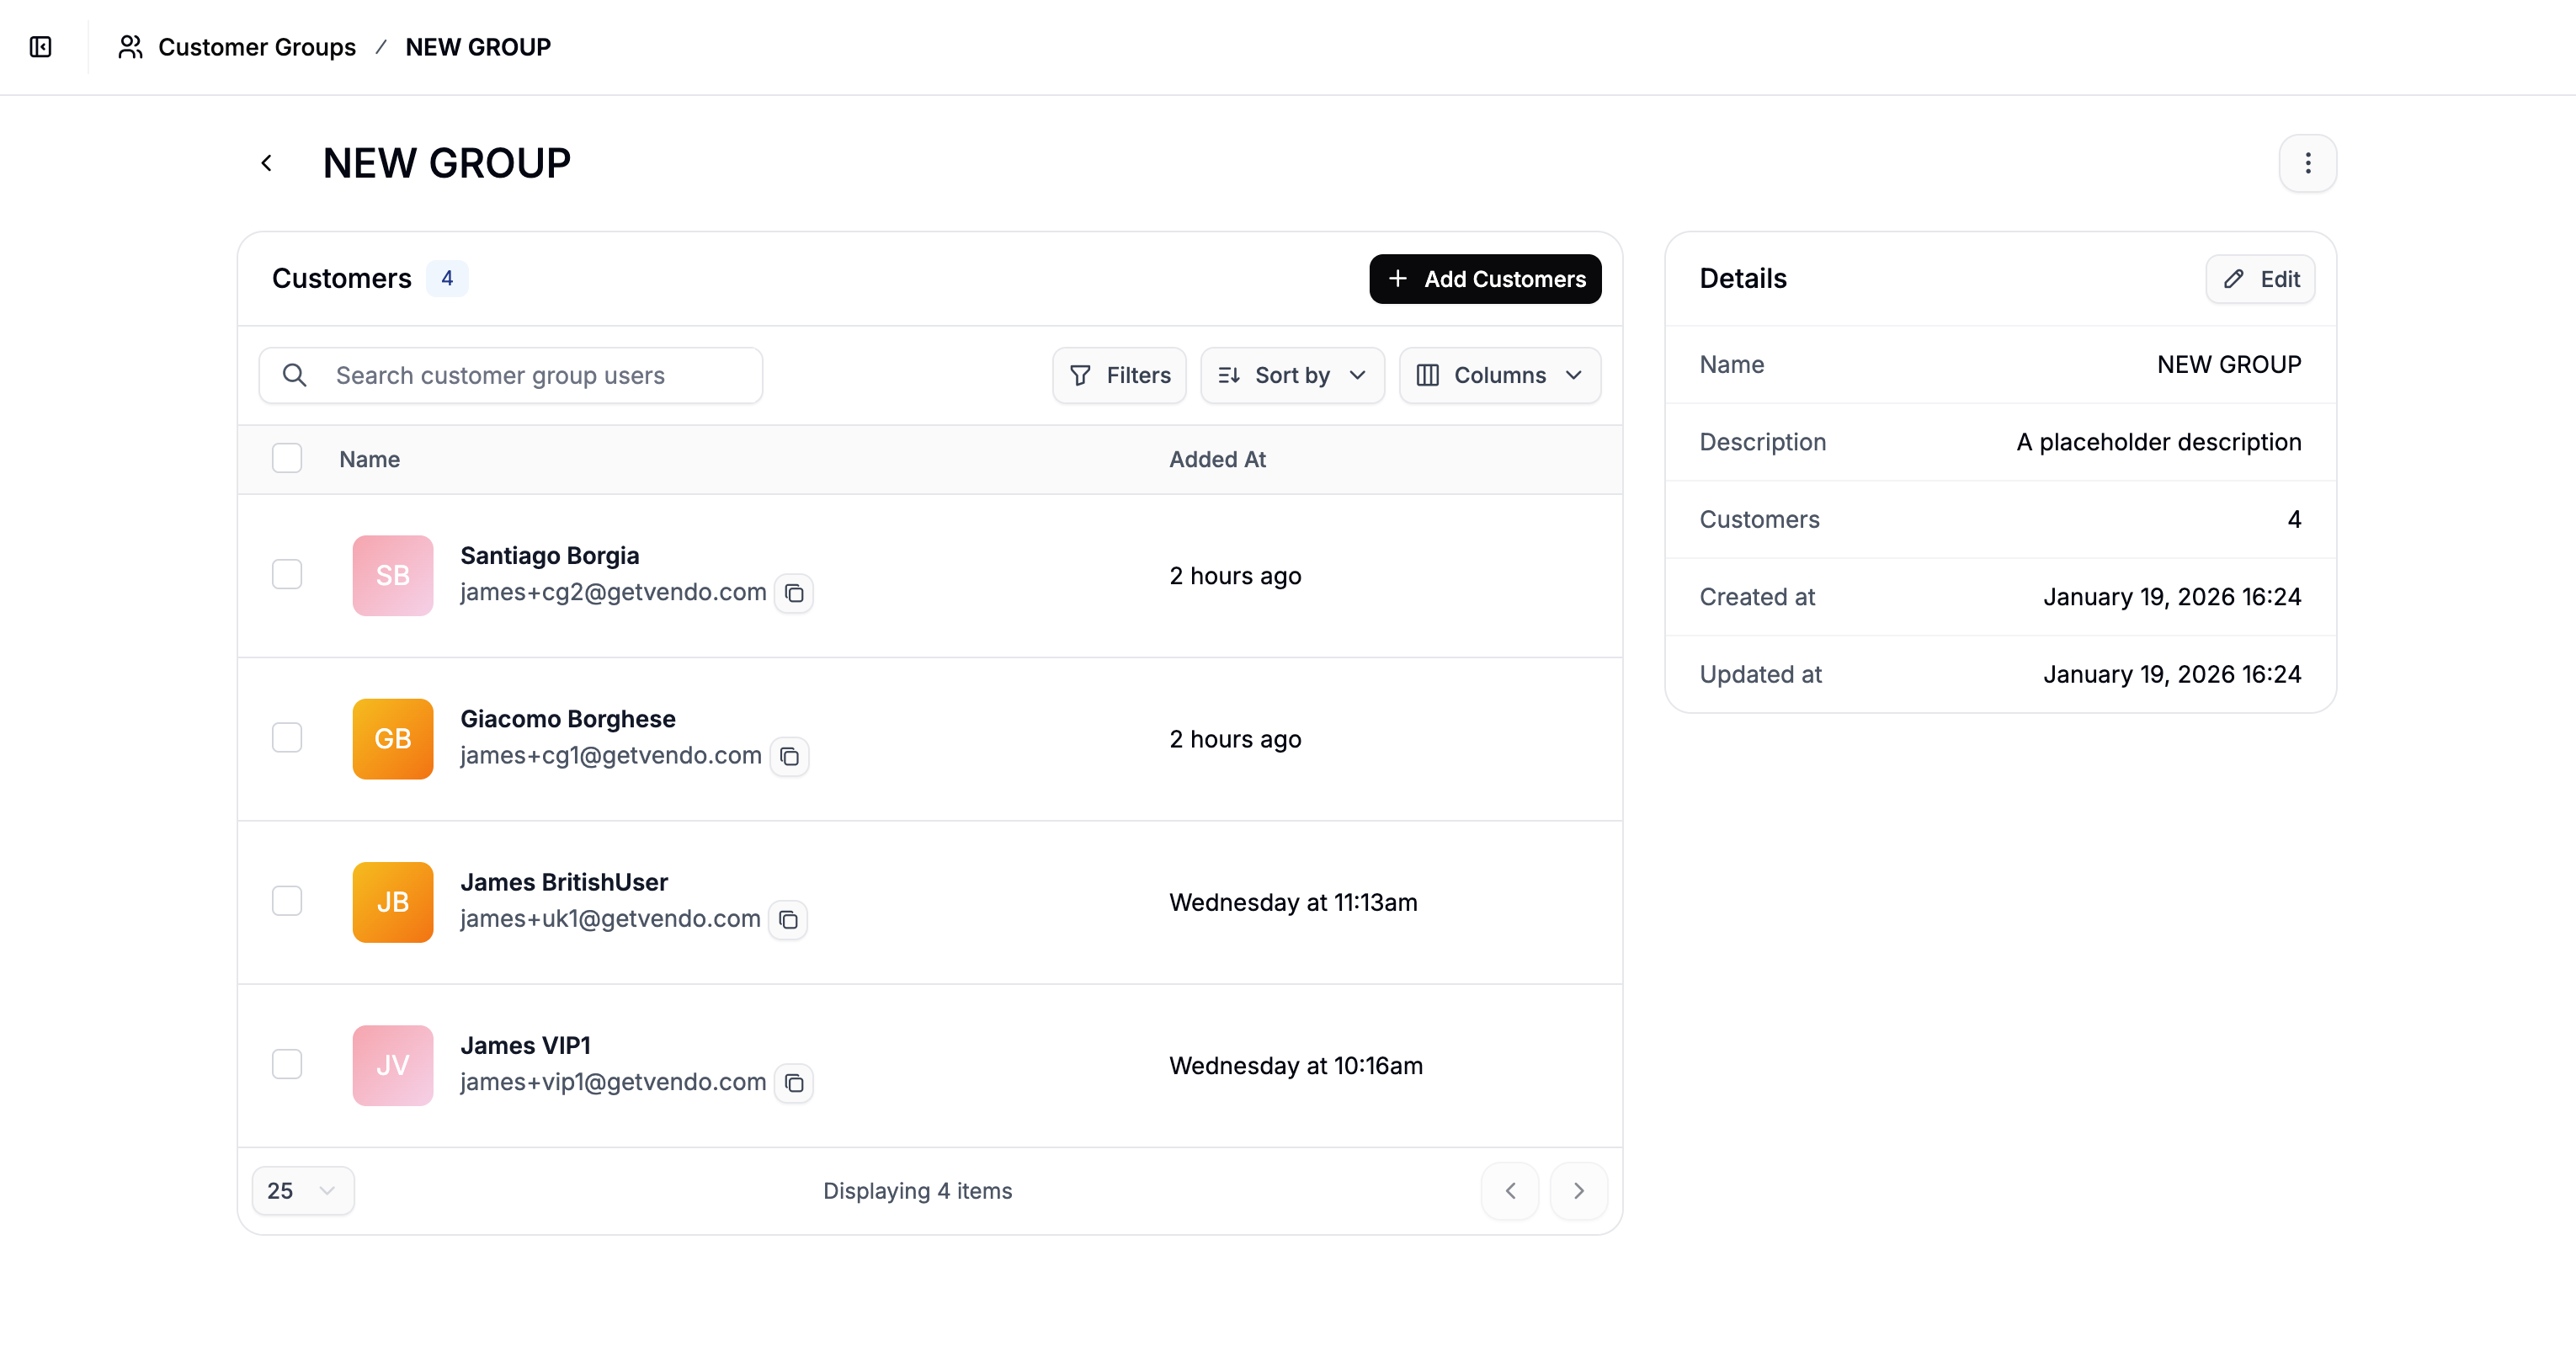
To create a new customer group, navigate to Customers → Customer Groups in the admin dashboard.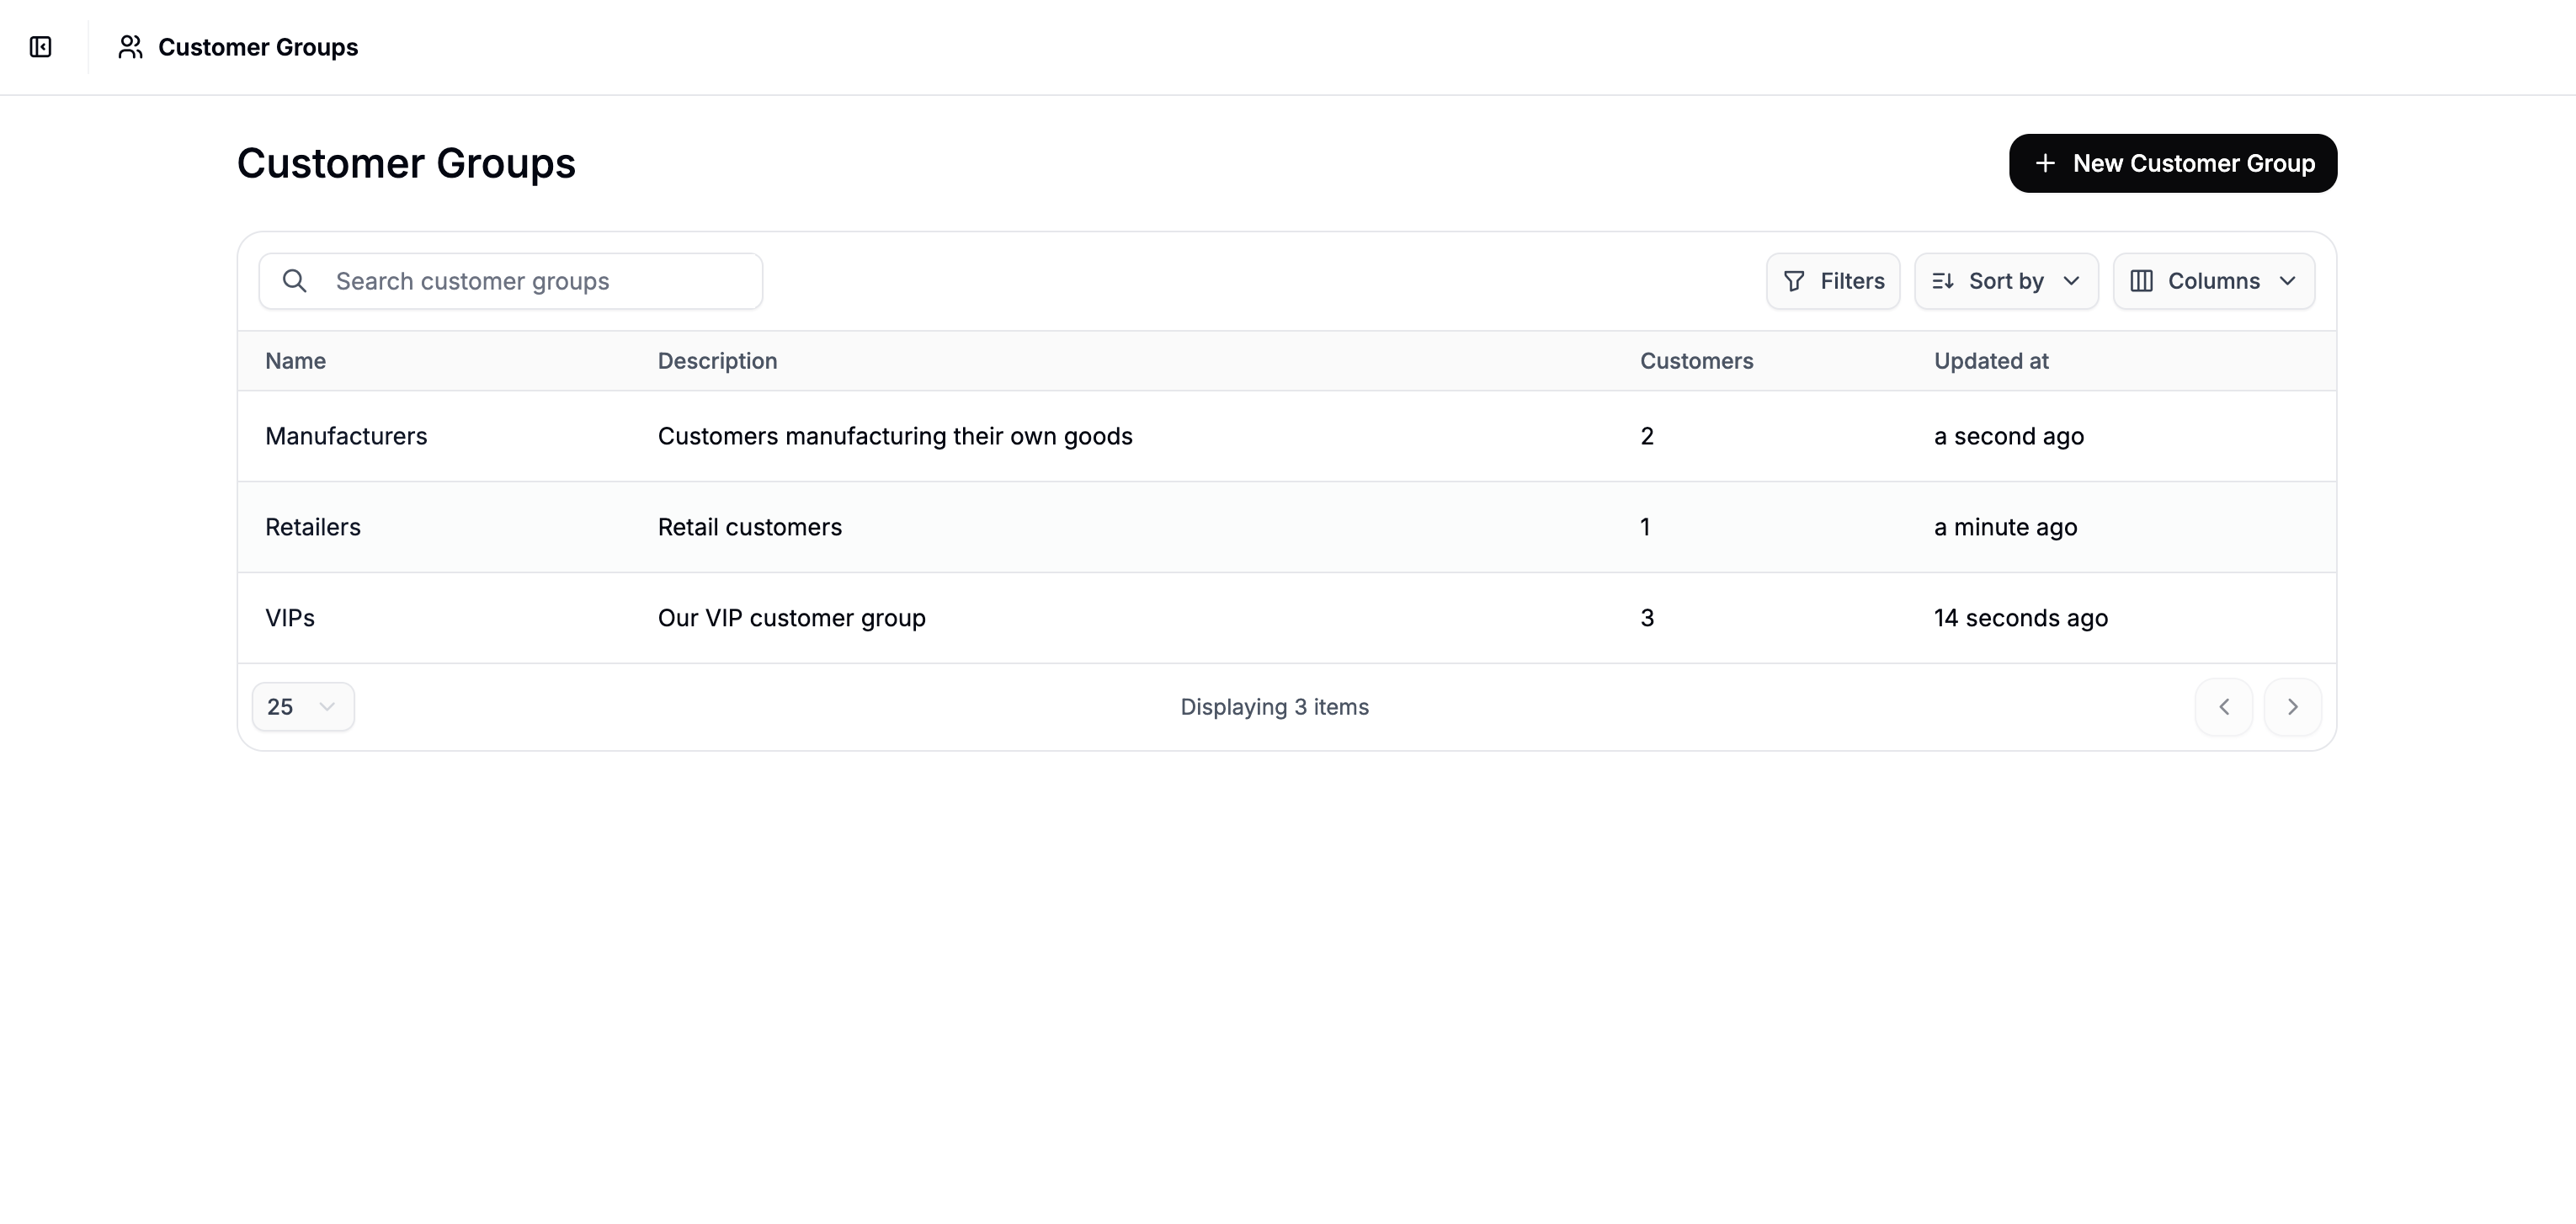
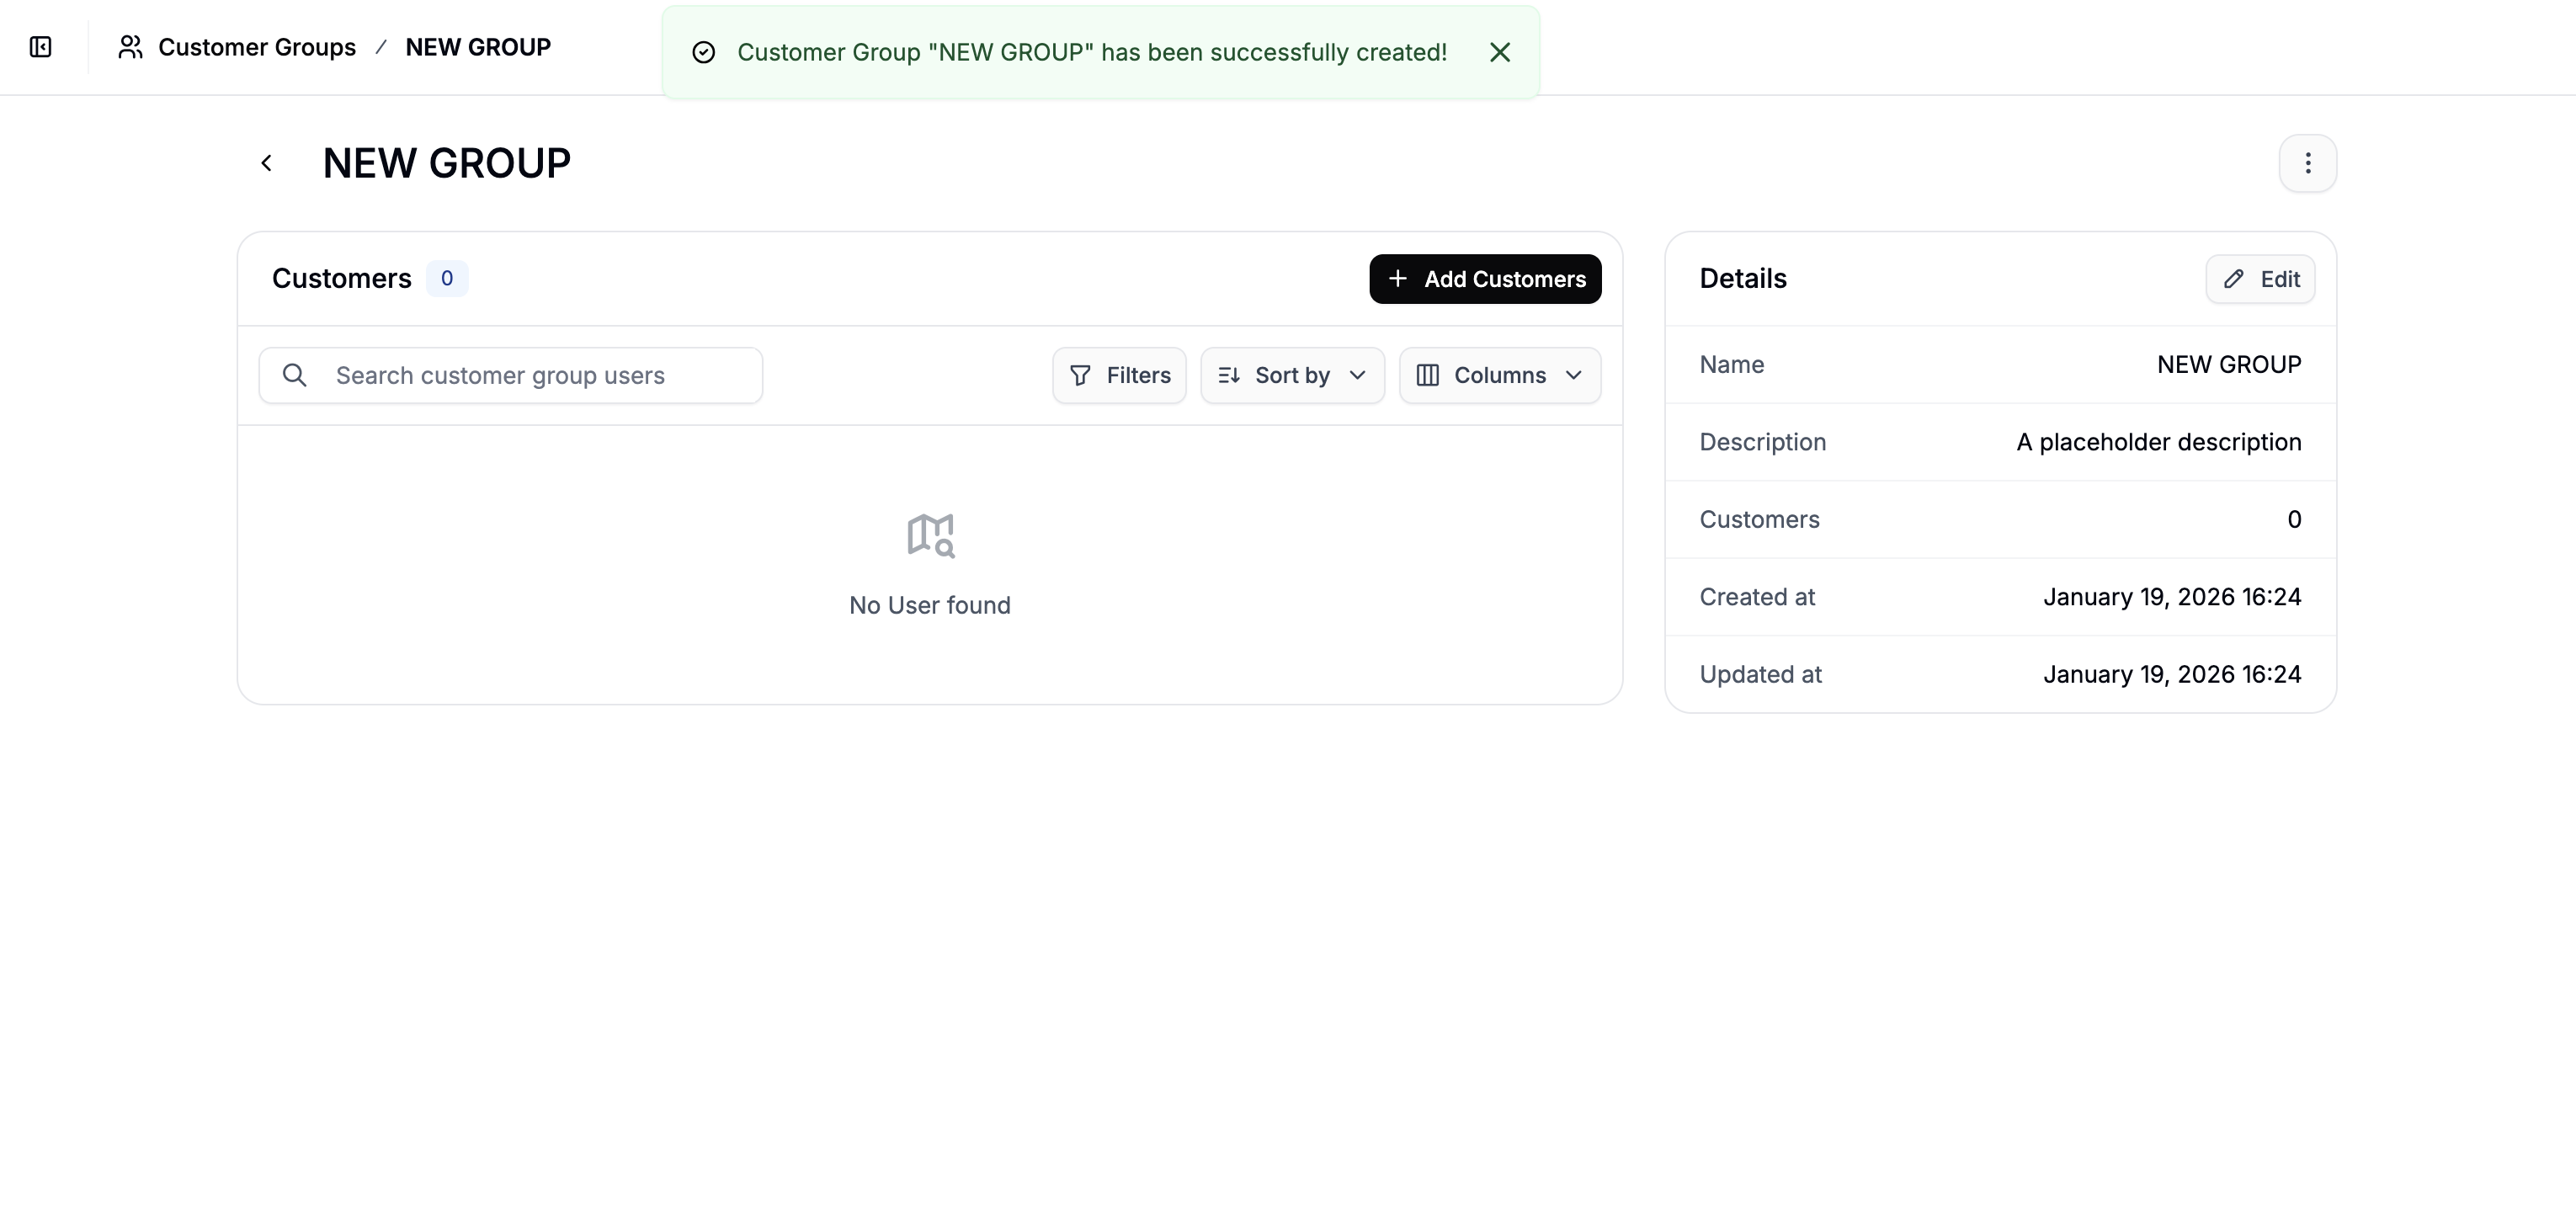
Add Group Details
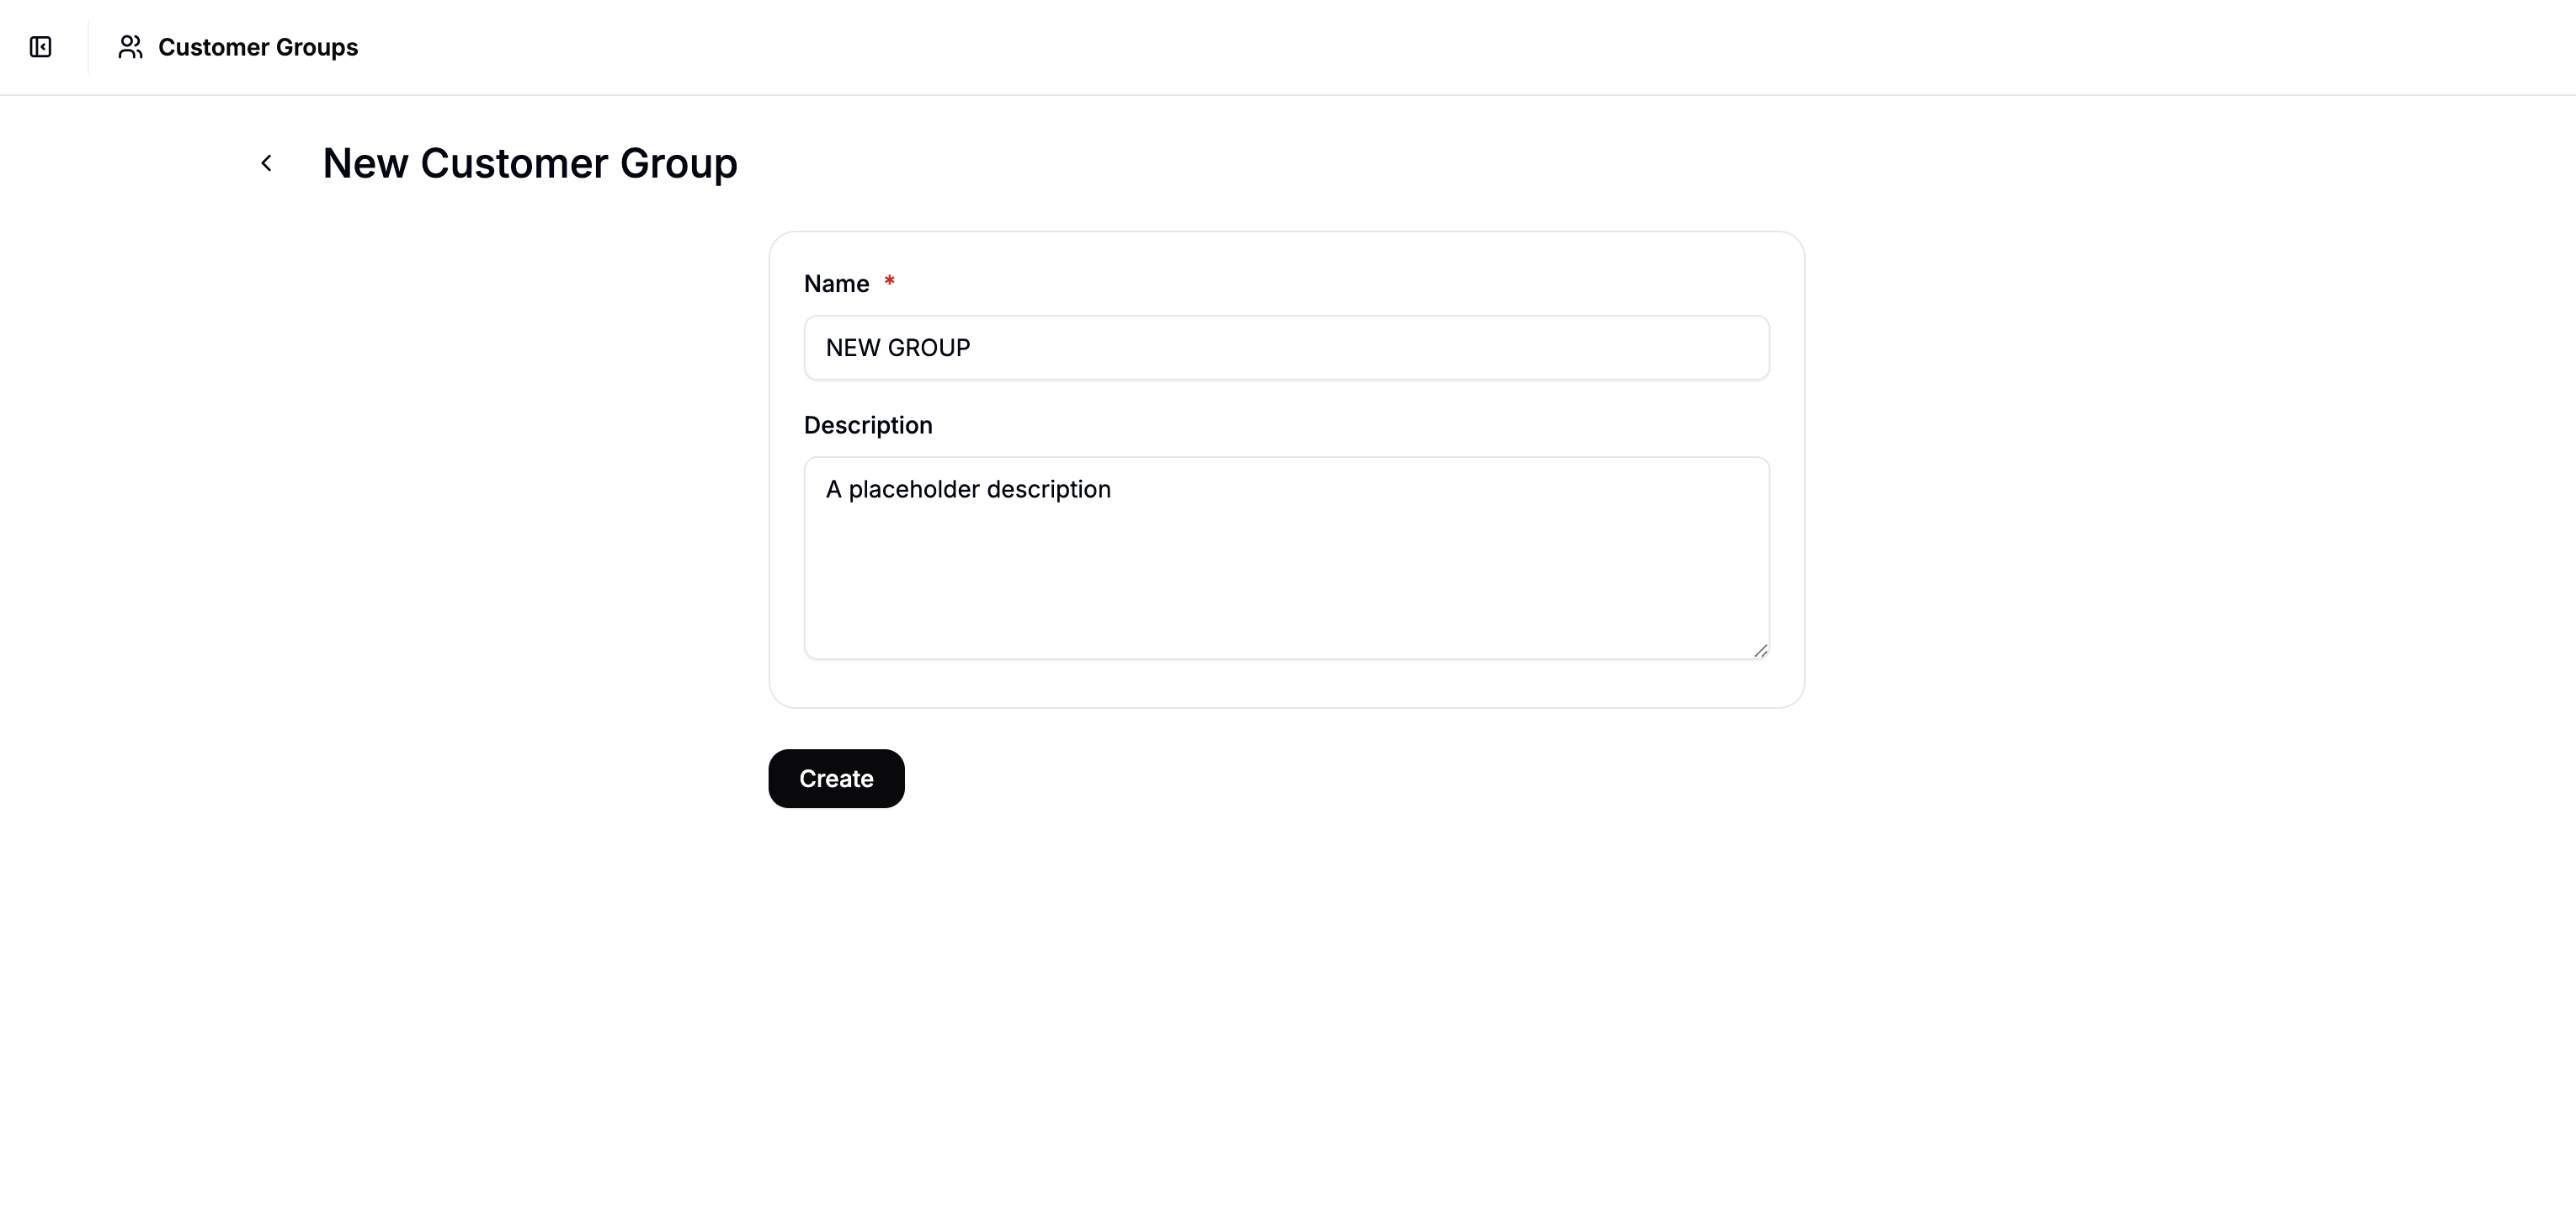
- Name — This is how the group will appear in admin interfaces
- Description — Use this field to describe the purpose of the group, e.g. “North America wholesale buyers” or “Early access testers” (optional)
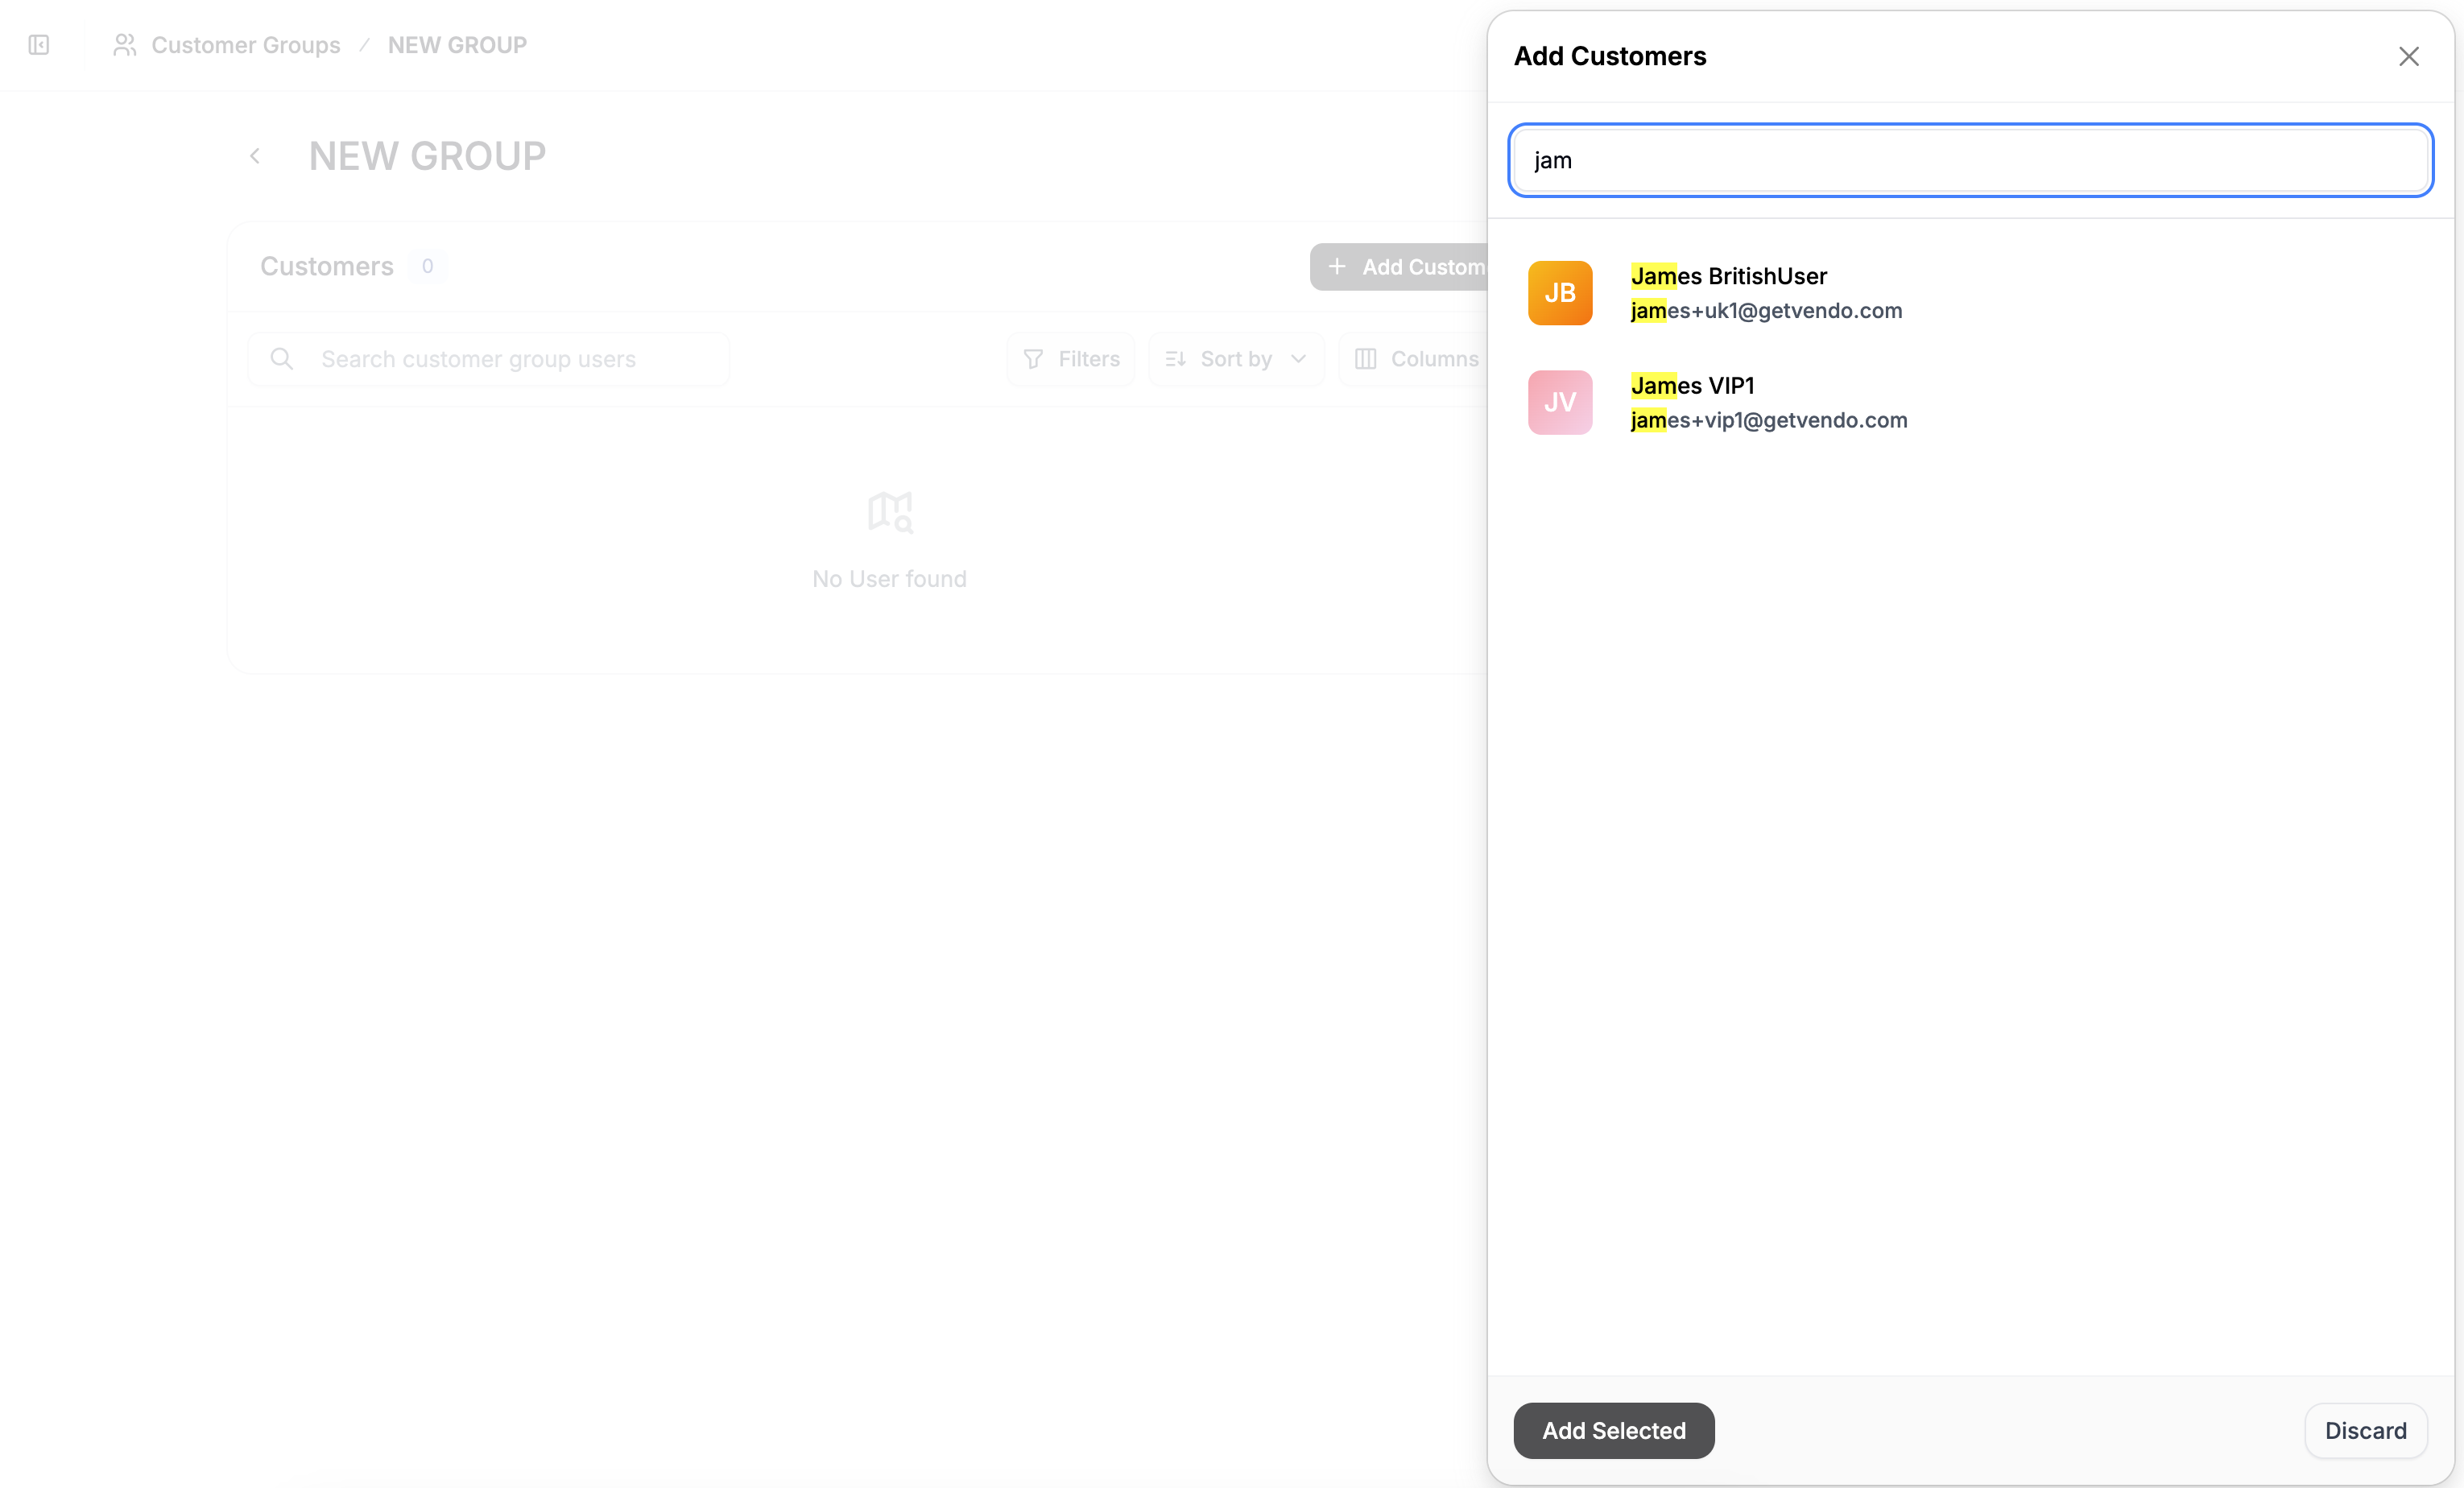
Add Customers to the Group
Remove Customers from a Group
To remove customers from a group, select the checkboxes next to the customers you want to remove, then click Remove from Group in the actions menu at the bottom of the screen.Next Steps
- Price Lists — create pricing rules that target specific customer groups
- Set Up Wholesale Pricing — step-by-step guide to building wholesale pricing tiers with customer groups