If you’re running a marketplace, then the ability to invite vendors is an essential part of launching and scaling your platform. By default, vendors must be invited to start selling on the marketplace. If you’re interested in vendor self-signup, then please reach out to us directly.Documentation Index
Fetch the complete documentation index at: https://spreecommerce.org/docs/llms.txt
Use this file to discover all available pages before exploring further.
Navigate to Vendors Tab
To invite a vendor, navigate to the Vendors tab of the admin dashboard.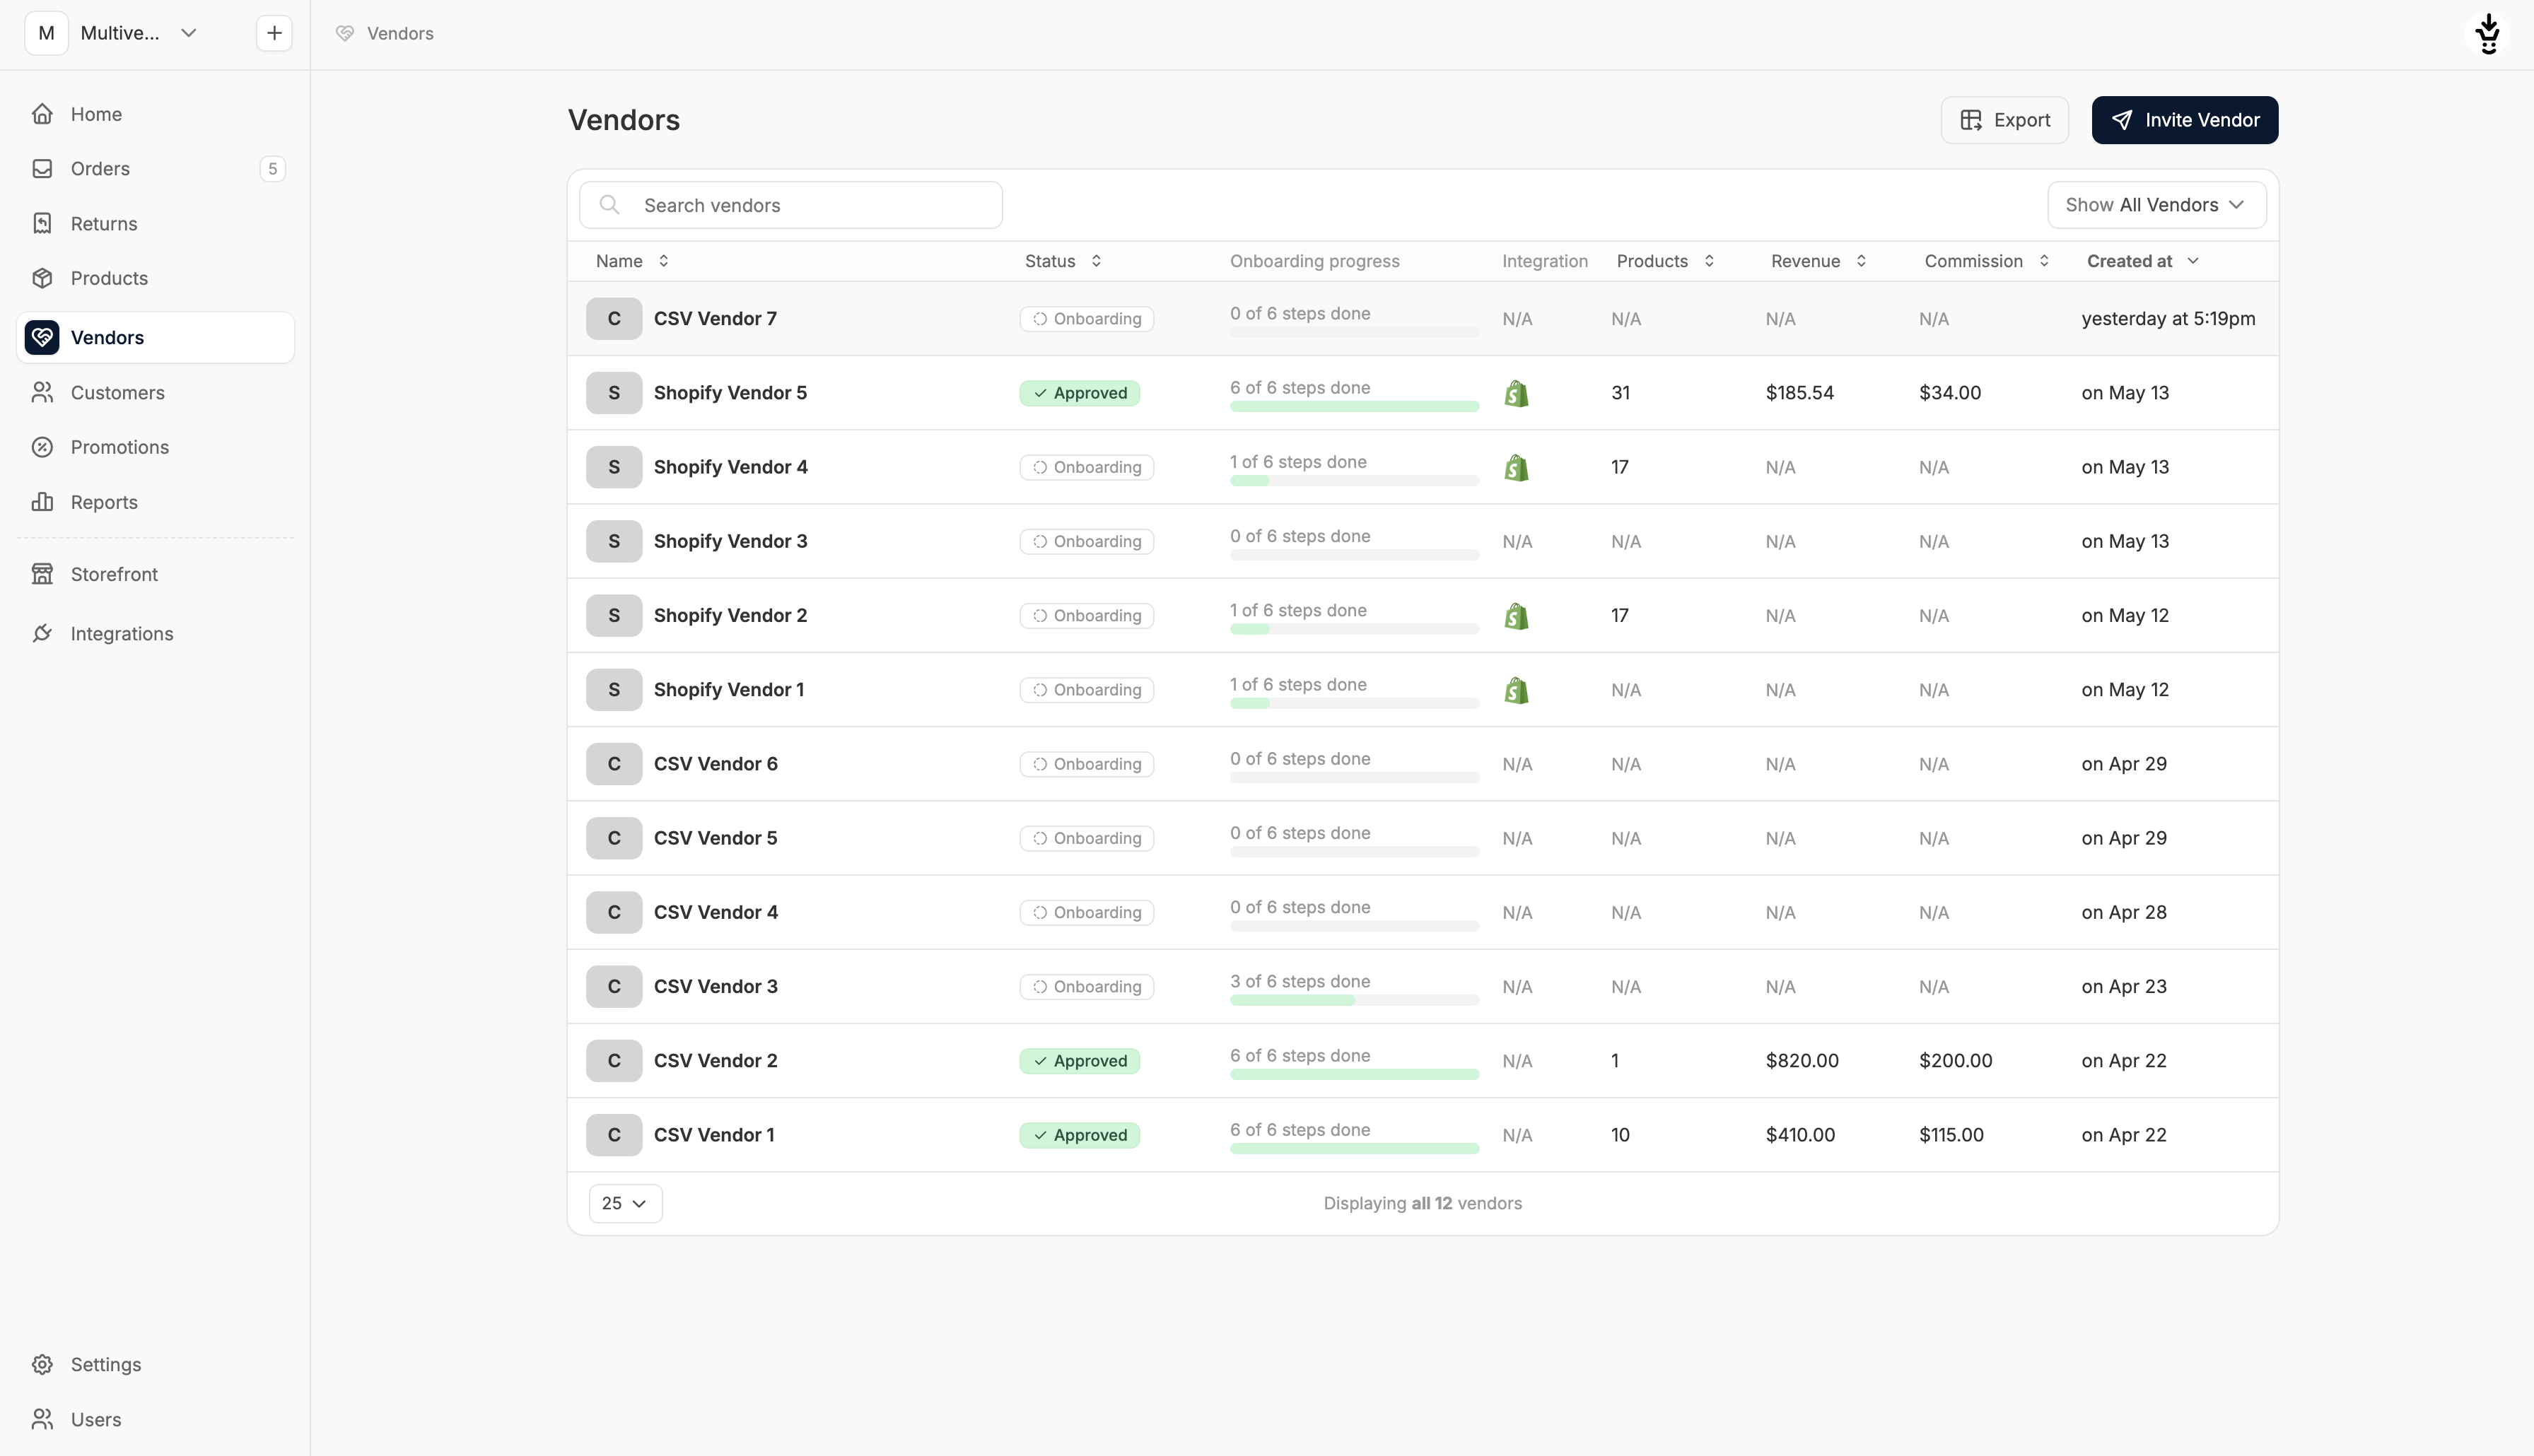
Click “Invite Vendor”
Click on “Invite Vendor” in the top right corner and a popup will appear.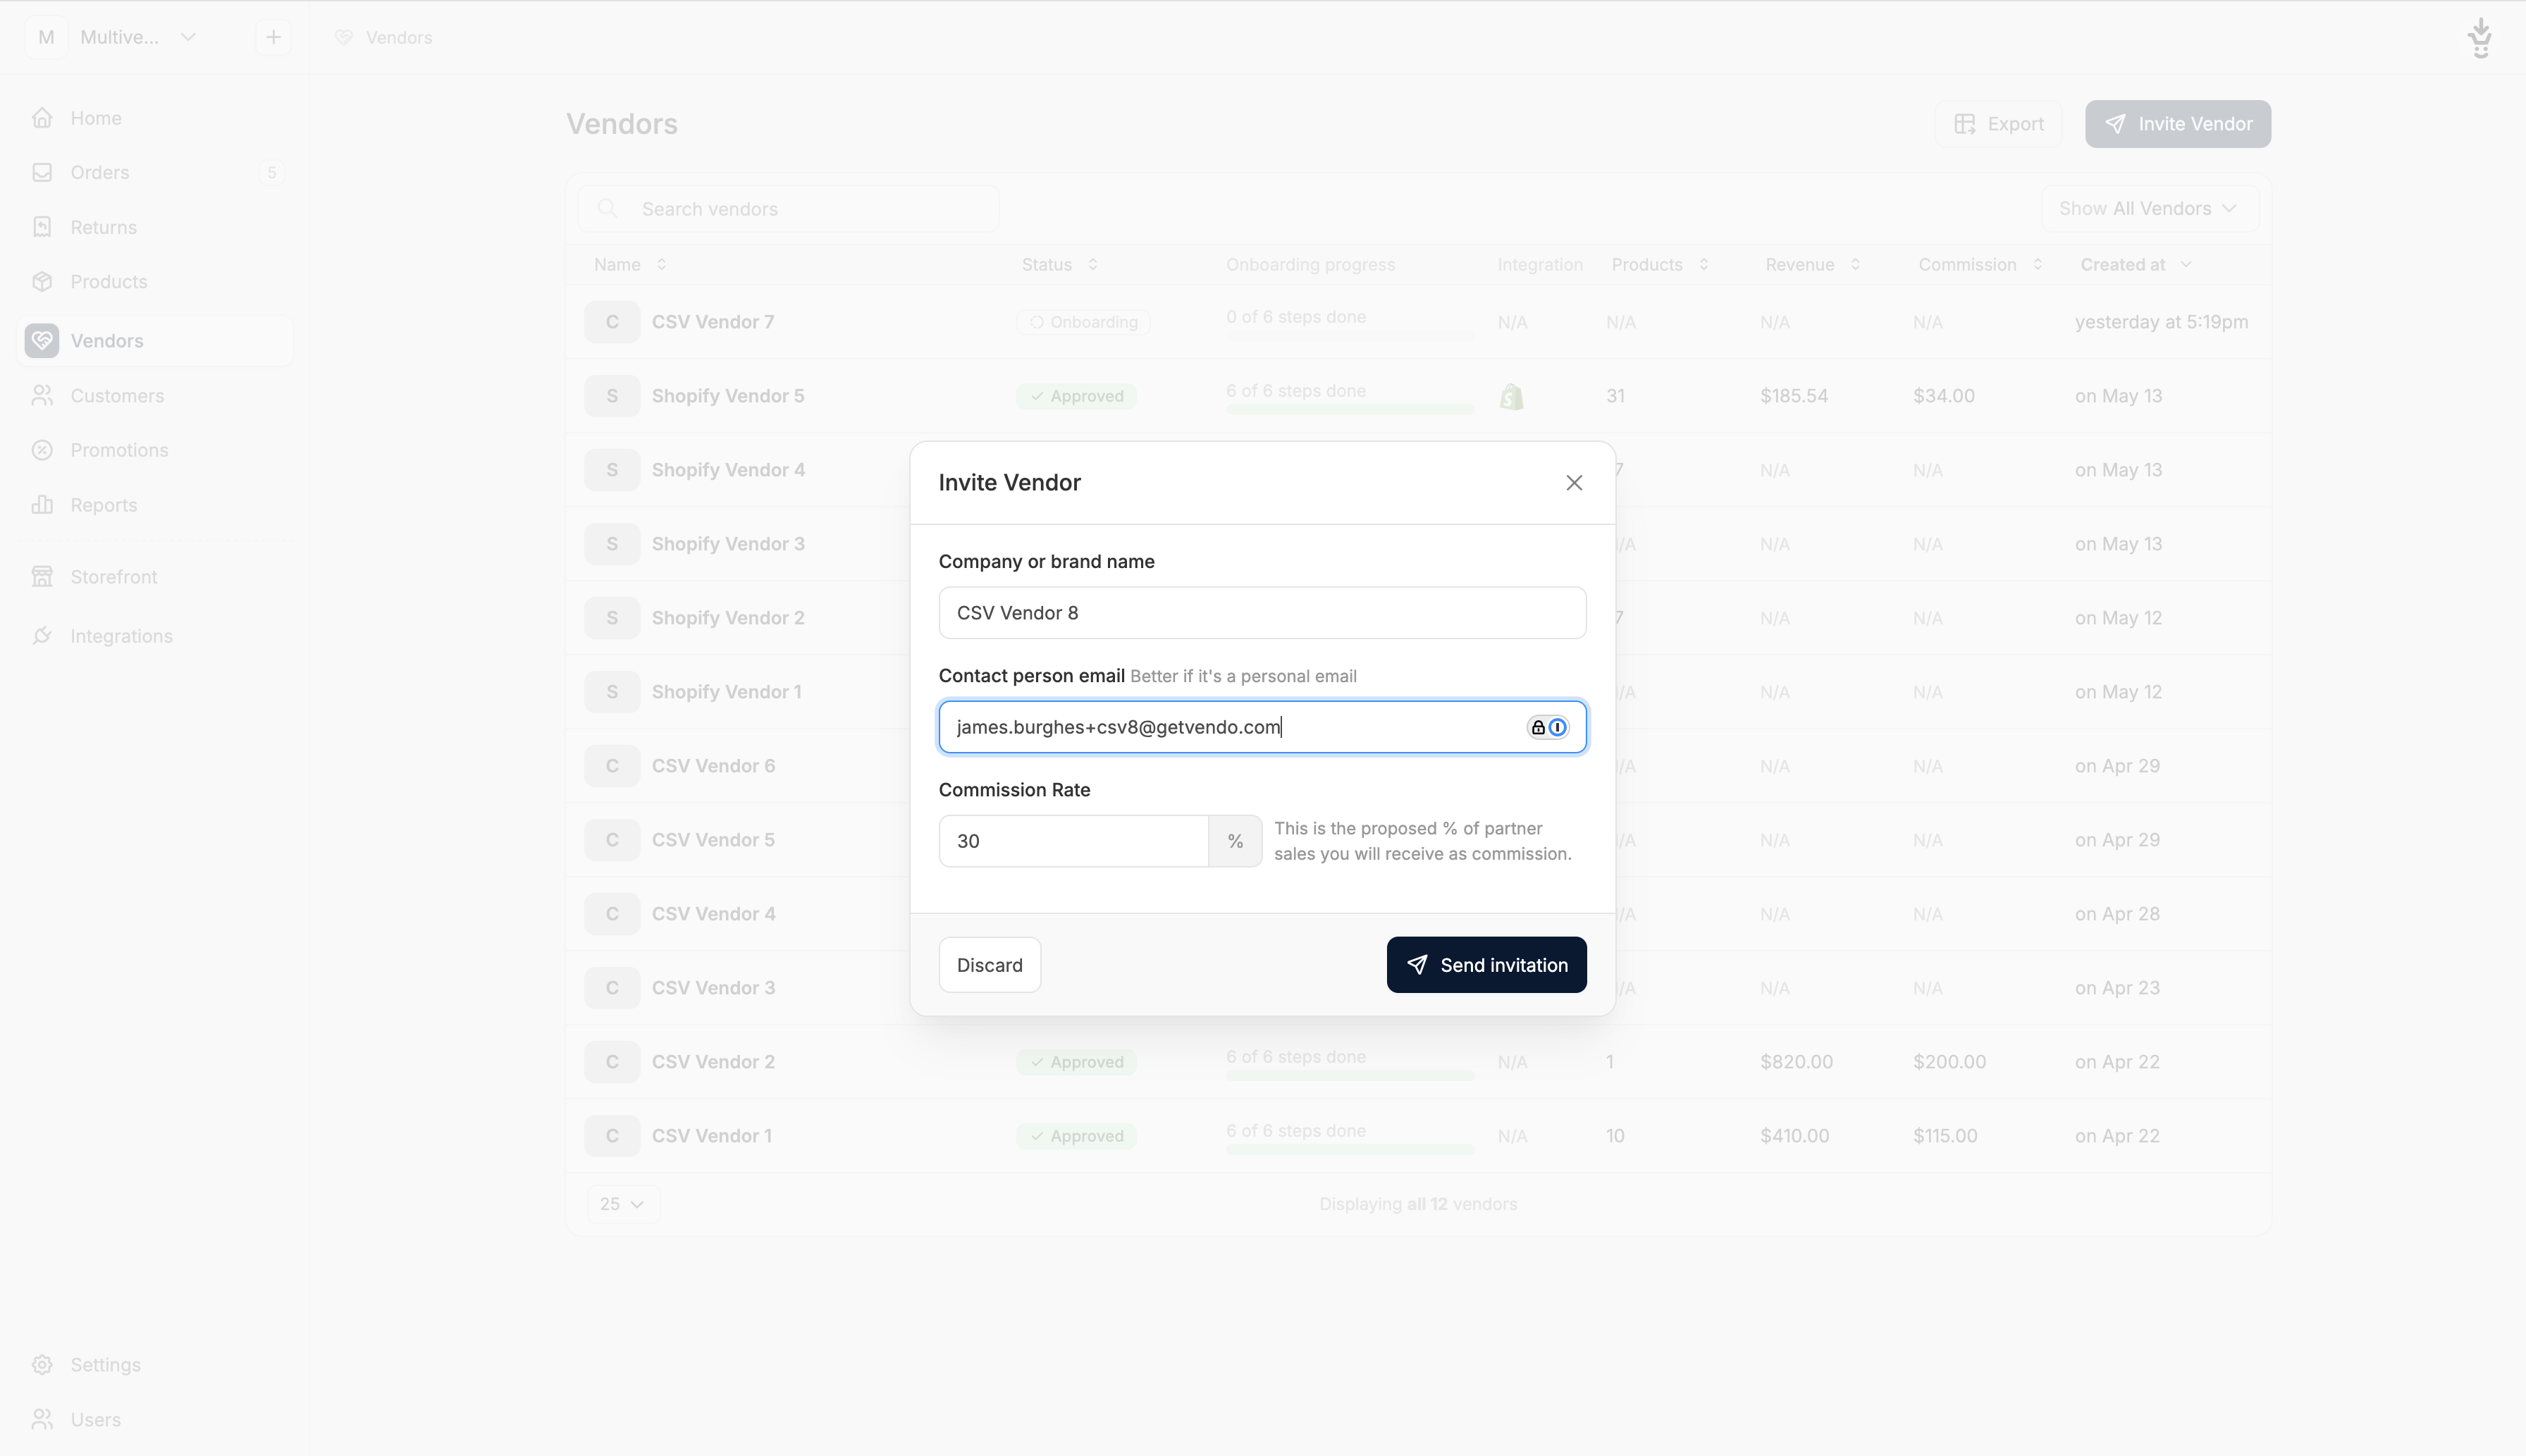
- Company Name or Brand Name - this is how the vendor will be displayed in the admin dashboard (if they onboard using Shopify, may be overwritten)
- Contact Person Email - preferably the work email address of the person who should receive the invitation
- Commission Rate - the pre-agreed commission rate to be shared with the marketplace
The commission rate can be different for each vendor and also updated at a later time.
Send Invitation
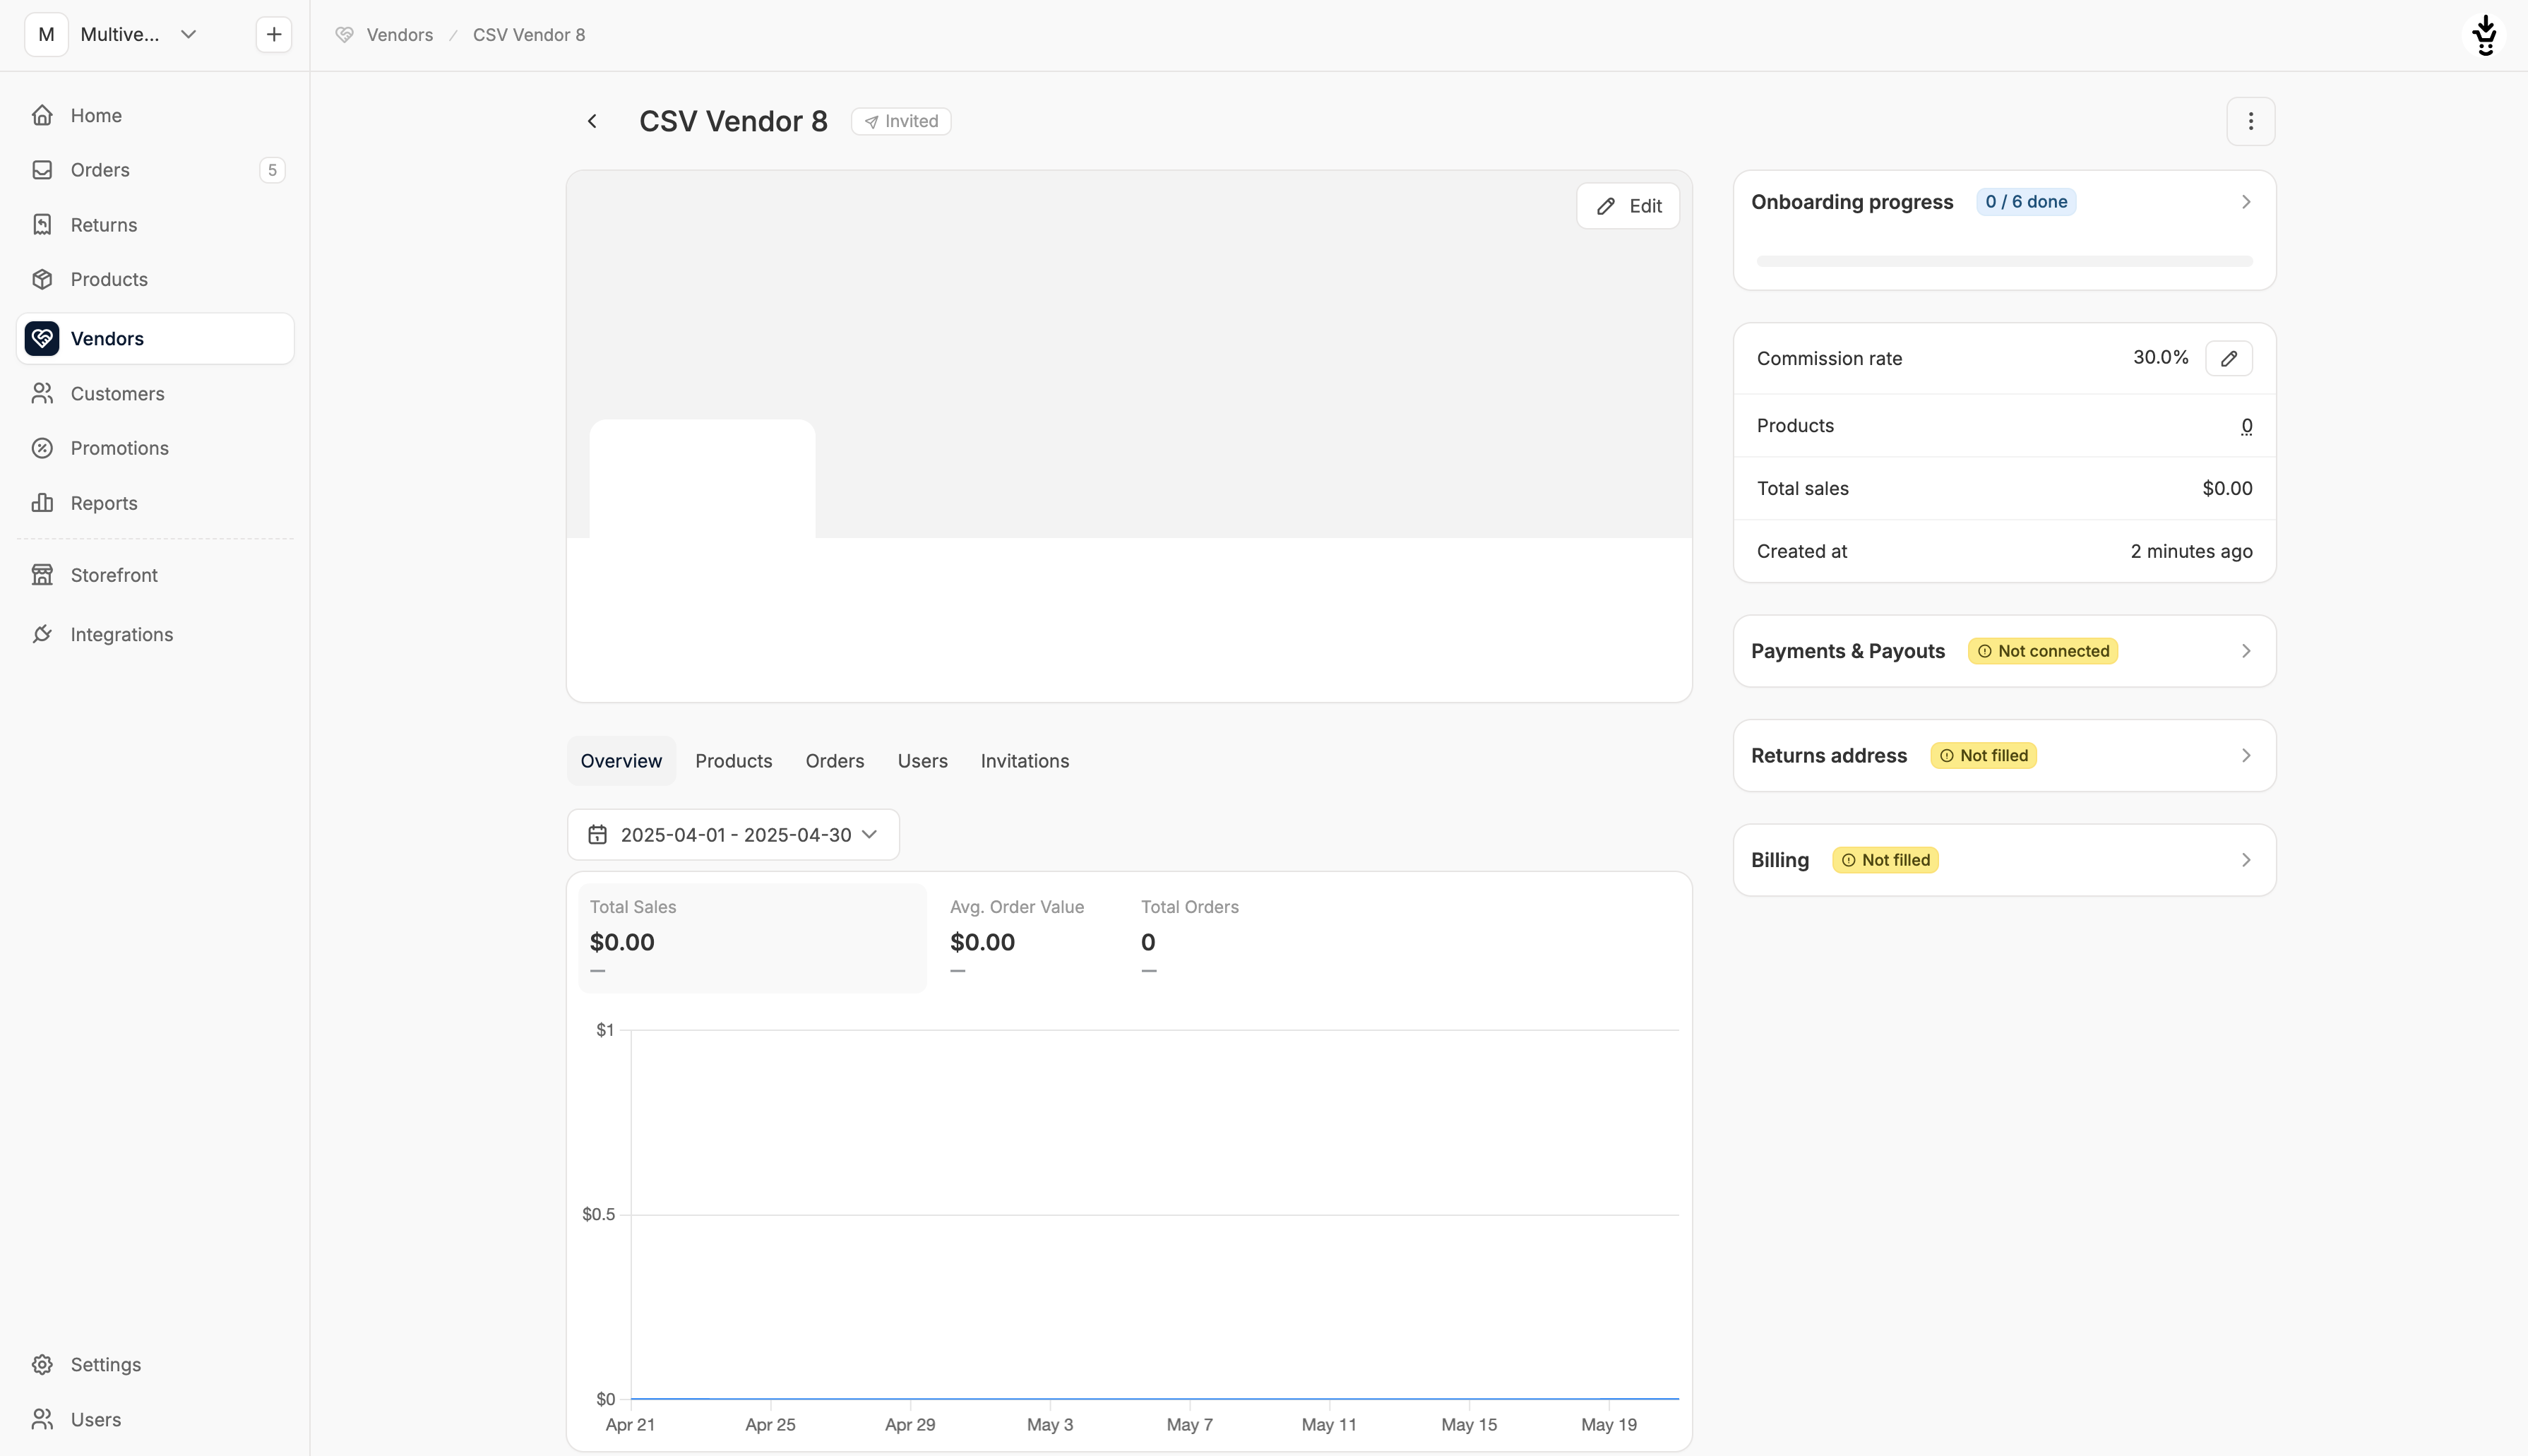
Double check that you’ve added all of the information correctly, and then click “Send Invitation”. The newly invited vendor will now be added to your list of vendors.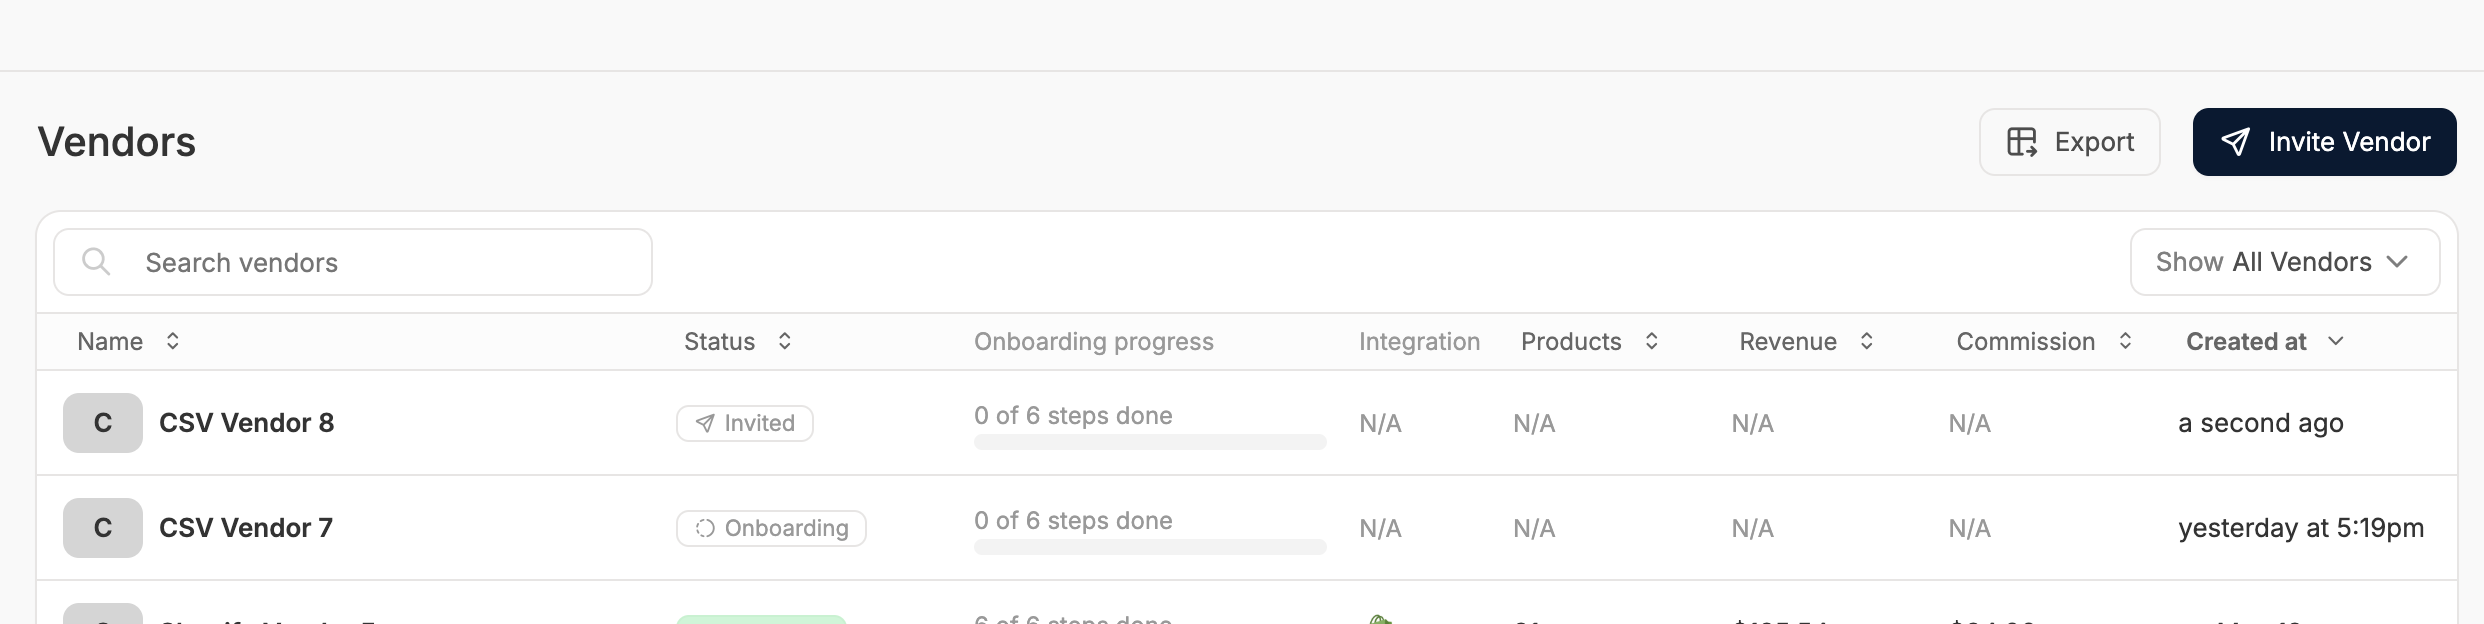
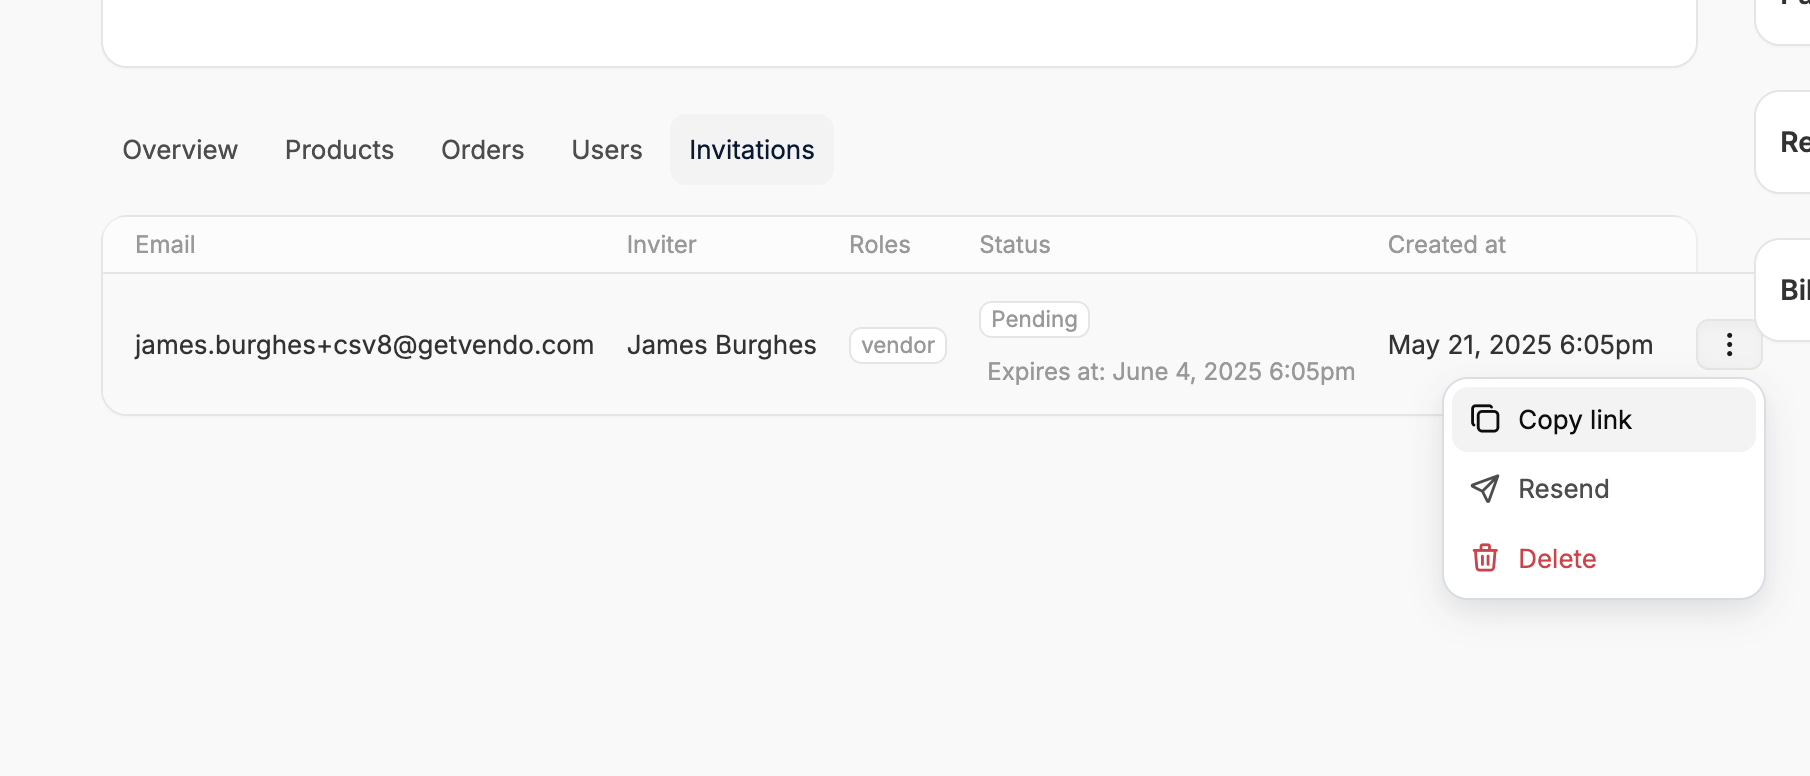
Alternative Method
If, for some reason, the vendor didn’t receive the email, or they prefer to use a different channel of communication, you can send them a copy of the invitation link instead. To do so, click on the vendor to open up their vendor profile.