This guide covers vendors who’ll connect their Shopify store to your marketplace. For other vendor types, see WooCommerce Vendor Onboarding and Manual/CSV Vendor Onboarding.
Prerequisites
Before you can onboard Shopify vendors, you’ll need:- A Shopify Partners account — this is where you’ll create the custom Shopify apps used to connect each vendor’s store.
- The
spree_multi_vendorEnterprise gem installed on your Spree instance.
How Spree Connects to a Vendor’s Shopify Store
Before you start, it’s worth understanding how Spree’s Shopify integration is structured — Shopify supports several different patterns for building and distributing apps, and we want to be explicit about which one applies here. Spree connects each vendor’s store using a Custom App distributed via Custom Distribution — Shopify’s recommended path for apps built for specific, known stores (such as the vendors on your marketplace). You can read more in Shopify’s Custom Apps overview. Everything you need to set up is available directly in the Shopify Partners UI. You do not need to:- Use the Shopify CLI
- Maintain a separate codebase for the Shopify app
Spree’s integration does not use the Shopify Sales Channel App pattern, despite some surface-level overlap.
Admin Setup
This section is for the marketplace owner. It’s a one-time setup per vendor — once complete, the vendor only needs to install the app and complete a few onboarding tasks.1. Create the Shopify App
Each Shopify vendor requires their own dedicated app, created from your Shopify Partners account.- Sign in to your Shopify Partners account and open the Dev Dashboard.
- Click Create app.
-
Give the app a name that identifies which vendor it’s for. We recommend writing the name in kebab-case (lowercase words separated by hyphens), e.g.,
example-vendor. -
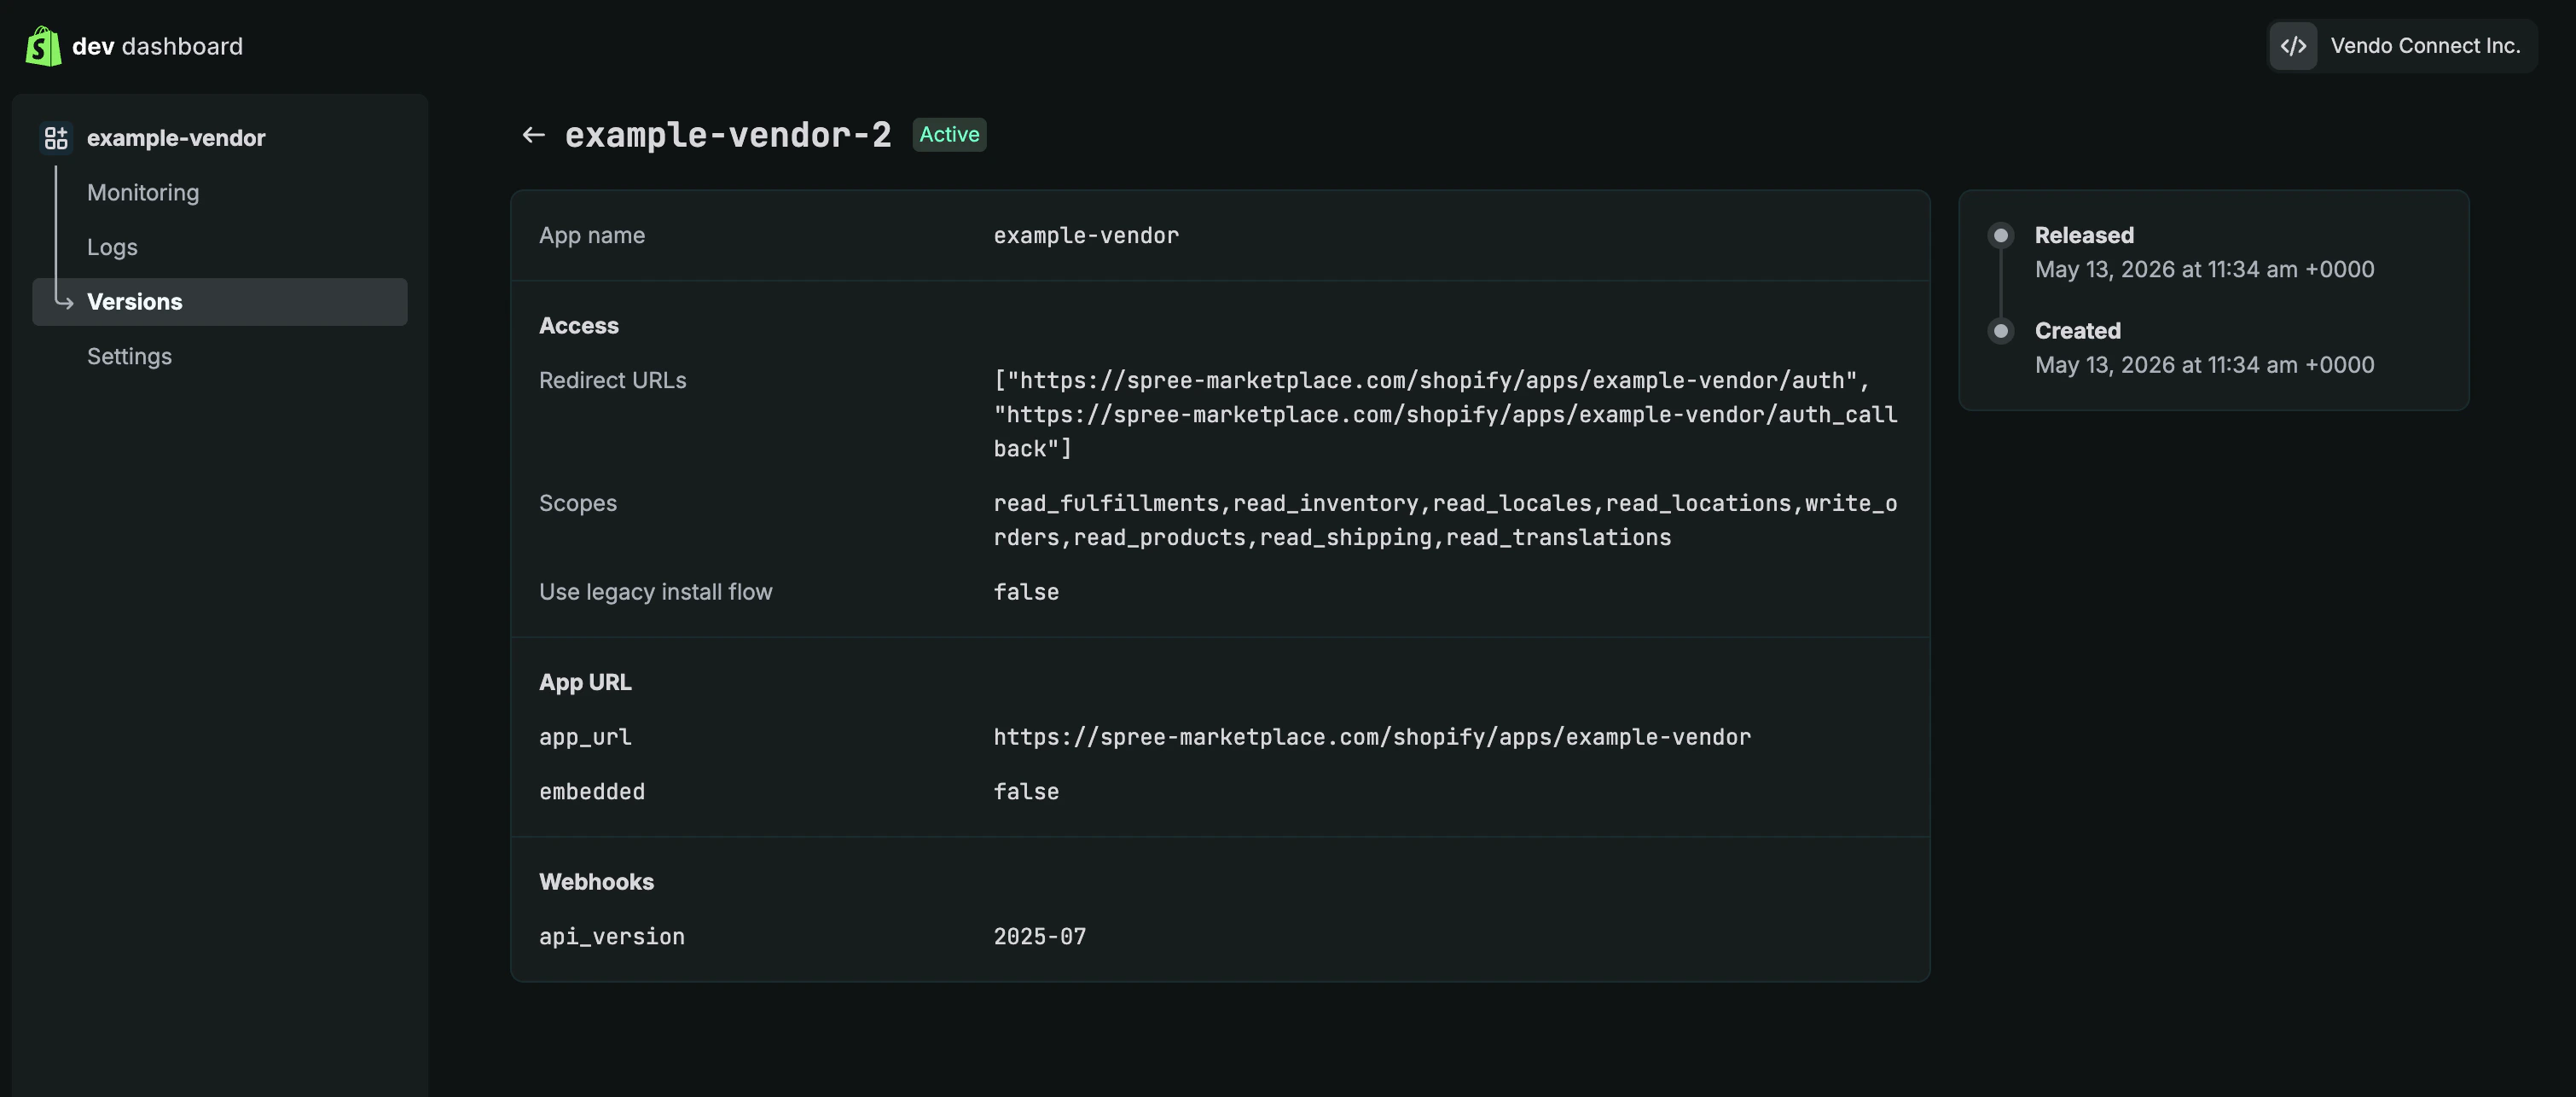
You’ll be redirected to the Versions → Create version page. Fill in the form using the values below:
- App name - already pre-filled from the previous step.
- App URL -
<app-base-url>/shopify/apps/<app-handle>(e.g.,https://spree-marketplace.com/shopify/apps/example-vendor).- The
<app-base-url>should point to your store URL. If you have multiple stores, we recommend using the URL of the default store. - The
<app-handle>can be set arbitrarily but must be unique across all your Shopify apps. We recommend using the app name from step 3 (already in kebab-case).
- The
- Embed app in Shopify admin - leave unchecked.
- Preferences URL - leave empty.
- Webhooks API Version -
2025-07. - Scopes - paste the following list exactly:
- Optional scopes - leave empty.
- Use legacy install flow - leave unchecked.
- Redirect URLs - add both of the following:
<app-base-url>/shopify/apps/<app-handle>/auth<app-base-url>/shopify/apps/<app-handle>/auth_callback
- Click Release at the bottom of the form, then confirm in the modal that appears.
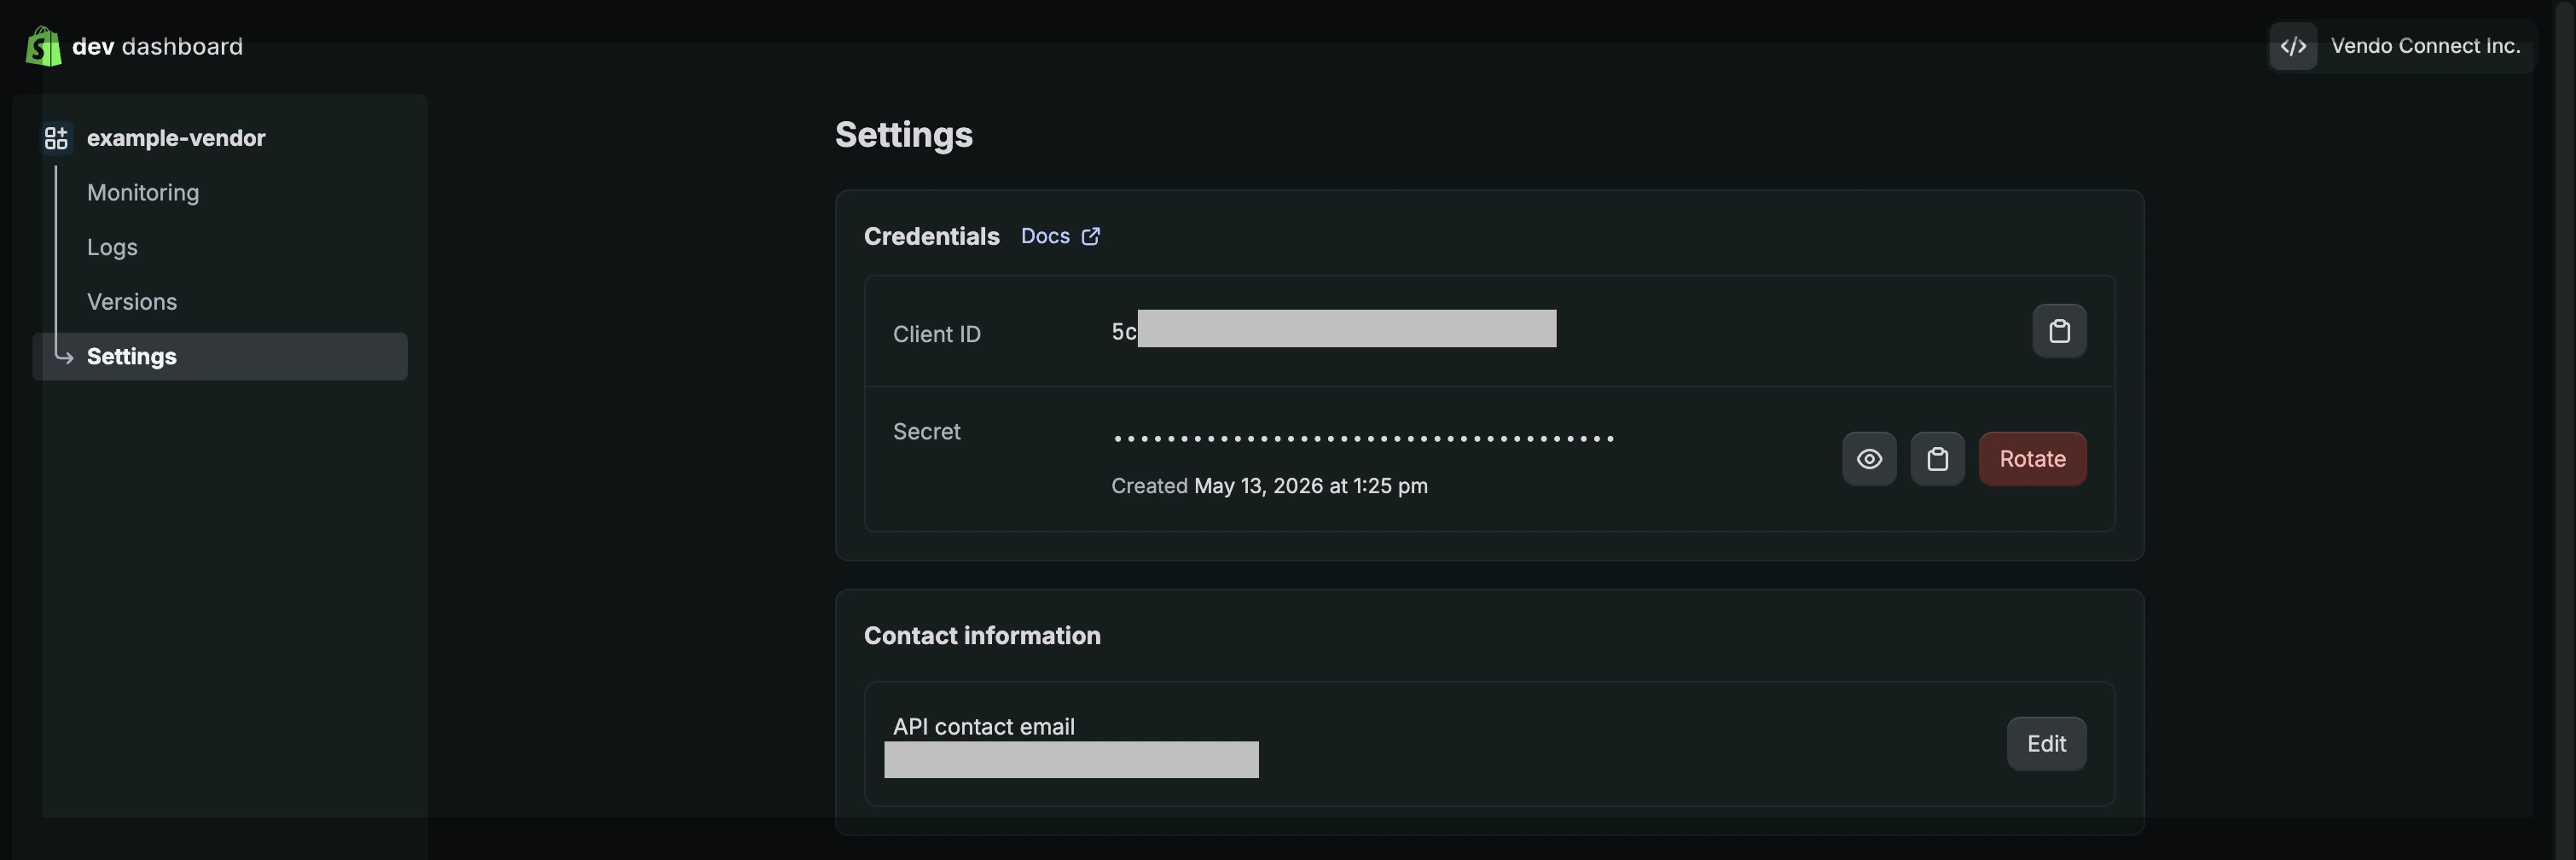
2. Get the App’s Credentials
Spree needs the app’s Client ID and Secret to authenticate against Shopify.- In the Shopify Dev Dashboard, select the app you just created.
- Open the app’s Settings page.
- Copy and save both the Client ID and the Secret.
3. Register the App in Spree
Now register the new Shopify app inside your Spree admin so the marketplace can communicate with it.- In the Spree admin dashboard, navigate to Settings → Shopify Apps.
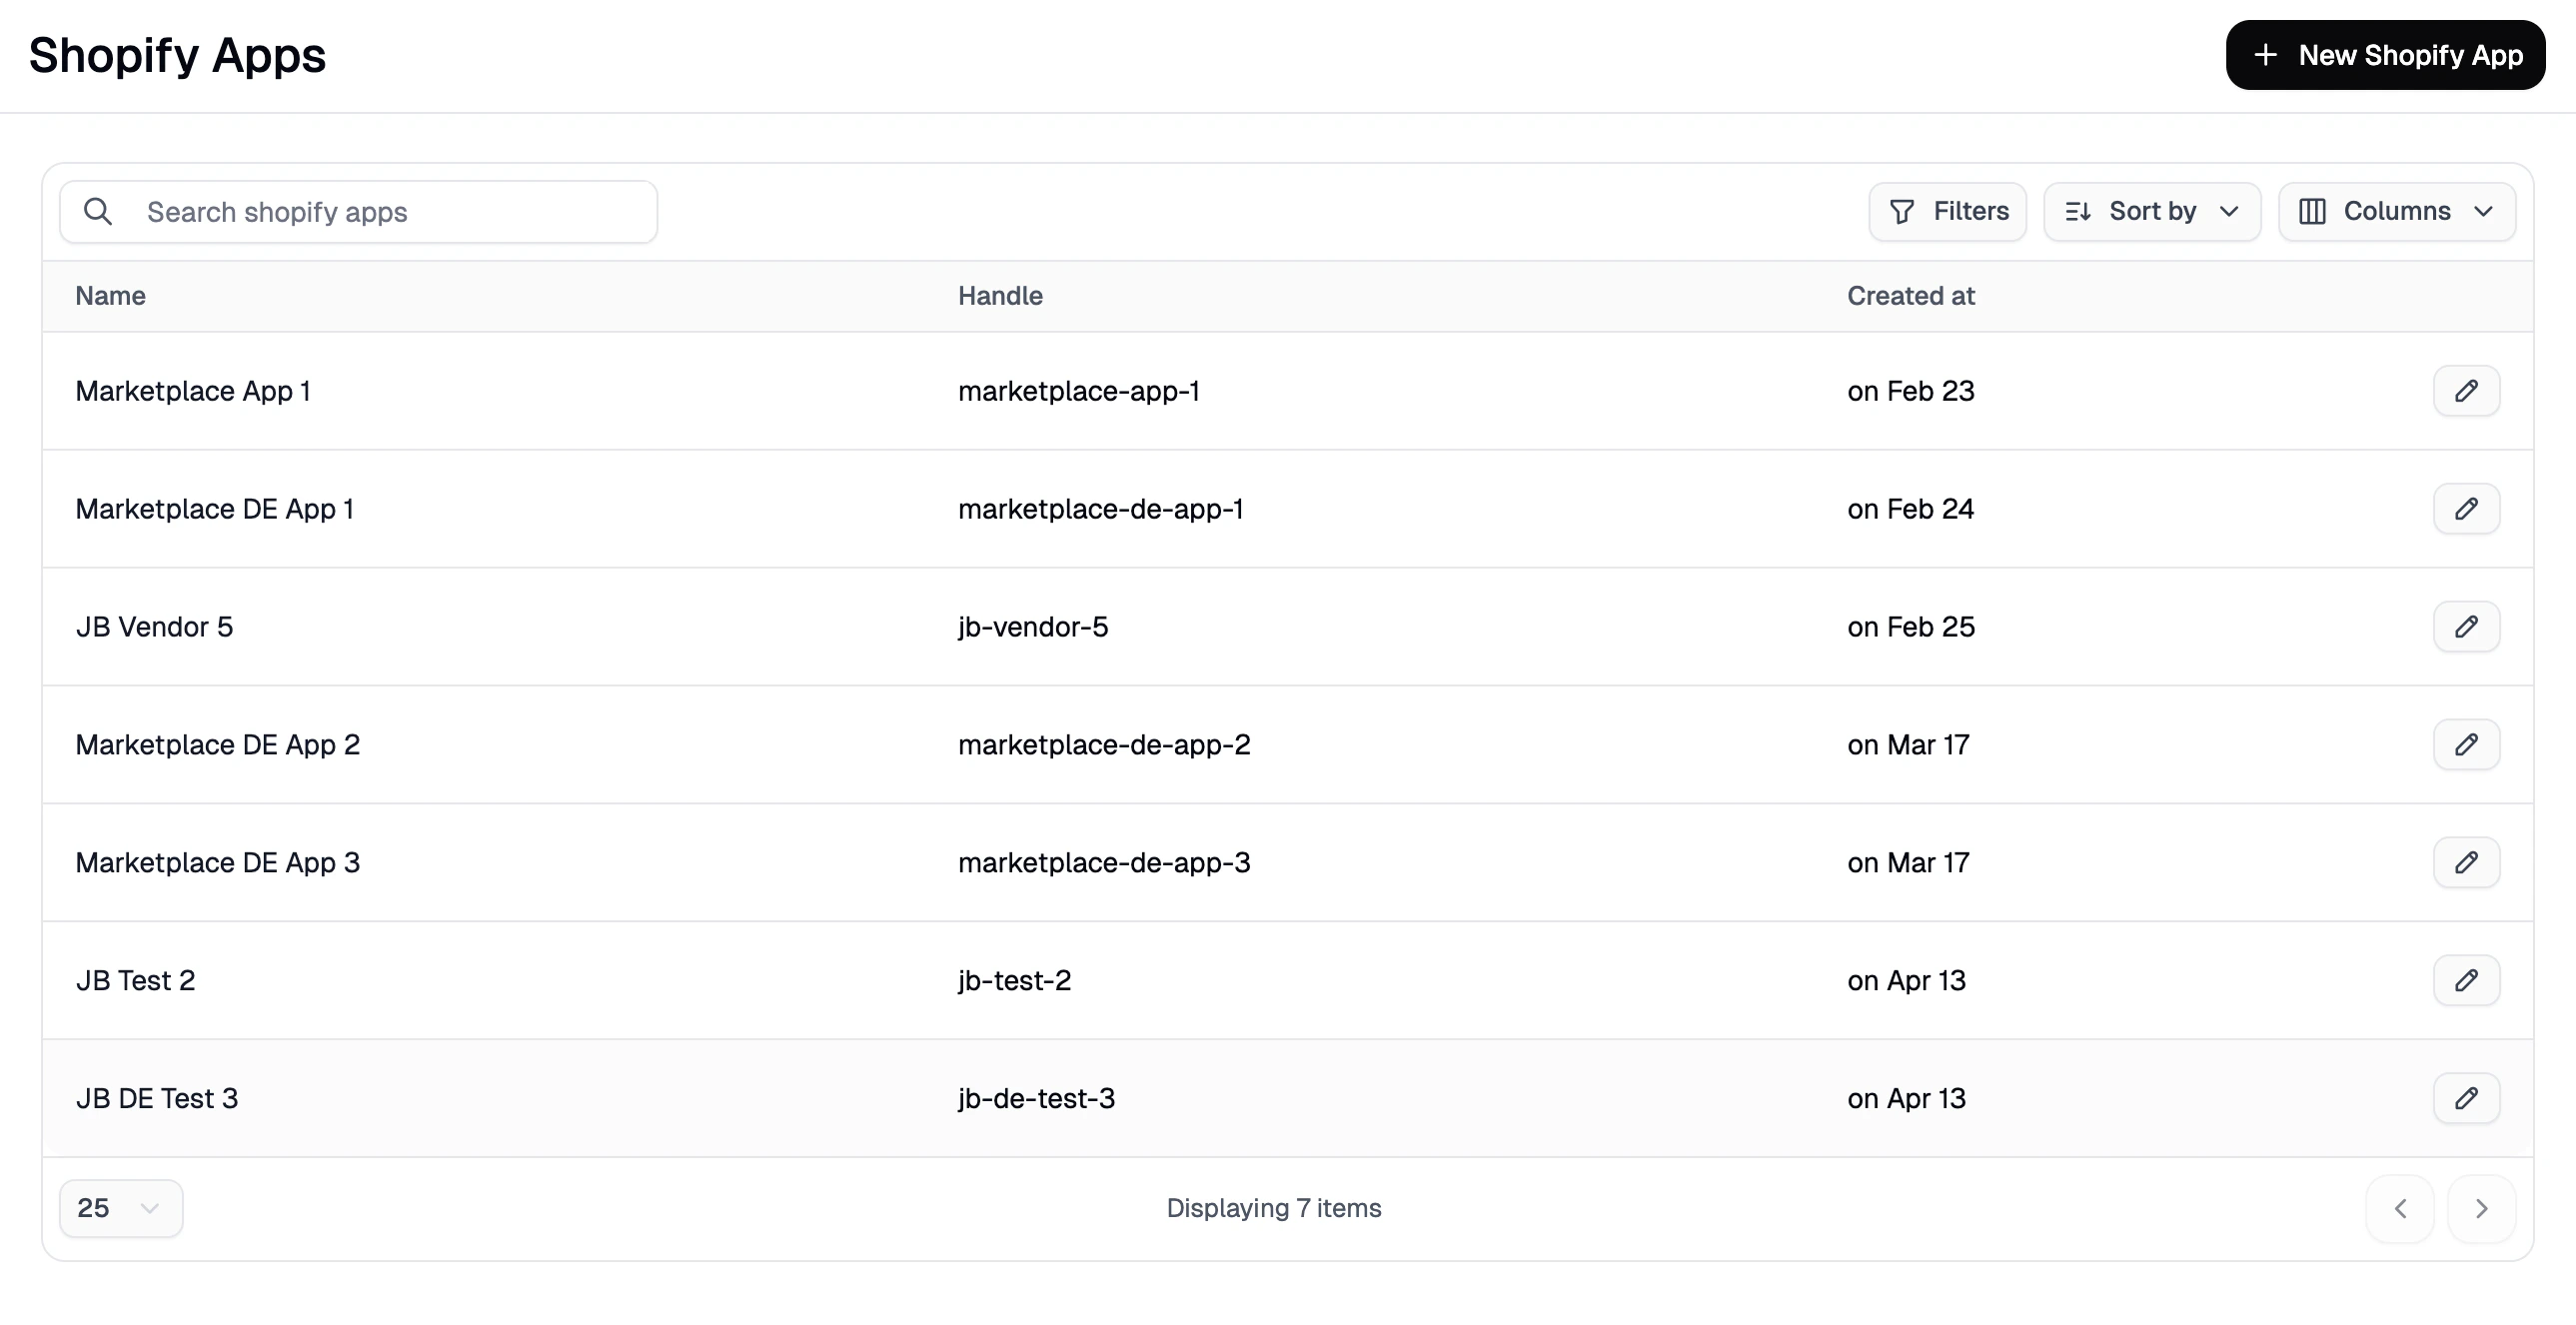
- Click New Shopify App in the top right corner.
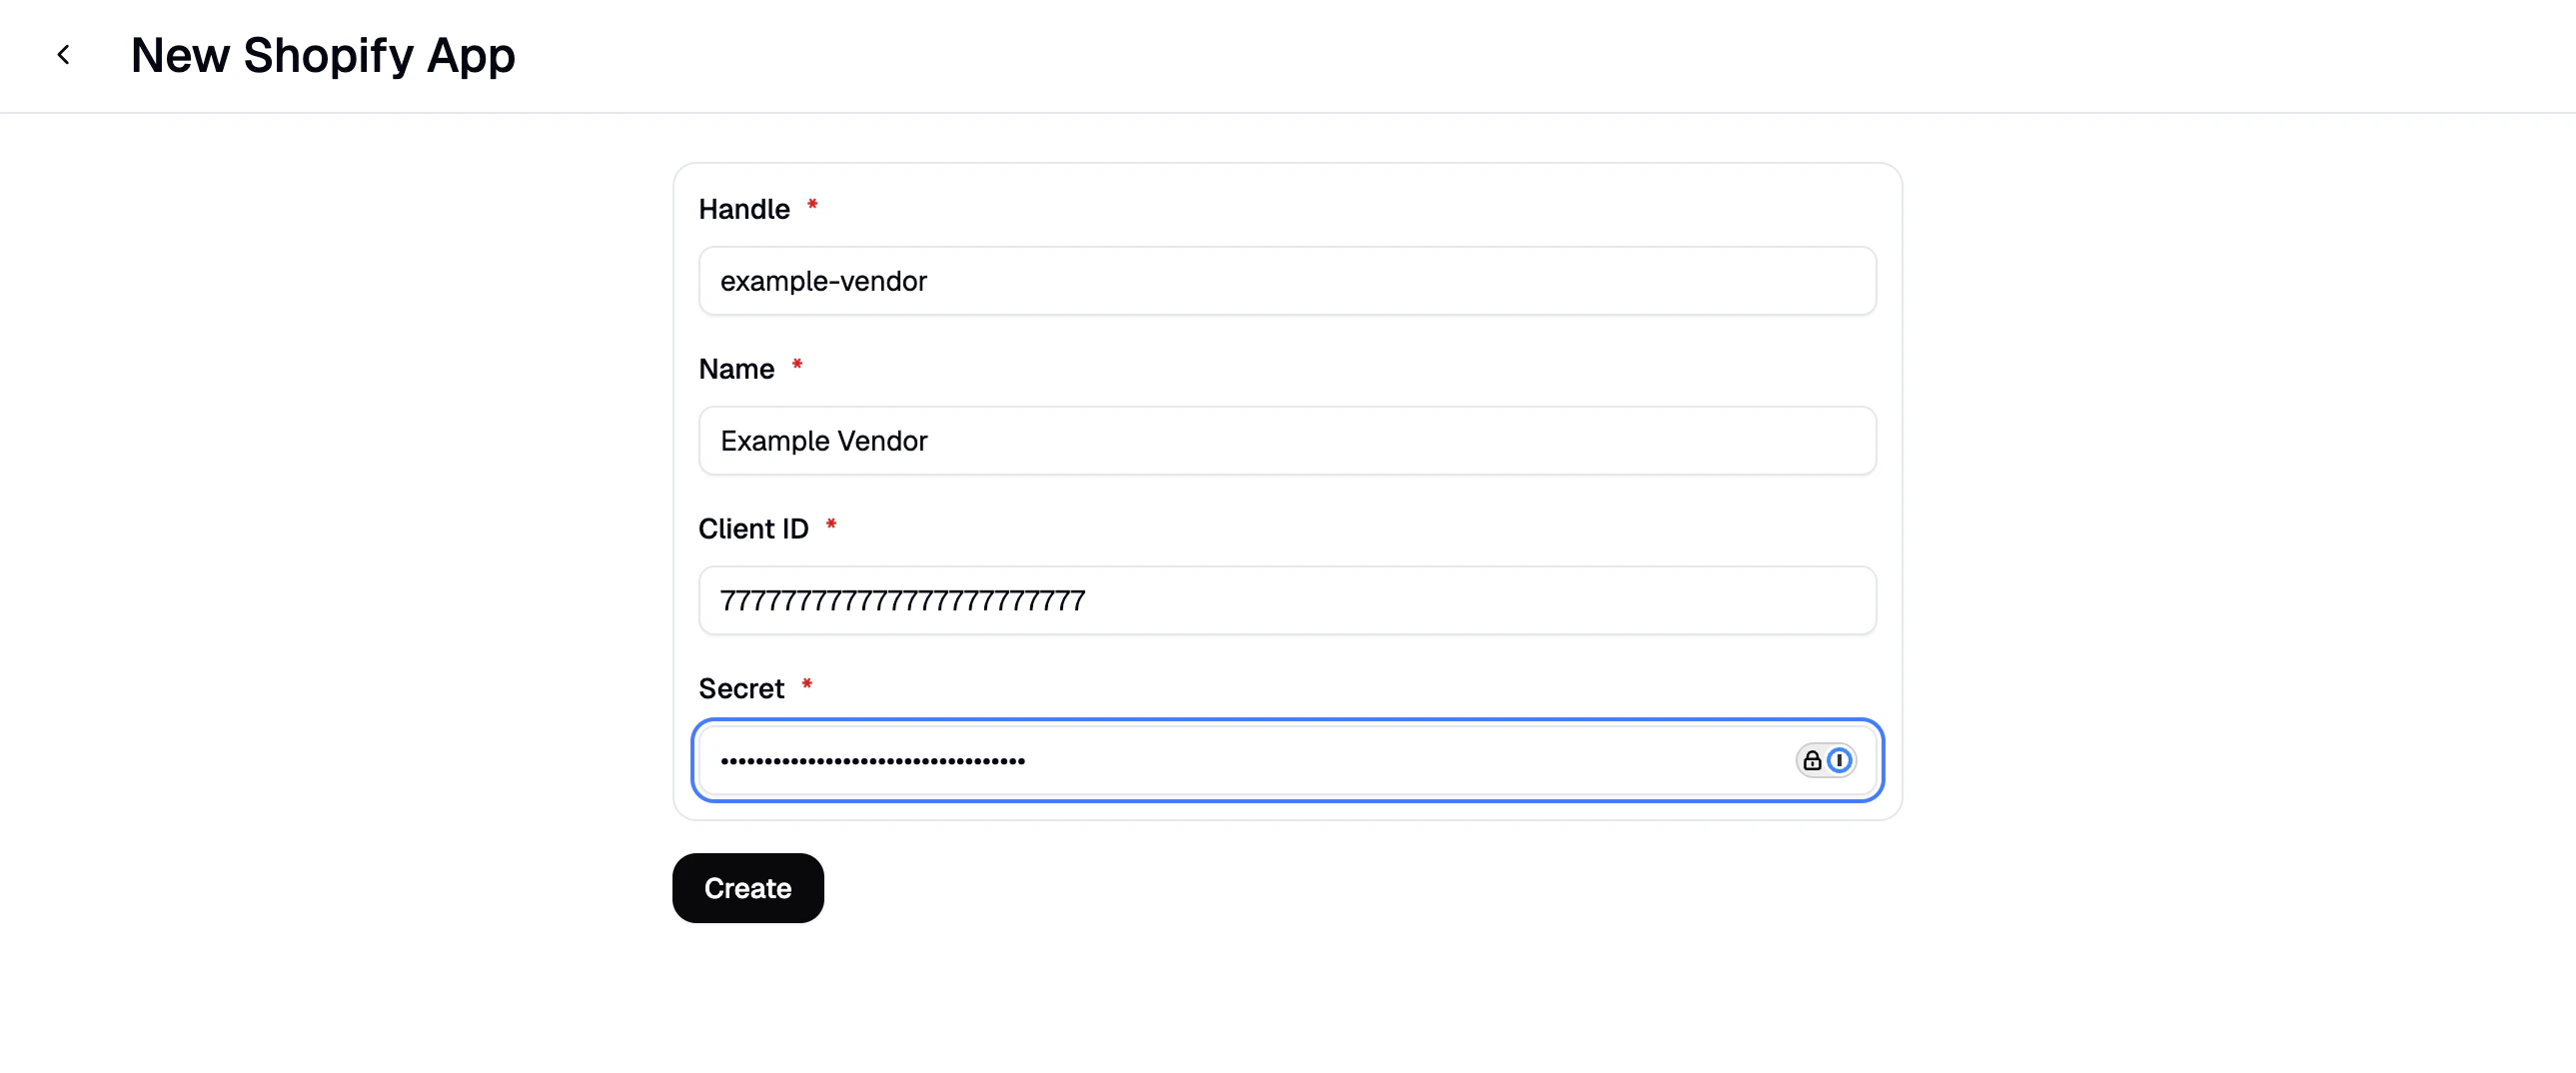
- Fill in the form and click Create:
- Handle - must match the
<app-handle>you used in step 1 (e.g.,example-vendor). - Name - can be anything, but we recommend matching the handle for consistency.
- Client ID - paste the Client ID from step 2.
- Secret - paste the Secret from step 2.
- Handle - must match the
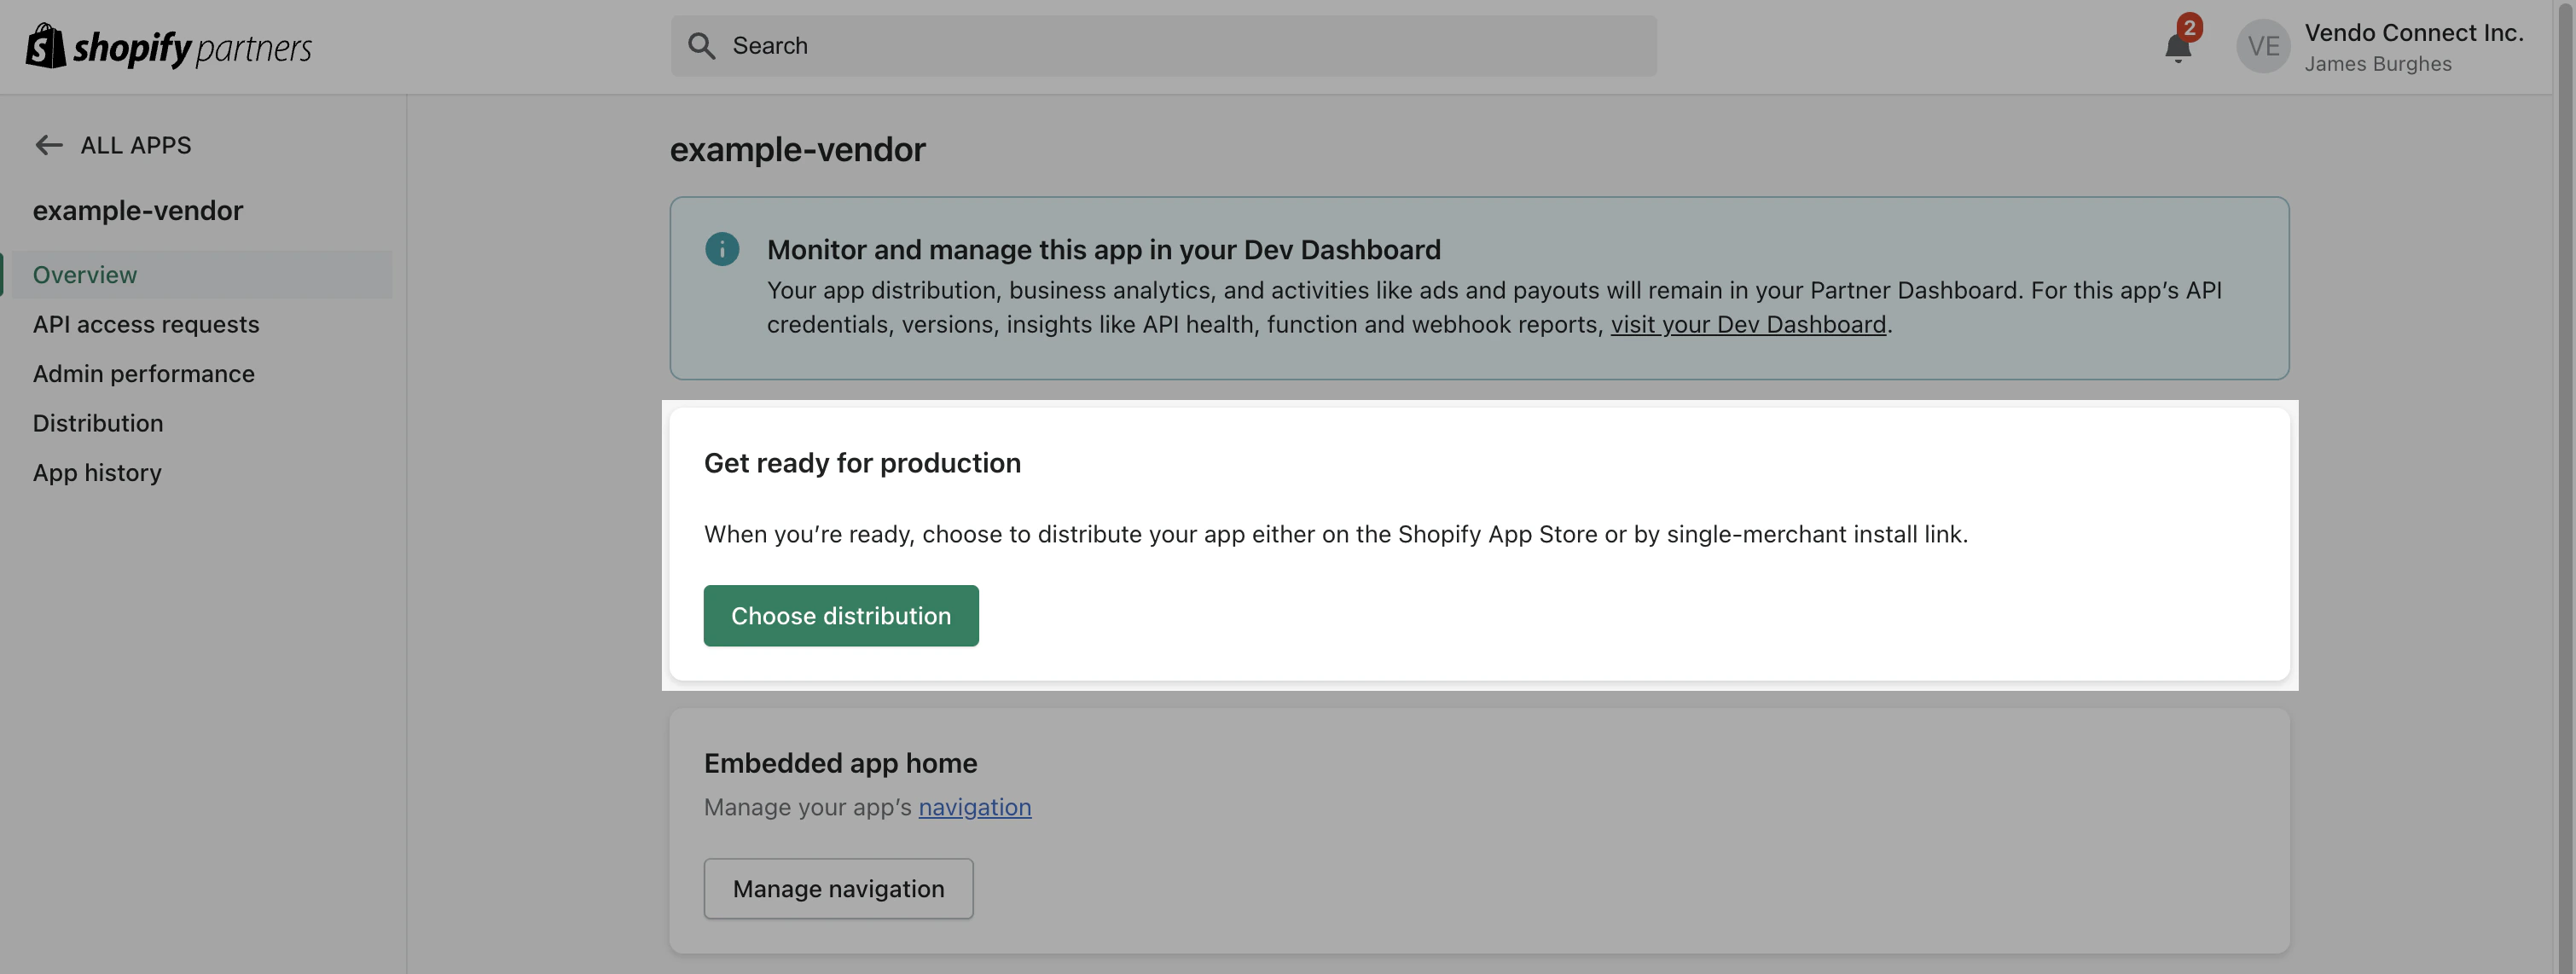
4. Generate the Install Link
With the app created and connected to Spree, the next step is to generate the install link the vendor will use to connect their store.- From the app’s Overview page in the Shopify Partner dashboard, click Select distribution method.
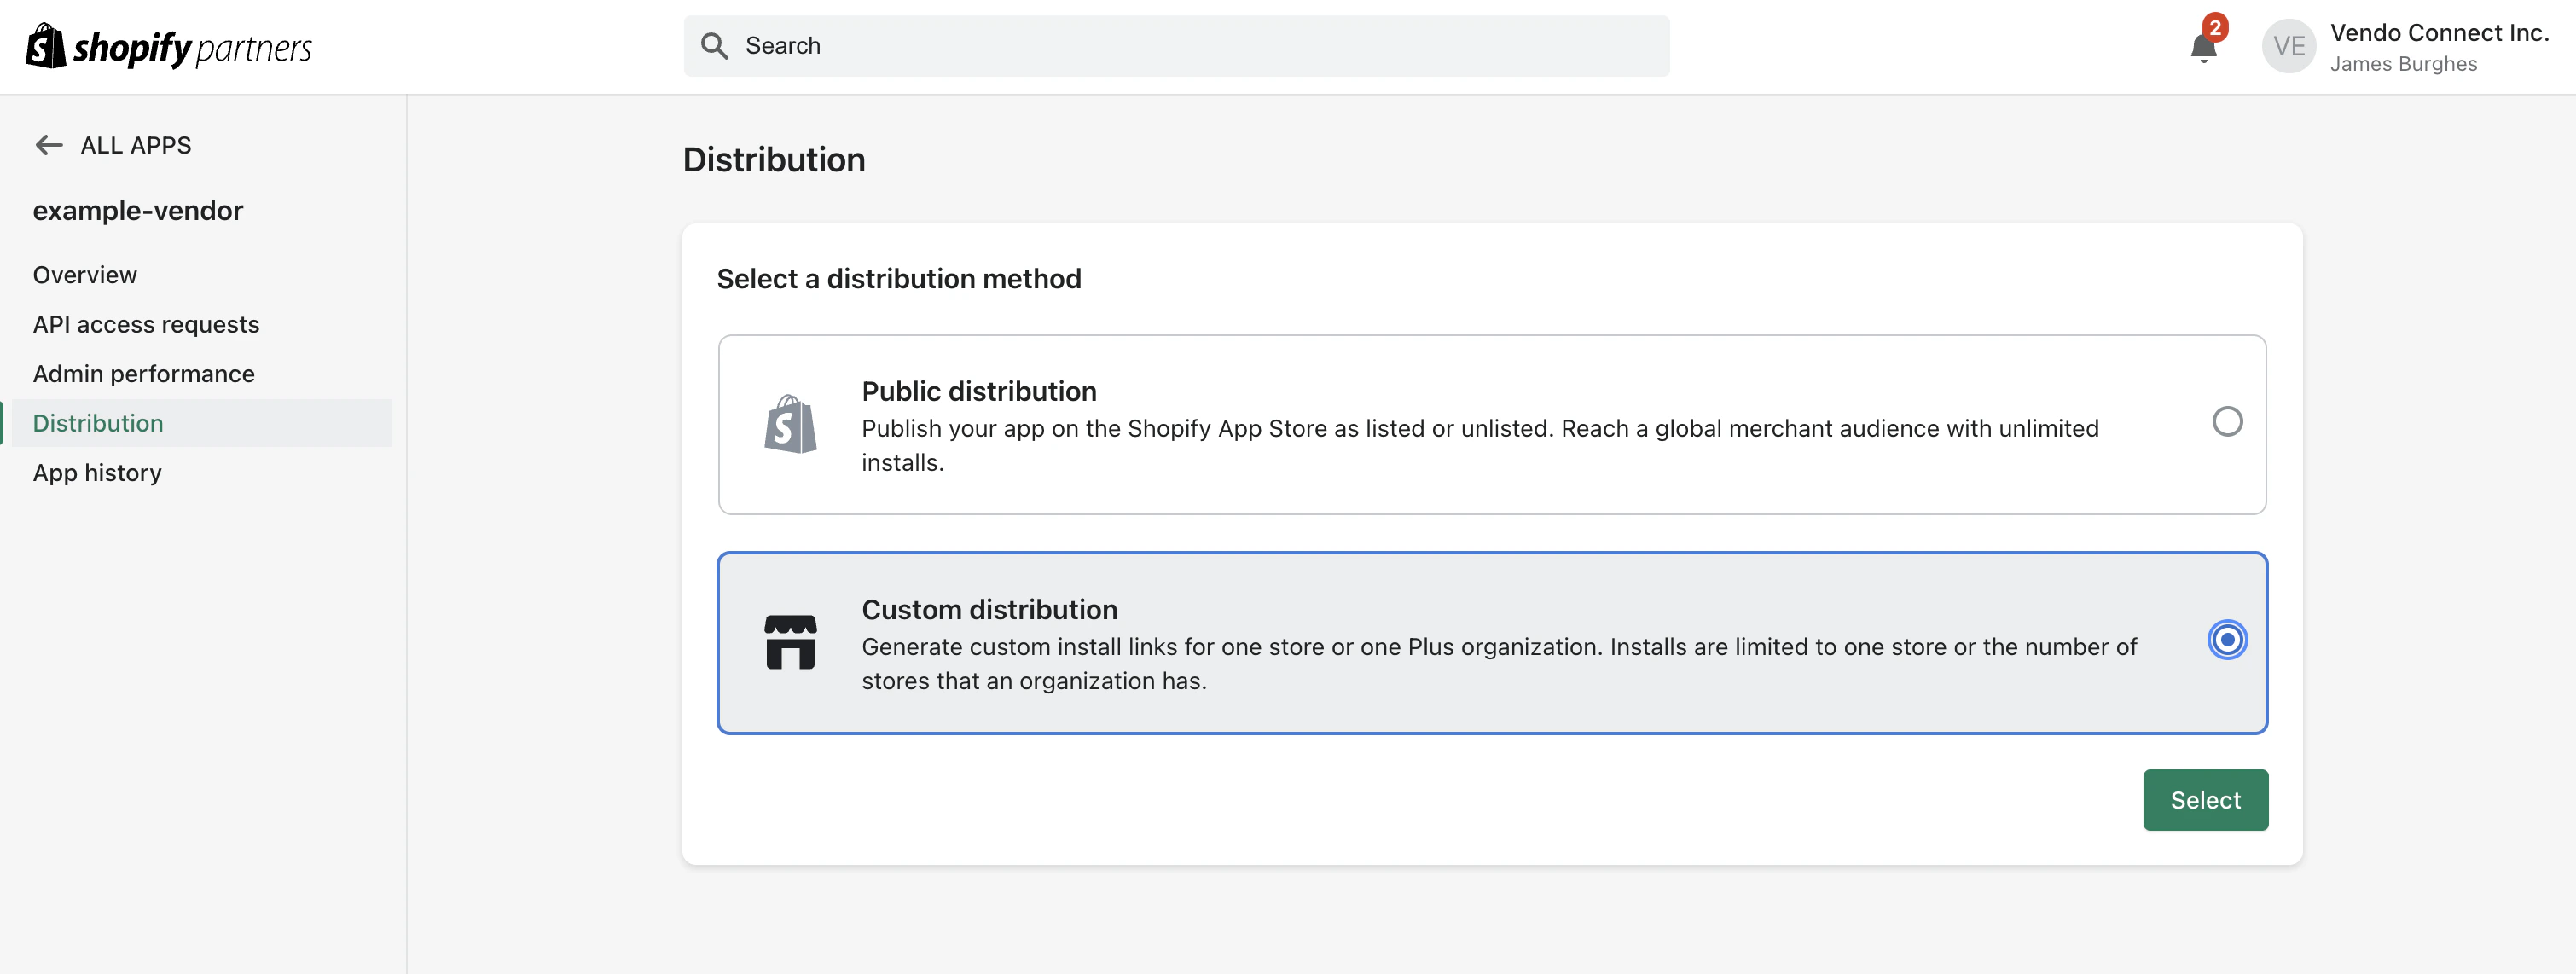
- Choose Custom Distribution and click Select. Confirm in the modal.
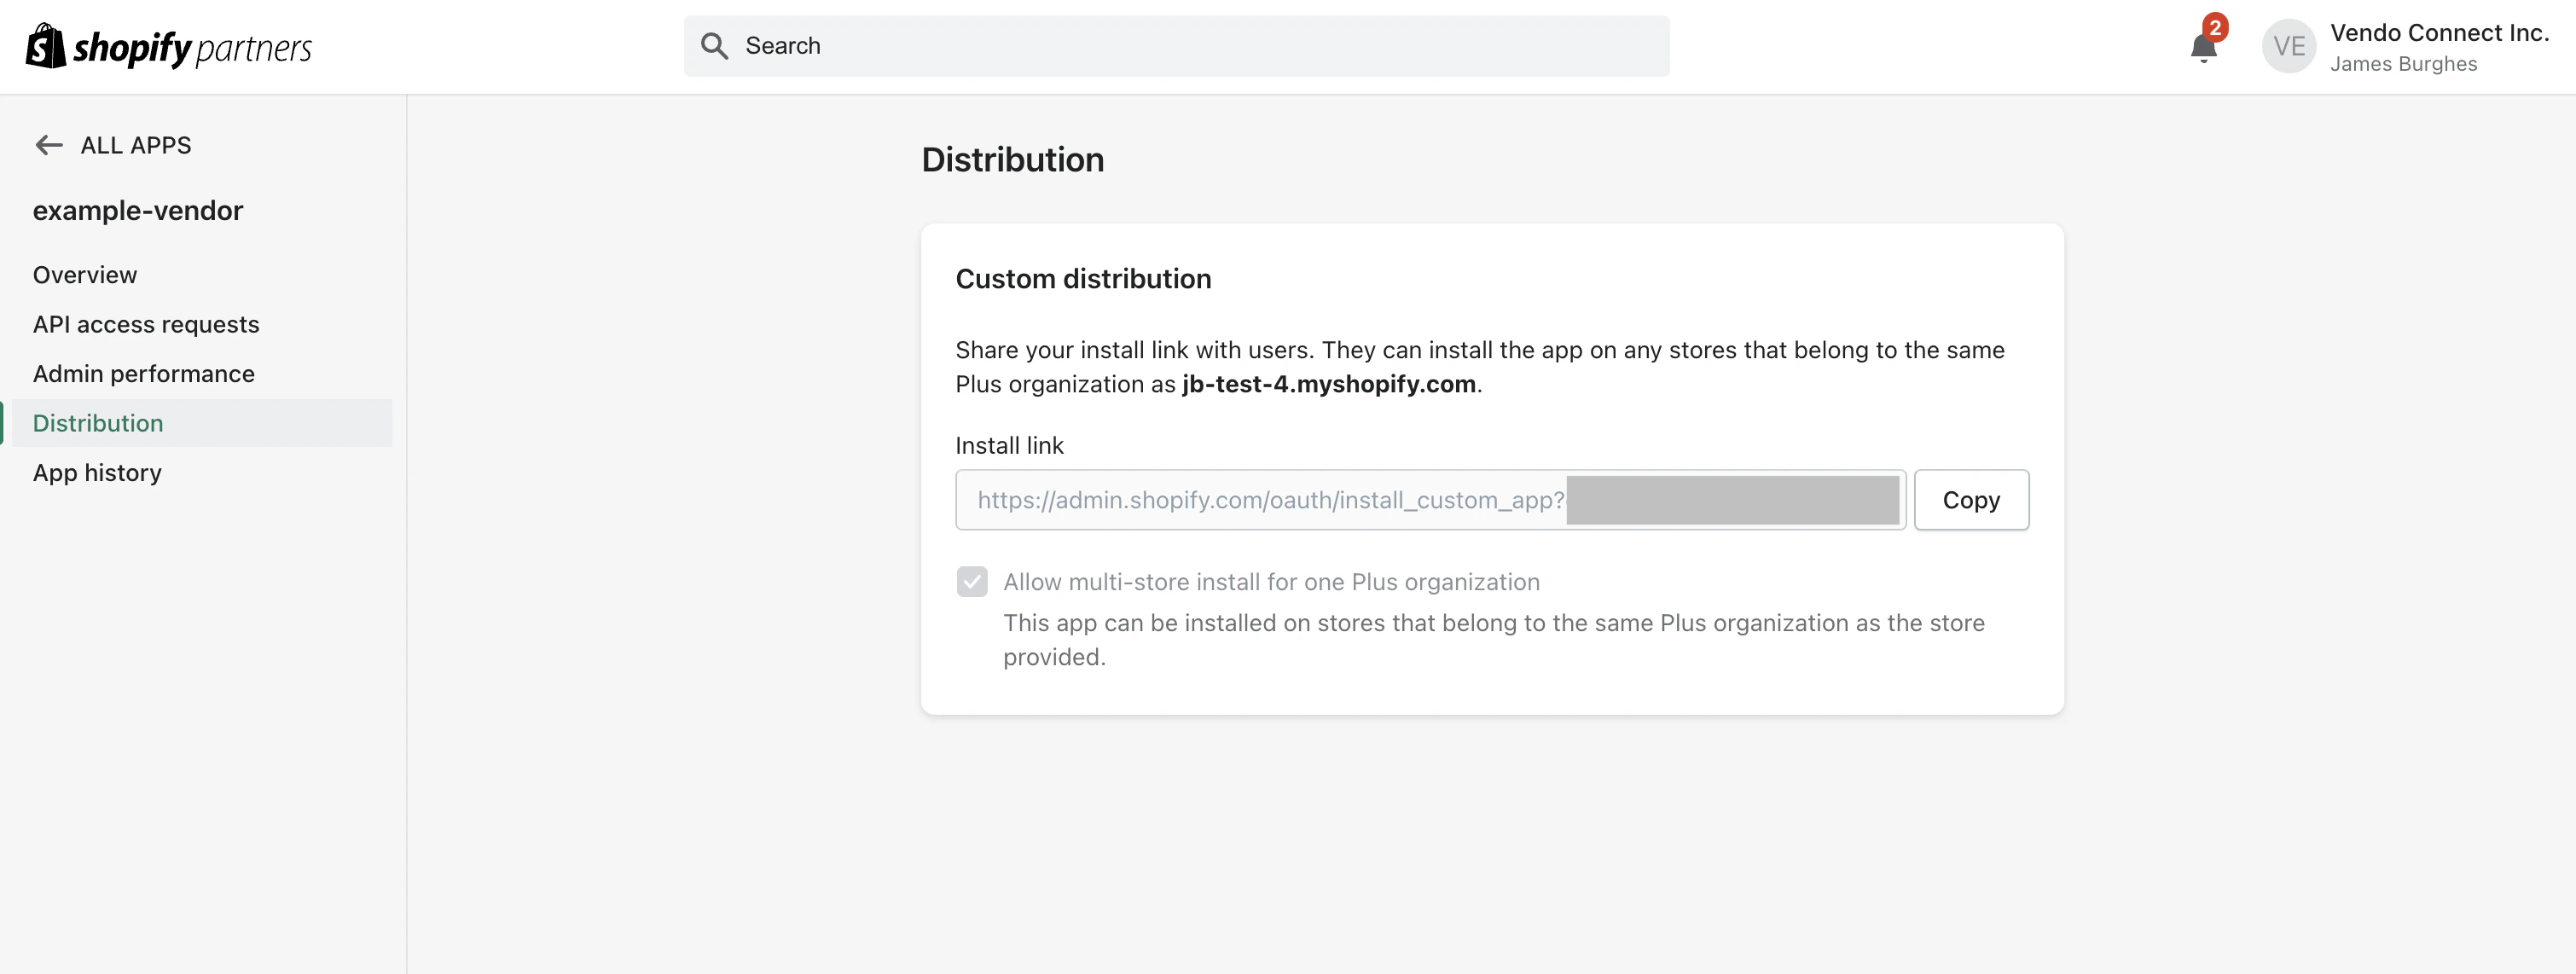
- Fill in the Distribution form:
- Store domain - the vendor’s Shopify store domain, formatted as either
<shopify-domain>.myshopify.comoradmin.shopify.com/store/<shopify-domain>(e.g.,admin.shopify.com/store/jessicas-gym). - Allow multi-store install for one Plus organization - leave this unchecked.
- Store domain - the vendor’s Shopify store domain, formatted as either
- Click Generate link and confirm in the modal.
- Copy the install link and save it — you’ll send this to the vendor in step 5.
5. Share the Install Link with the Vendor
Send the install link you saved in step 4 to the vendor through any communication channel — email, Slack, or whatever you normally use. From here, the rest of the flow is on the vendor — see the Vendor Onboarding section below for what they’ll experience.Vendor accounts are set up with the Shopify store owner’s email address. If you’re connecting multiple Shopify stores that share an owner email, each store will need a unique email set under Shopify Store Settings → General → Store details.
Vendor Onboarding
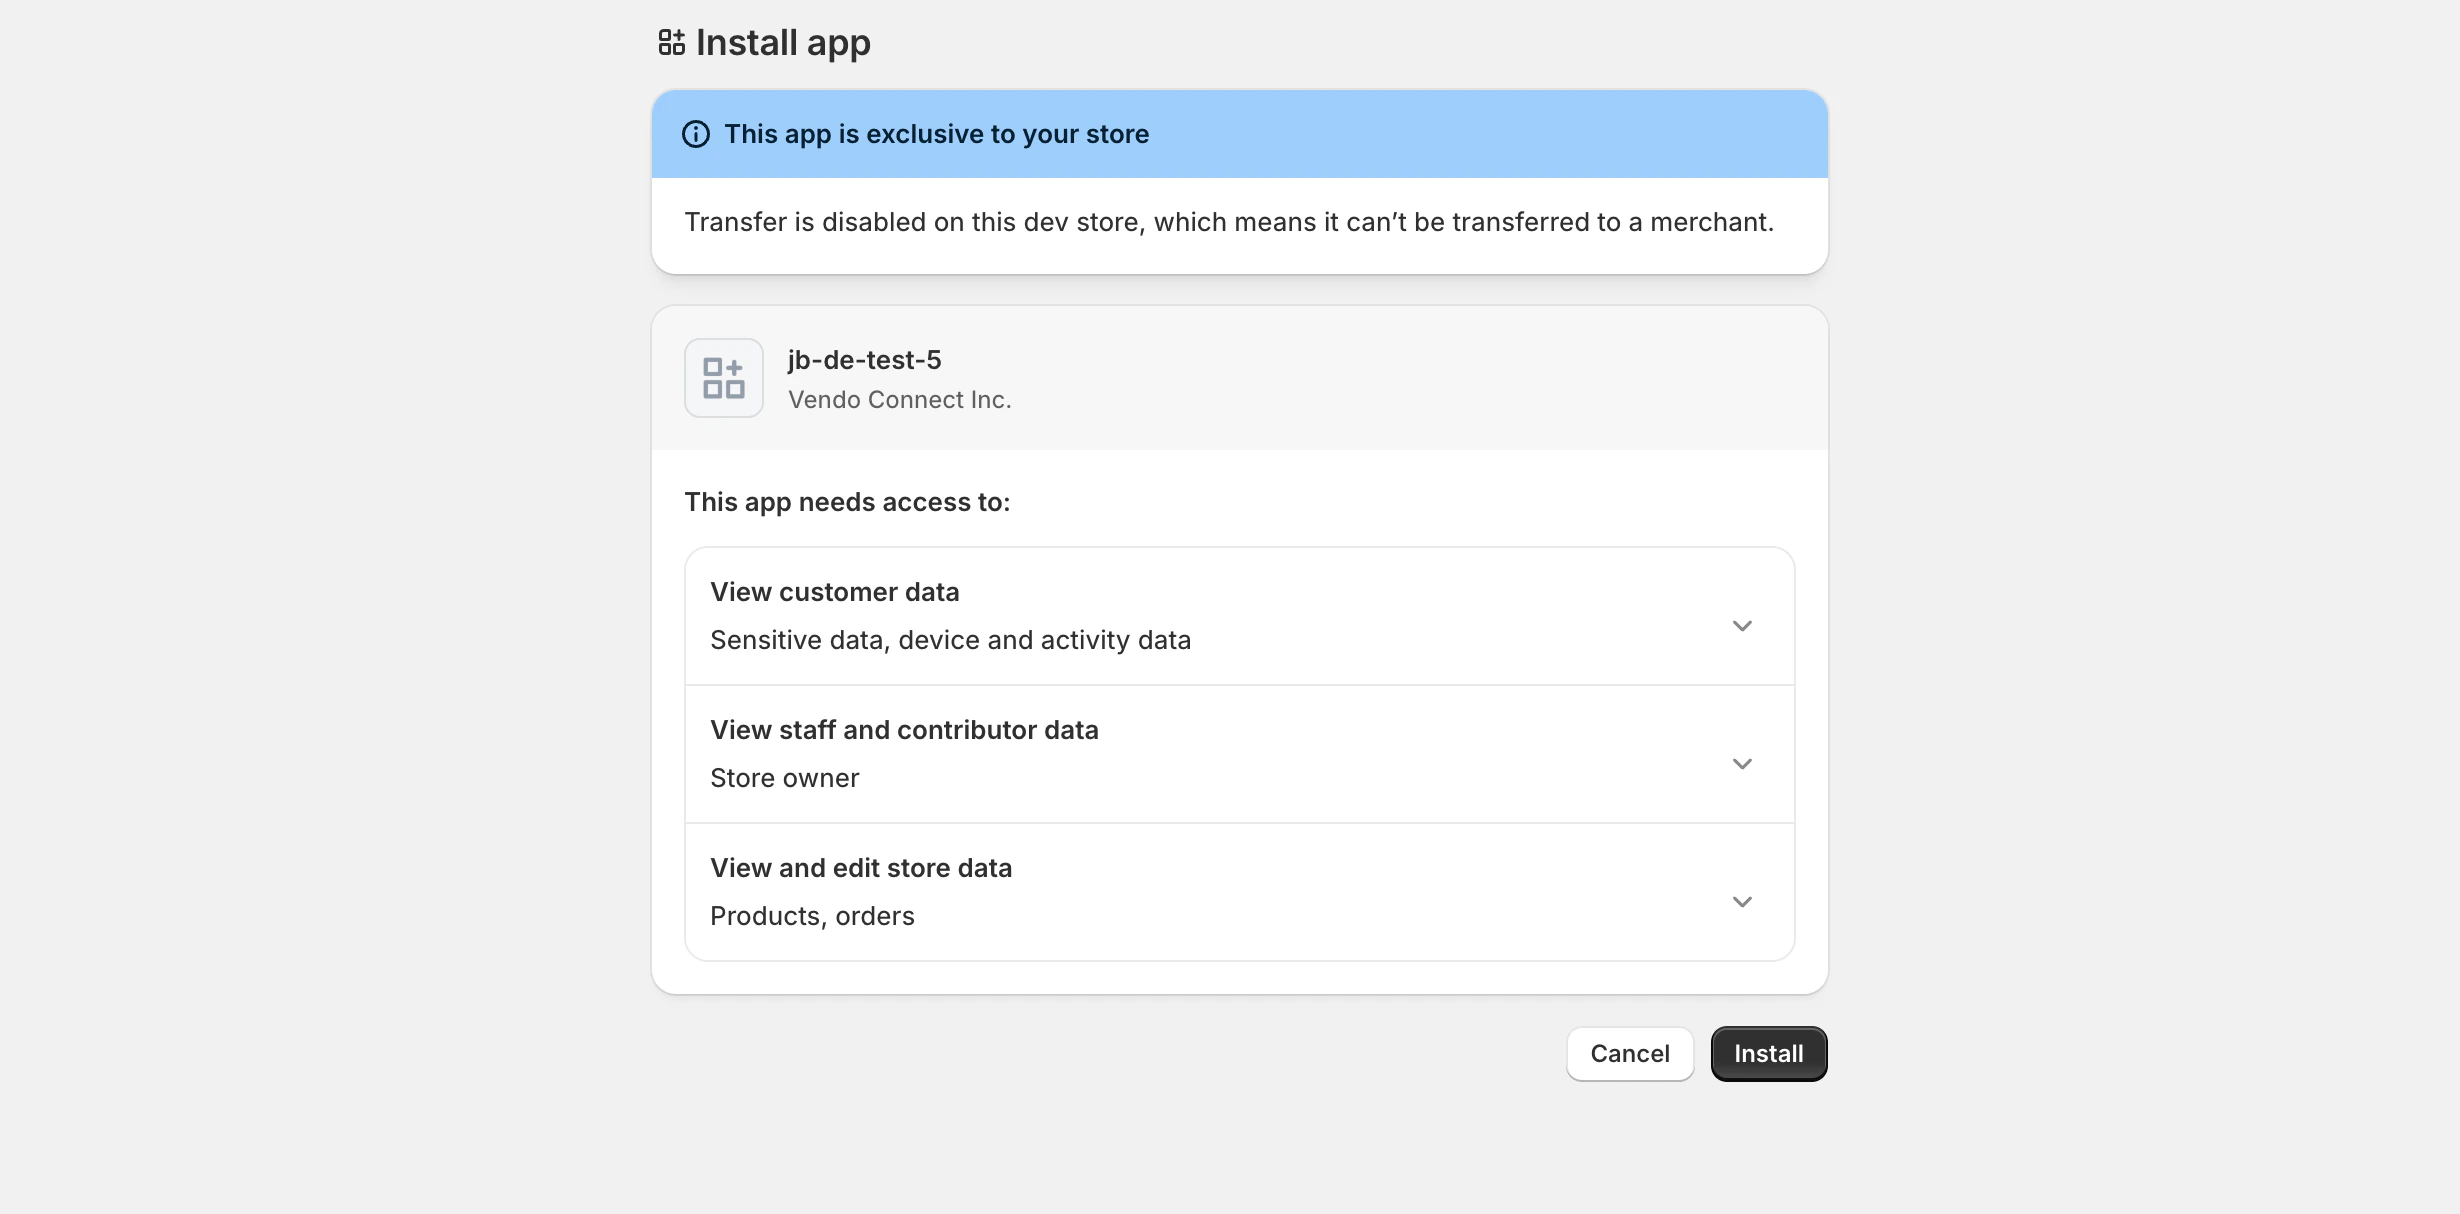
This section is for the vendor. Once you’ve received the install link from the marketplace owner, follow these steps to connect your Shopify store and complete your onboarding.1. Install the Shopify App
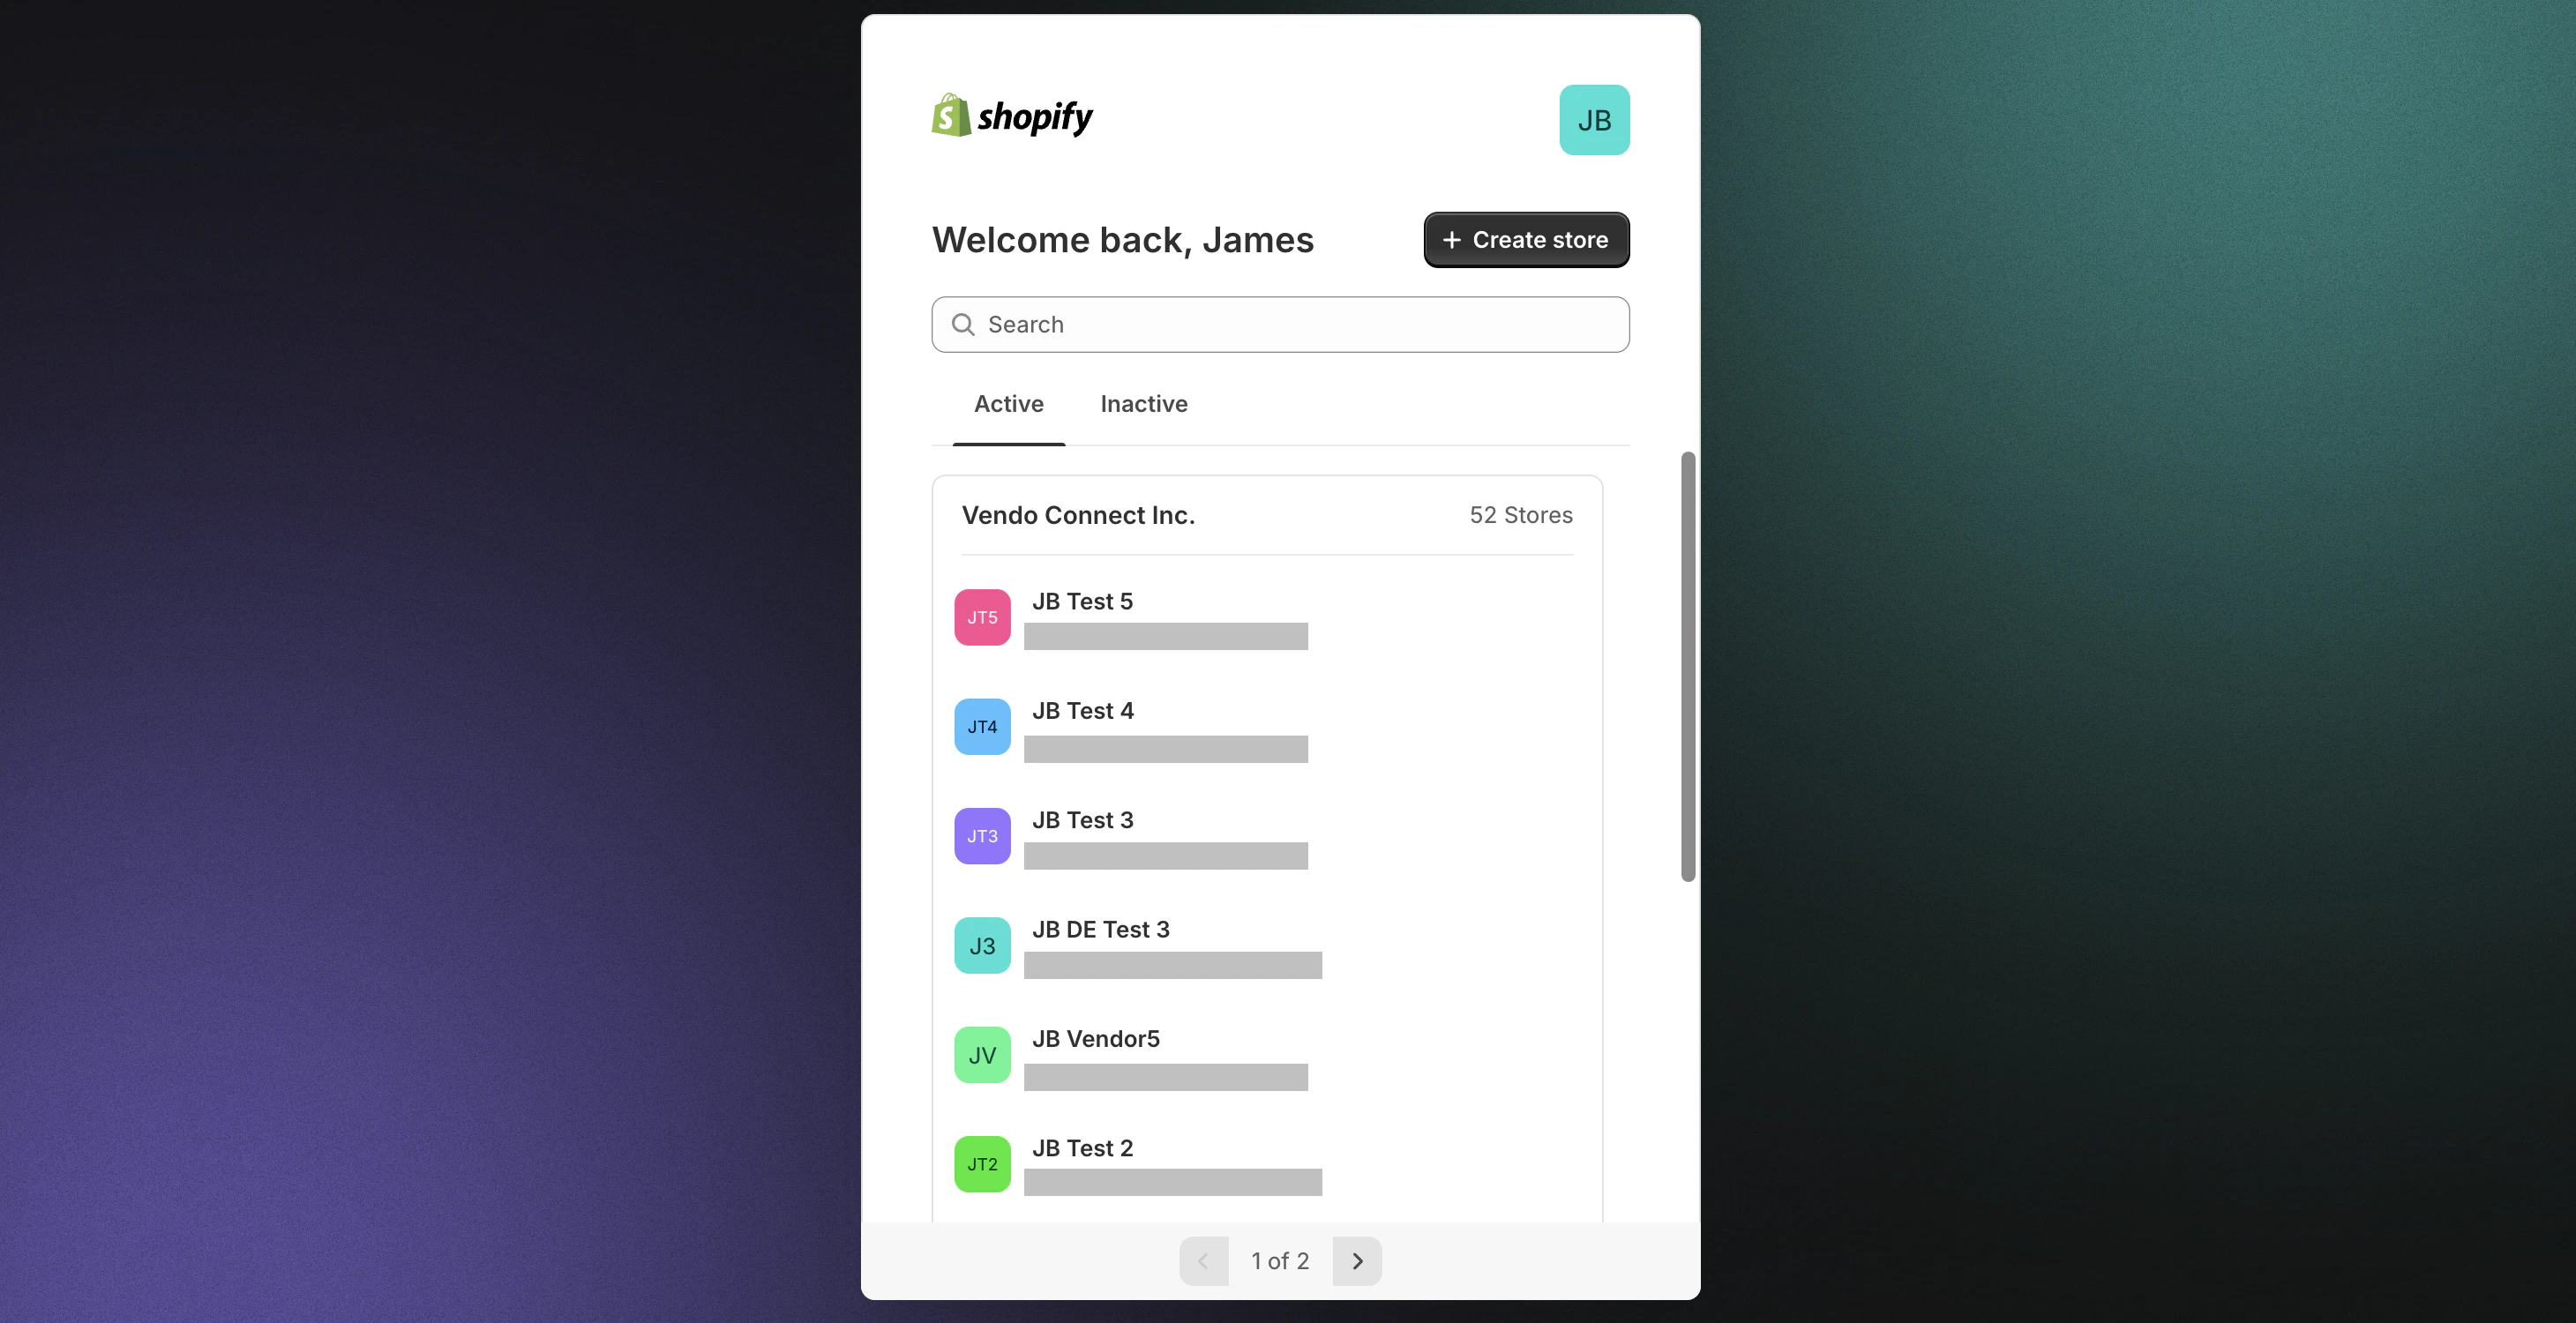
- Open the install link the marketplace owner sent you.
- Log in to Shopify and select the store you’ll be connecting to the marketplace.
- Accept the app installation.
2. Create Your Vendor Account
After accepting the installation, you’ll be redirected to a Spree onboarding screen and asked to create a vendor account.
3. Complete Your Onboarding Tasks
When you arrive at your vendor dashboard, you’ll see a Getting Started checklist. Most tasks are auto-completed for Shopify vendors thanks to the integration, but a few still need your attention.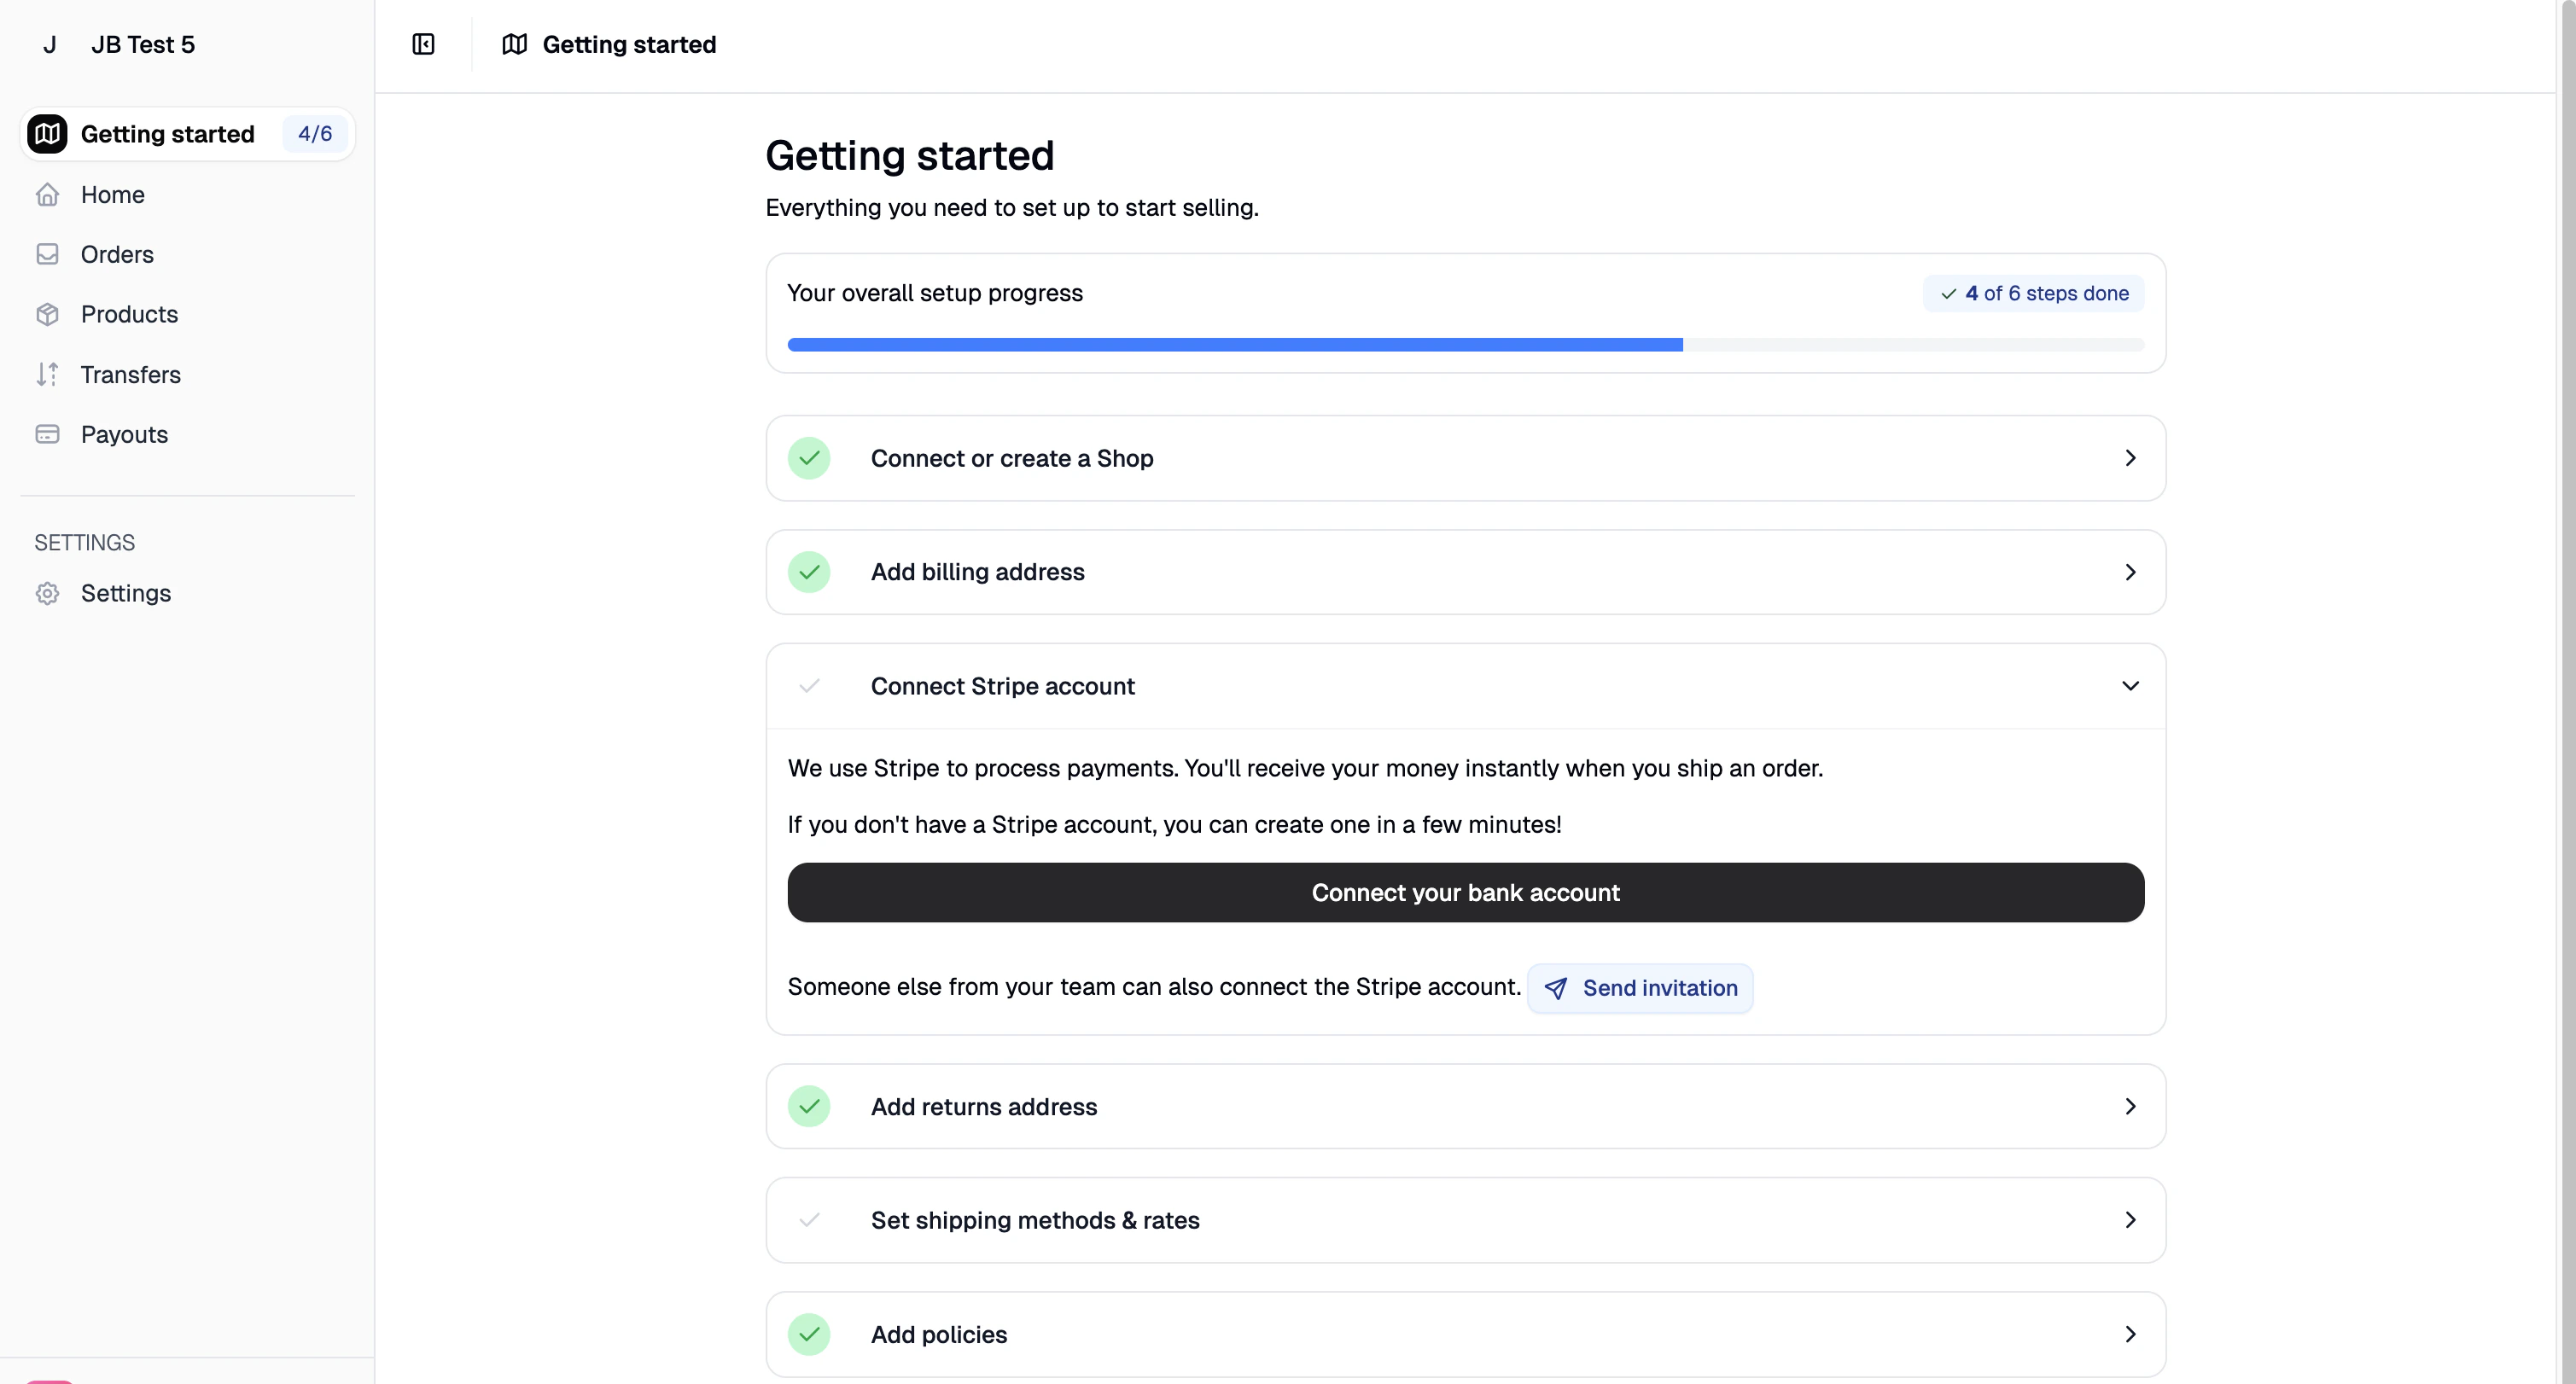
Auto-Completed Tasks
The following tasks are marked complete automatically when you install the app — just verify the imported information is correct:- Connect or Create a Shop — completed by the app installation itself.
- Add Billing Address — imported from your Shopify store’s billing details.
- Add Returns Address — imported from your Shopify store’s address.
- Add Returns Policy — imported from your Shopify store, provided you have a returns policy configured there.
Confirm Shipping Rates
Your Shopify shipping methods and rates are synced automatically, but you still need to confirm them to mark this task complete. Navigate to Settings → Shipping in your vendor dashboard and click Confirm Shipping Rates in the top right corner.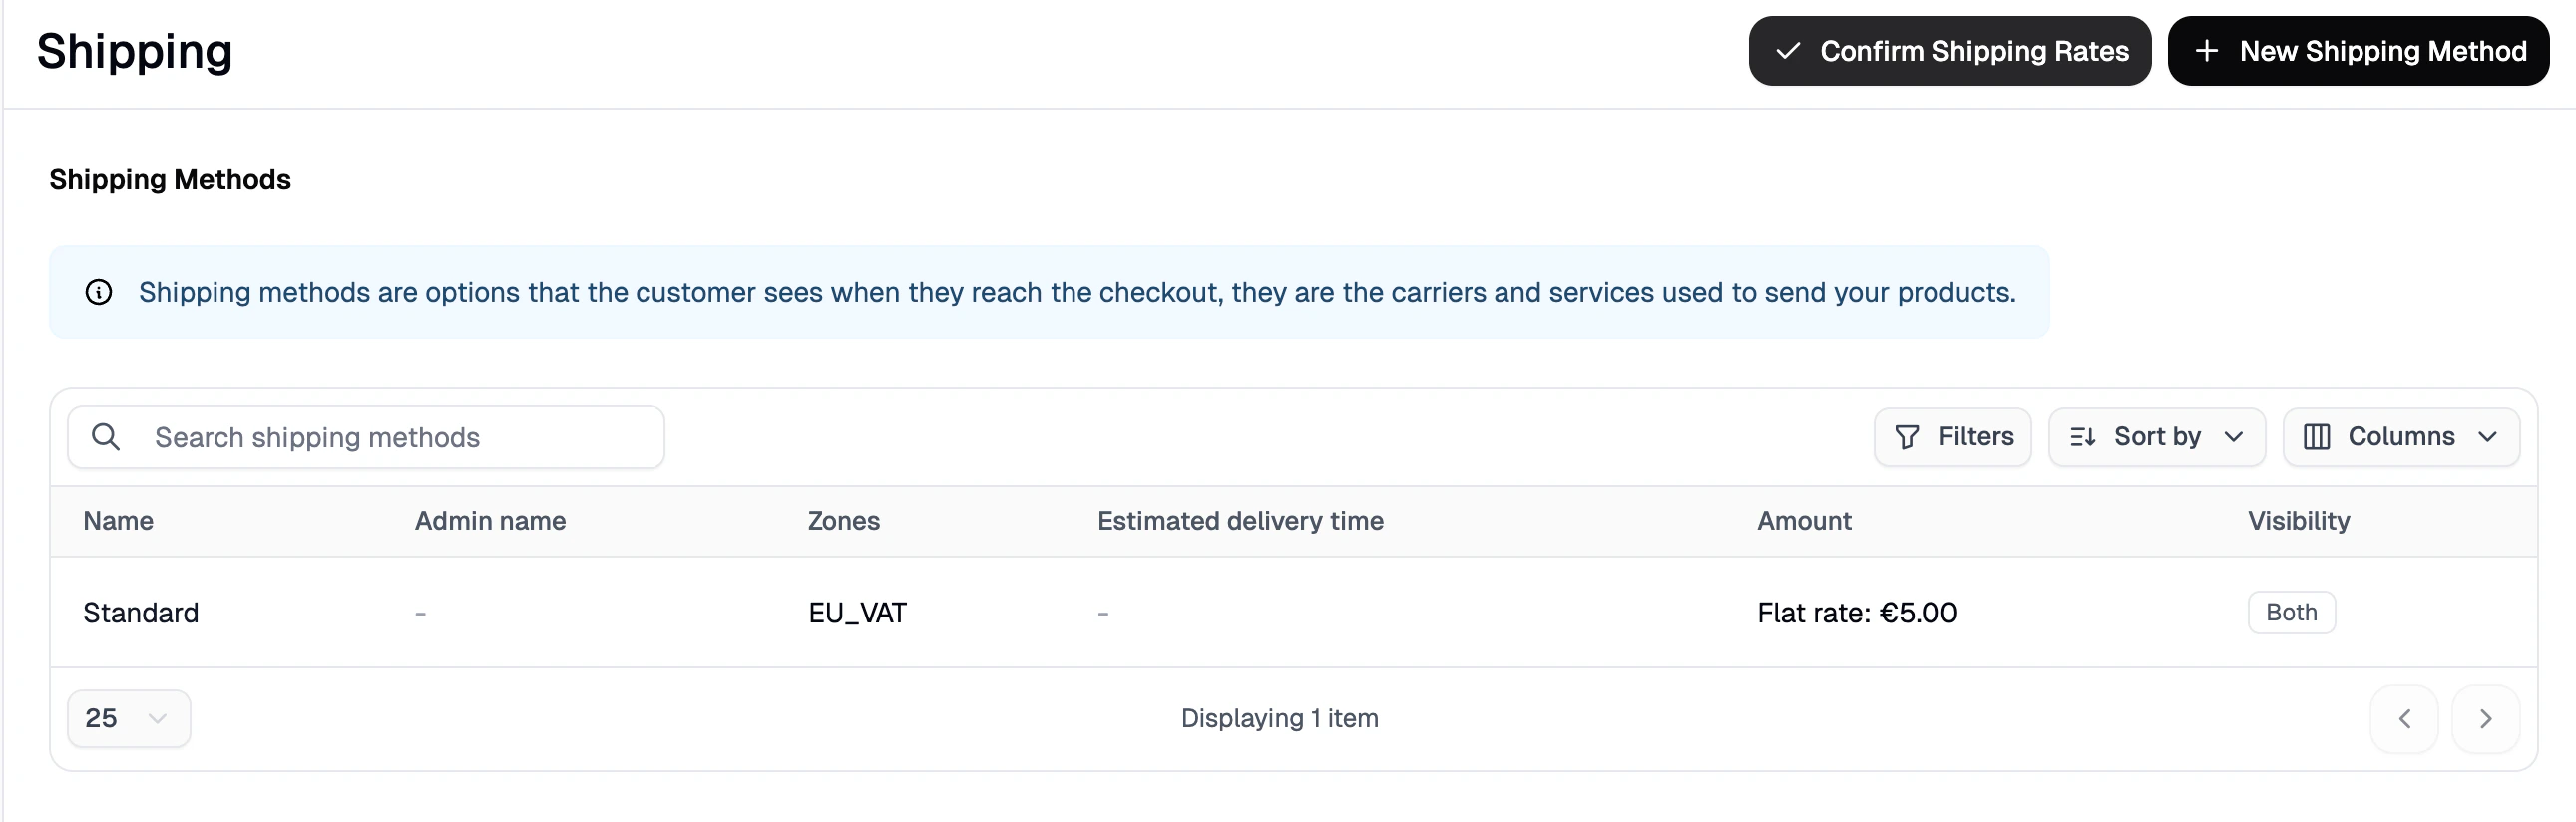
You can edit existing shipping methods or add new ones at any time before or after onboarding is complete.
Connect Your Stripe Account
Stripe is used by the marketplace to process payments and send your payouts. To receive your earnings, you’ll need to connect a Stripe account.- Click on Connect Stripe Account in your onboarding checklist.
- Click Connect your bank account to be guided through Stripe’s short onboarding process.
- Follow the Stripe prompts to set up a new account or connect an existing one.

If you’re not the one handling your company’s financials, you can invite another team member to complete this step instead.
What Syncs Between Shopify and the Marketplace
Once your Shopify store is connected, the following data syncs automatically:- Active products are imported into the marketplace catalog.
- Inventory levels sync in both directions in real-time.
- Shipping methods and rates sync from Shopify to the marketplace.
- Orders placed on the marketplace appear in your Shopify dashboard for fulfillment, just like normal Shopify orders.
- Fulfillment status and shipment tracking sync back to the marketplace and trigger customer notifications automatically.
- Price updates made in Shopify sync to the marketplace.
- Content updates (descriptions, images) sync to the marketplace, unless the marketplace owner has edited them.