Add a New Property
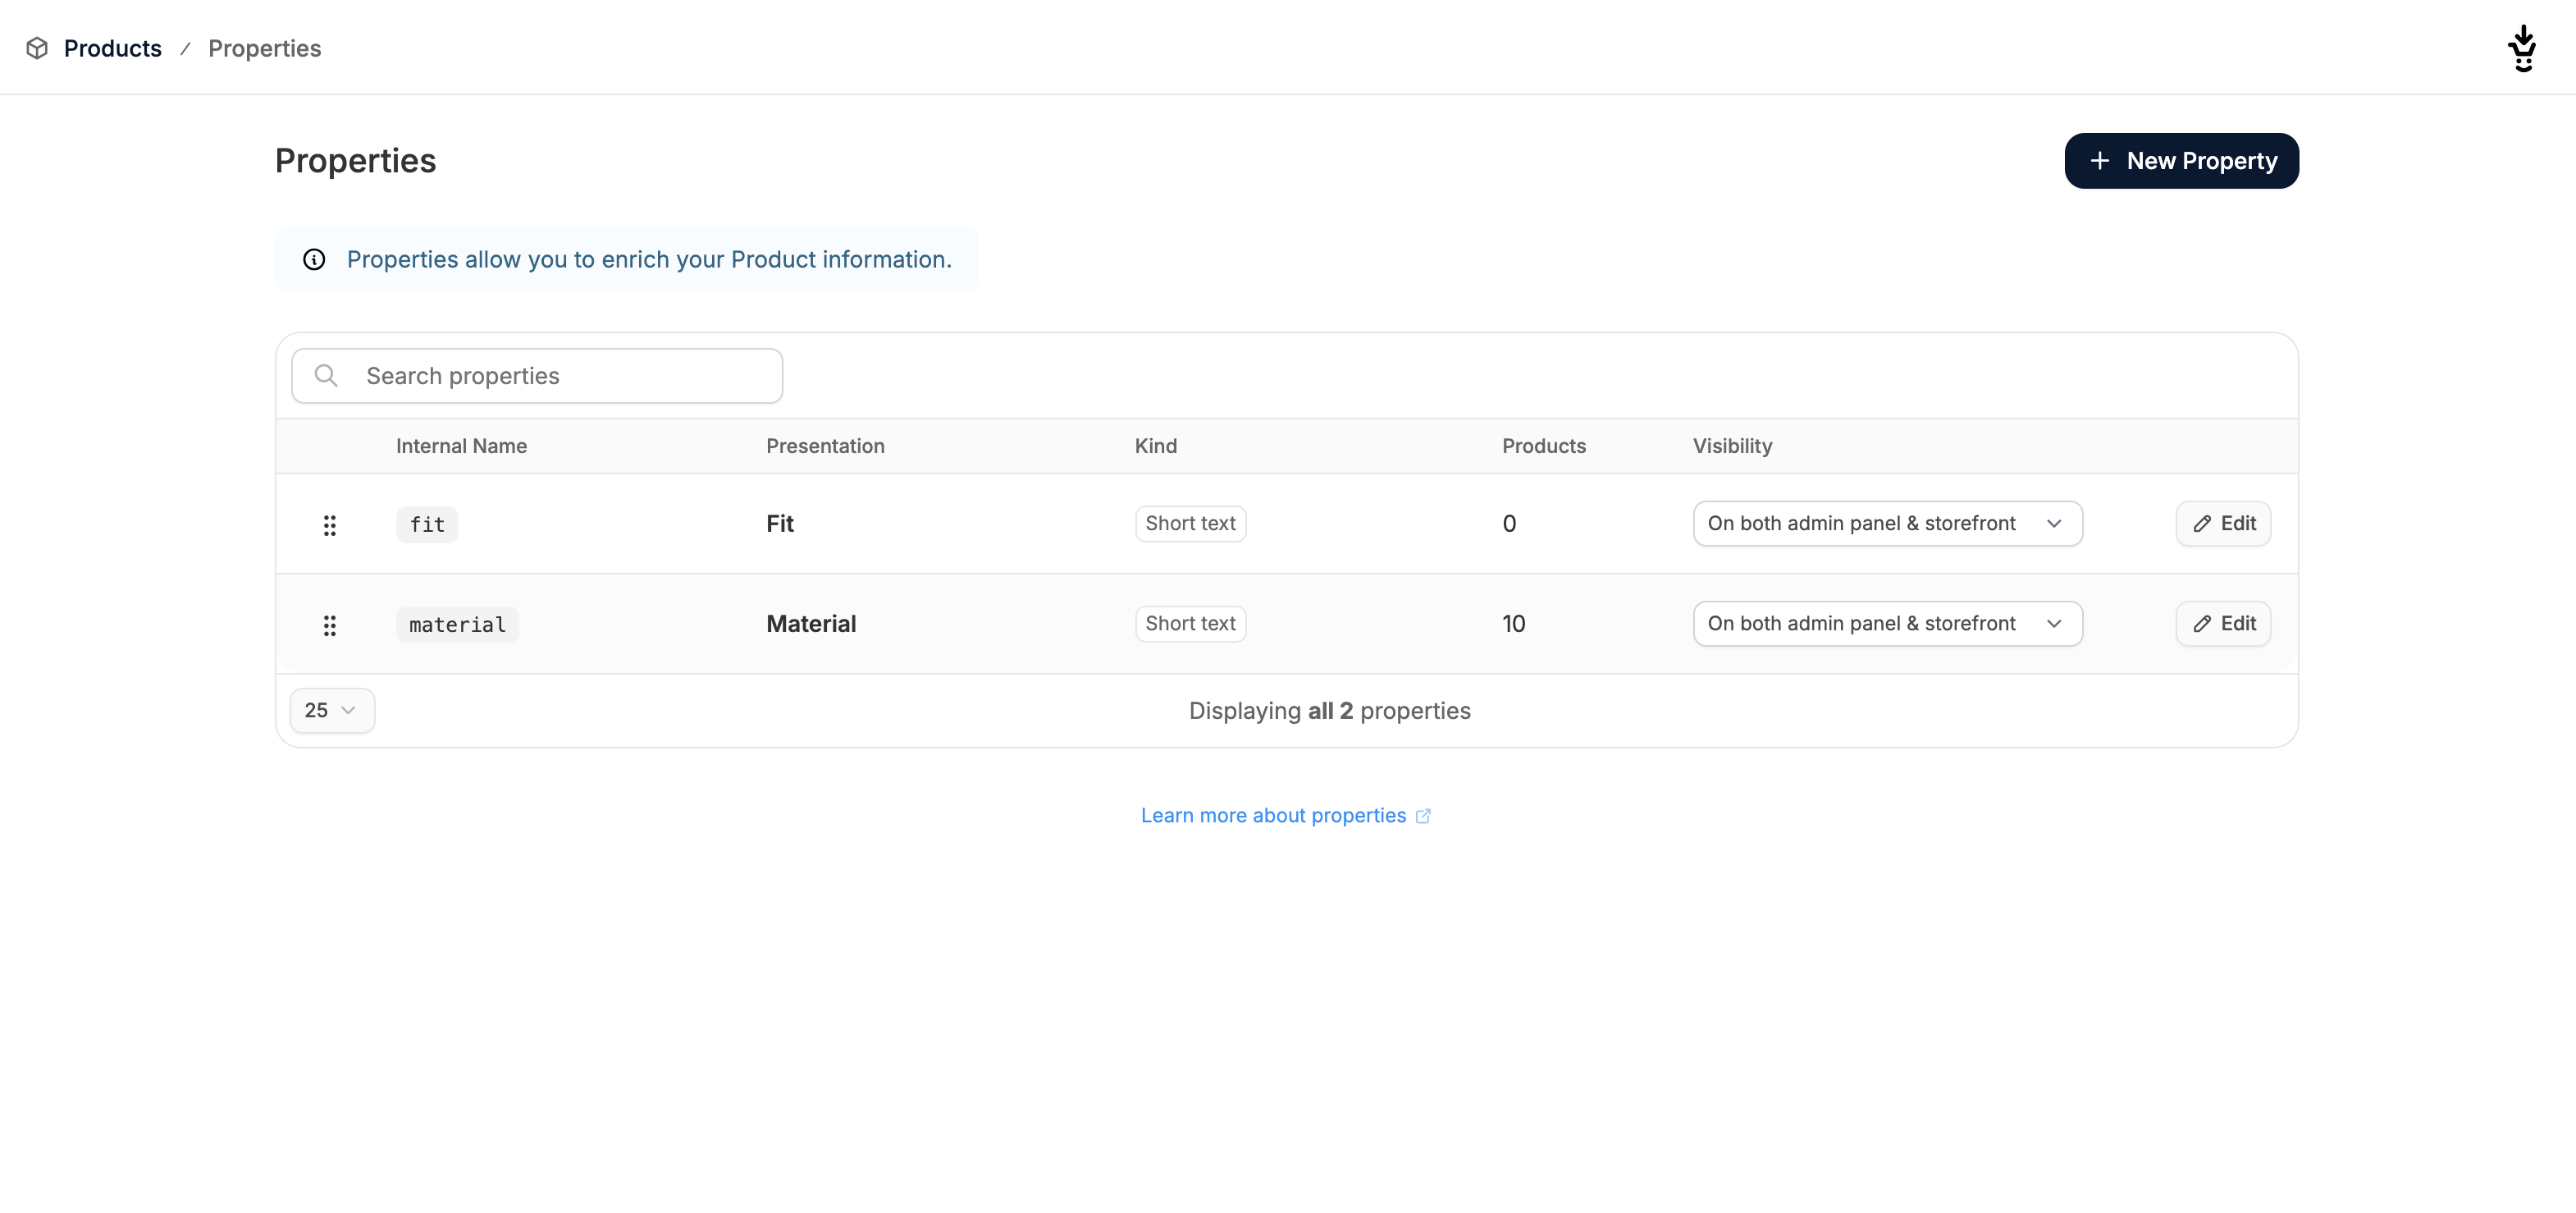
To add a new property, click New Property in the top right corner to open the product property creation page.
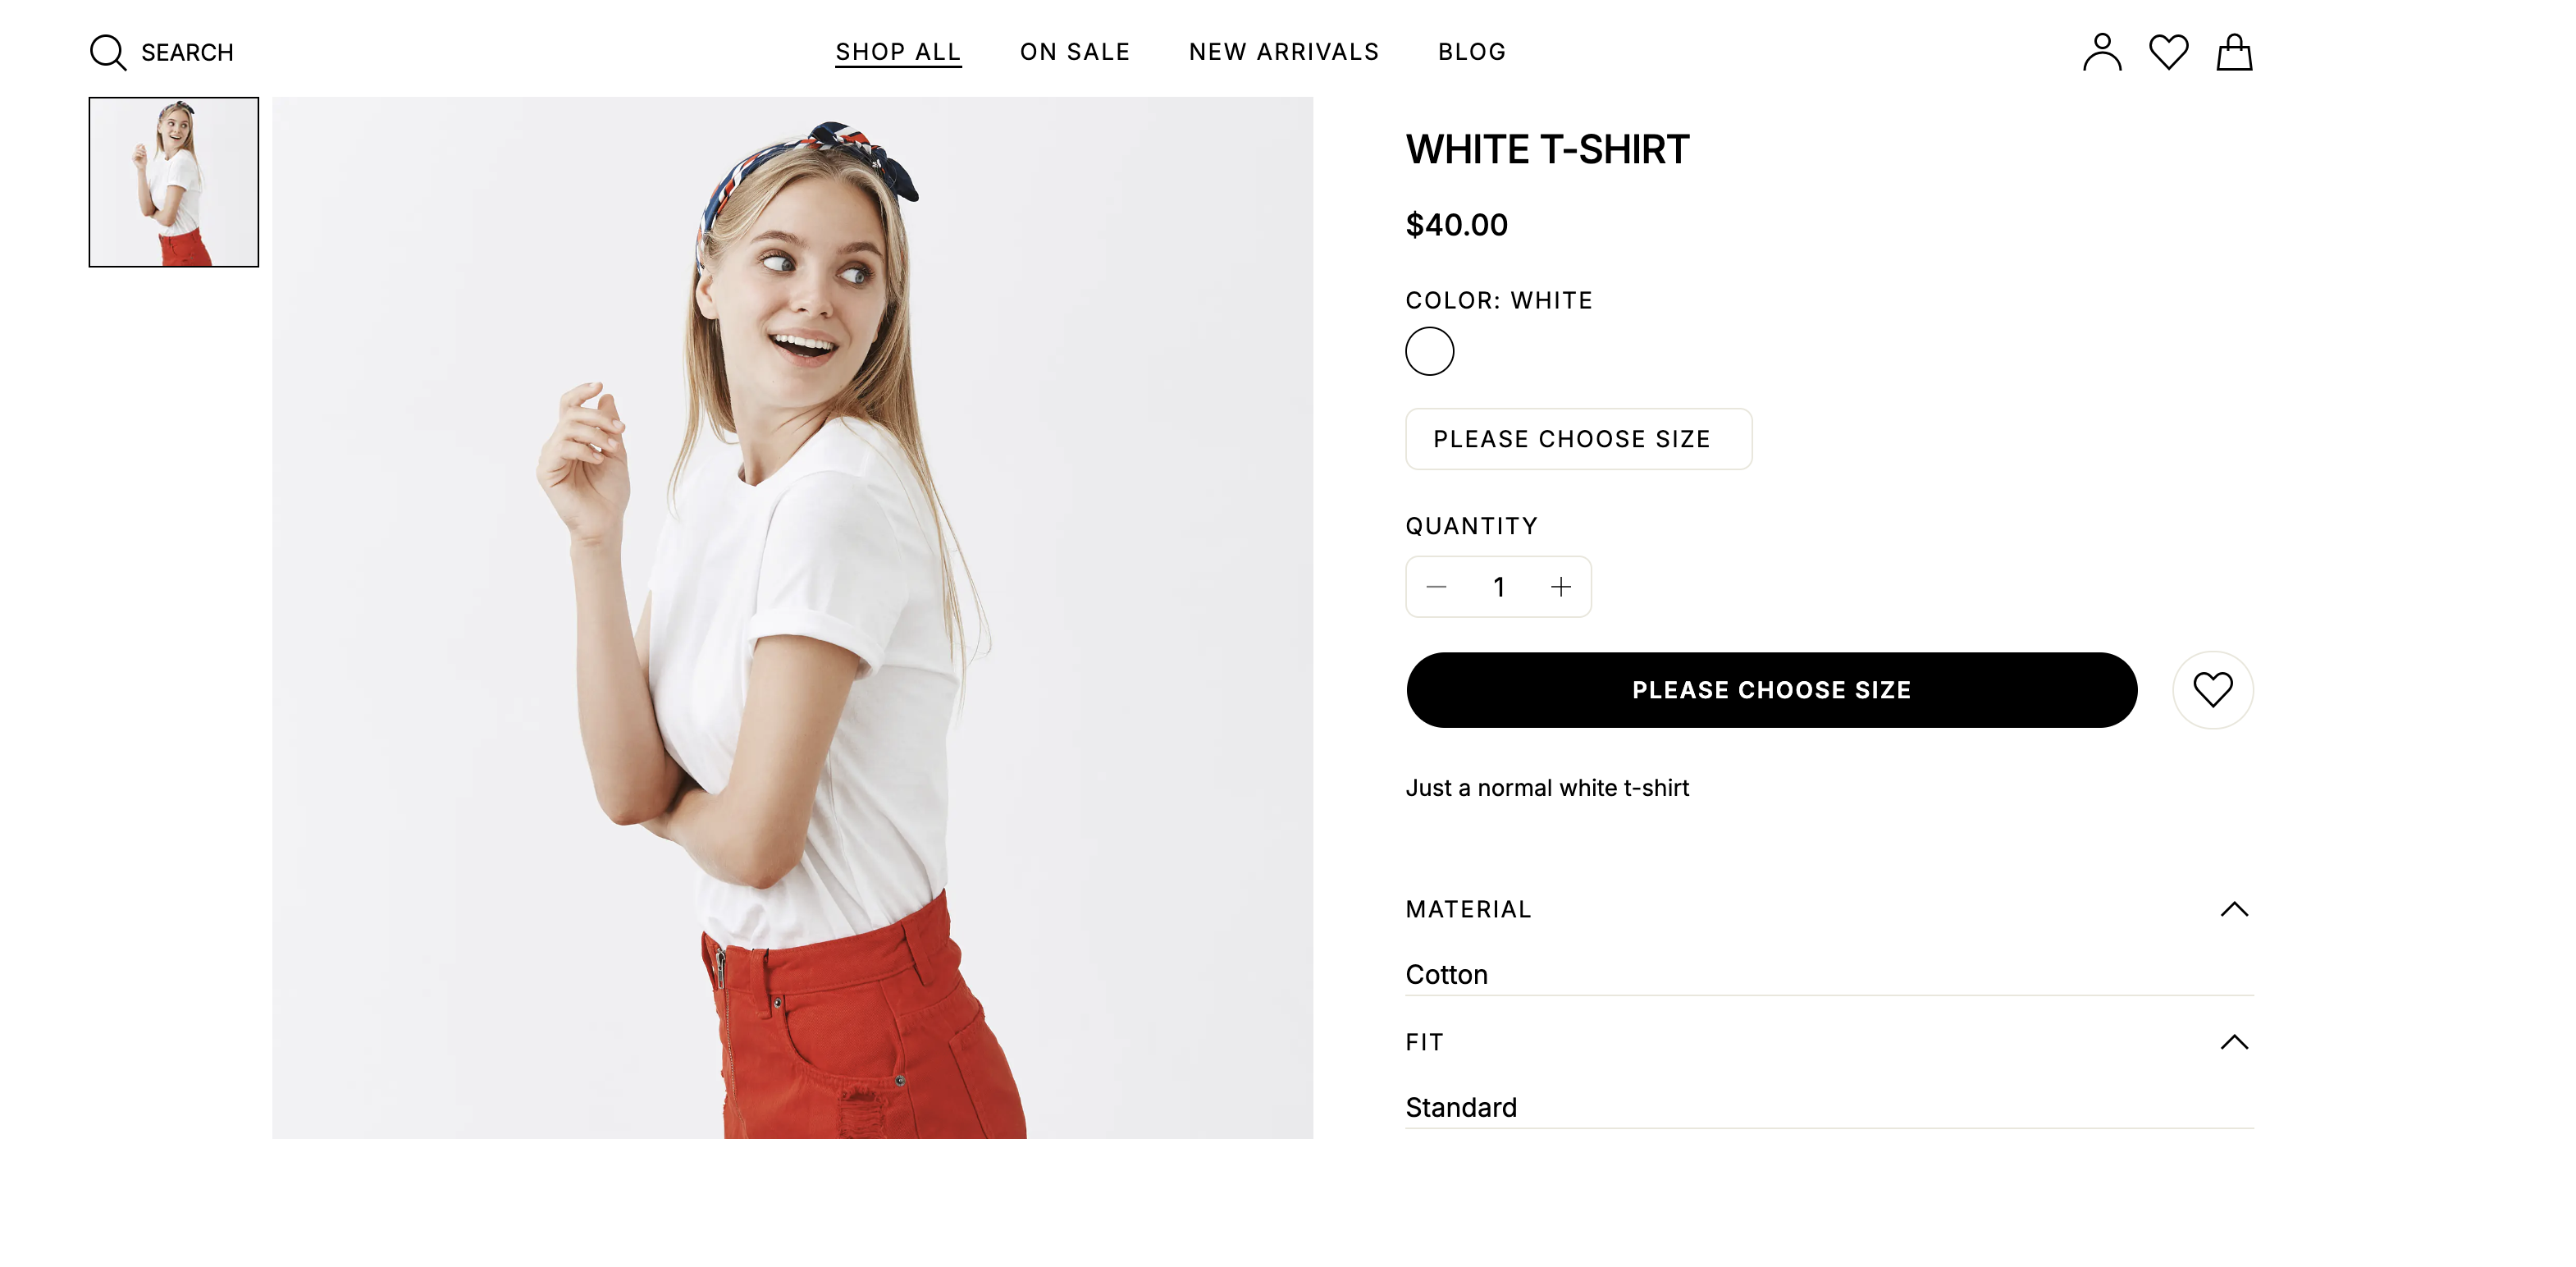
- Presentation - the display name of the property shown on the storefront (if visible).
- Internal Name - a unique identifier used in the backend. If left blank, it will default to the Presentation name.
- Kind - defines the type of value this property stores:
- Short Text - e.g., “Cotton”
- Long Text - e.g., “Made from organically grown cotton harvested in Japan”
- Number - e.g., “10”
- Rich Text - supports formatted content (e.g. bold, lists)
- Display - Controls where the property is shown:
- Both admin panel & storefront - useful for customers and admins alike
- Only on storefront - e.g., material, country of origin
- Only on admin panel - e.g., internal notes, restocking schedule
Properties Management
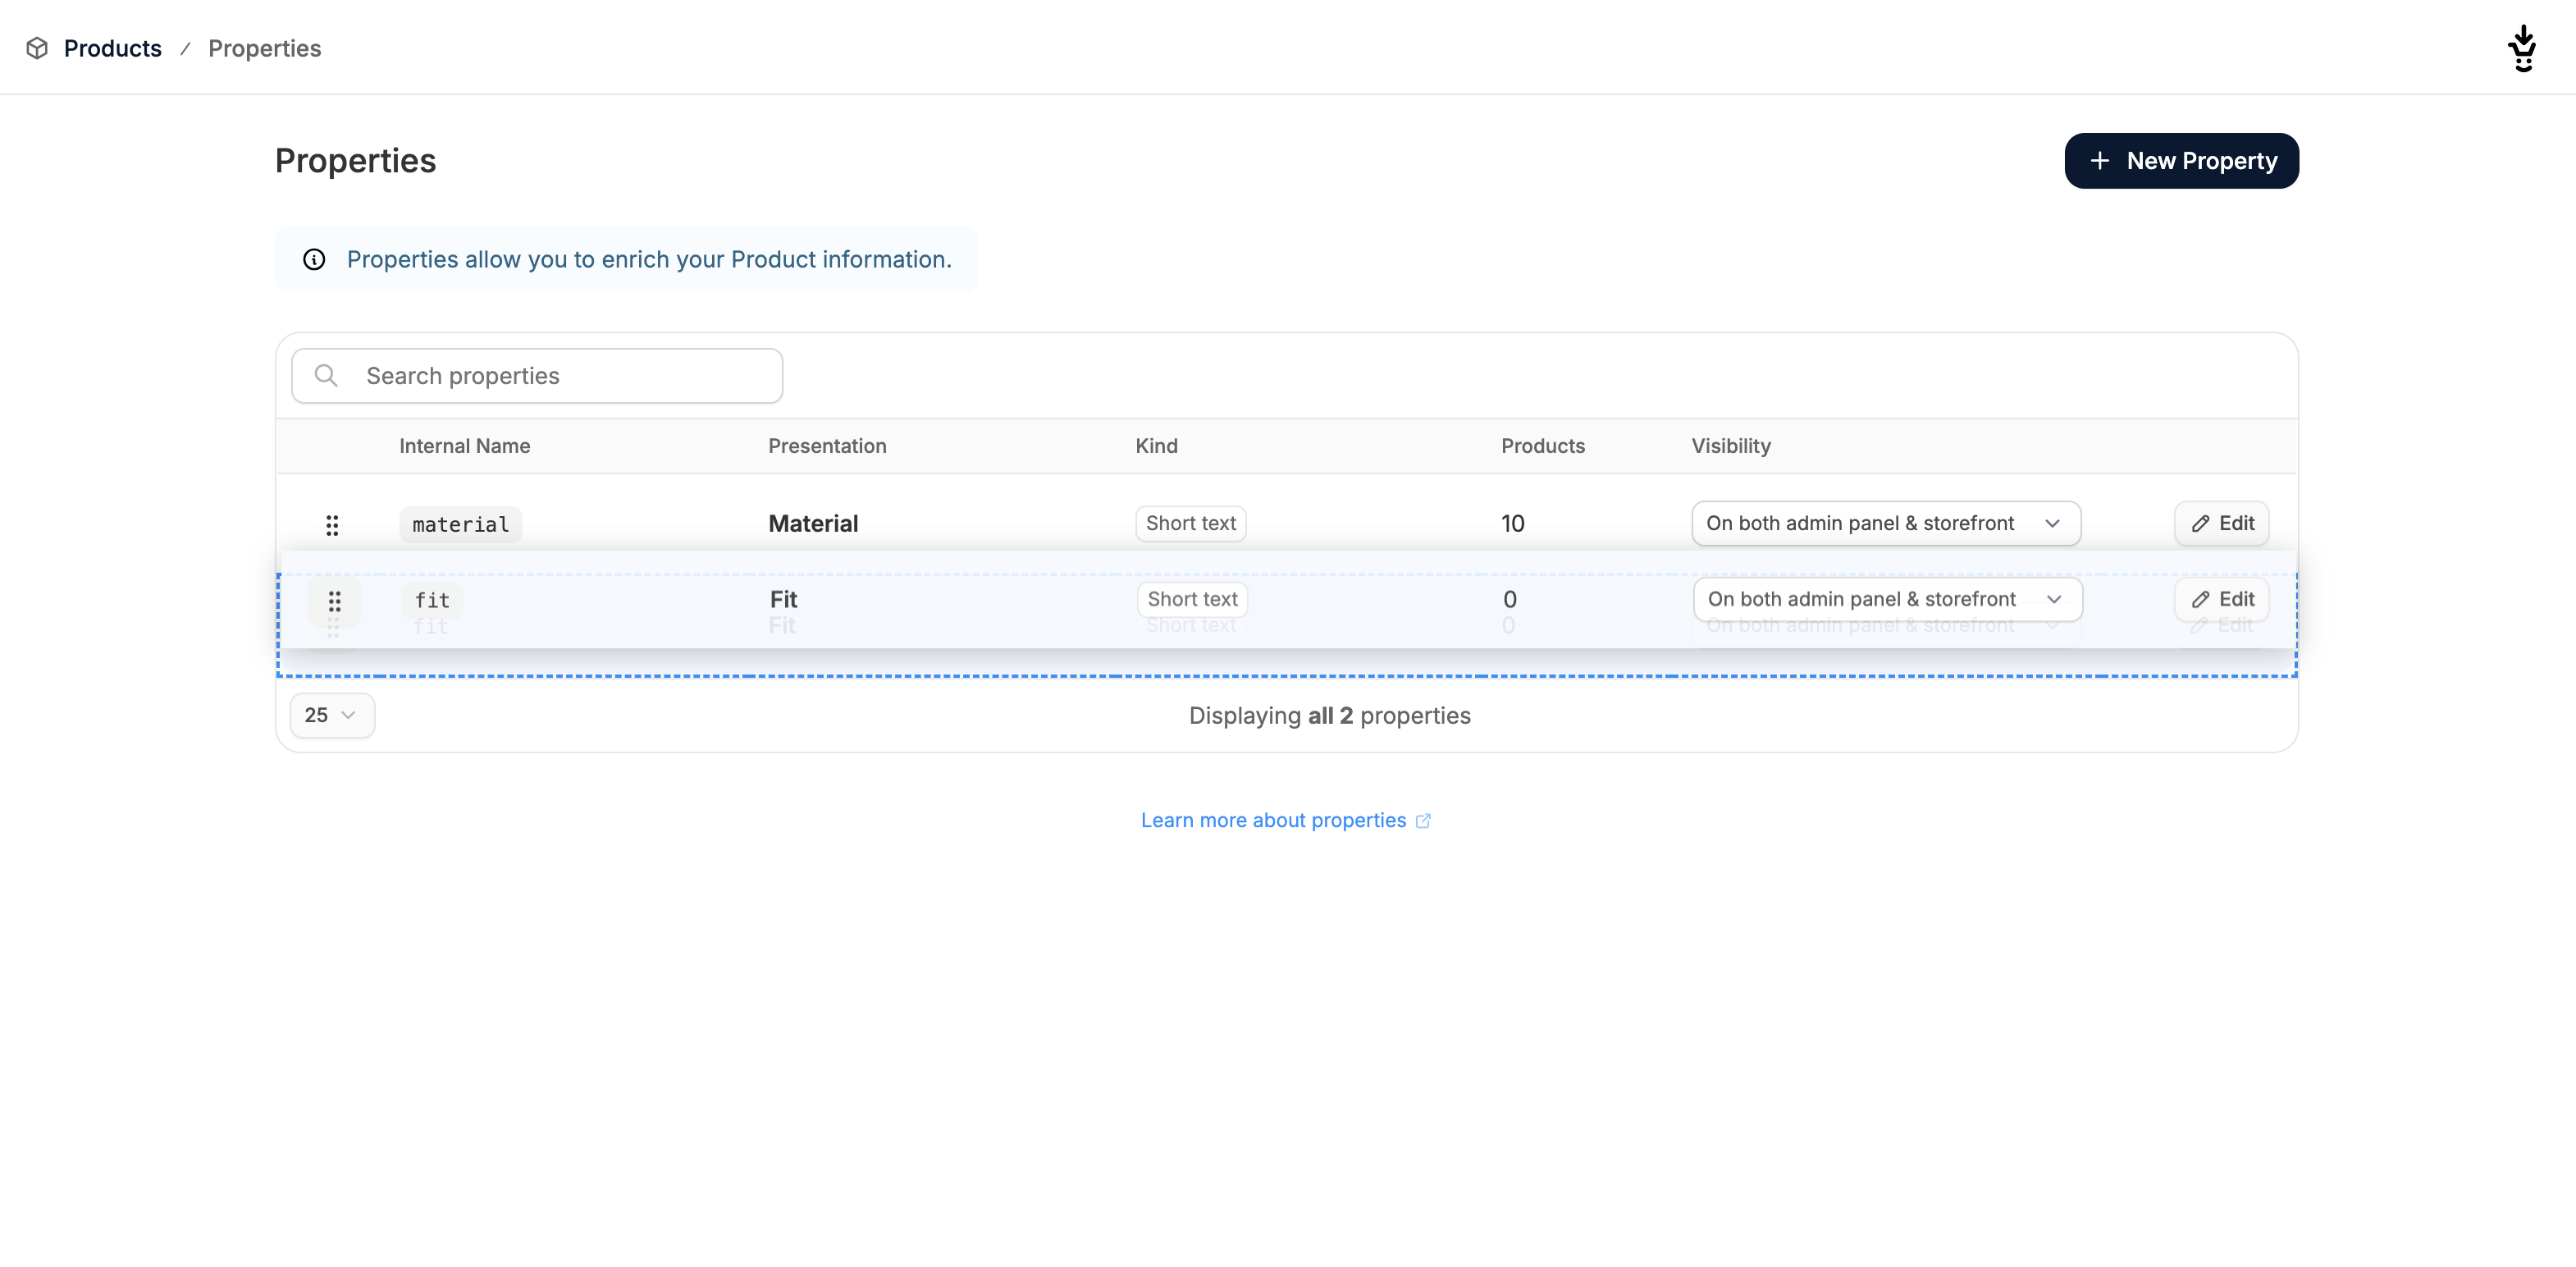
From the Properties tab, there are a number of ways in which you can edit product properties:Properties Ordering
Editing Properties
To edit a property, navigate to the Properties tab, and click Edit on the property you’d like to edit.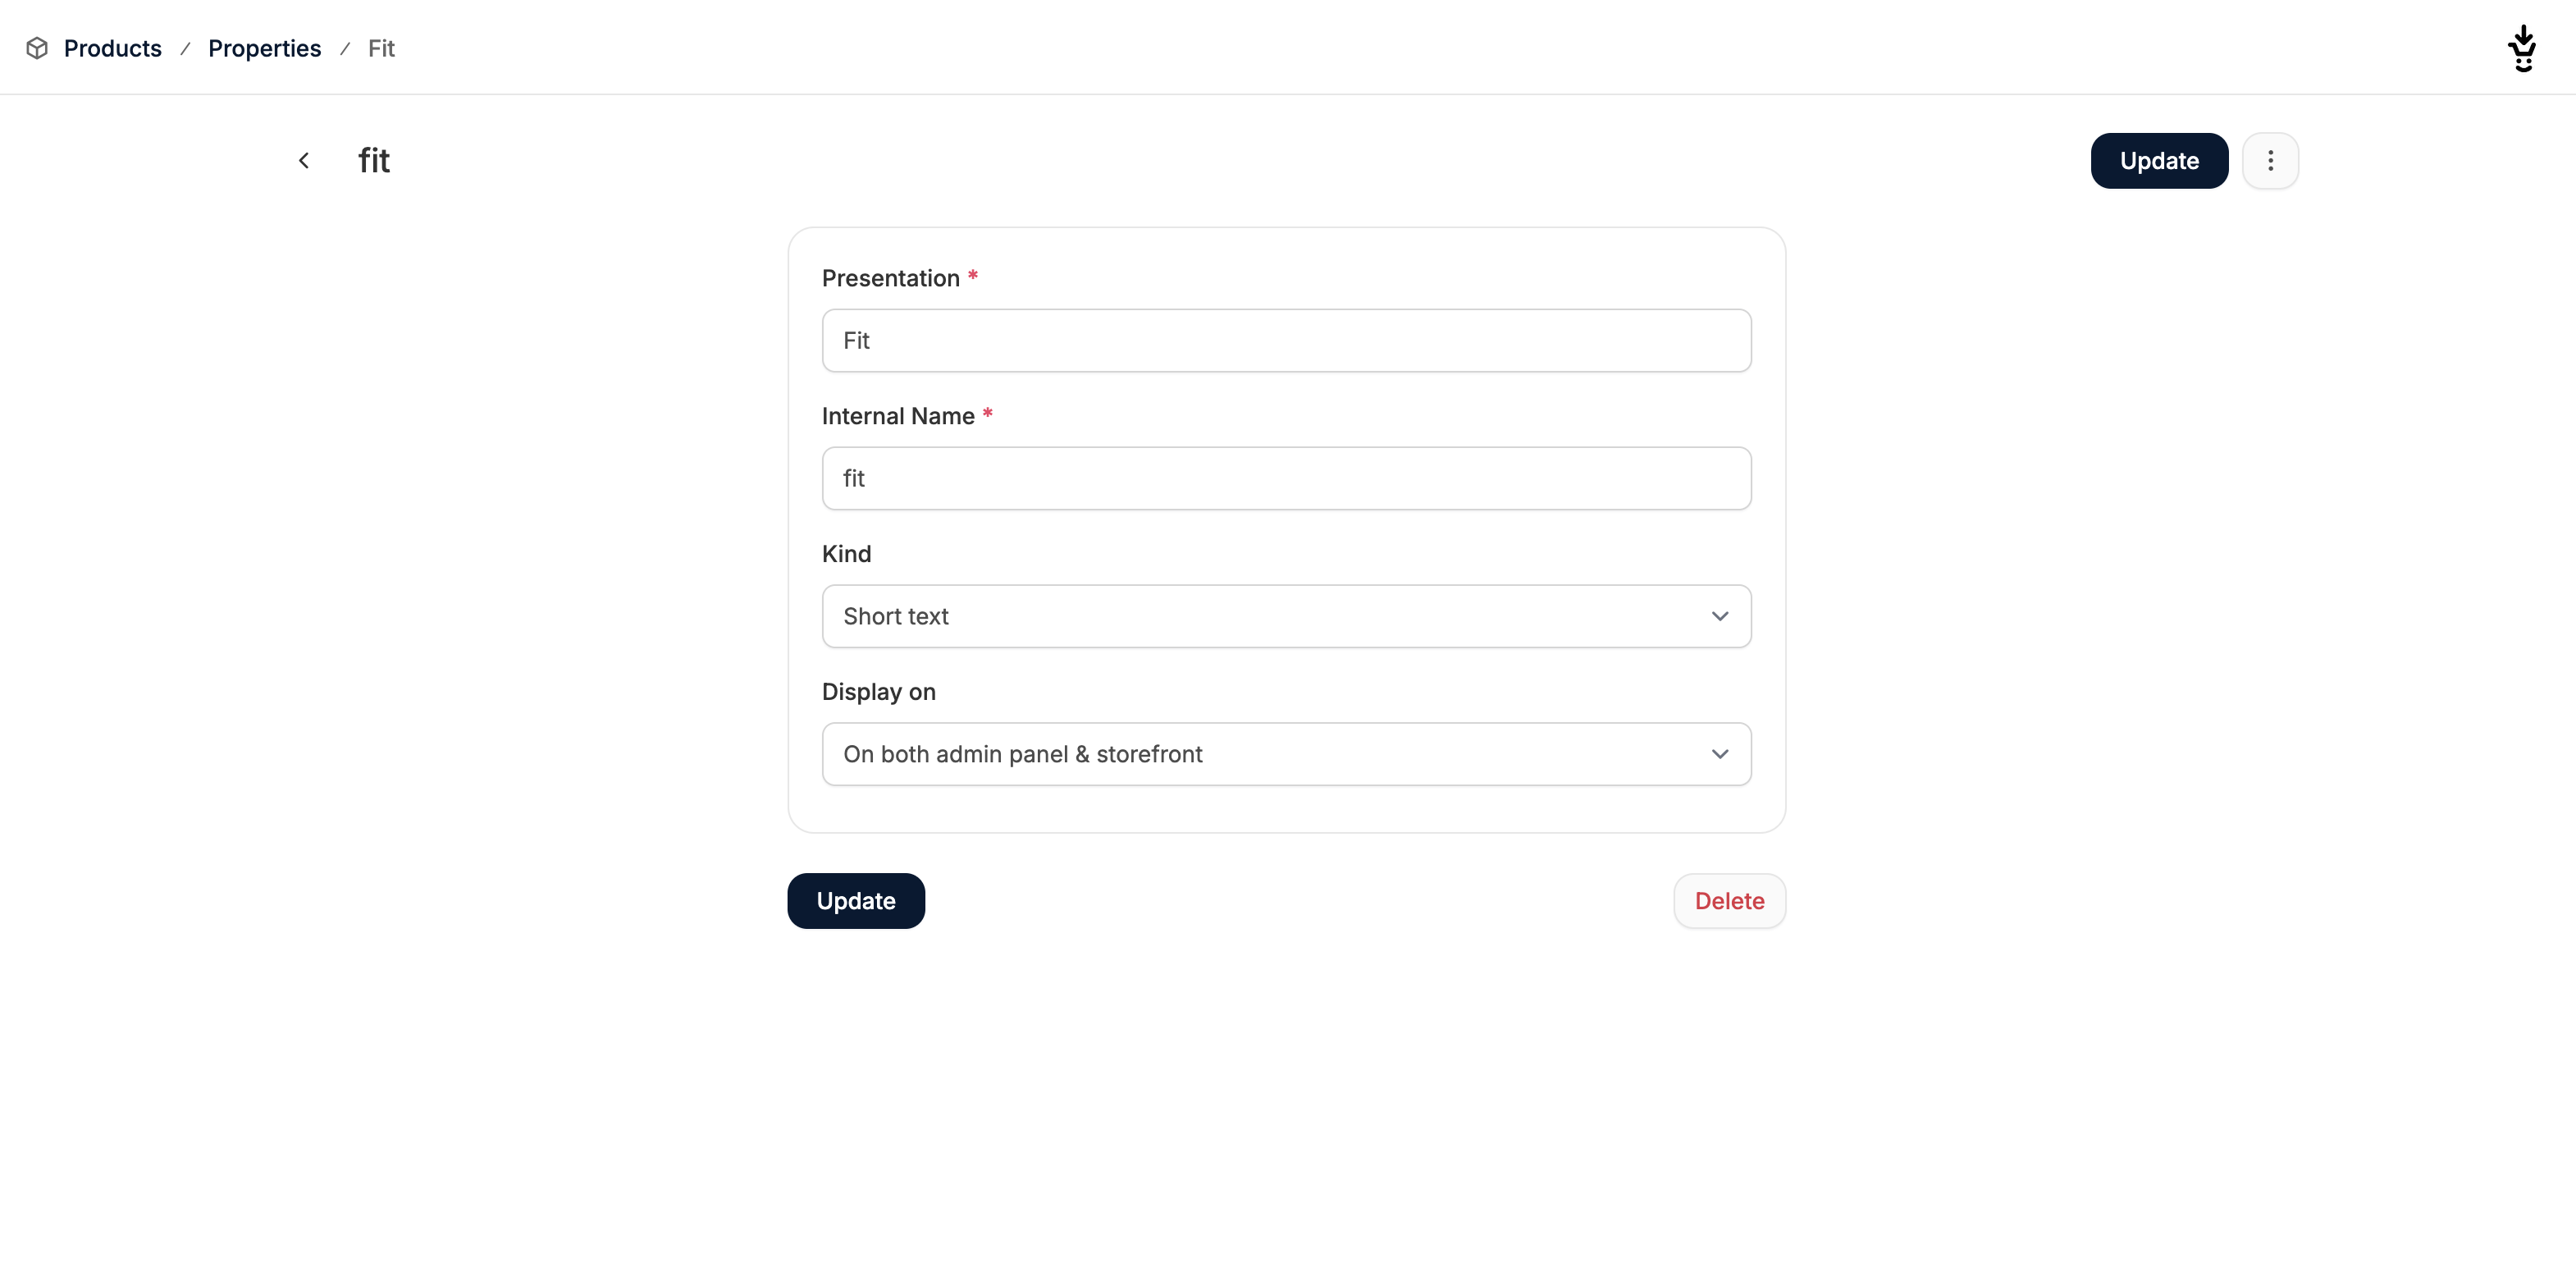
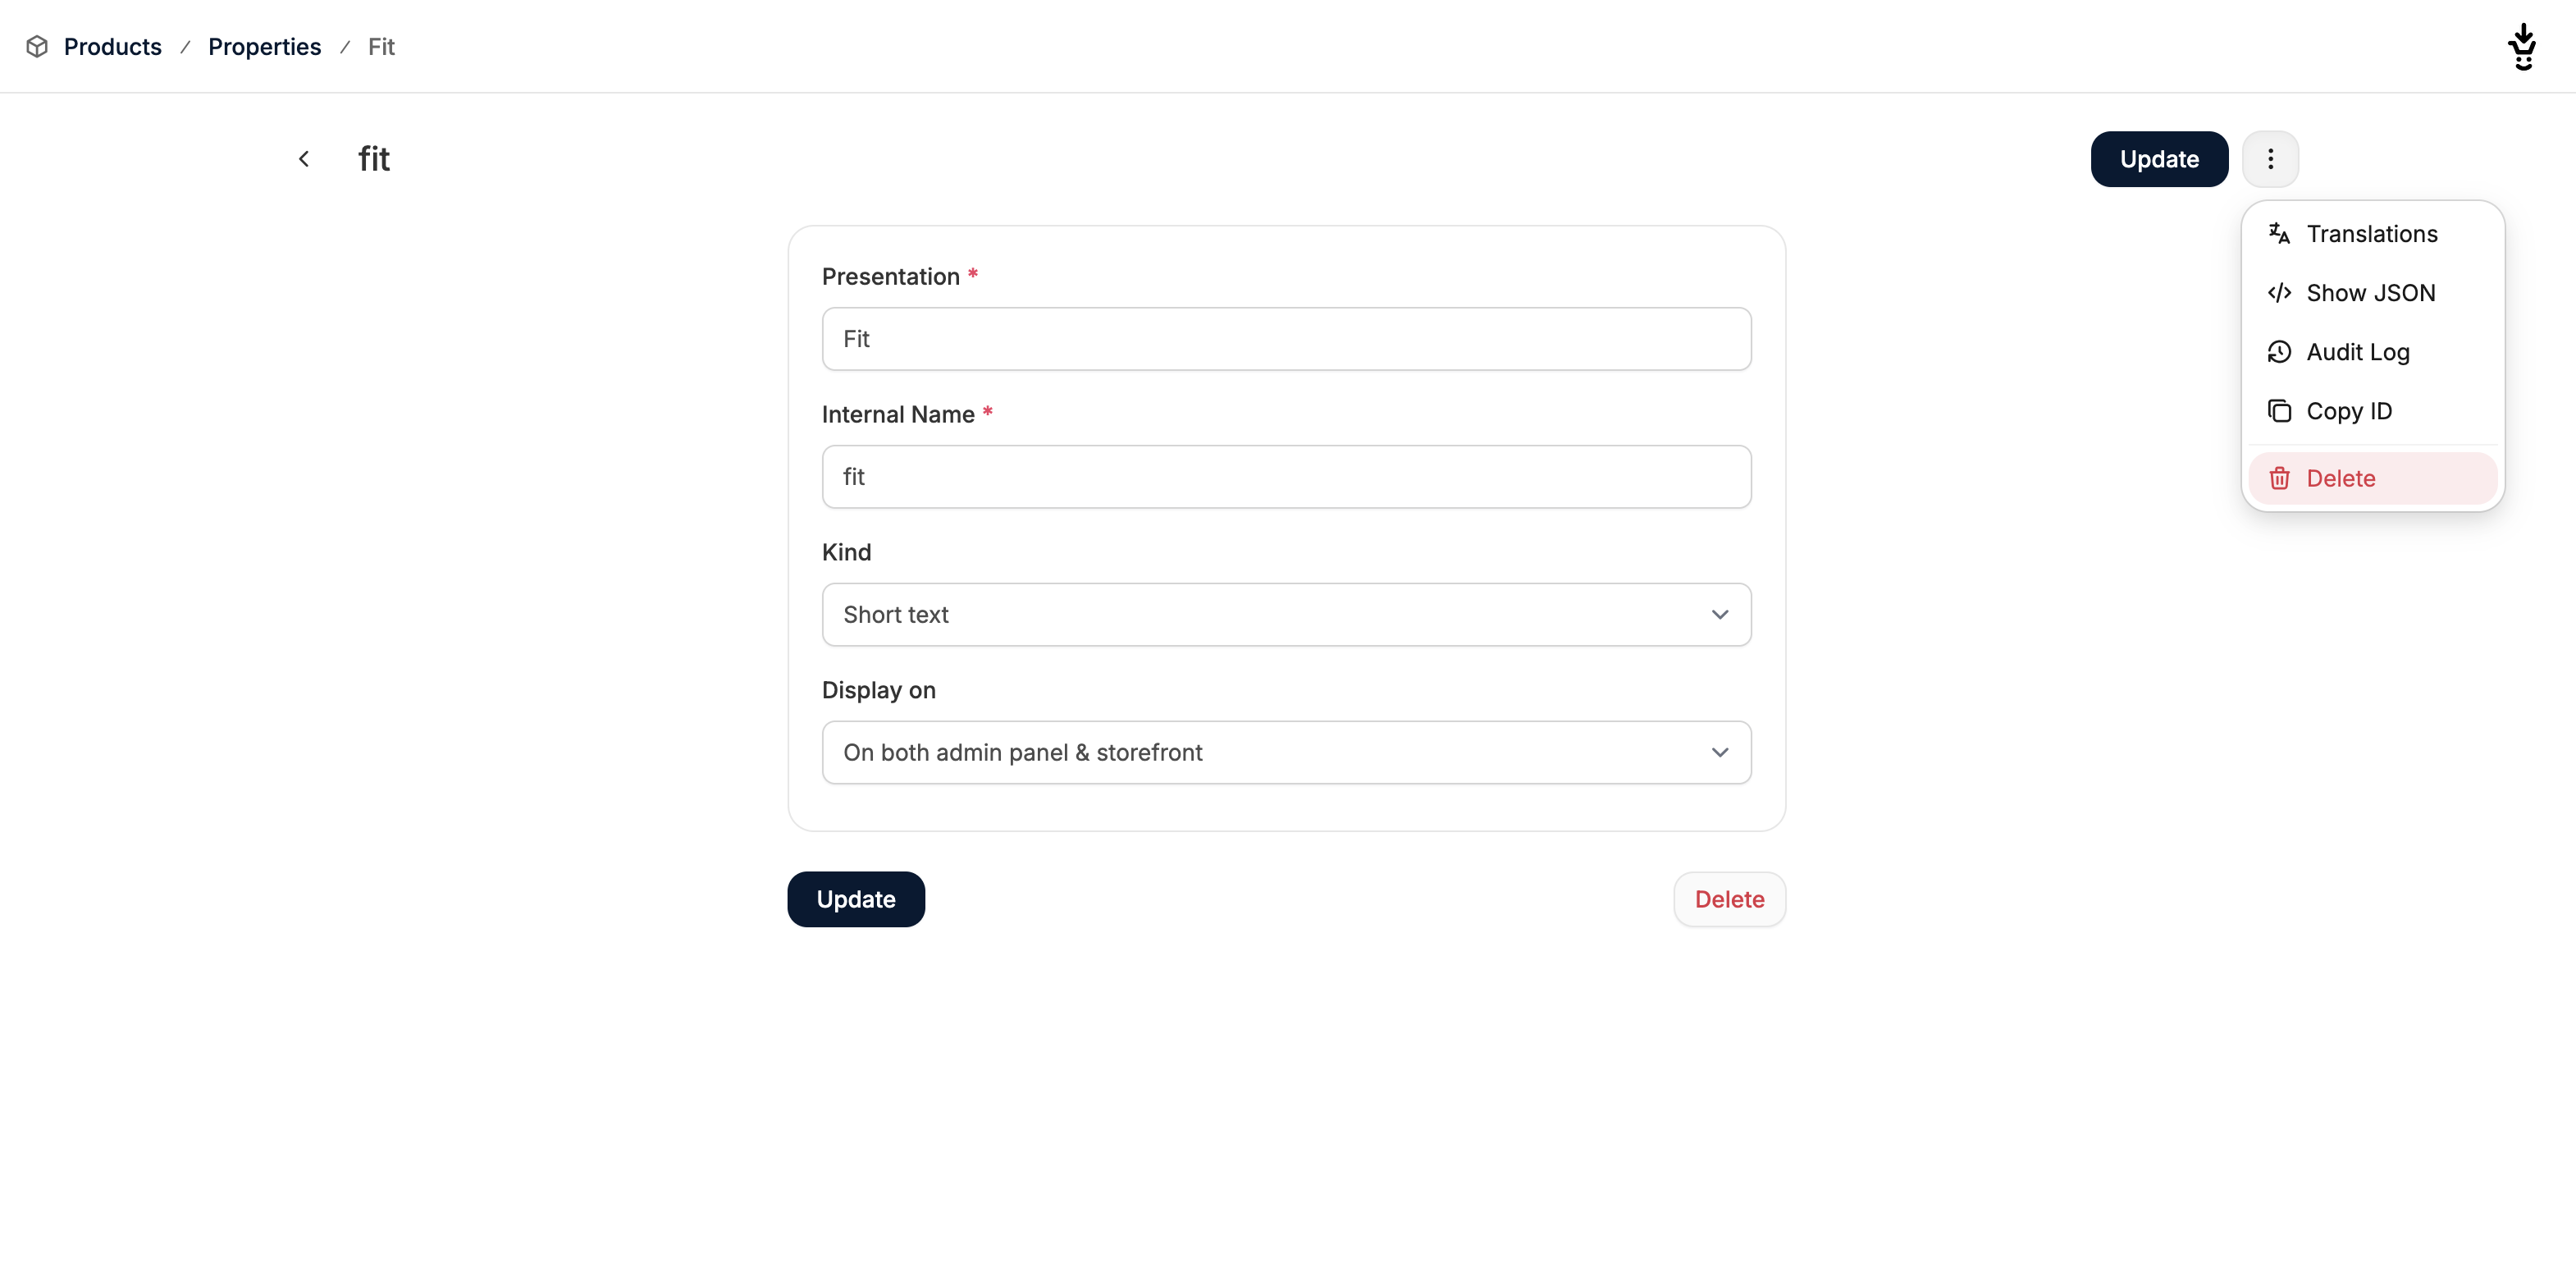
Delete Properties
To delete a property, click on the three-dot menu in the top right corner and select Delete from the dropdown menu, or simply click Delete in the bottom right corner.