A category is a group of products customers browse by, such as Kitchen, with Coffee Machines and Toasters underneath it. Categories form a tree: a category can hold subcategories, and those can also hold their own subcategories. One product can sit in several categories at once. Each category has its own page in your shop, with a breadcrumb back through its parents, and a parent’s page also shows the products filed under its subcategories. That tree is how a customer who does not know what they want finds their way from a department to a shelf. Categories hold only the products you file in them, by hand. For a group that fills itself from a rule, such as everything on sale or everything tagged for summer, use a collection instead. Collections are a flat list rather than a tree, and the two are independent: a product keeps its categories whatever collections it joins. To manage categories, navigate to Products → Categories in the admin dashboard.

Reviewing Categories
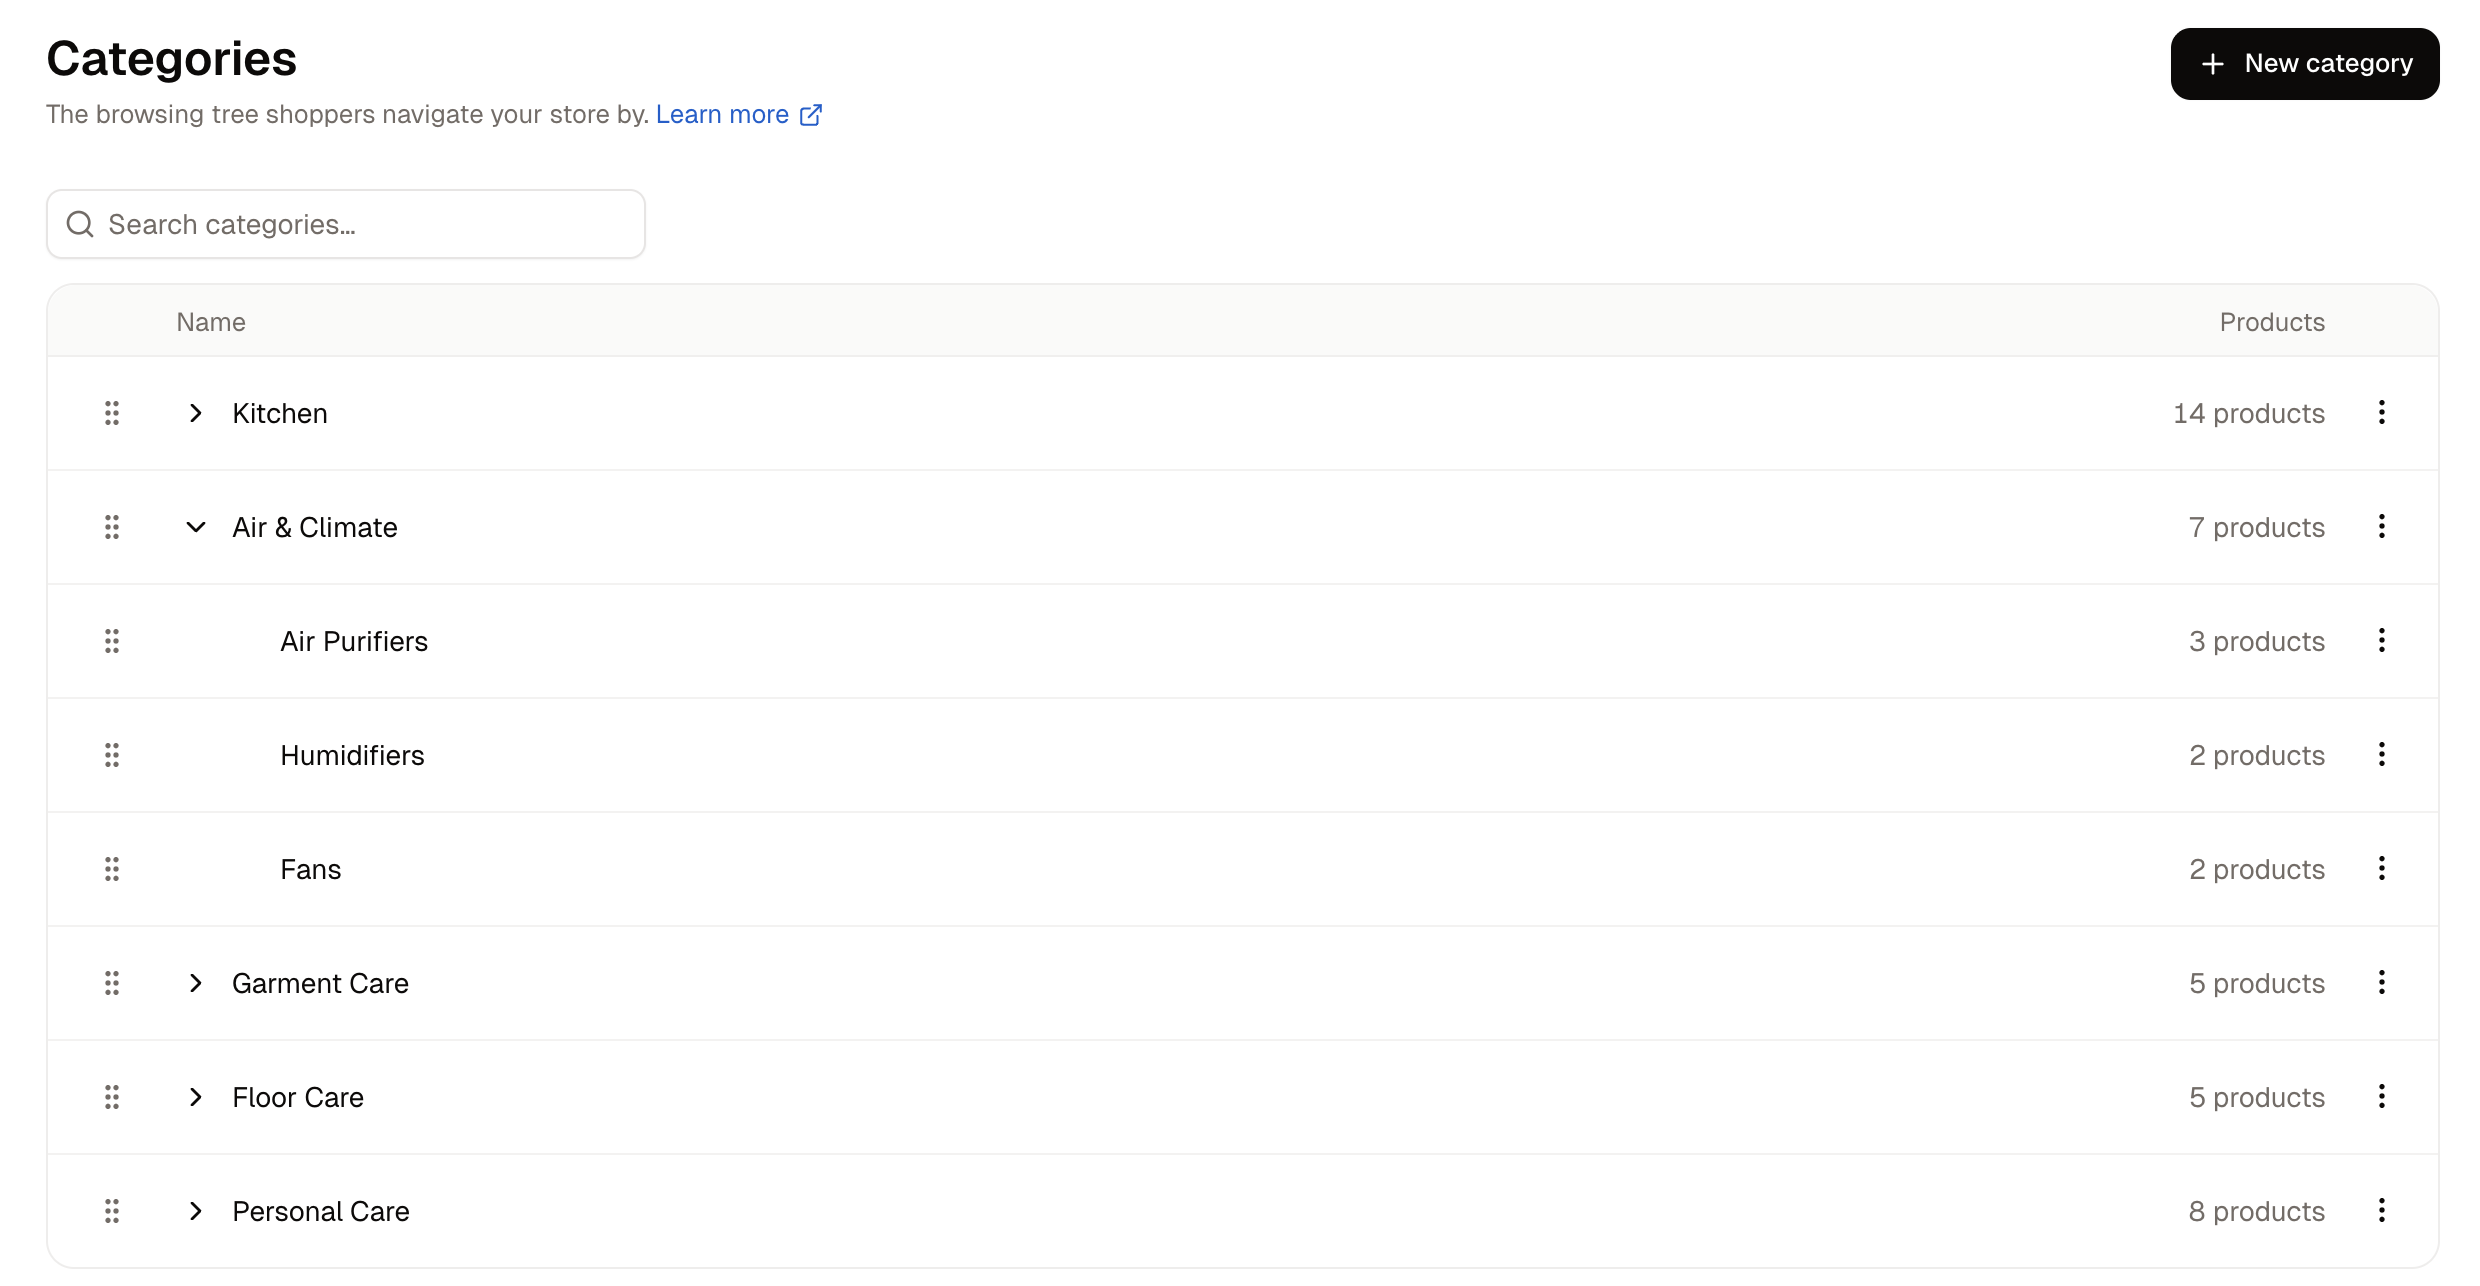
The Categories list with Kitchen expanded to show its subcategories and their product counts The list shows your top-level categories in the order you have set. Click Expand on a row to show the subcategories inside it, and click a category’s name to open it. The menu at the end of each row holds Edit and Delete. The Products count beside a category covers everything filed under its subcategories too, so a top-level category shows the total for its whole branch. Open the category and its own Products card lists only what is filed directly in it.

How to Create a Category

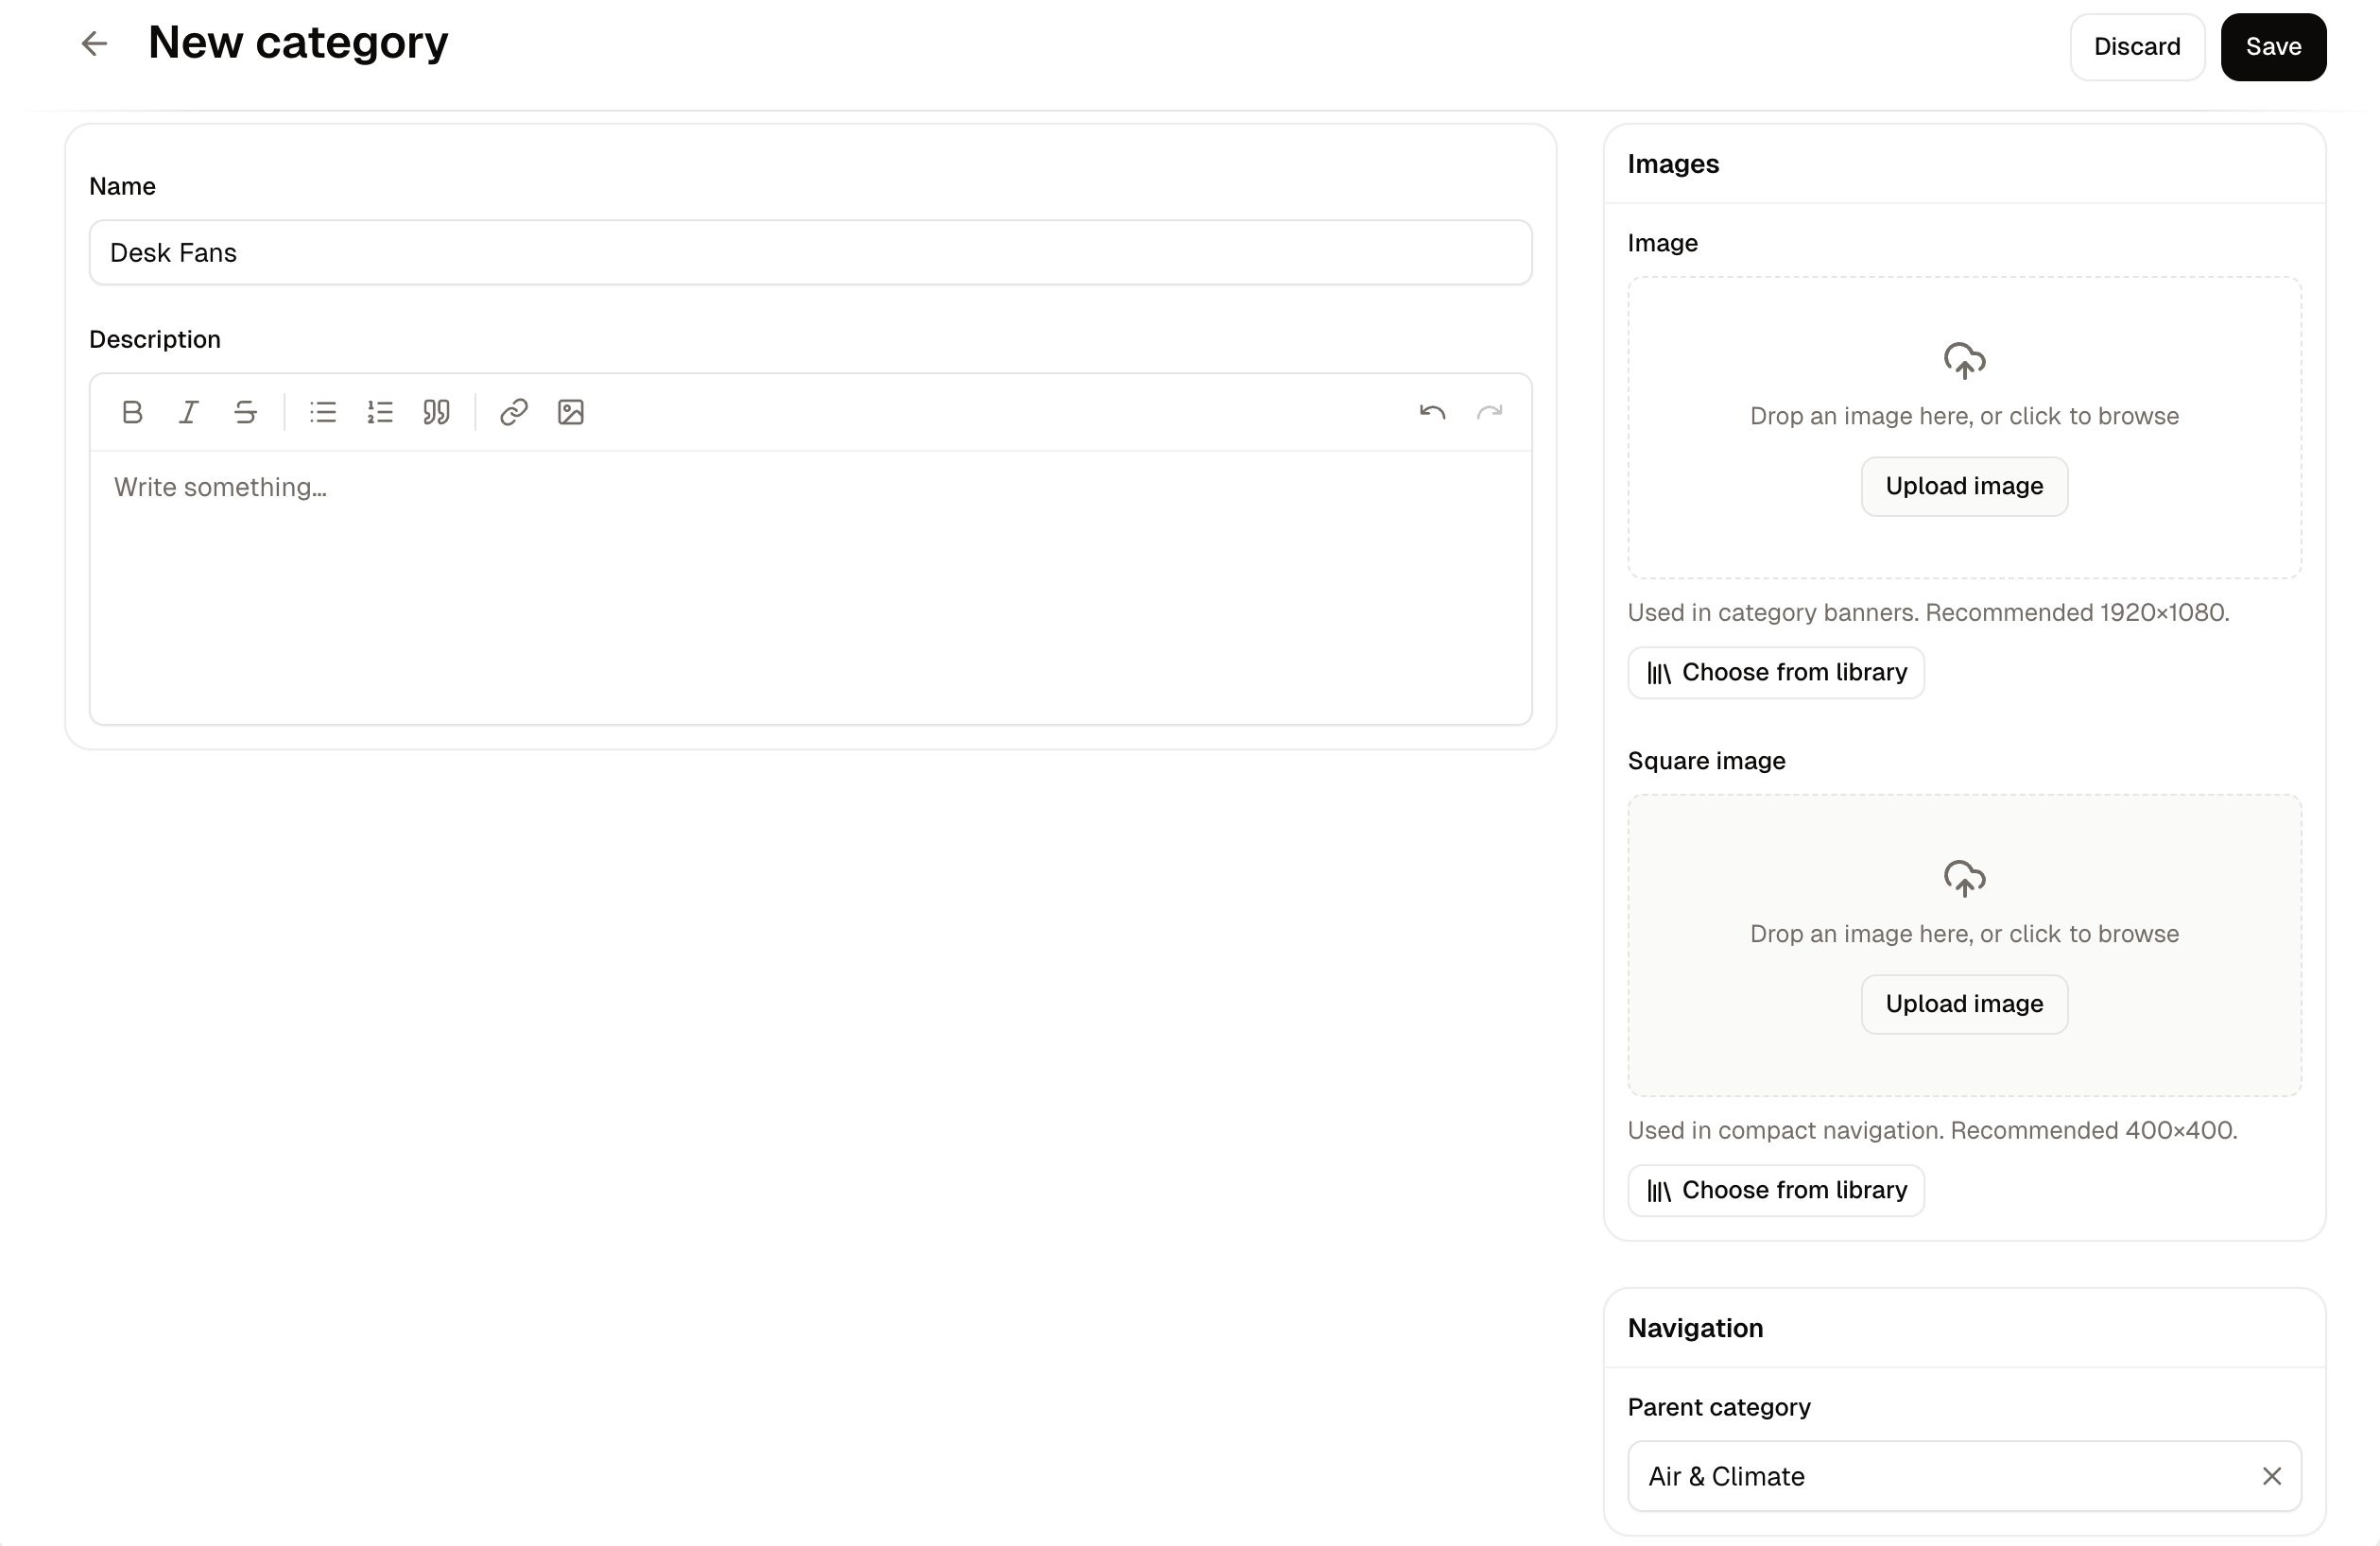
The New category form, with its name, description, image, parent category and search listing fields Click New category. The form has these fields: Click Save. The category opens with further cards for its products, custom fields, translations and metadata, and it sits in the tree with no products until you add some.

How to Add Products to a Category
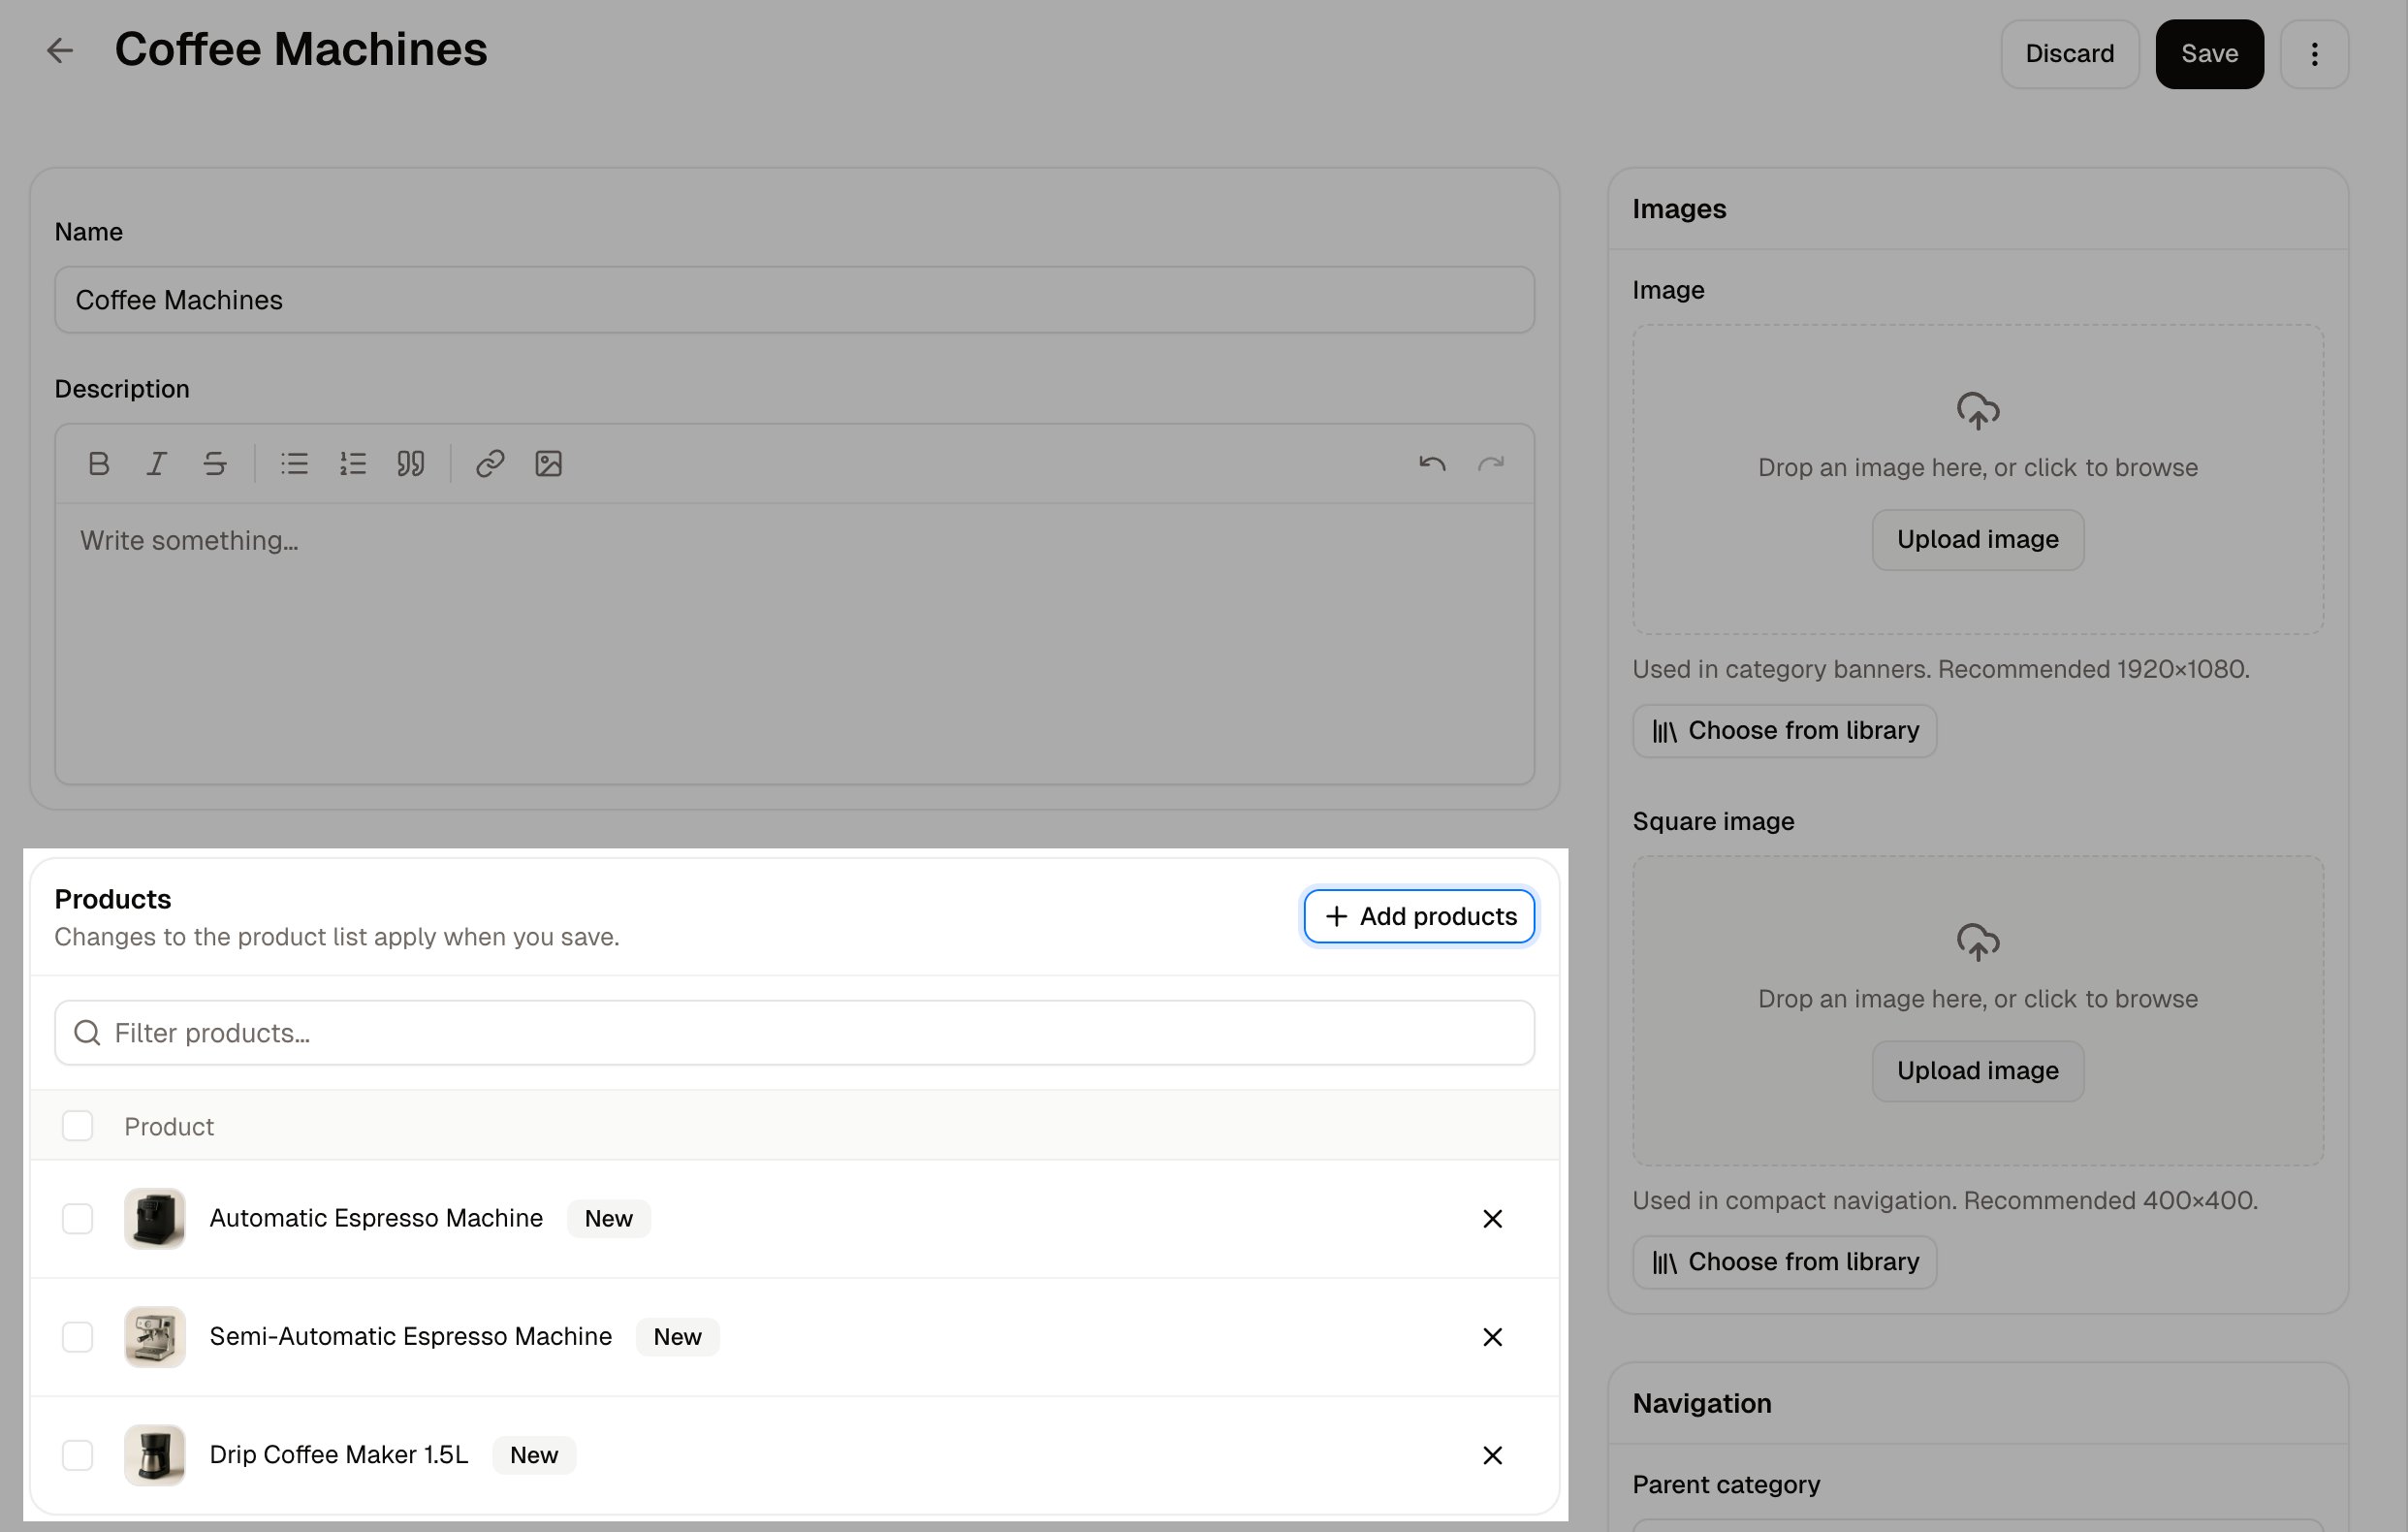
Three products added to a category and marked New, waiting for Save
  1. Open the category and click Add products in its Products card.
  2. Tick the products you want. The dialog has a search box, a tick for everything on the page, a tick for every matching product, and Load more at the foot.
  3. Click Add, which counts what you have ticked. The products appear in the card marked New.
  4. Click Save.
Closing the dialog does not save anything. The products join the category only when you click Save on the category itself, so make that your last step before leaving the page.
A product can also be filed from its own page, in the Categorization card. See Adding Products.

How to Set the Order of Products in a Category

The order of products in a category’s Products card is the order customers see on that category’s page, so put what you most want to sell at the top. Drag a product by the handle at the start of its row. From the keyboard, move to the handle, press Space, move the row with the arrow keys, and press Space again to drop it.
A reorder saves itself as soon as you drop the row. Unlike the rest of the page, it does not wait for Save.

How to Reorder Categories

Categories are reordered the same way, by dragging a row’s handle on the list, and the move saves itself immediately. This is why the list has no Save button. The order you set is the order customers see in your shop’s navigation.

How to Delete a Category

Choose Delete from a row’s menu on the list, or Delete category from More actions on the category’s own page. Either way a box asks you to confirm.
Deleting a category deletes every subcategory beneath it. The products are not deleted: they drop out of the deleted categories and keep every other category they were filed under. Customers who follow an old link to the category’s page see a page saying it could not be found.

Further Reading

  • Collections - Flat groups of products, filled by hand or by rule
  • Adding Products - Filing a product from its own page
  • Products - Adding many products to a category at once
  • Media - The images a category shows