Product options define customizable product attributes (such as size, color, or material) that generate selectable variants for customers.
They improve the shopping experience by helping users quickly find and choose the desired variant and often serve as filters on the PLP.
In the backend, they consolidate inventory tracking by grouping all variants under a single product record.
To manage Options, navigate to Products → Options in the admin dashboard
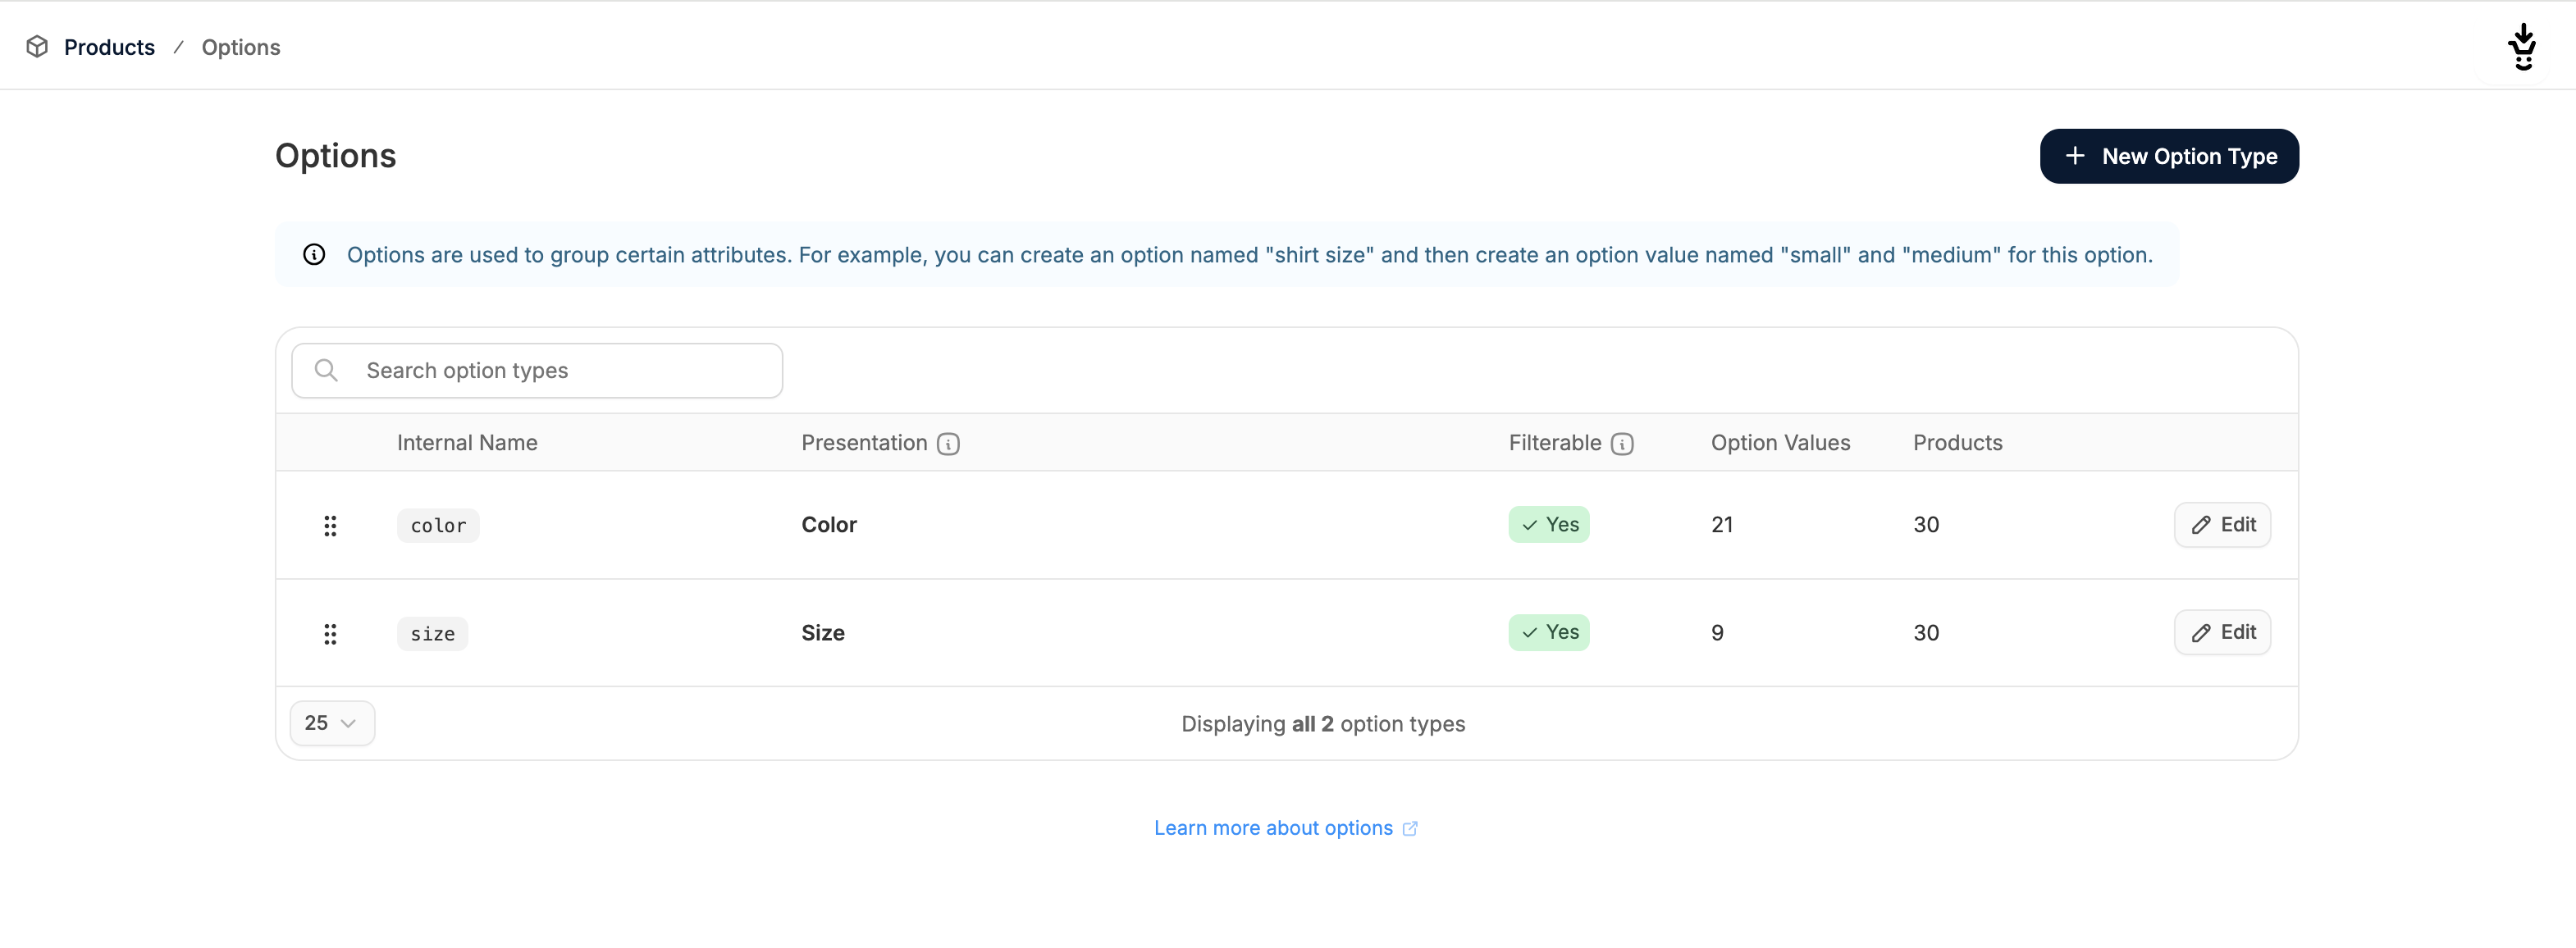 Here you’ll see a list of all the Options currently added to your store.
Add a New Option
To add a new Option, click New Option Type in the top right corner.
This will redirect you to the Option creation form:
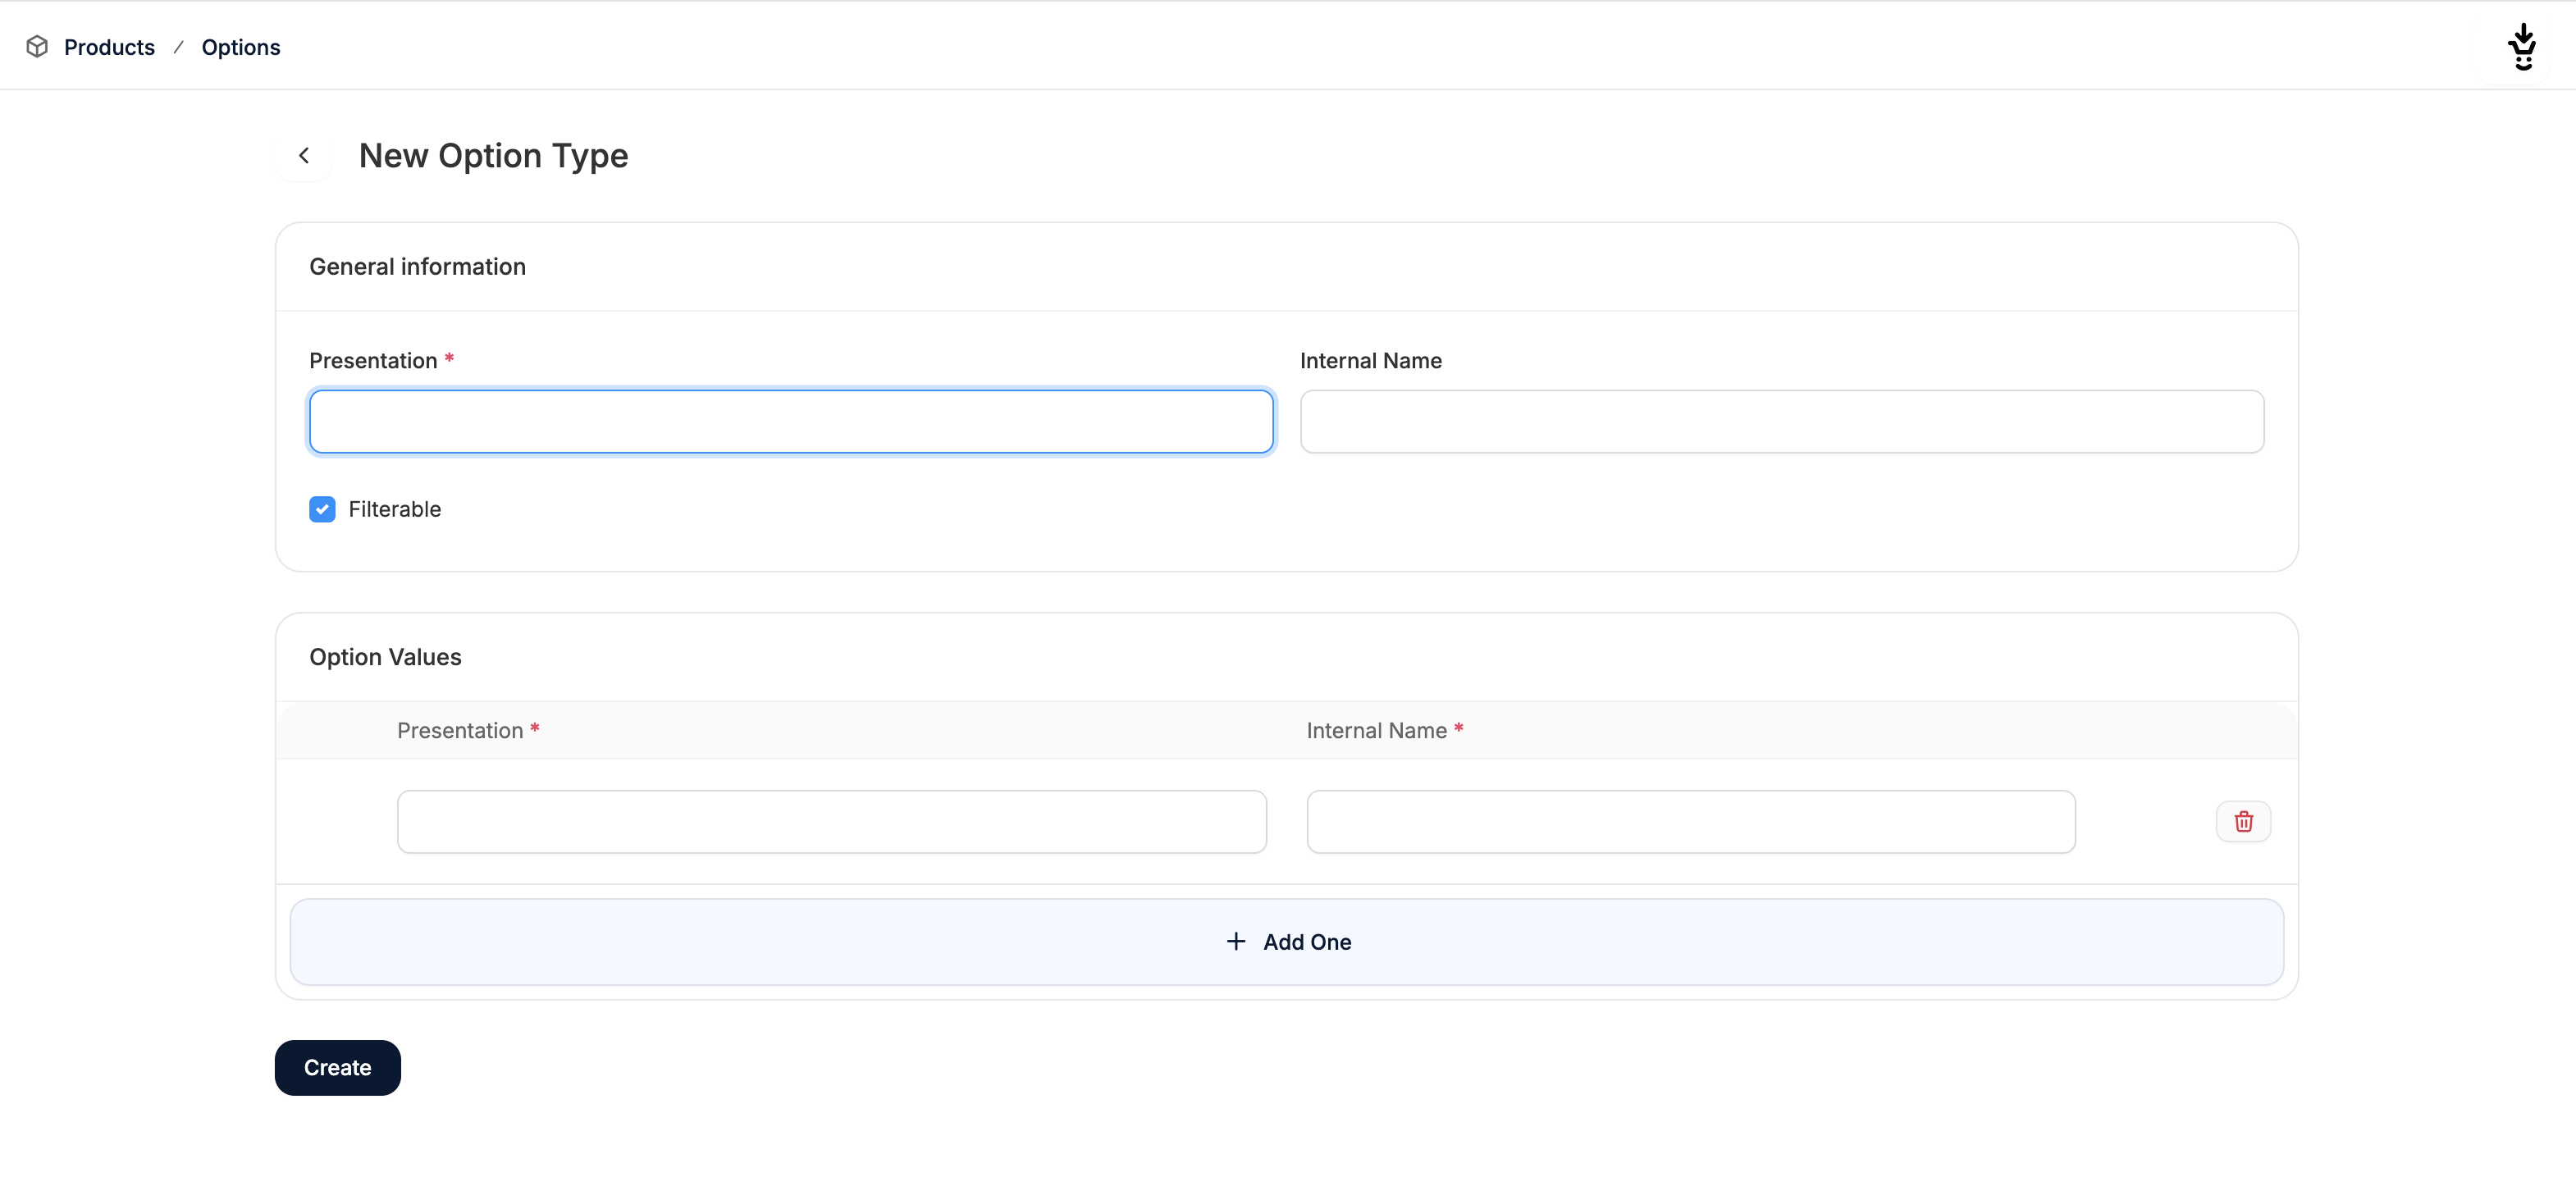 Here you must fill in two sections to define your new Option:
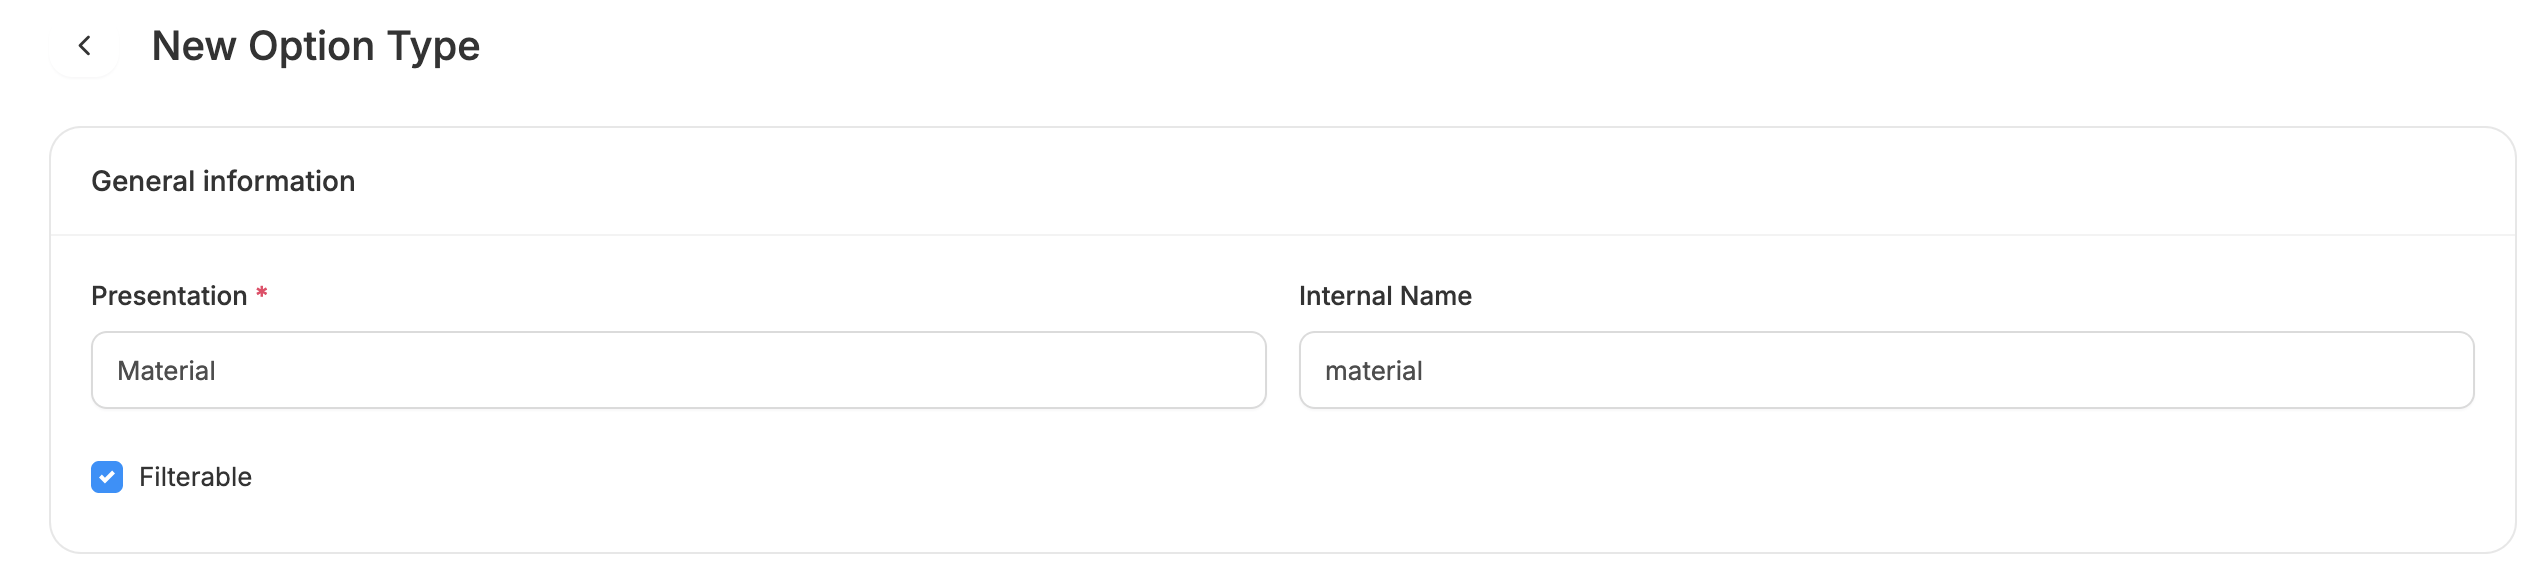 In this section you can set the display name and the internal name for the Option Type. If you don’t set an internal name, the presentation name will be used.
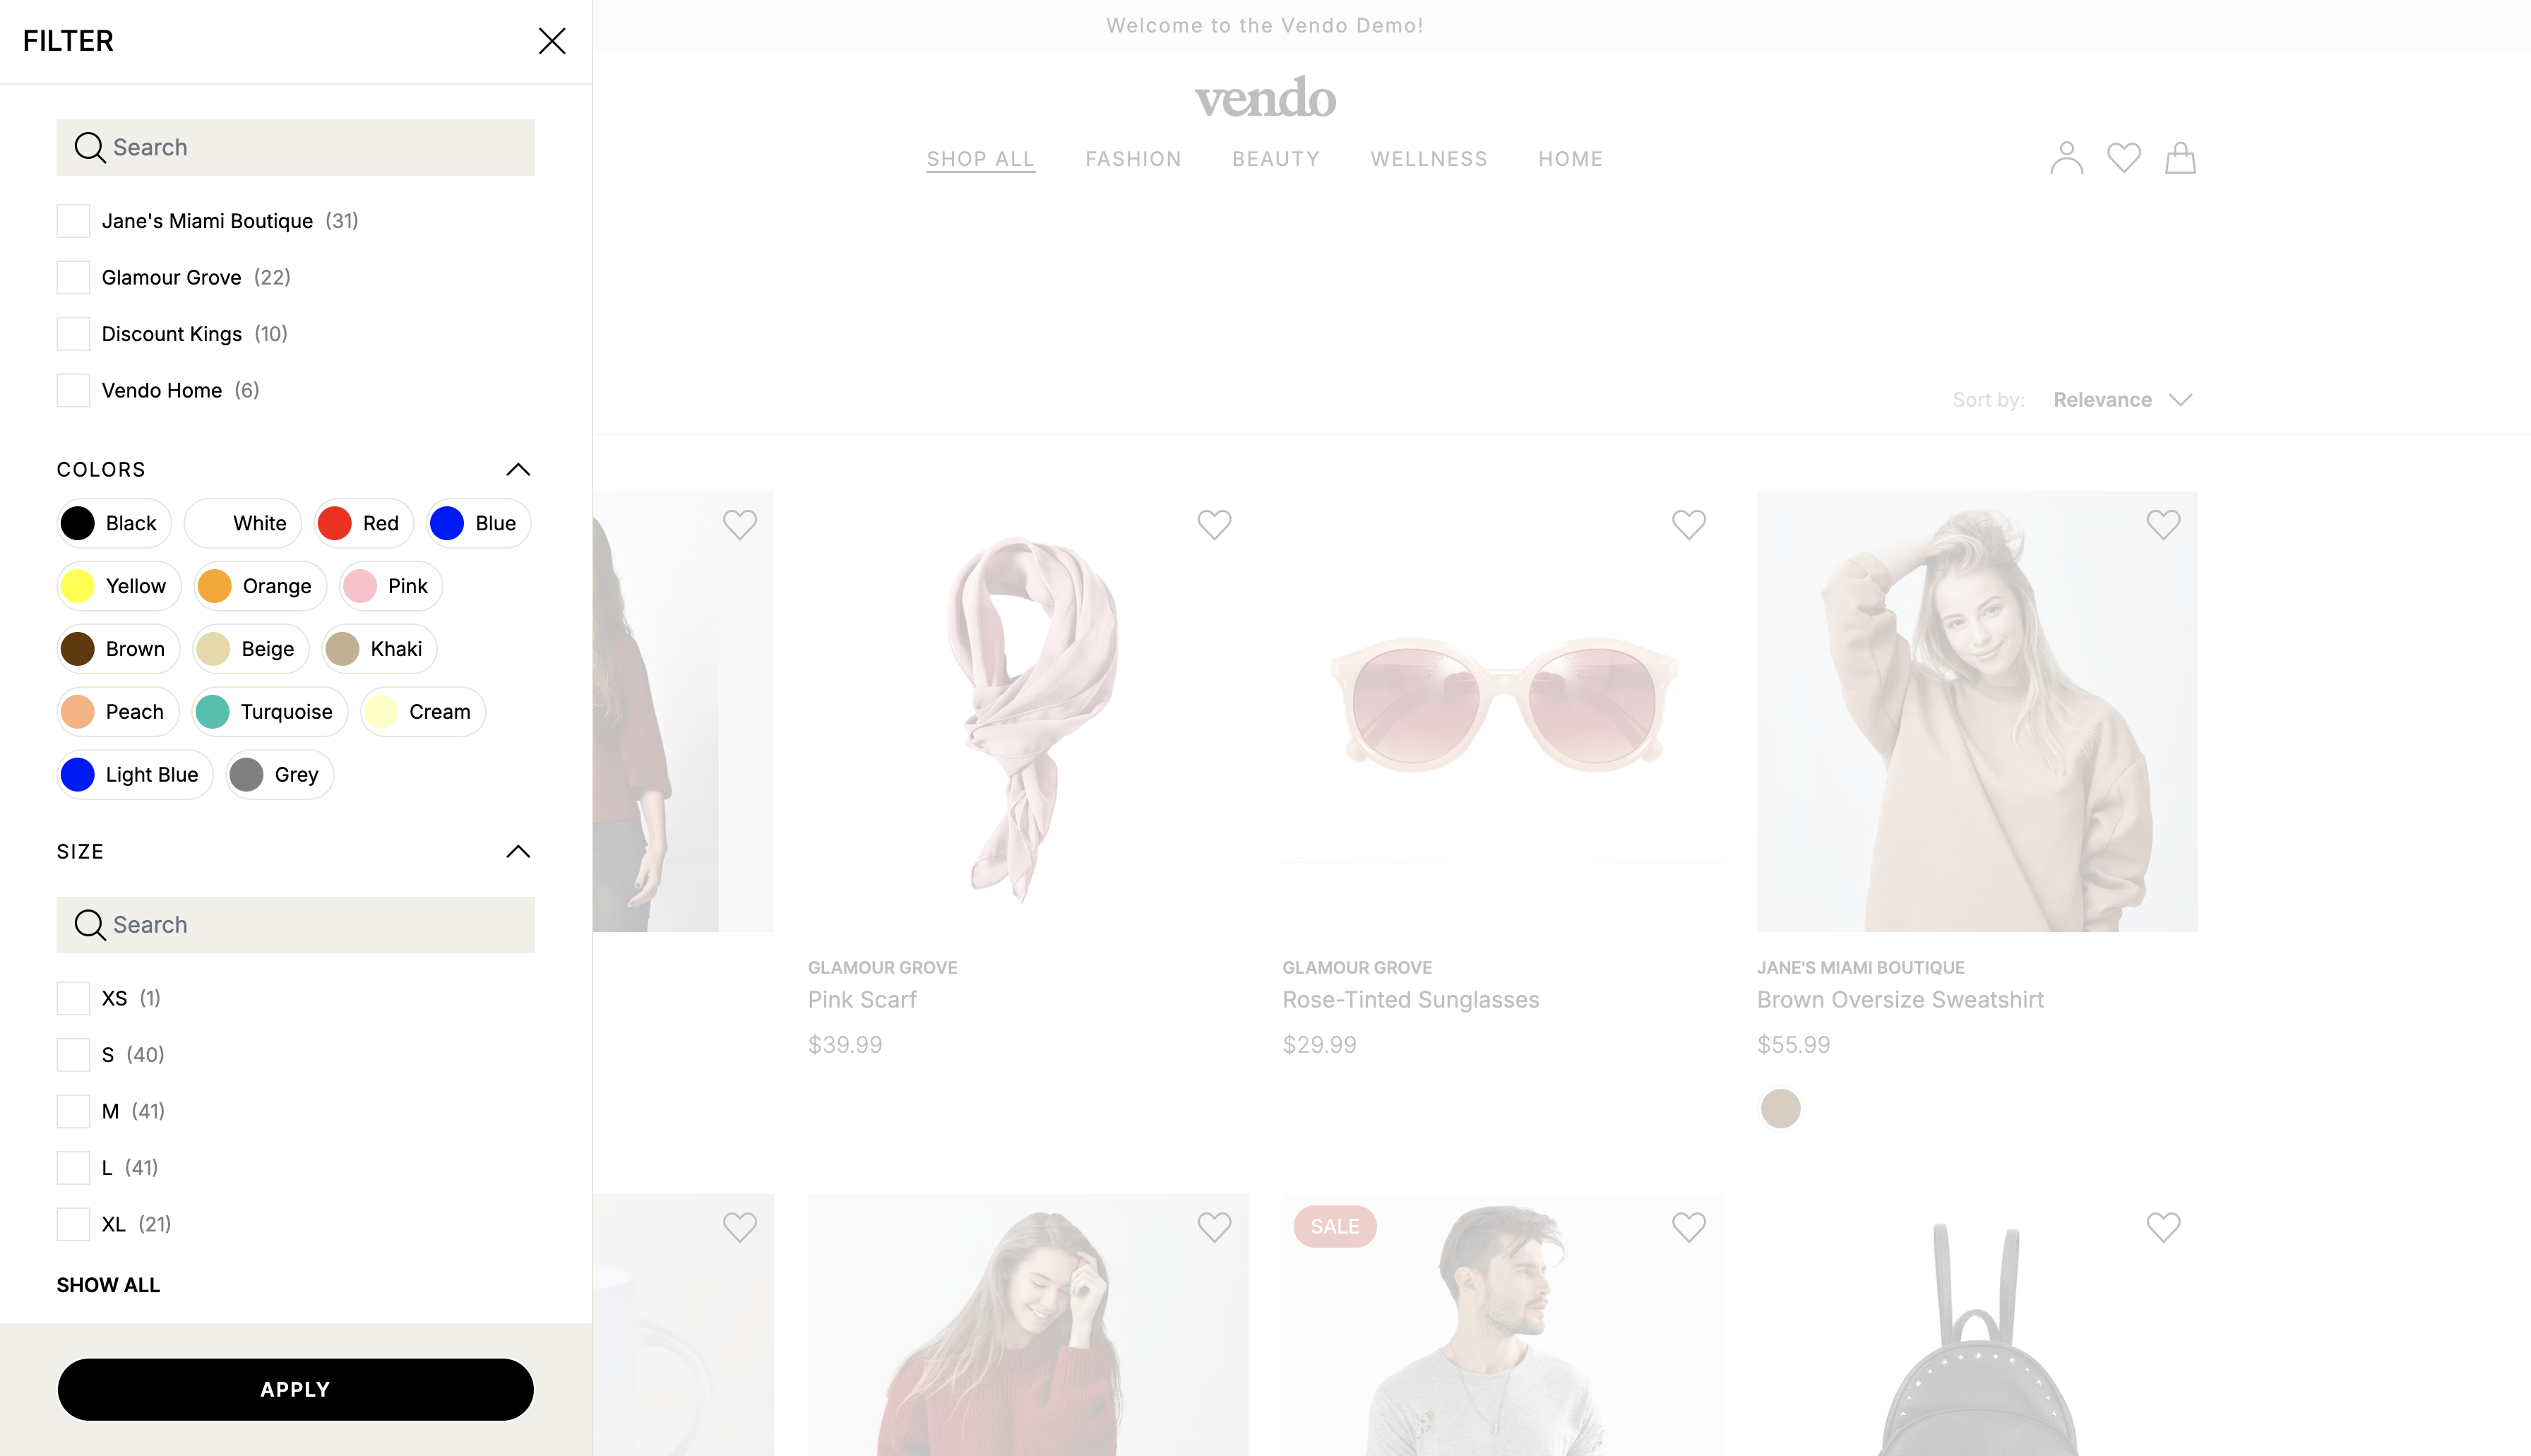
You can also select whether or not you want this Option to be filterable on product listing pages by checking the Filterable box
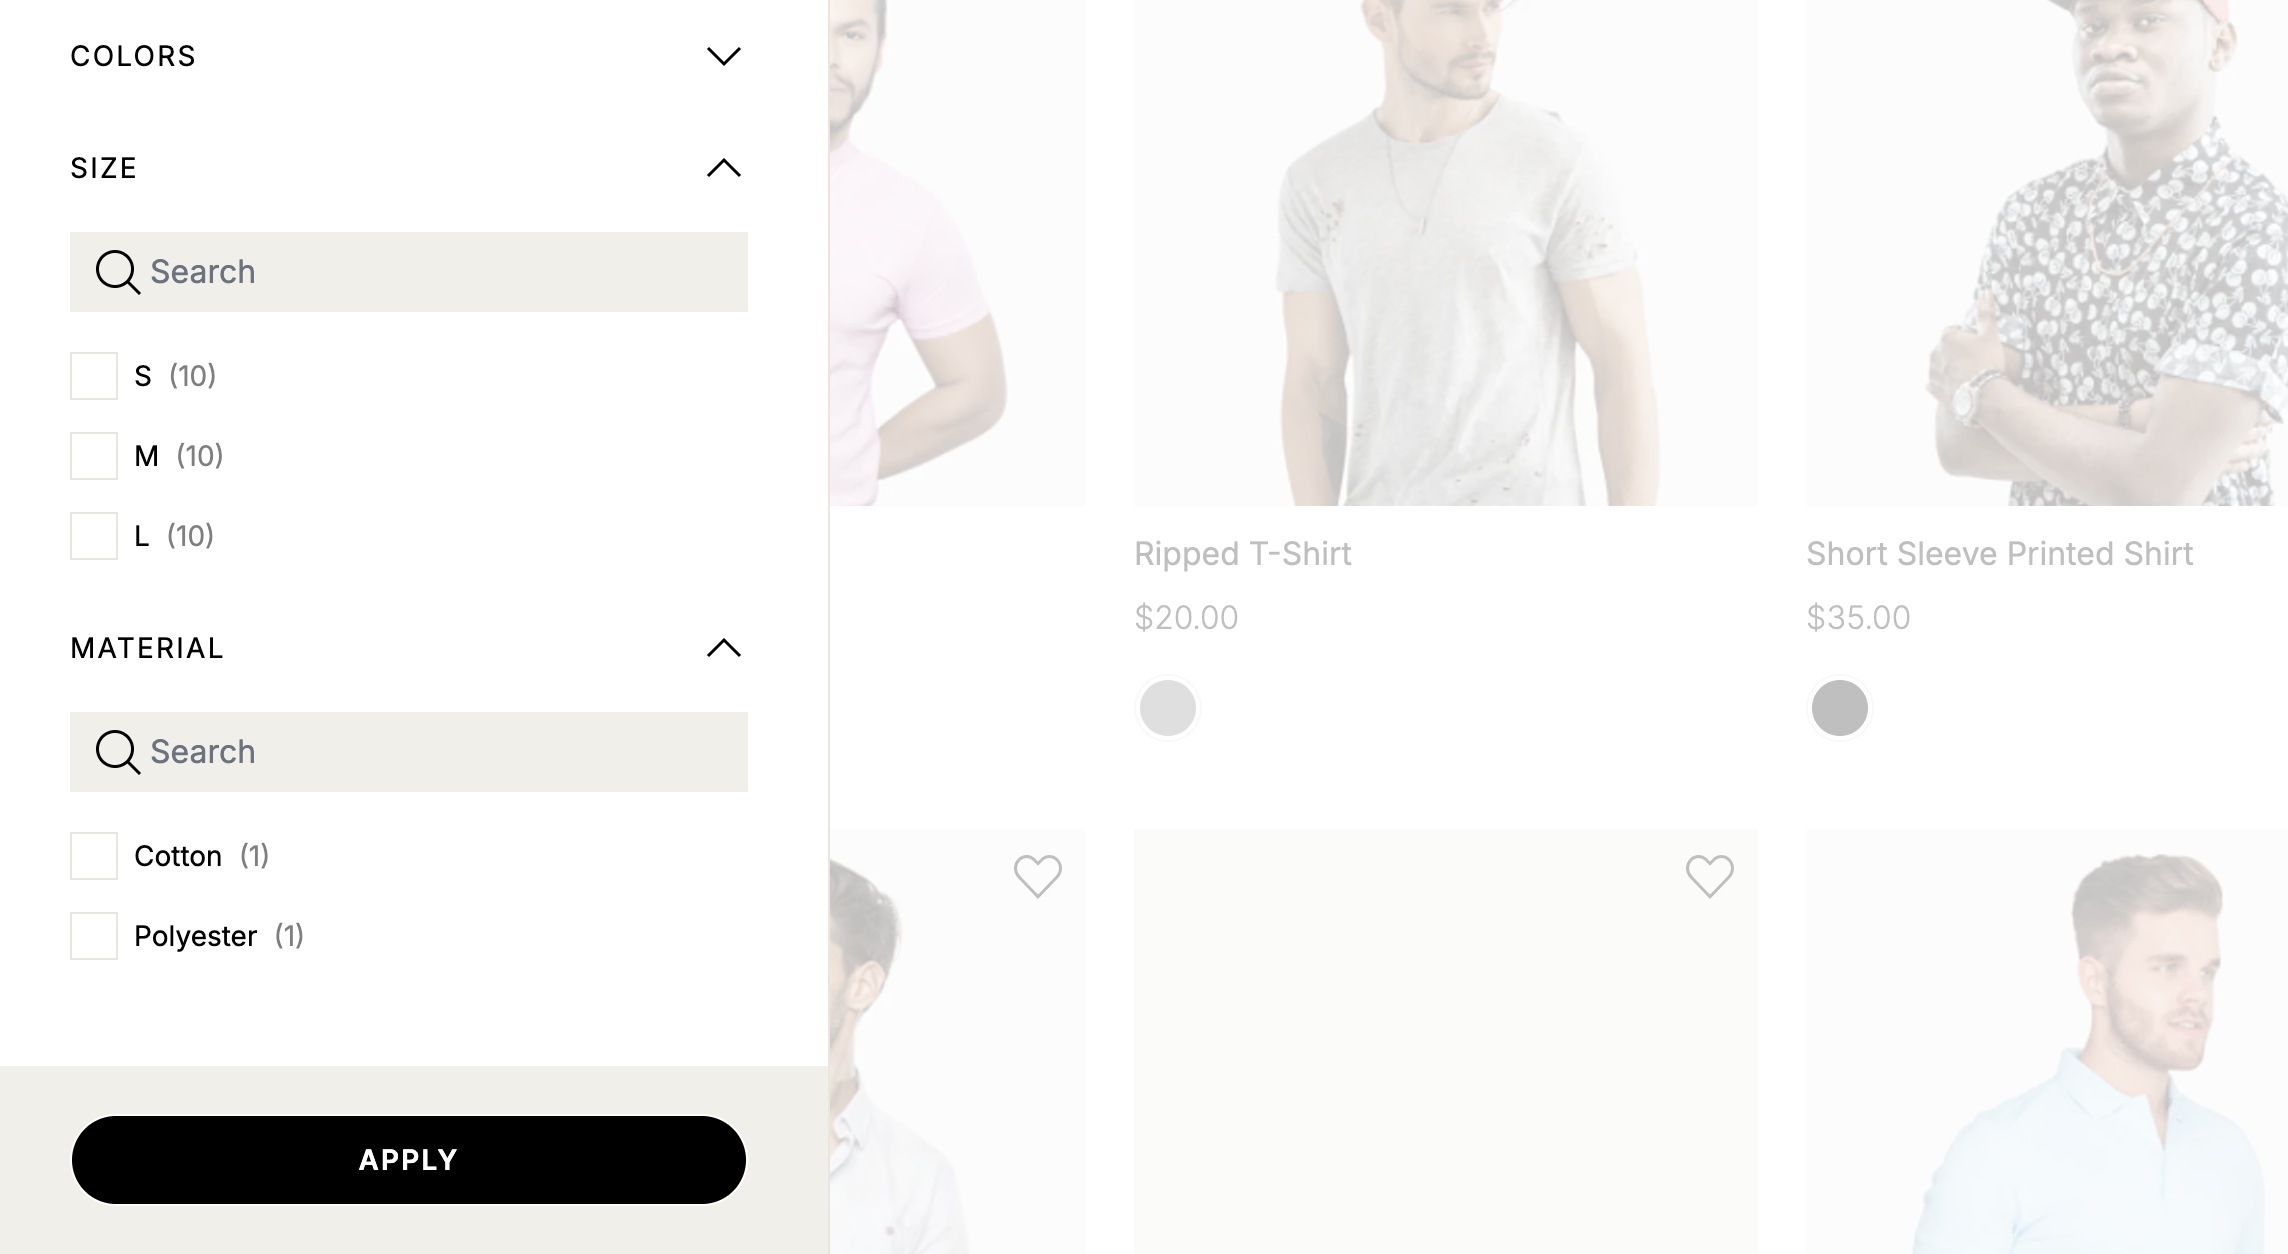
When an option type is set to Filterable, your storefront visitors are presented with option-based filters on PLPs. A typical example of this would be to filter clothing by size and color as shown here:
In this section you can set the display name and the internal name for the Option Type. If you don’t set an internal name, the presentation name will be used.
You can also select whether or not you want this Option to be filterable on product listing pages by checking the Filterable box
When an option type is set to Filterable, your storefront visitors are presented with option-based filters on PLPs. A typical example of this would be to filter clothing by size and color as shown here:
Option Values
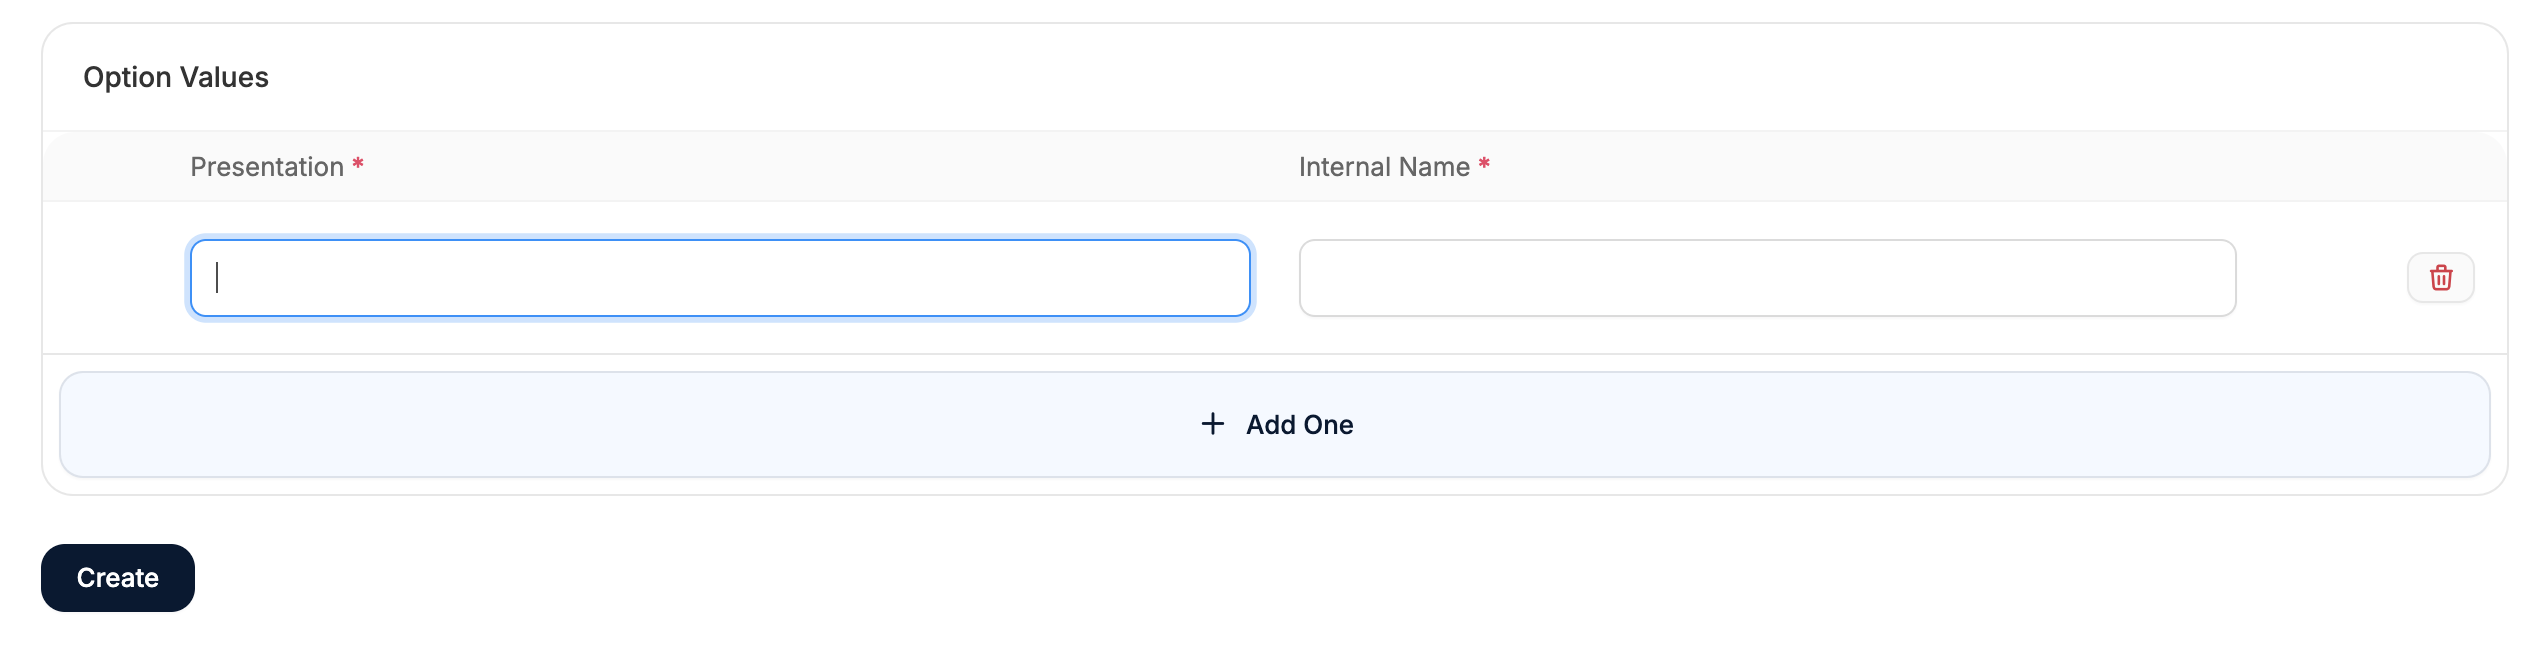 Option Types define the attributes that can be customized (e.g., size, color, or material) while Option Values specify the available choices for each attribute, like Small, Red, or Cotton.
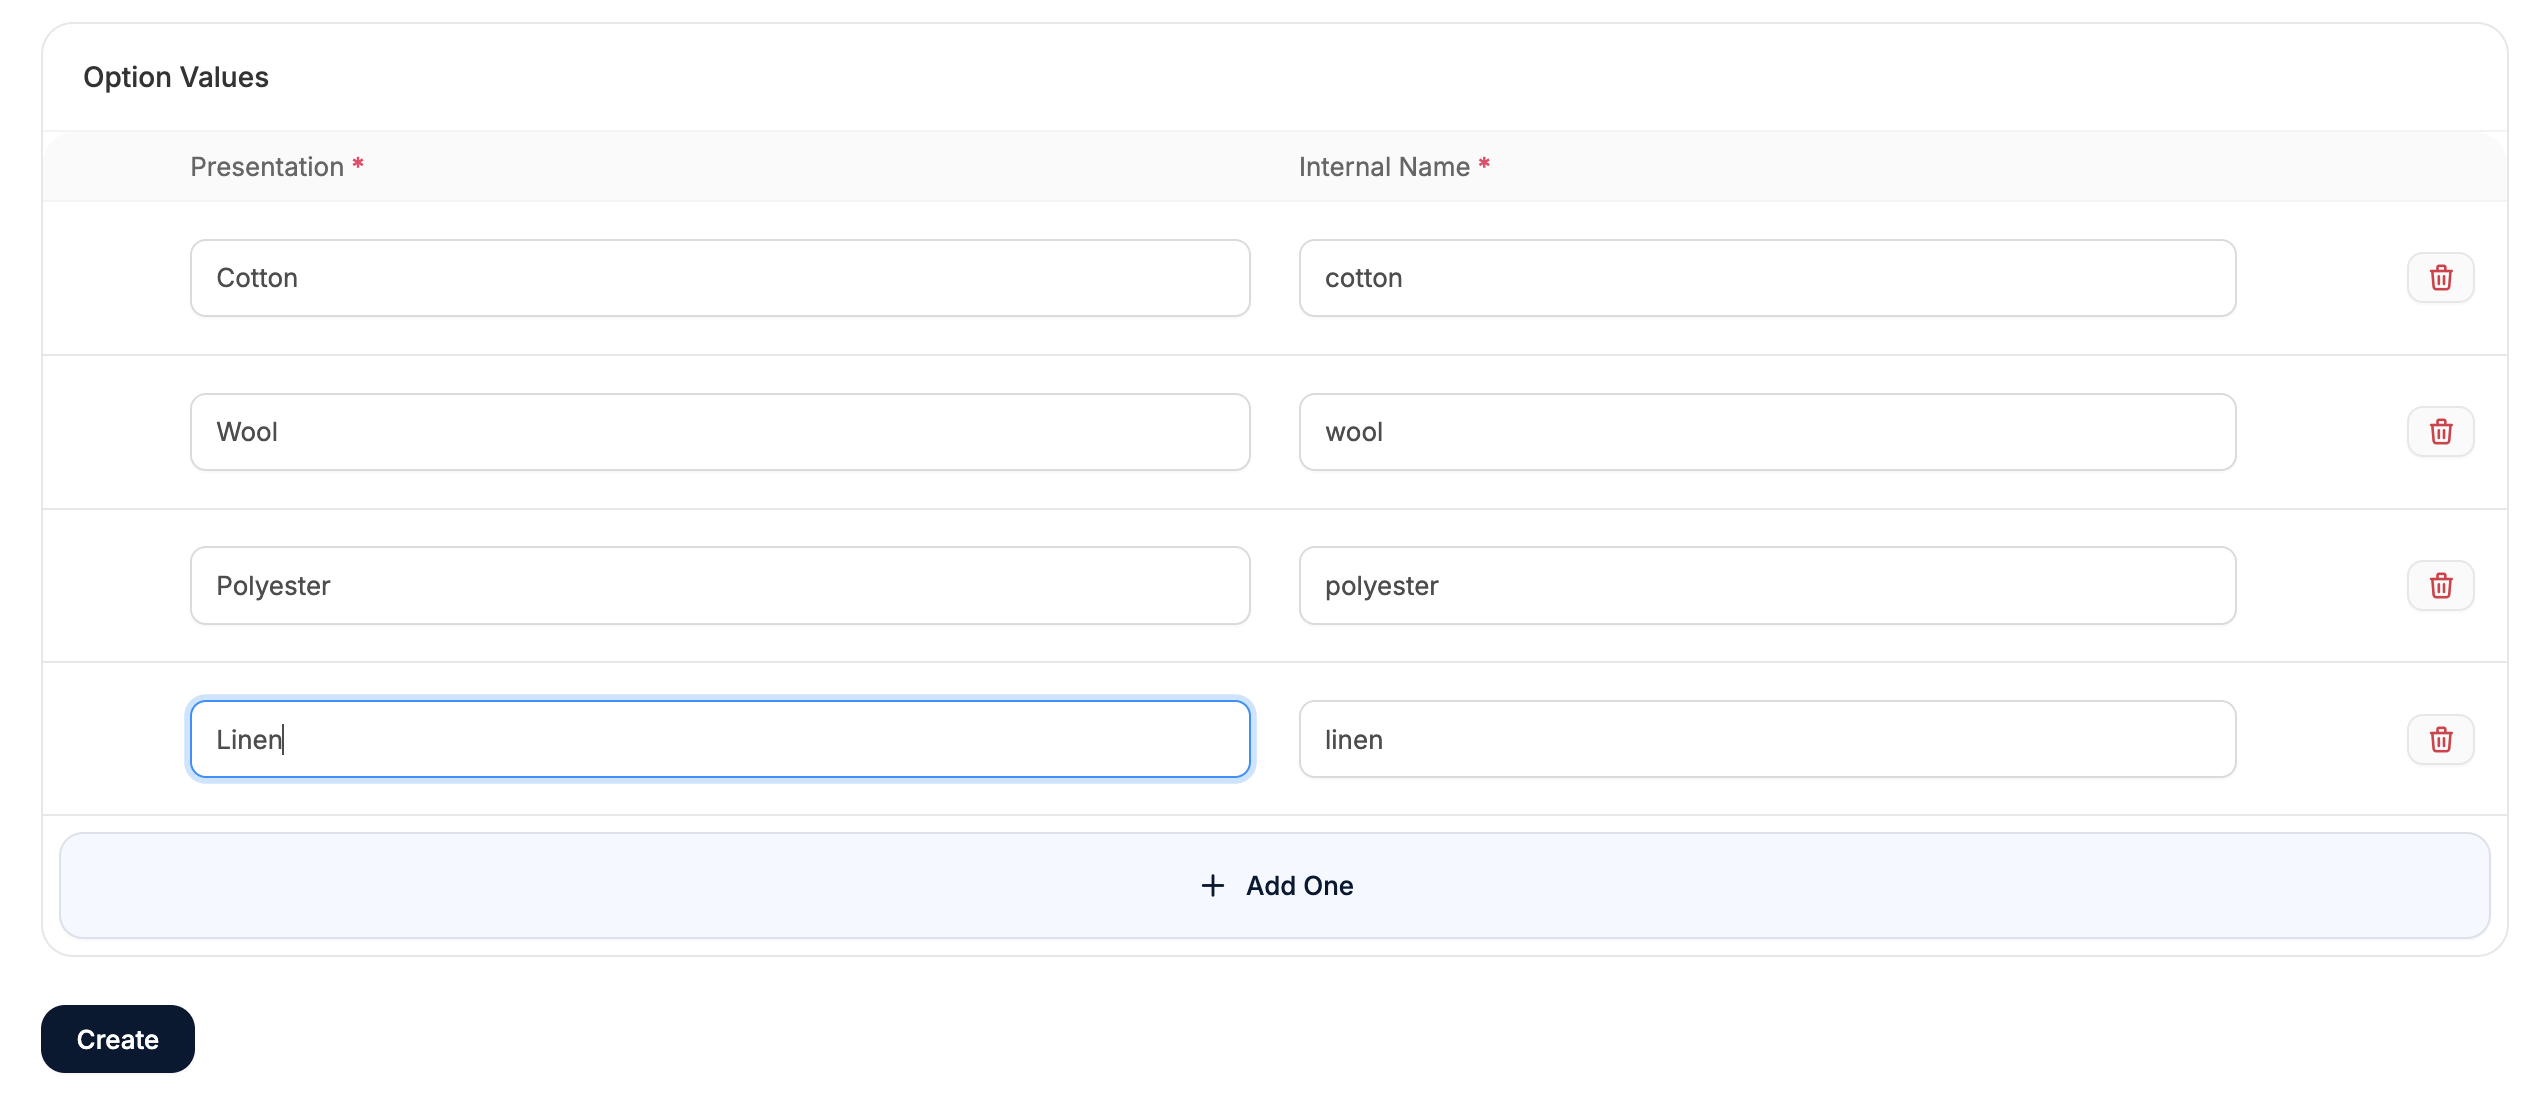 Simply enter the values, and click Add One if you need to add more values.
After entering all the necessary Option Values, click the Create button at the bottom of the page to save the Option.
Simply enter the values, and click Add One if you need to add more values.
After entering all the necessary Option Values, click the Create button at the bottom of the page to save the Option.
When creating or importing products, any new Option Values that haven’t already been added to this Option will be added automatically.
Option Management
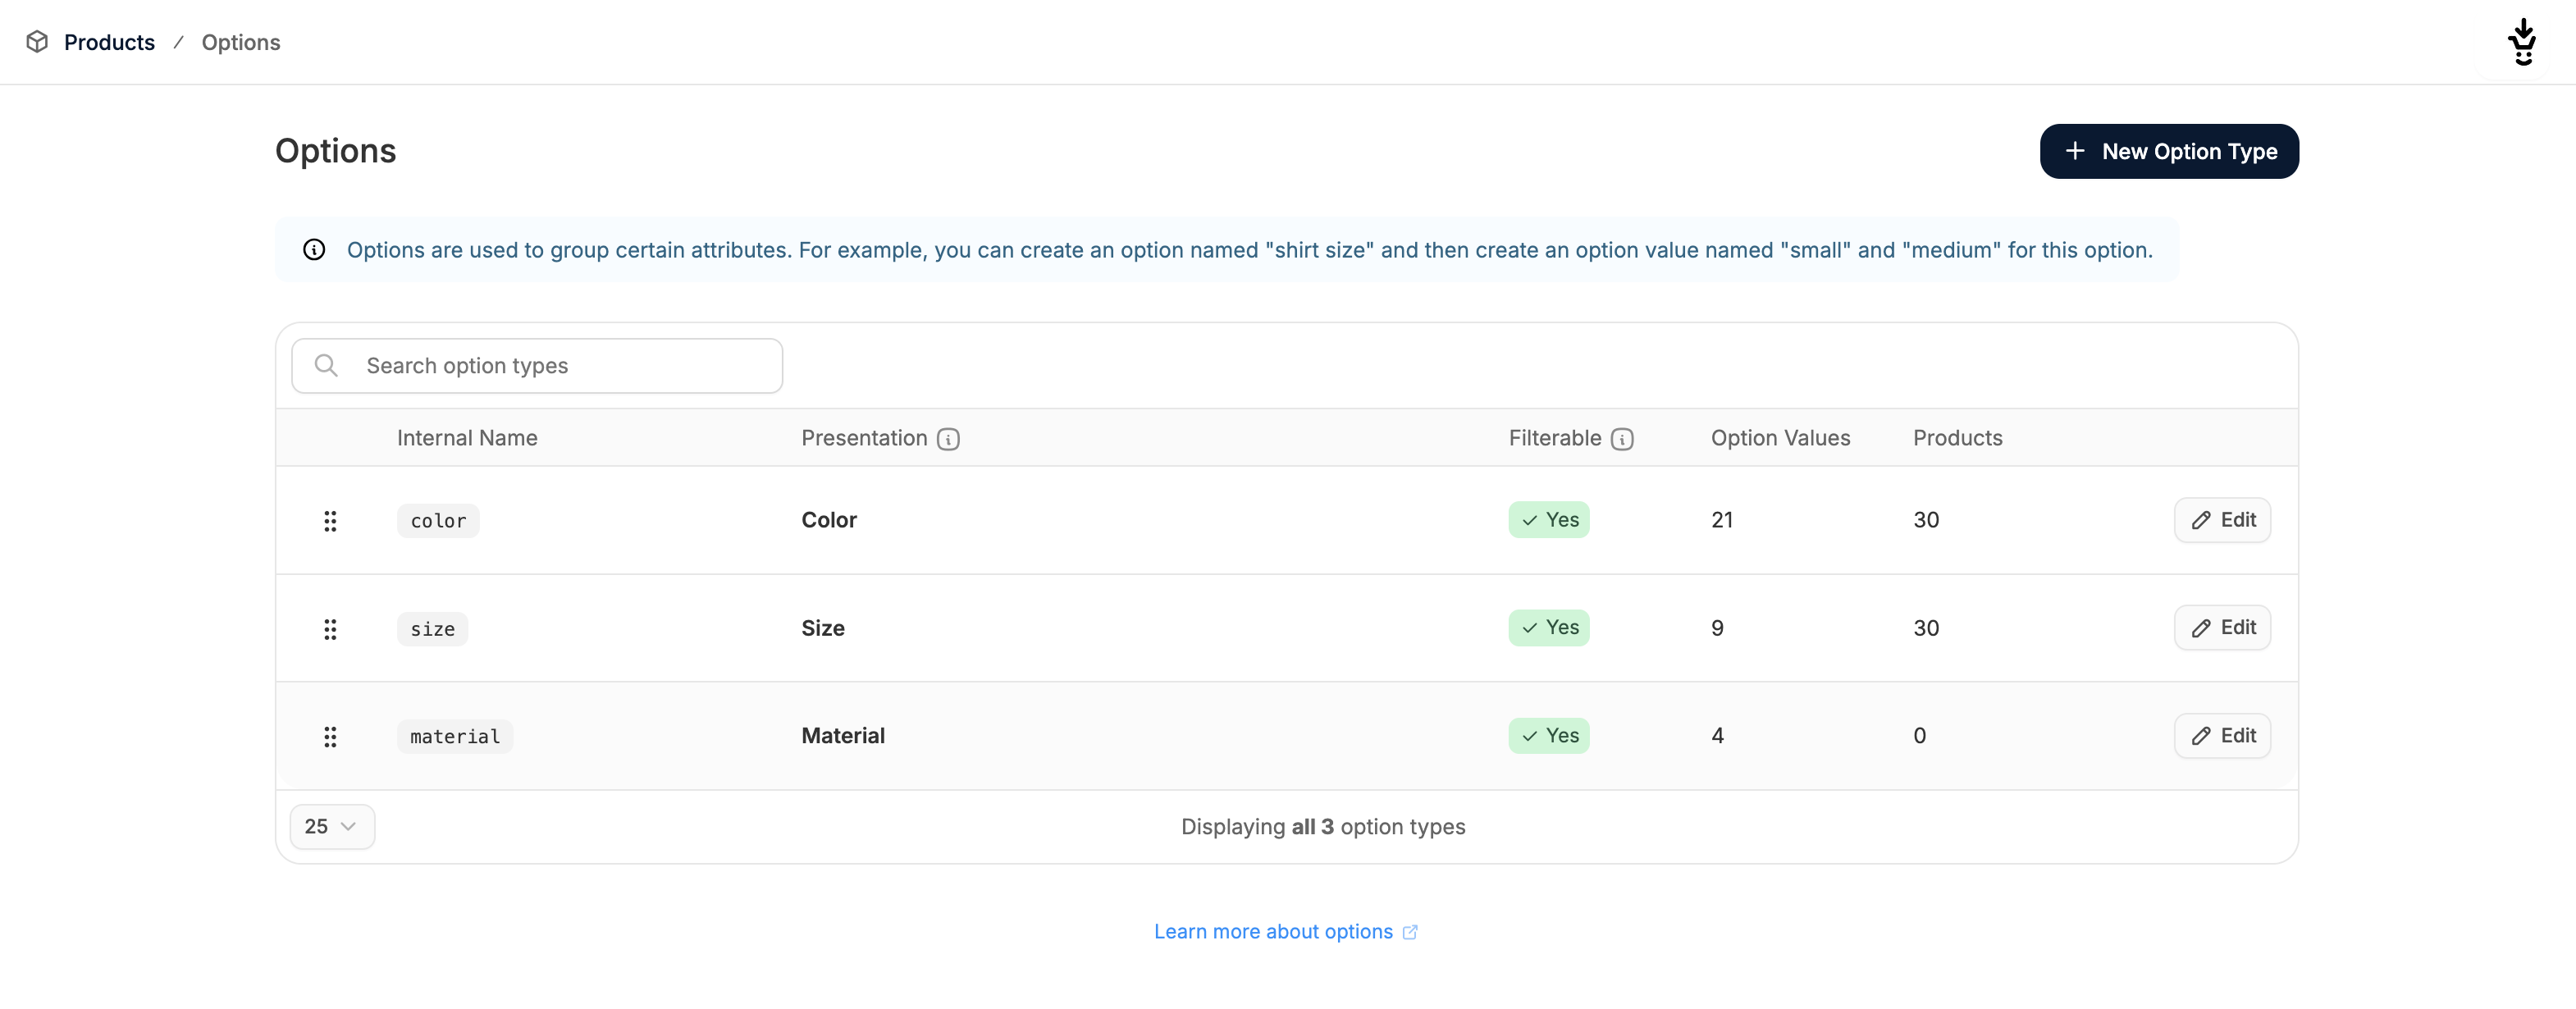 Navigating back to the Options page, you’ll see that your newly created option is now listed among your other Options.
Here there are a few ways in which you can manage existing Options:
Navigating back to the Options page, you’ll see that your newly created option is now listed among your other Options.
Here there are a few ways in which you can manage existing Options:
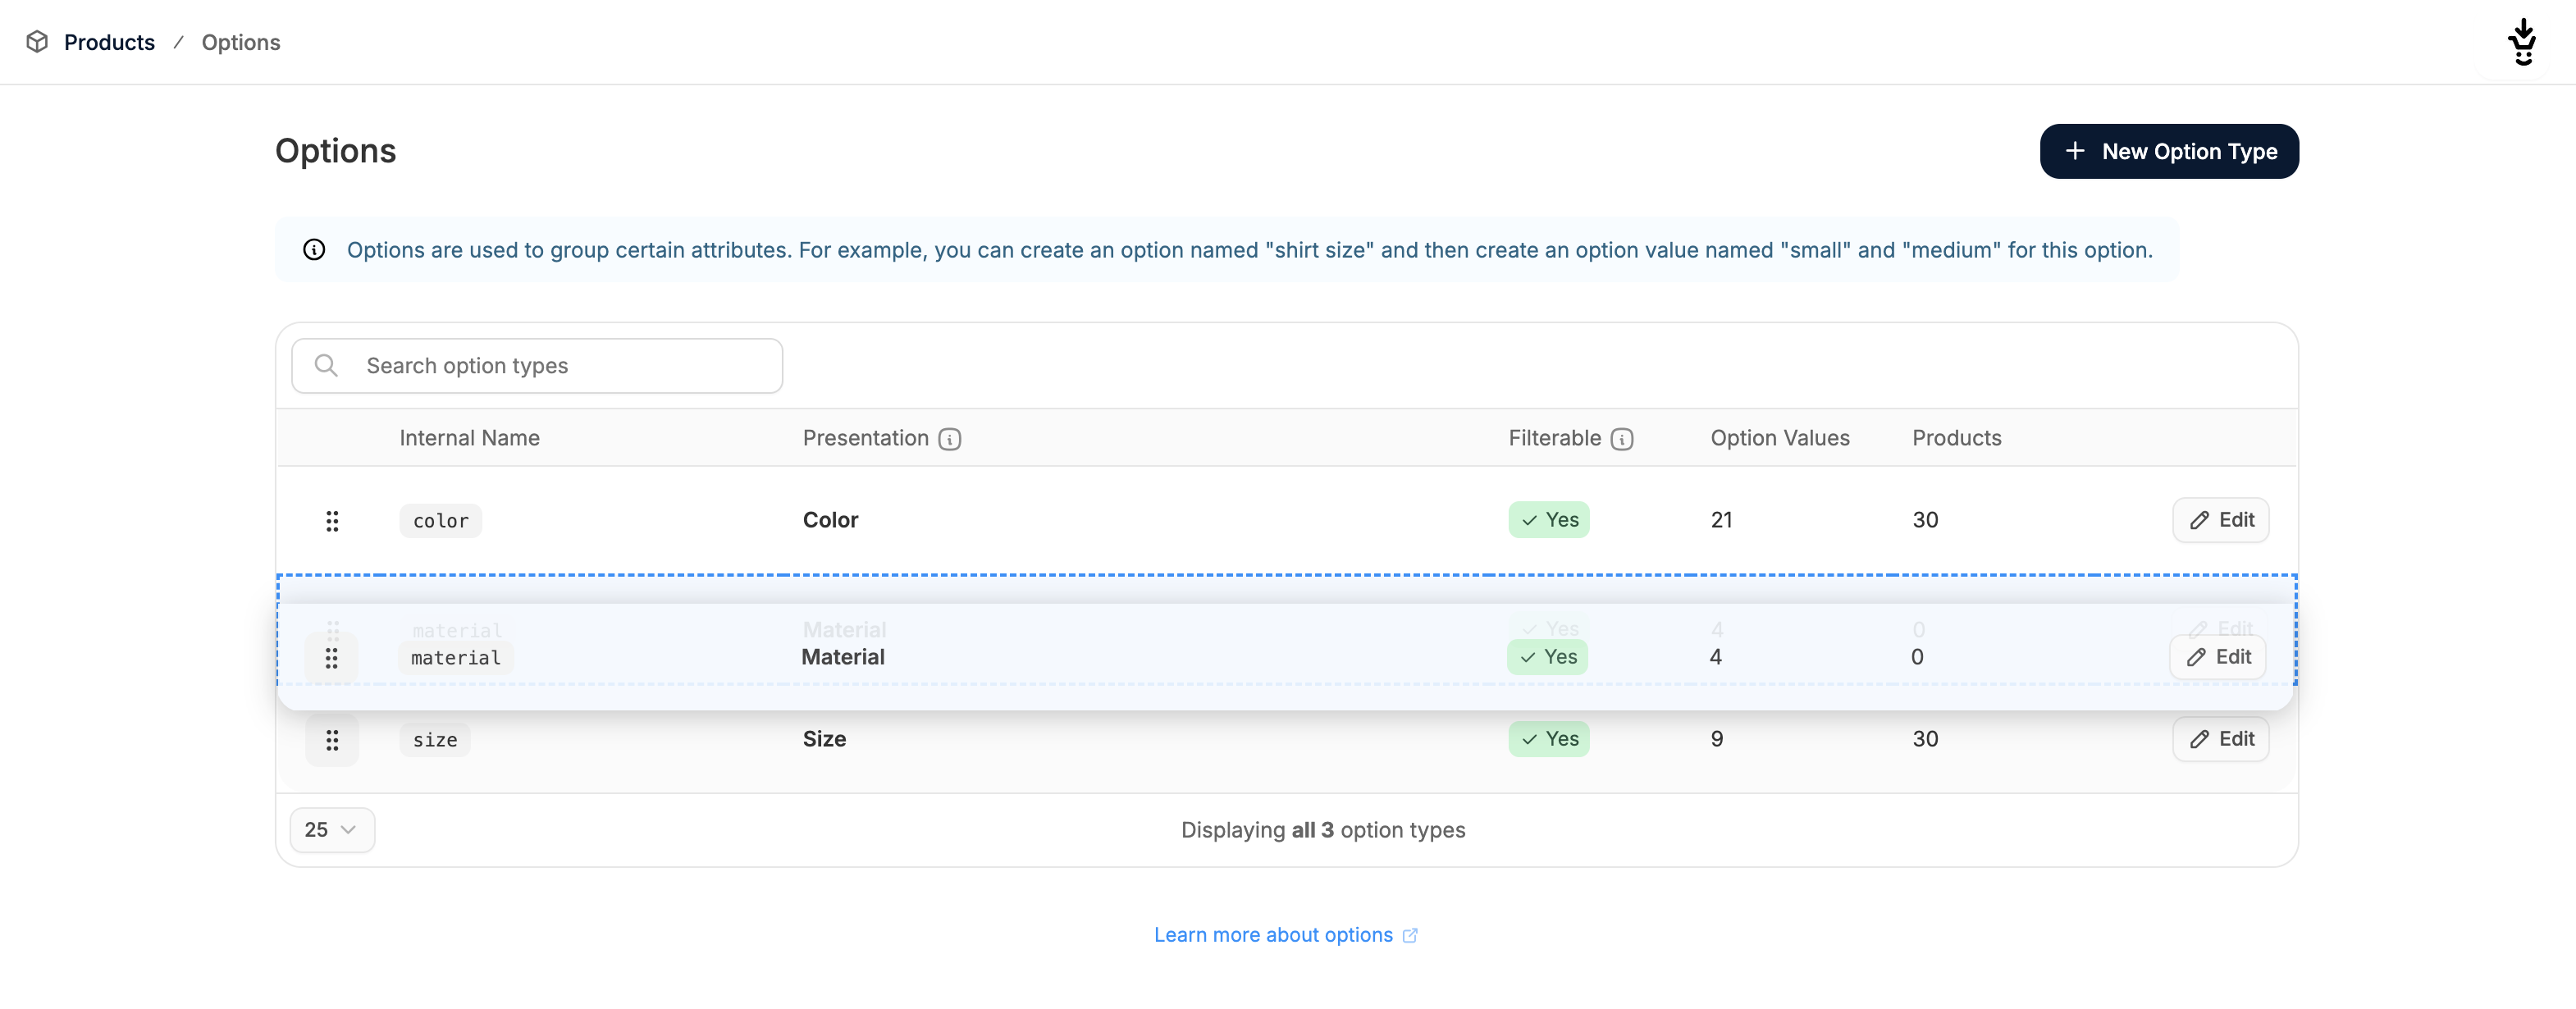
Option Ordering
If you’d like to change the order in which Options are displayed on the storefront, e.g., in filters or on product detail pages, you rearrange them by clicking on the 6 dots on the left-hand side and dragging and dropping them into place.
 For example, this will change the PLP filter from this:
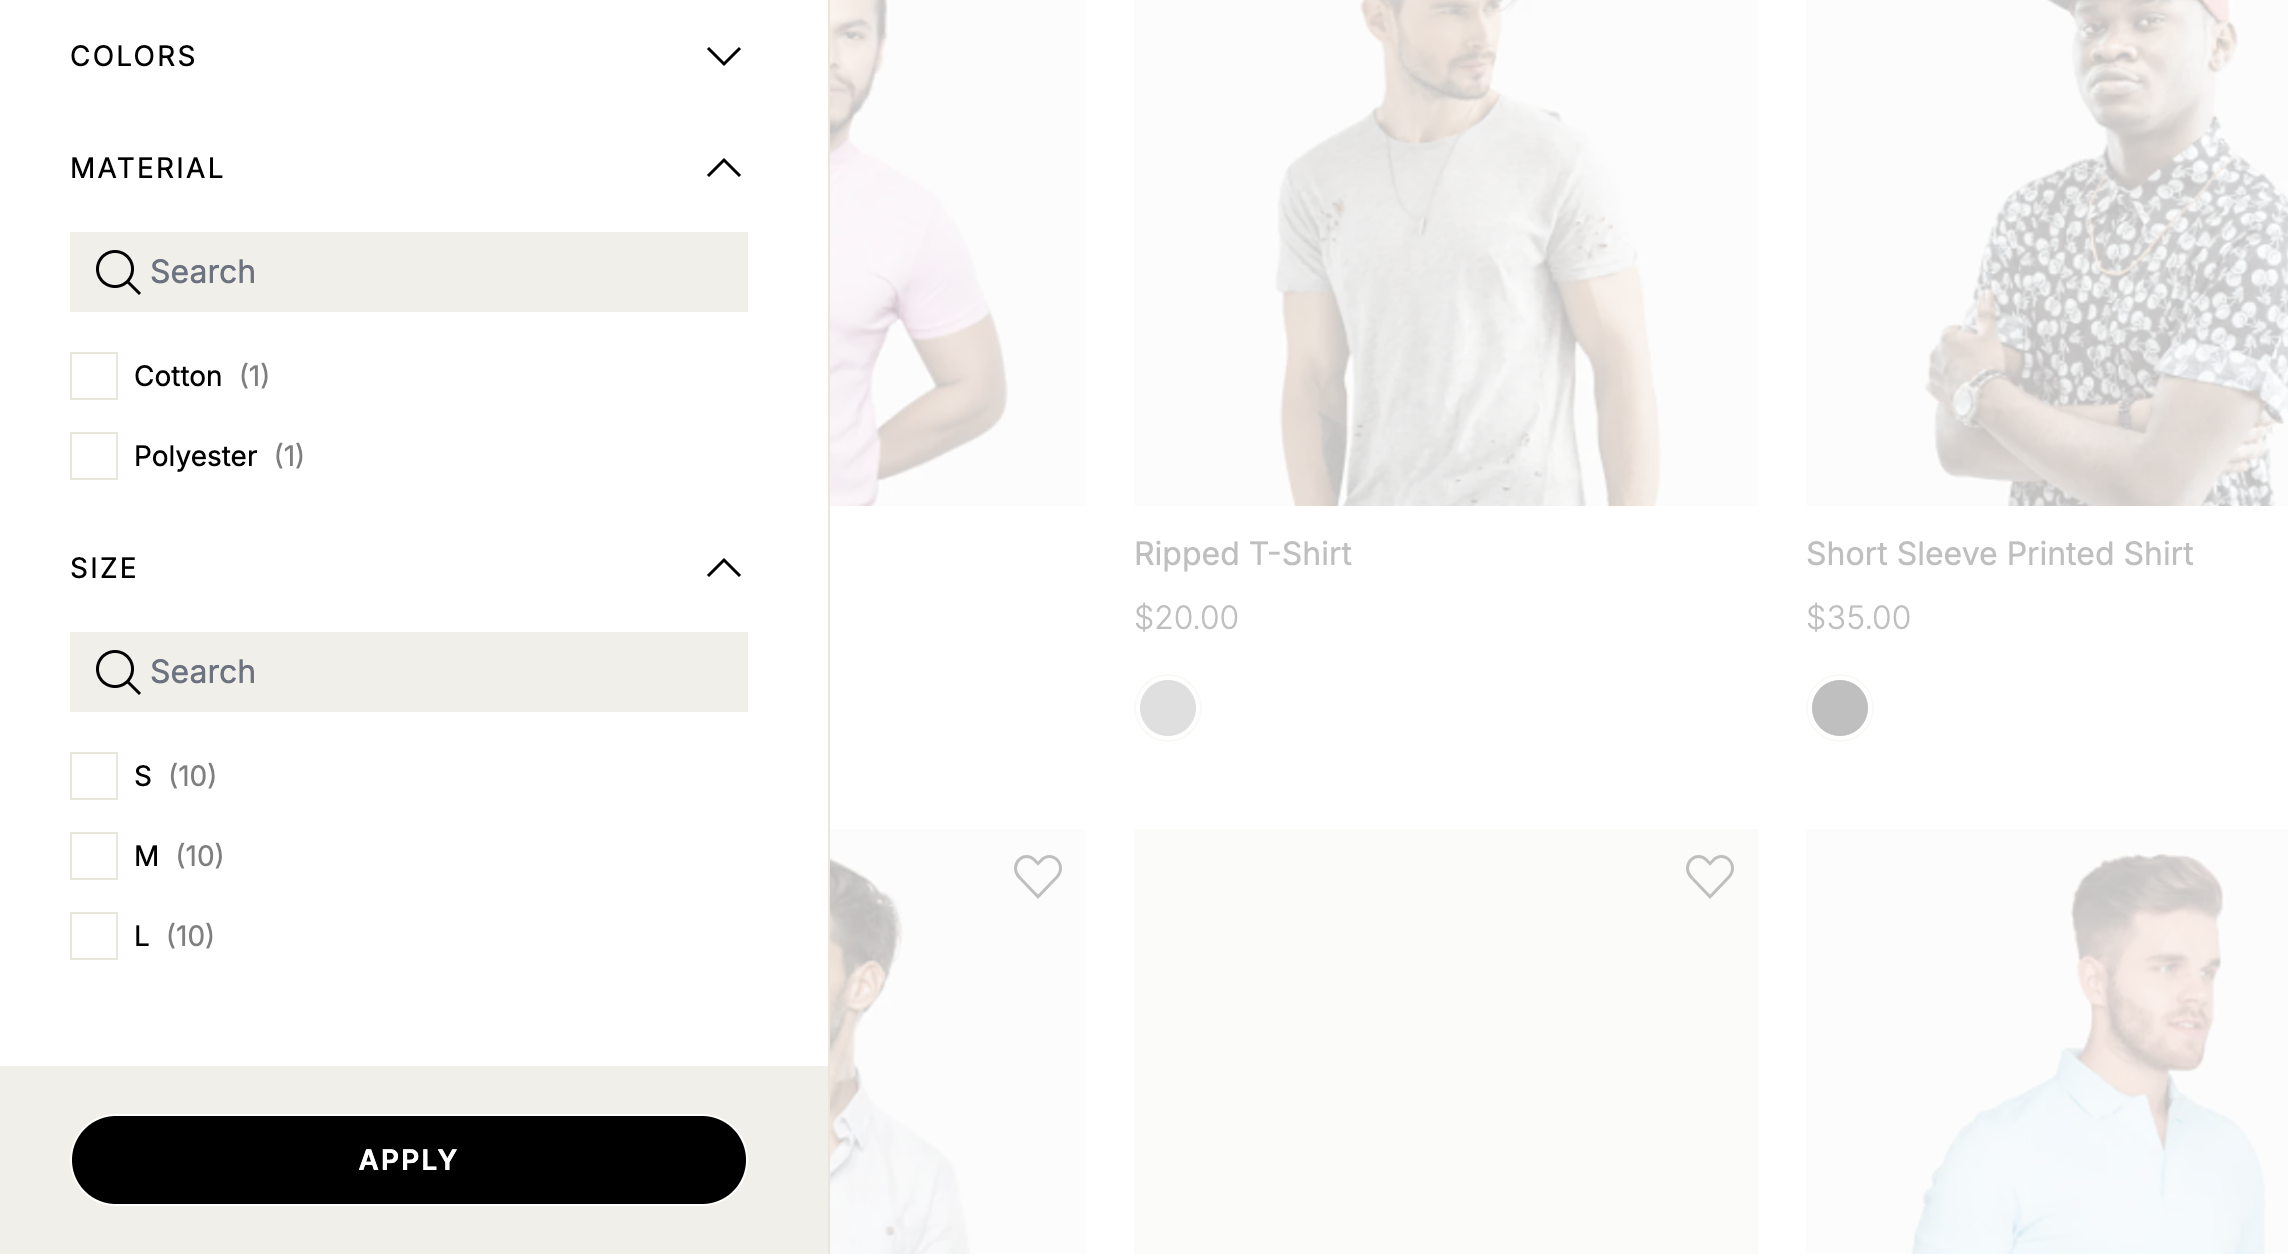
 To this:
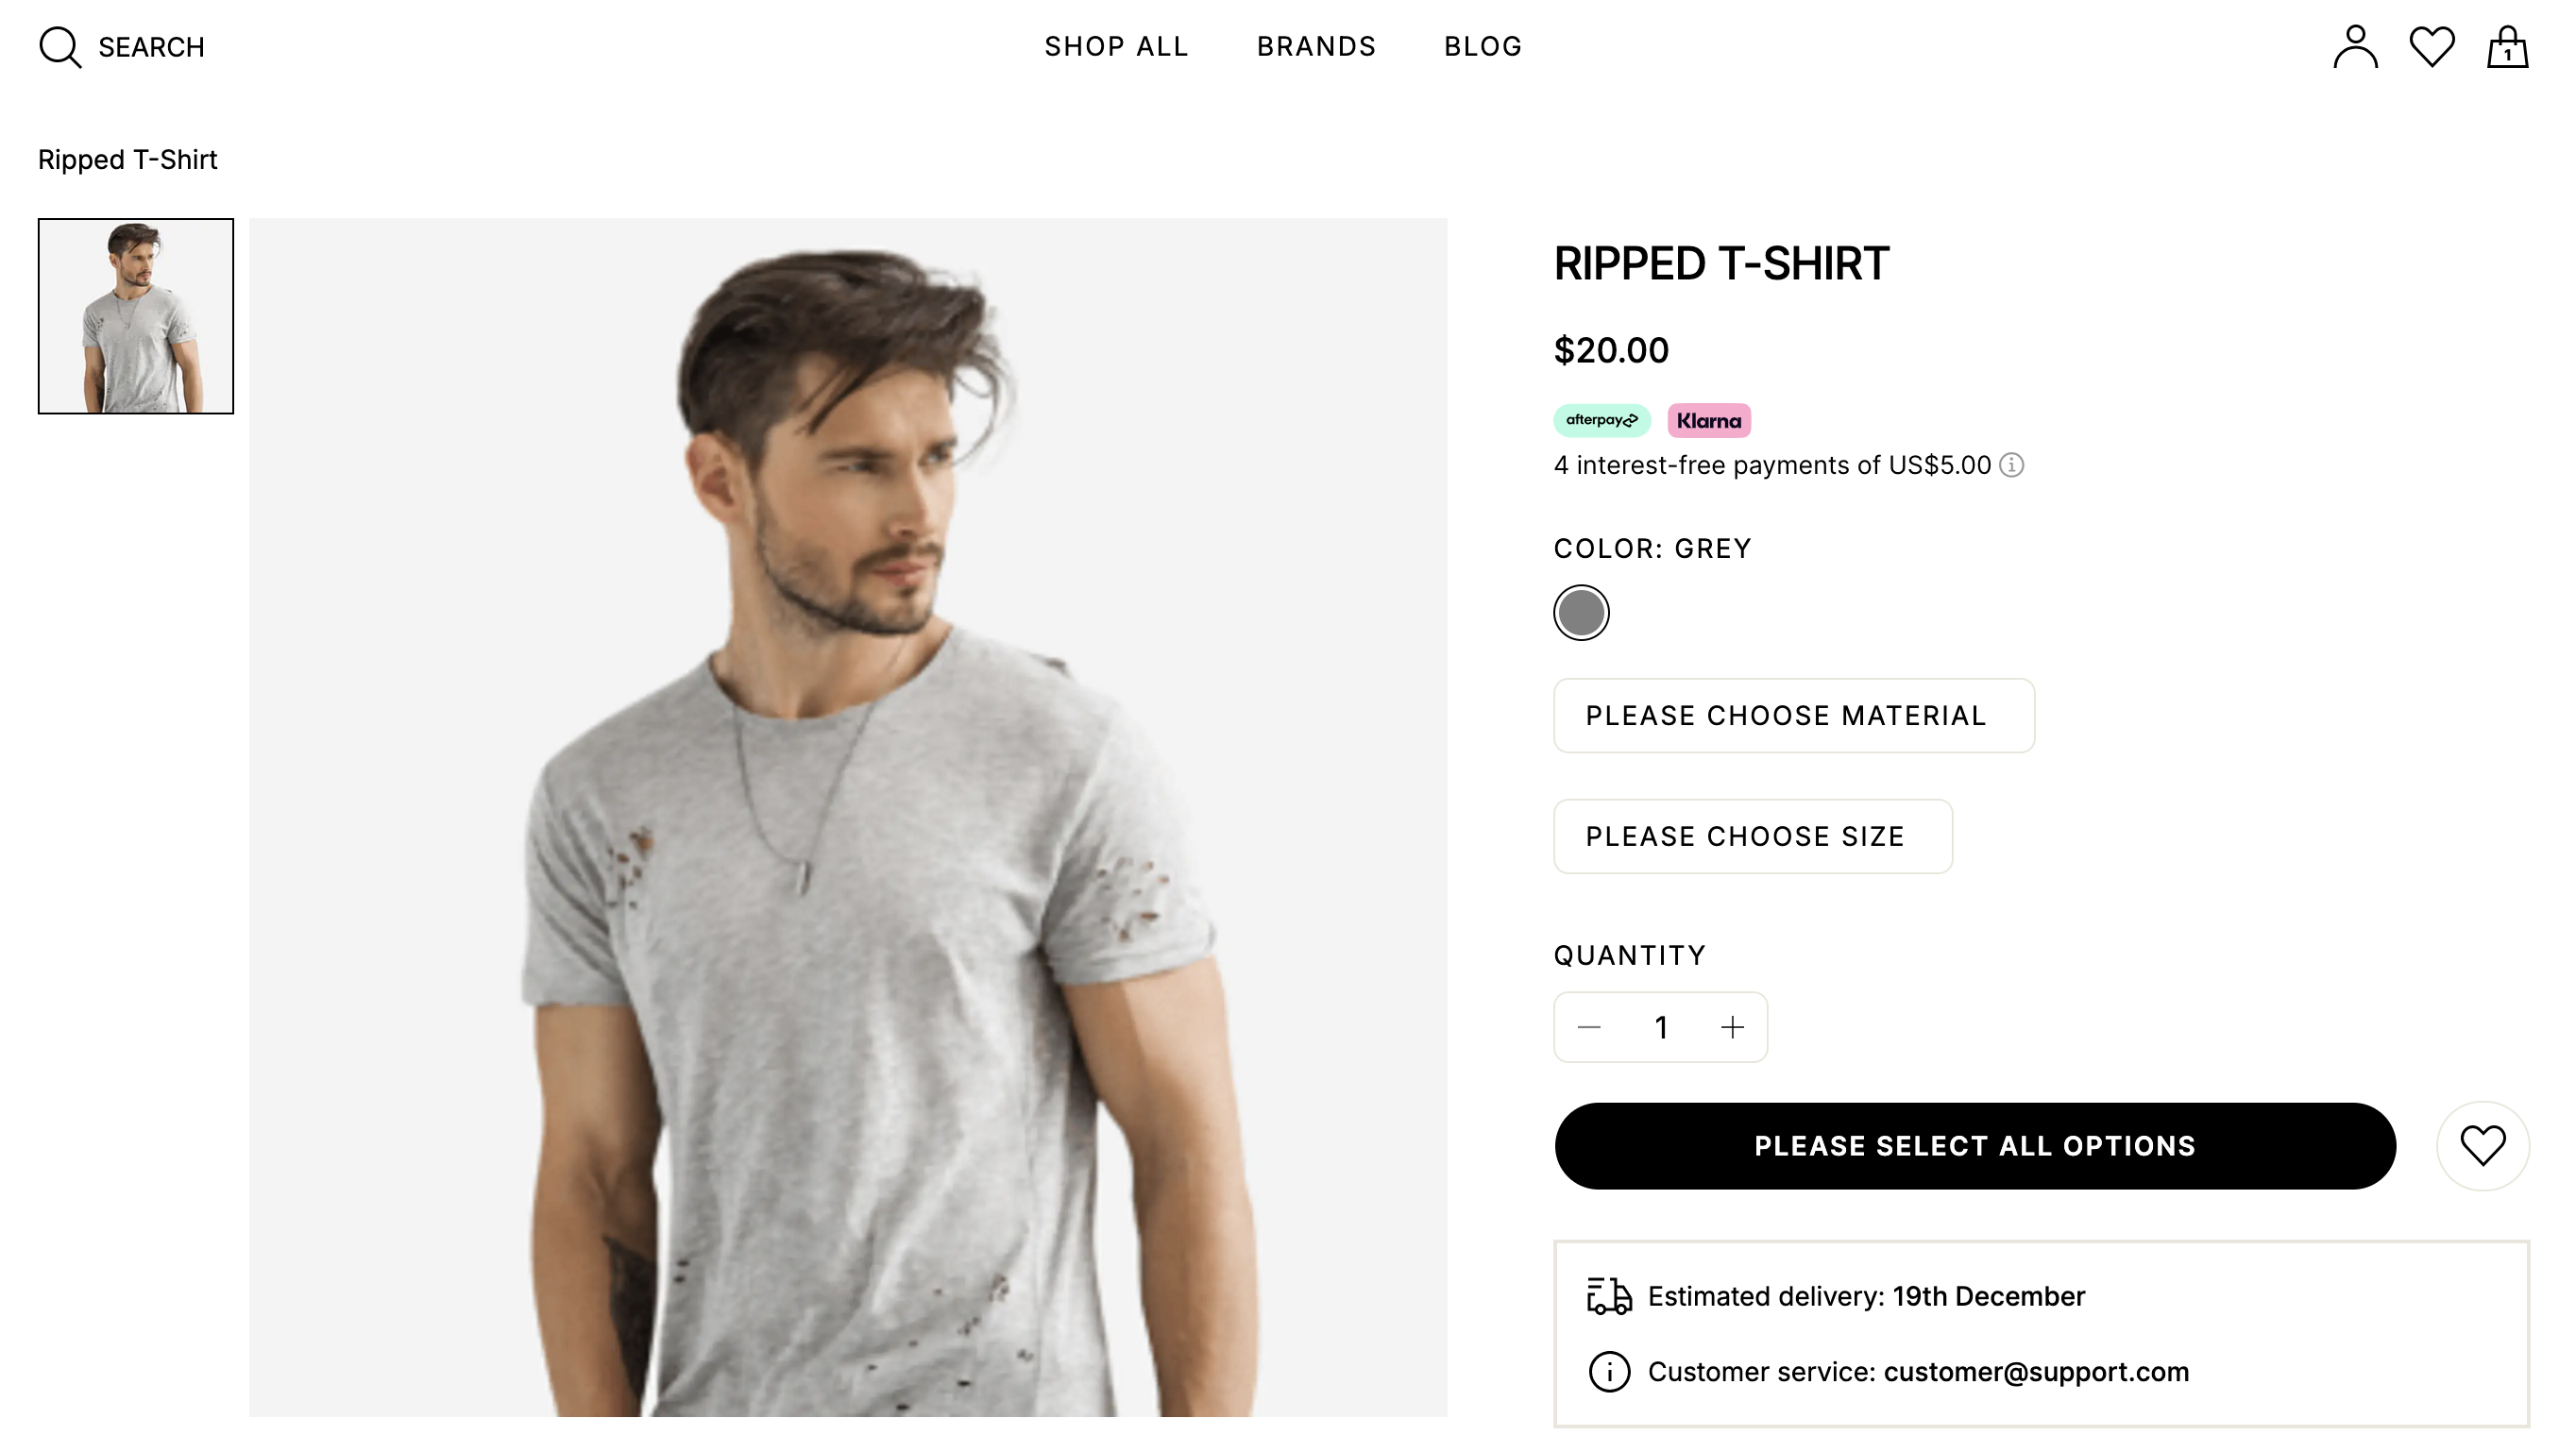
 The effect is similar on product detail pages:
Edit Options
To edit an Option, navigate to the Options tab, and click Edit on the option you’d like to edit.
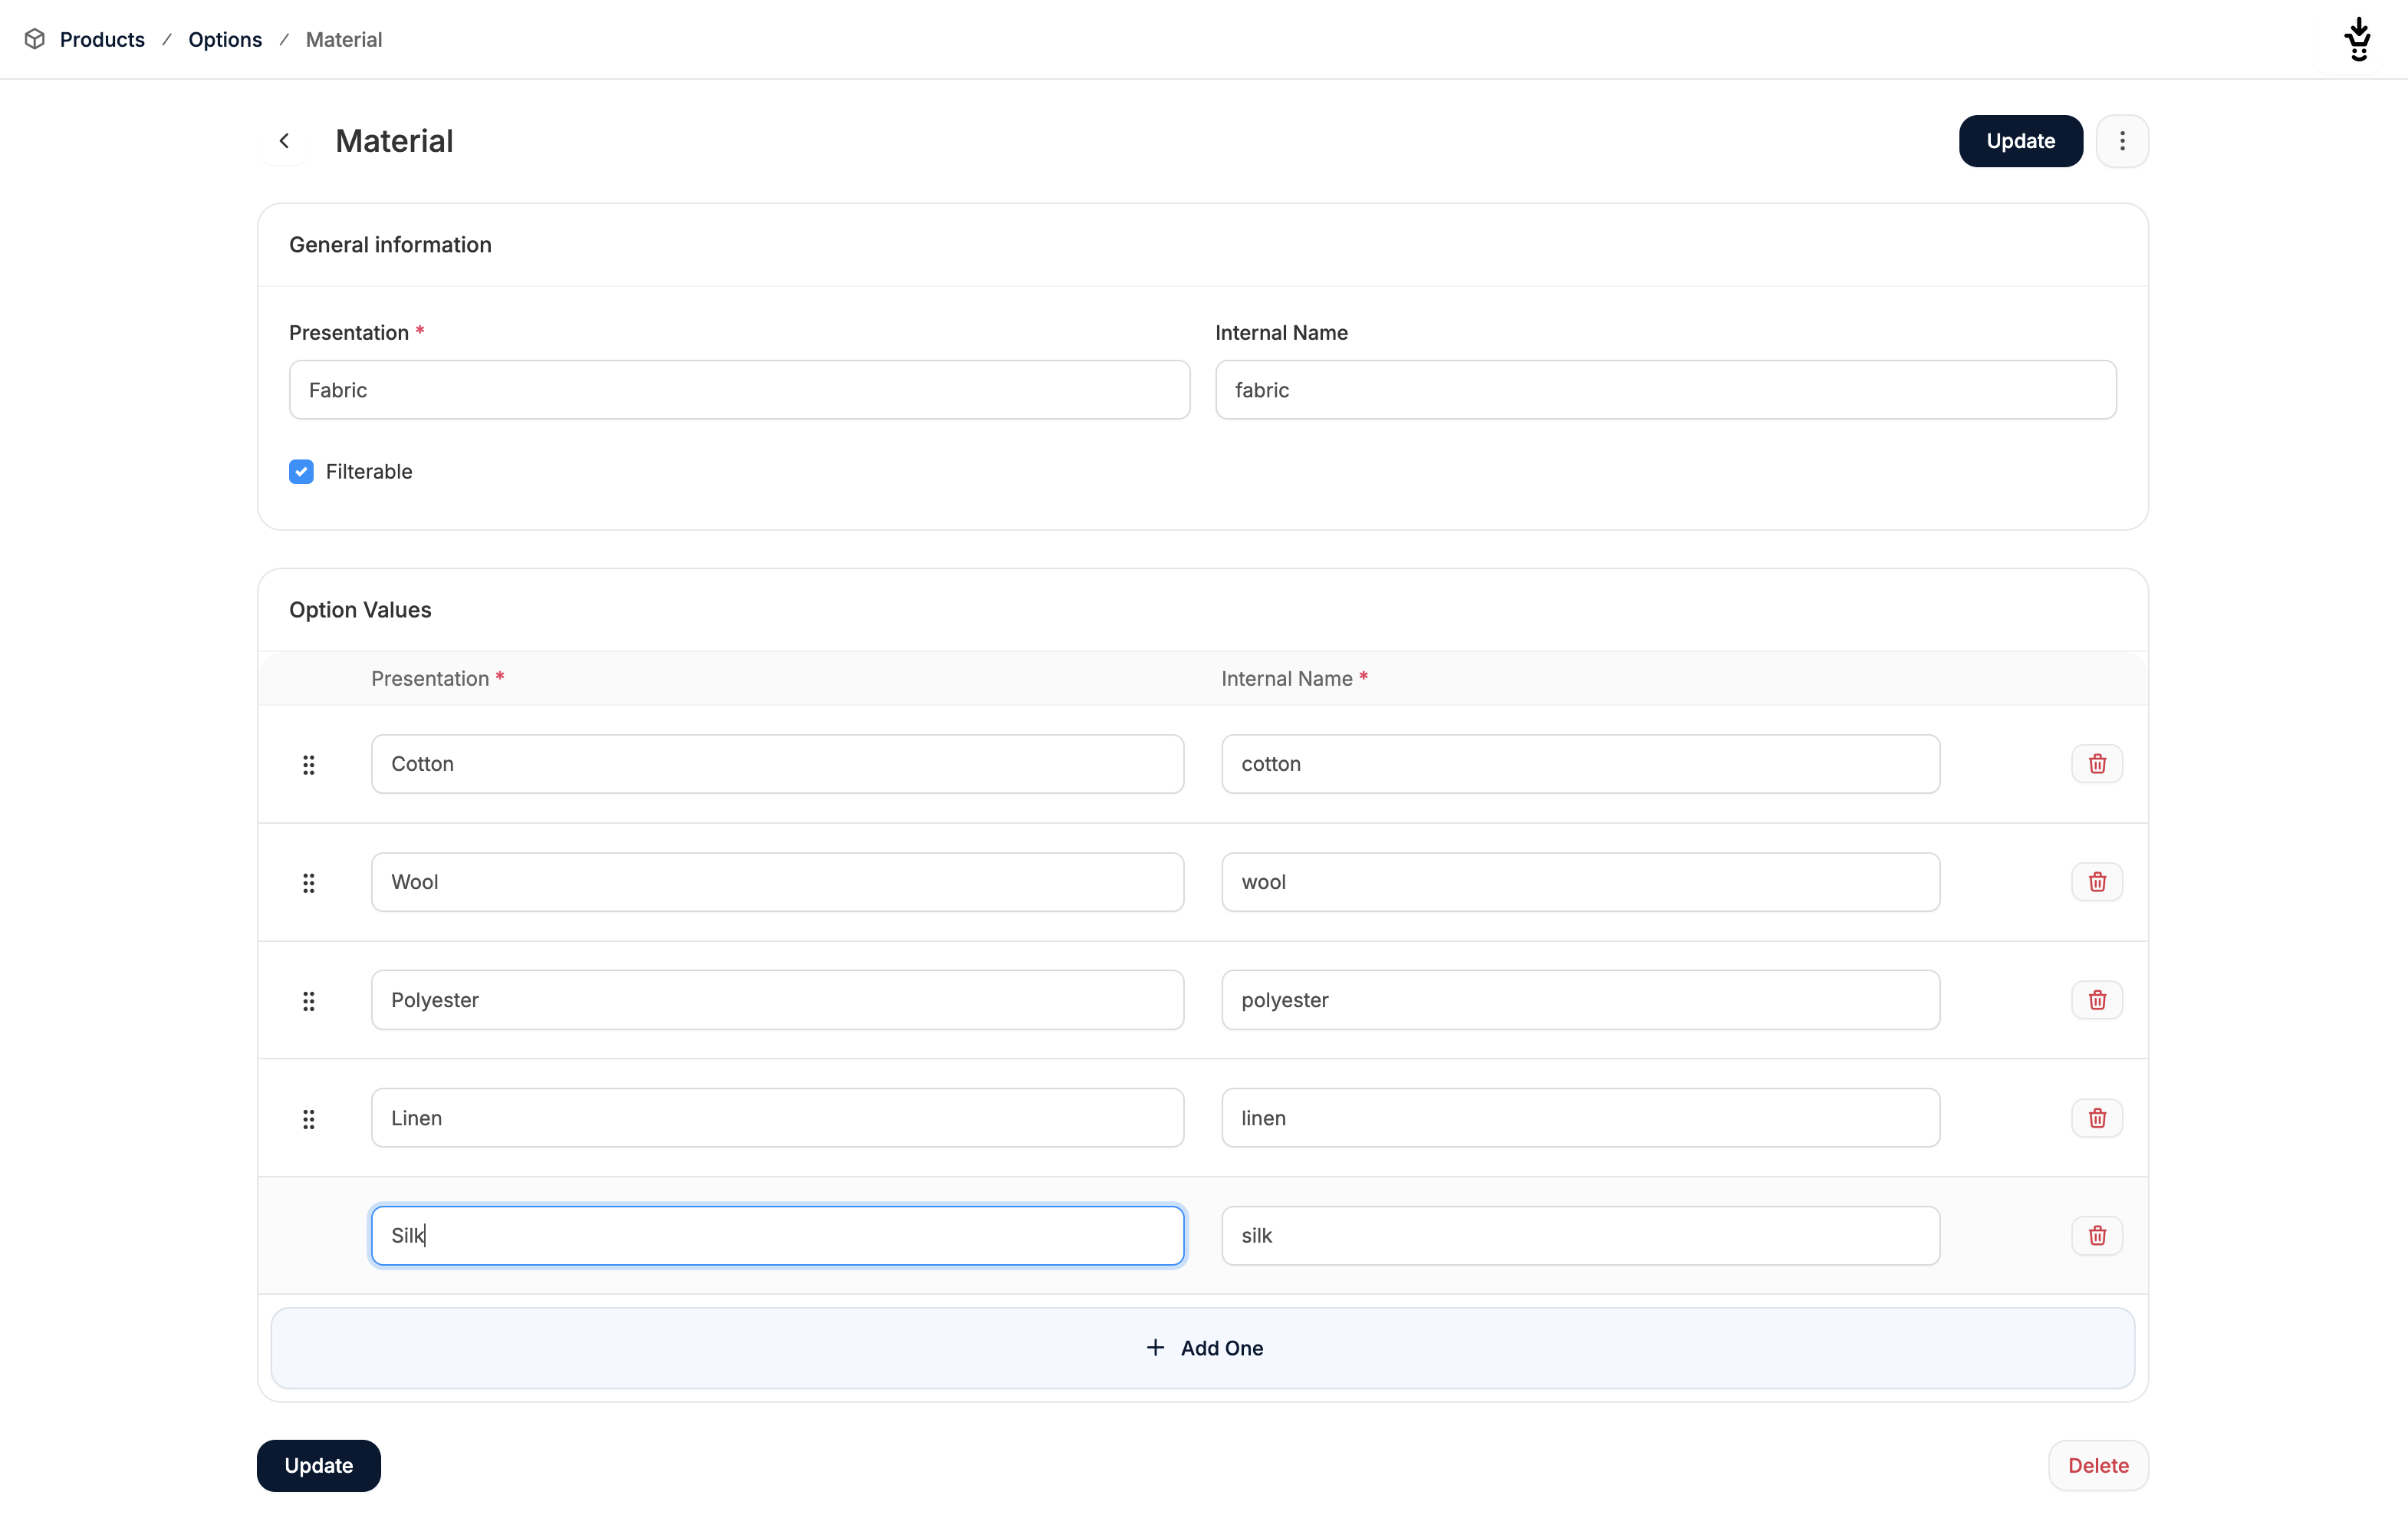 Feel free to change the Presentation Name, Internal Name, check or uncheck the Filterable box, and add or remove Option Values.
Make sure to click Update to save your changes.
Feel free to change the Presentation Name, Internal Name, check or uncheck the Filterable box, and add or remove Option Values.
Make sure to click Update to save your changes.
Delete Options
To delete an Option, navigate to the Options tab, and click Edit on the option you’d like to delete.
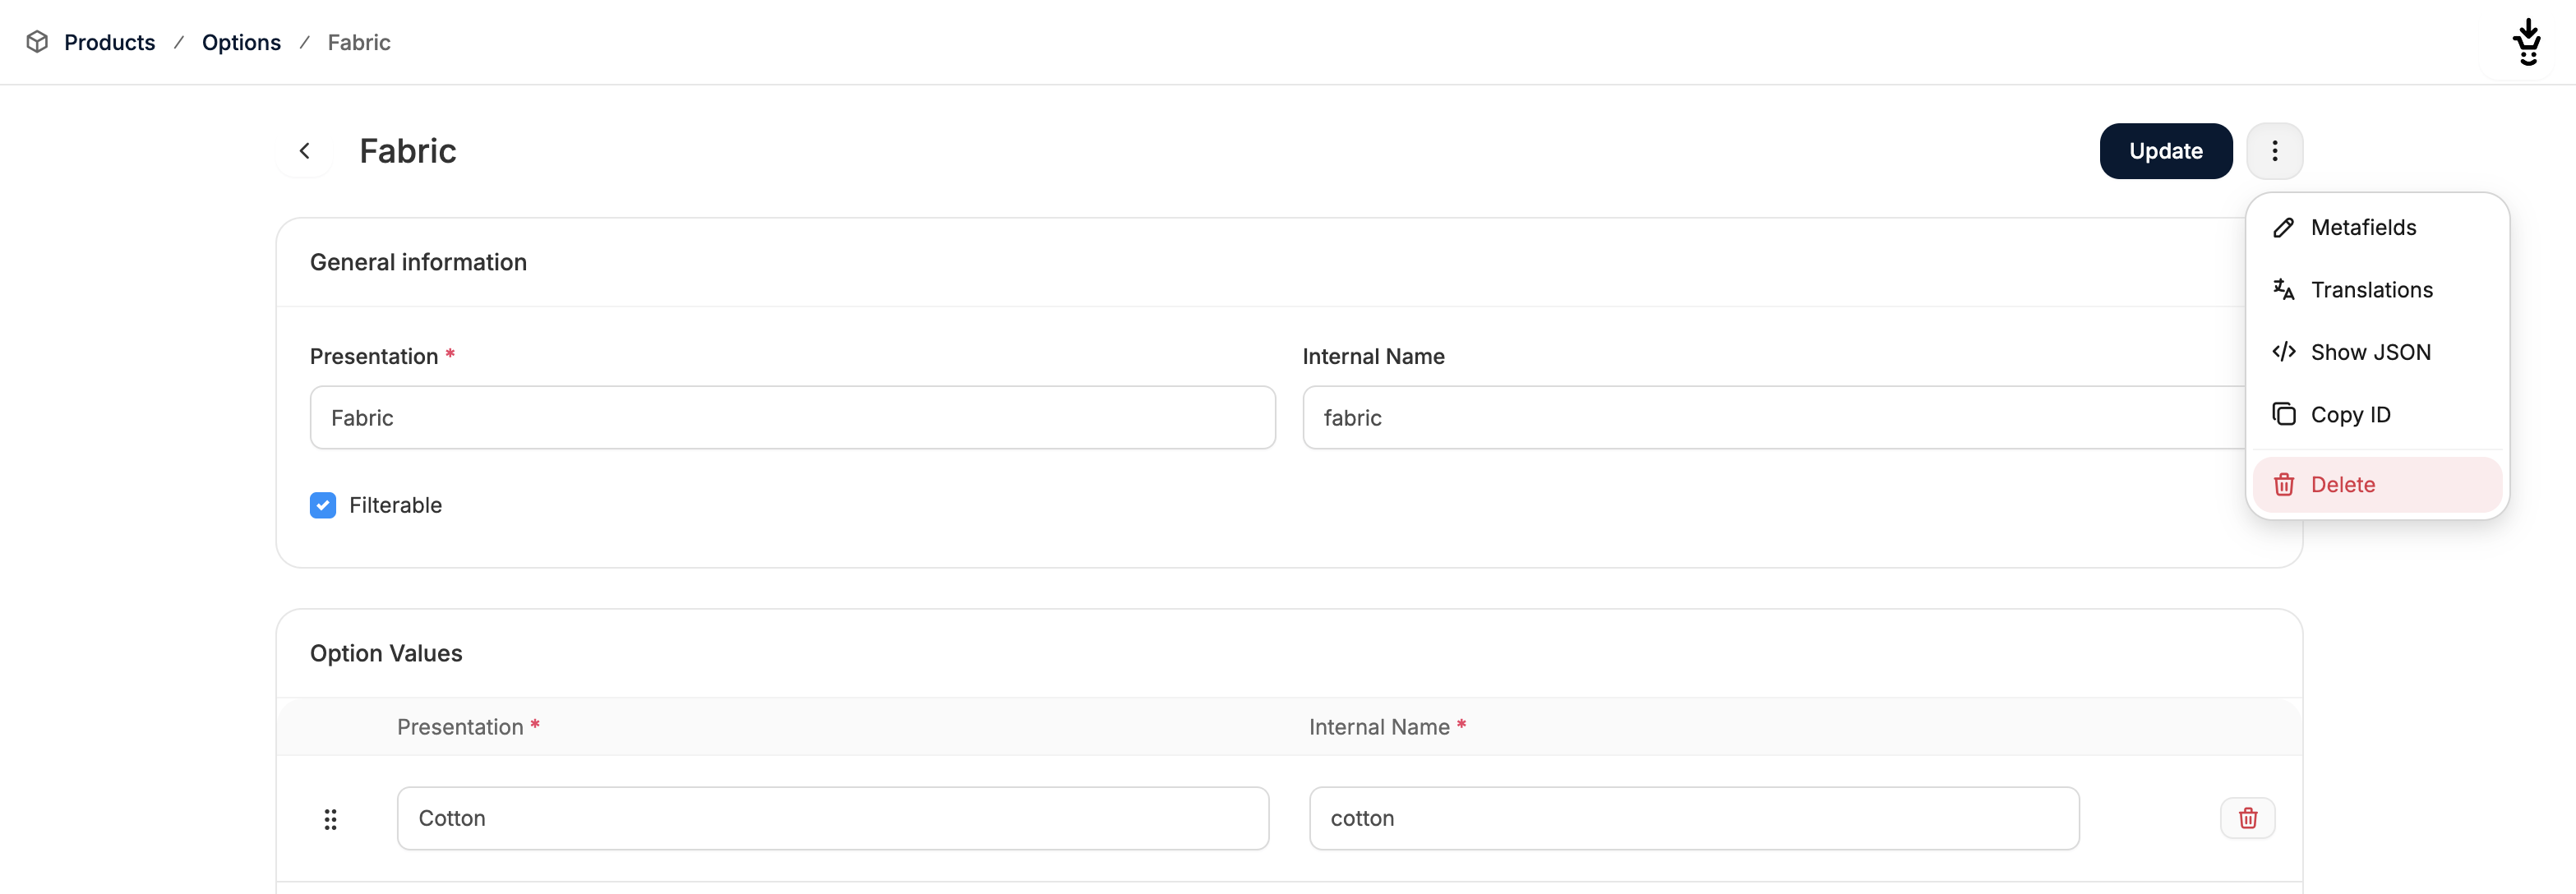 Click on Delete, found in the 3-dot menu at the top of the page, and the Option will be deleted.
Import Options
Option Values can be automatically imported if you add the appropriate values to the Option columns in a product import file.
To learn more about imports, please refer to the Product Import support article.
Real-Life Examples: Product Options
These powerful features work together to make products more discoverable, appealing, and purchase-ready for customers.
Let’s dive deep into how these tools can revolutionize your product presentation and drive better business outcomes:
- Understanding Product Options: The Power of Choice
- Bringing It All Together in Spree 5
- Next Steps