Stock transfers allow you to move inventory between stock locations - a critical feature for multi-warehouse operations. This helps keep inventory balanced across your network, improves fulfillment speed, and reduces shipping costs by positioning products closer to customers.
Before you can create stock transfers, you must first set up additional stock locations.
See: Settings → Locations. How to Create a Stock Transfer
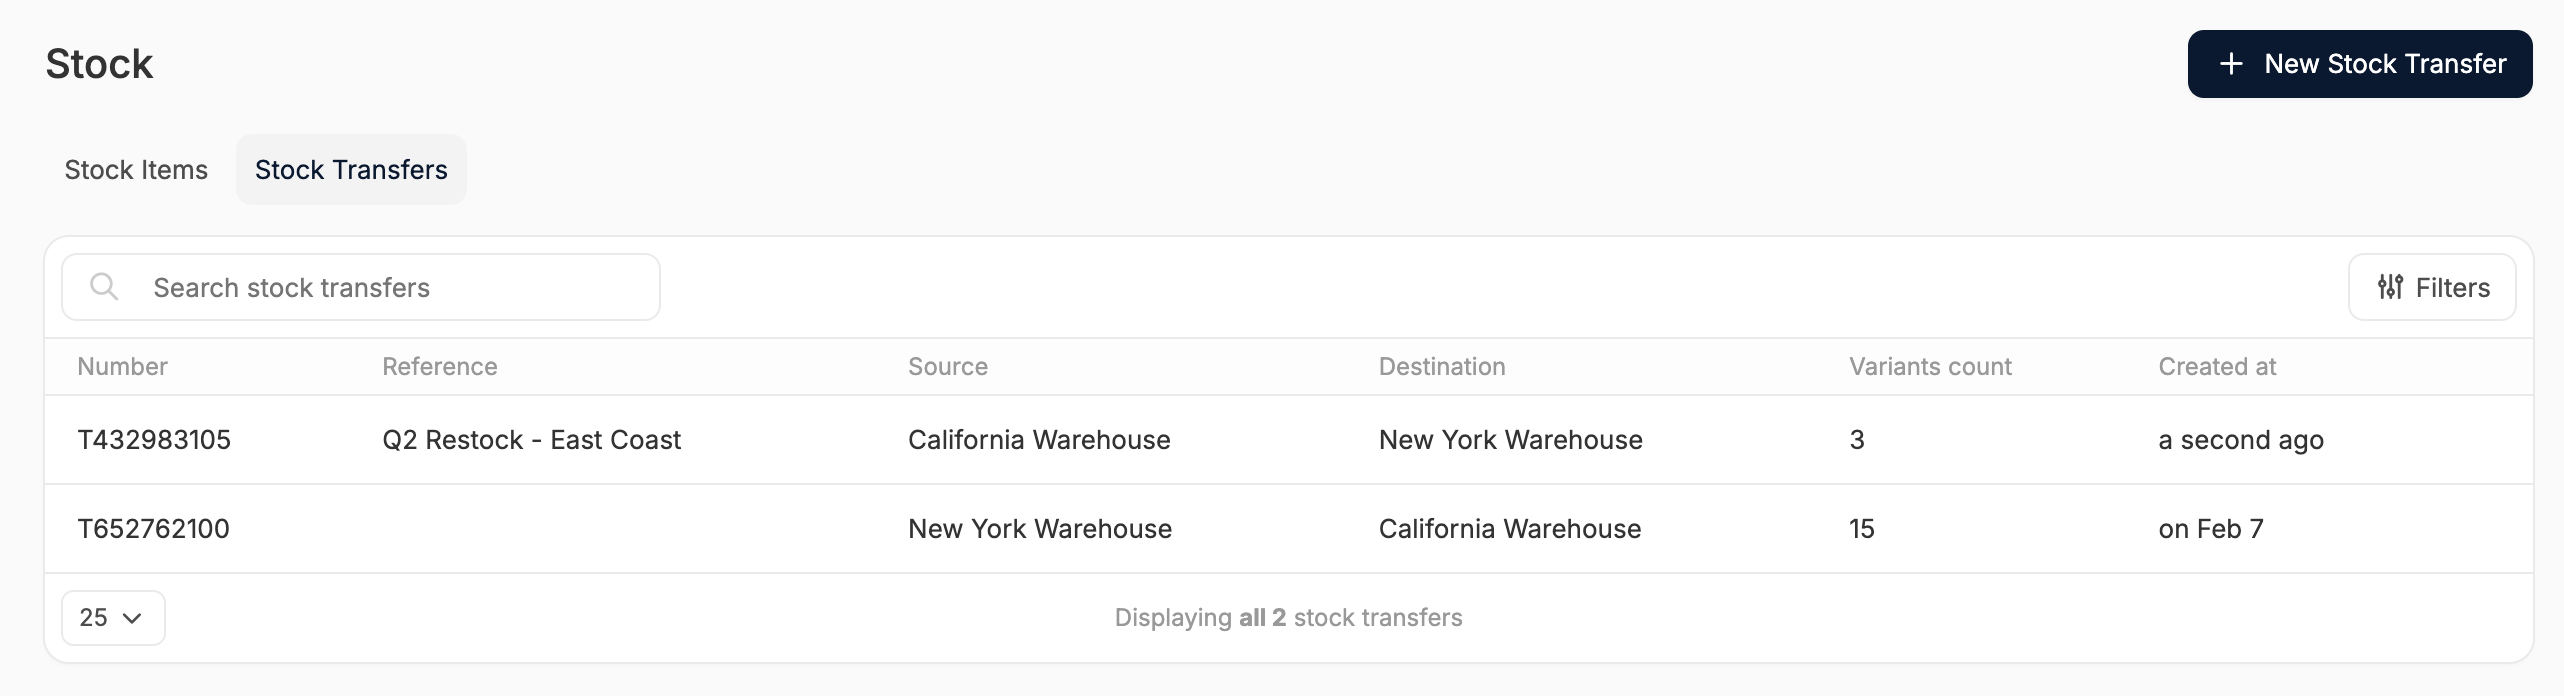
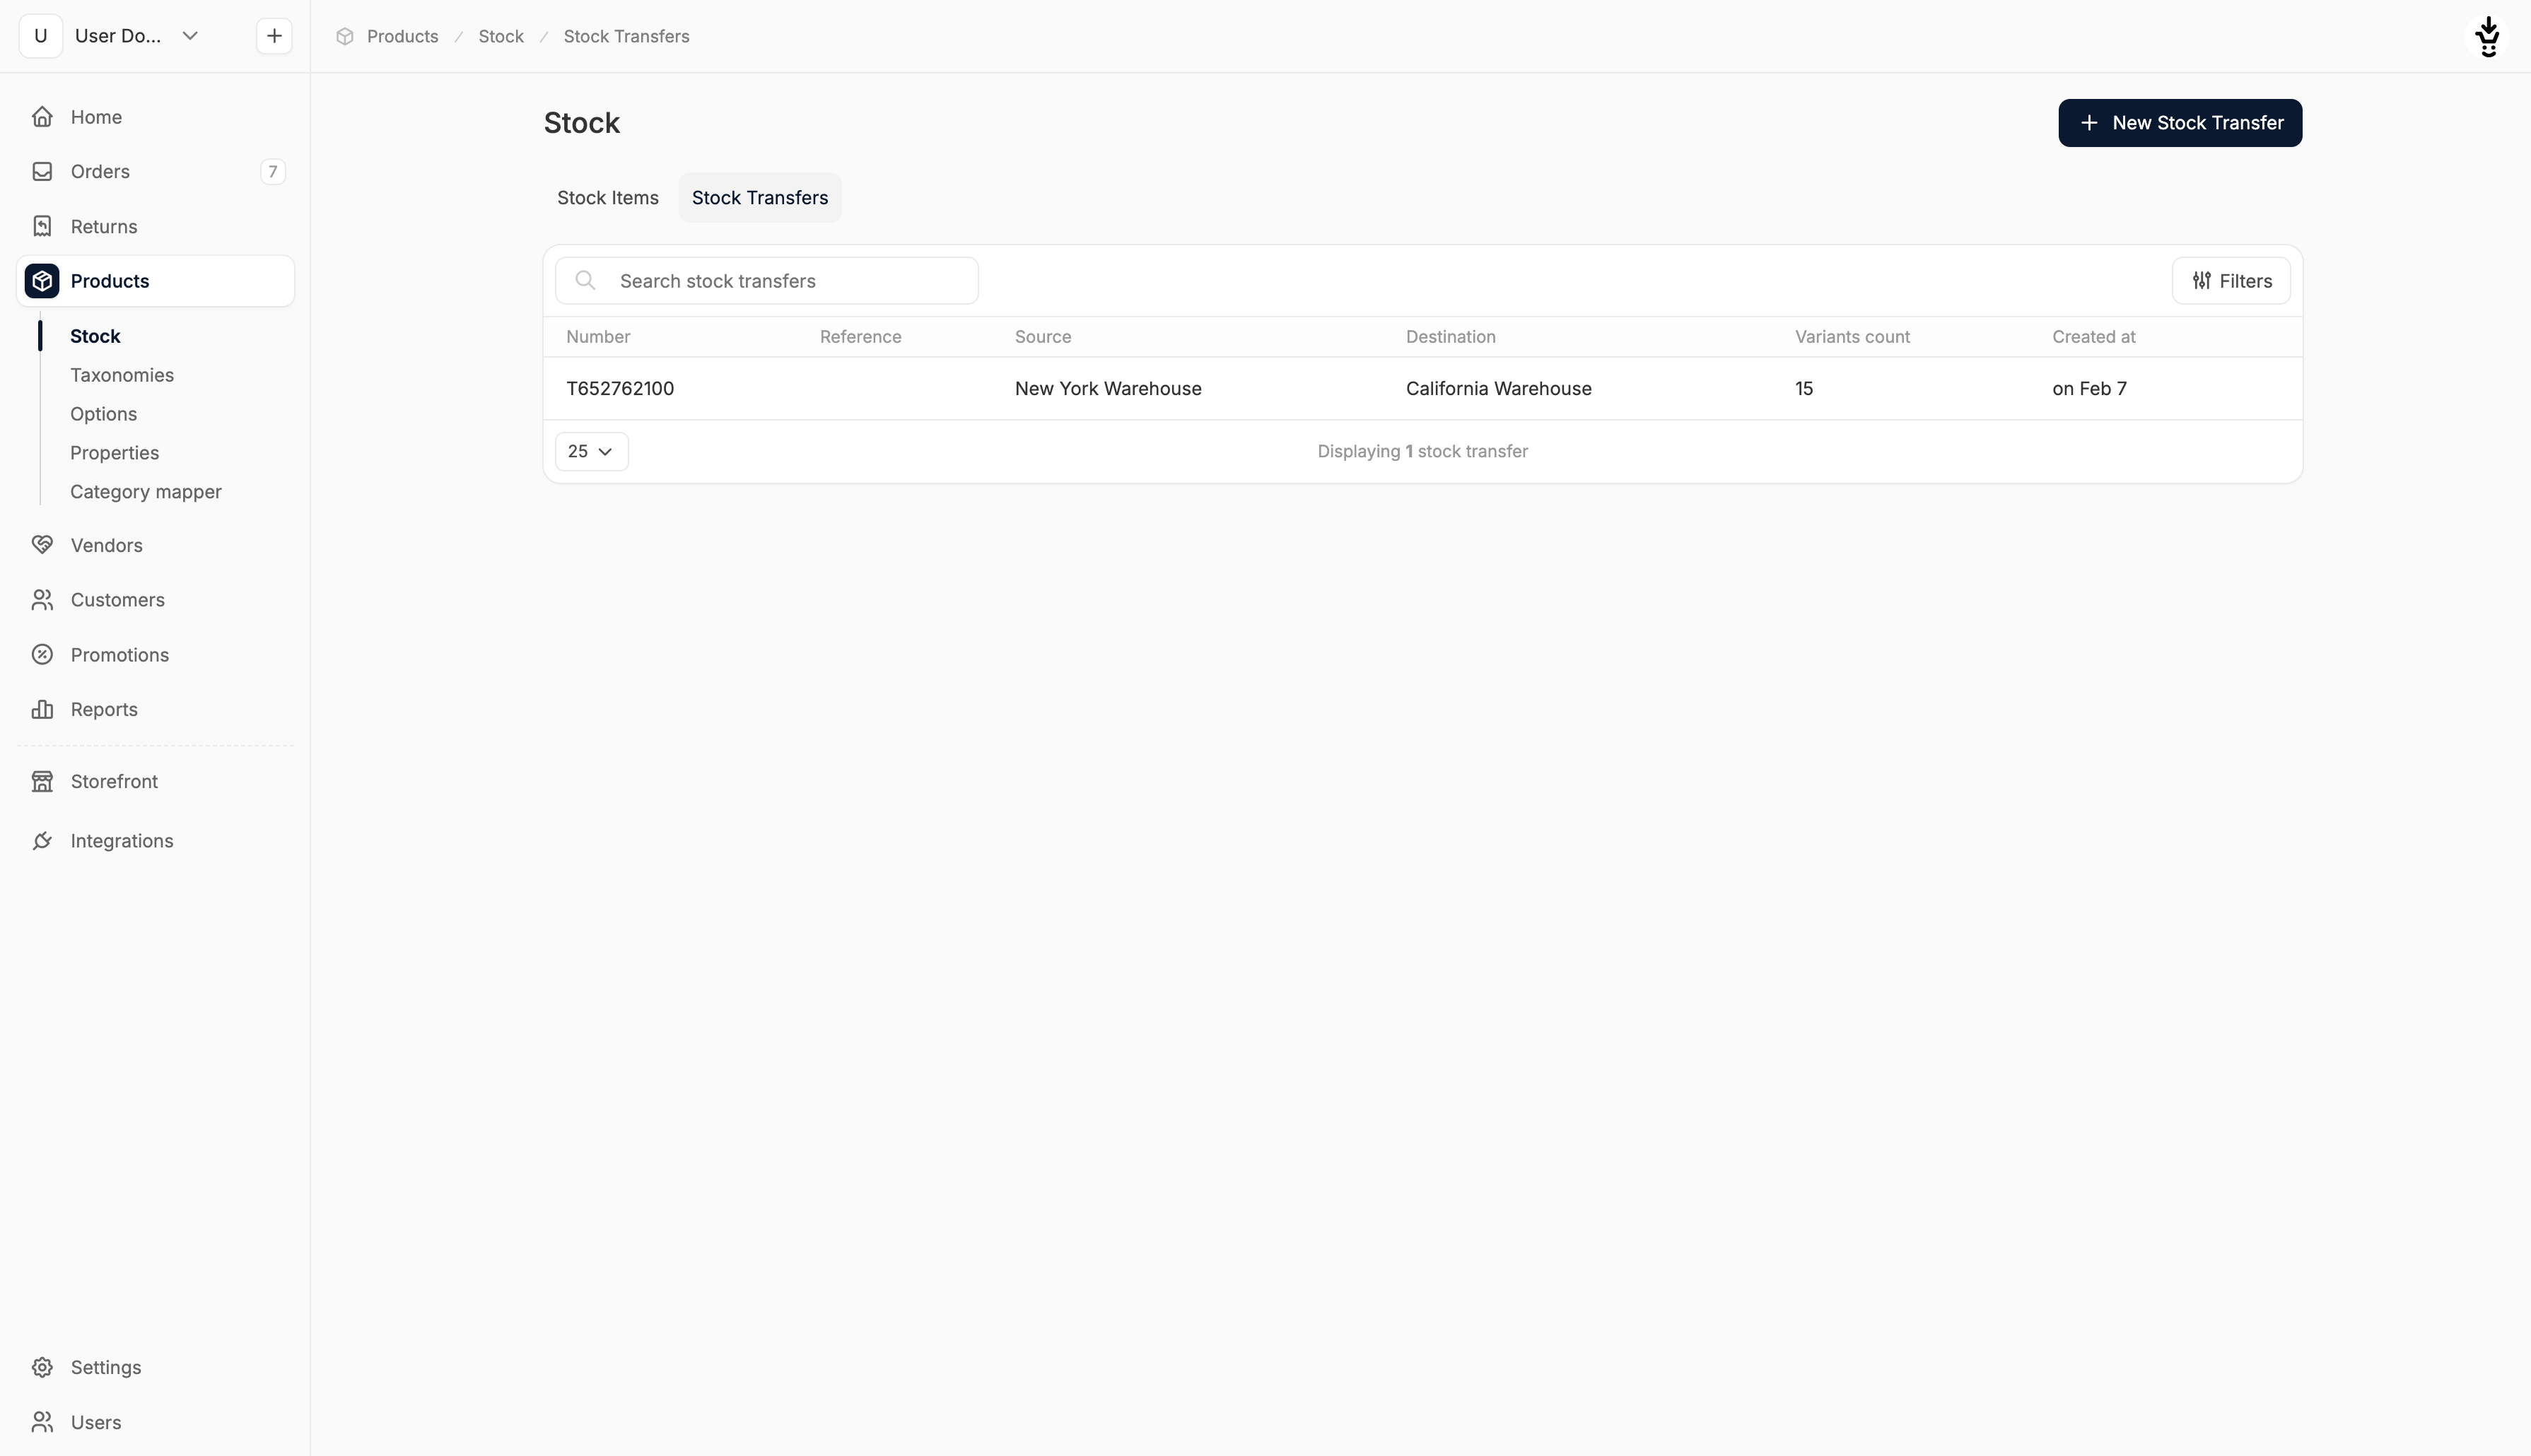
To create a new stock transfer, navigate to Products → Stock → Stock Transfers.
 Click New Stock Transfer in the top-right corner, and you’ll be redirected to the stock transfer creation form.
 Here you’ll see two distinct sections that allow you to:
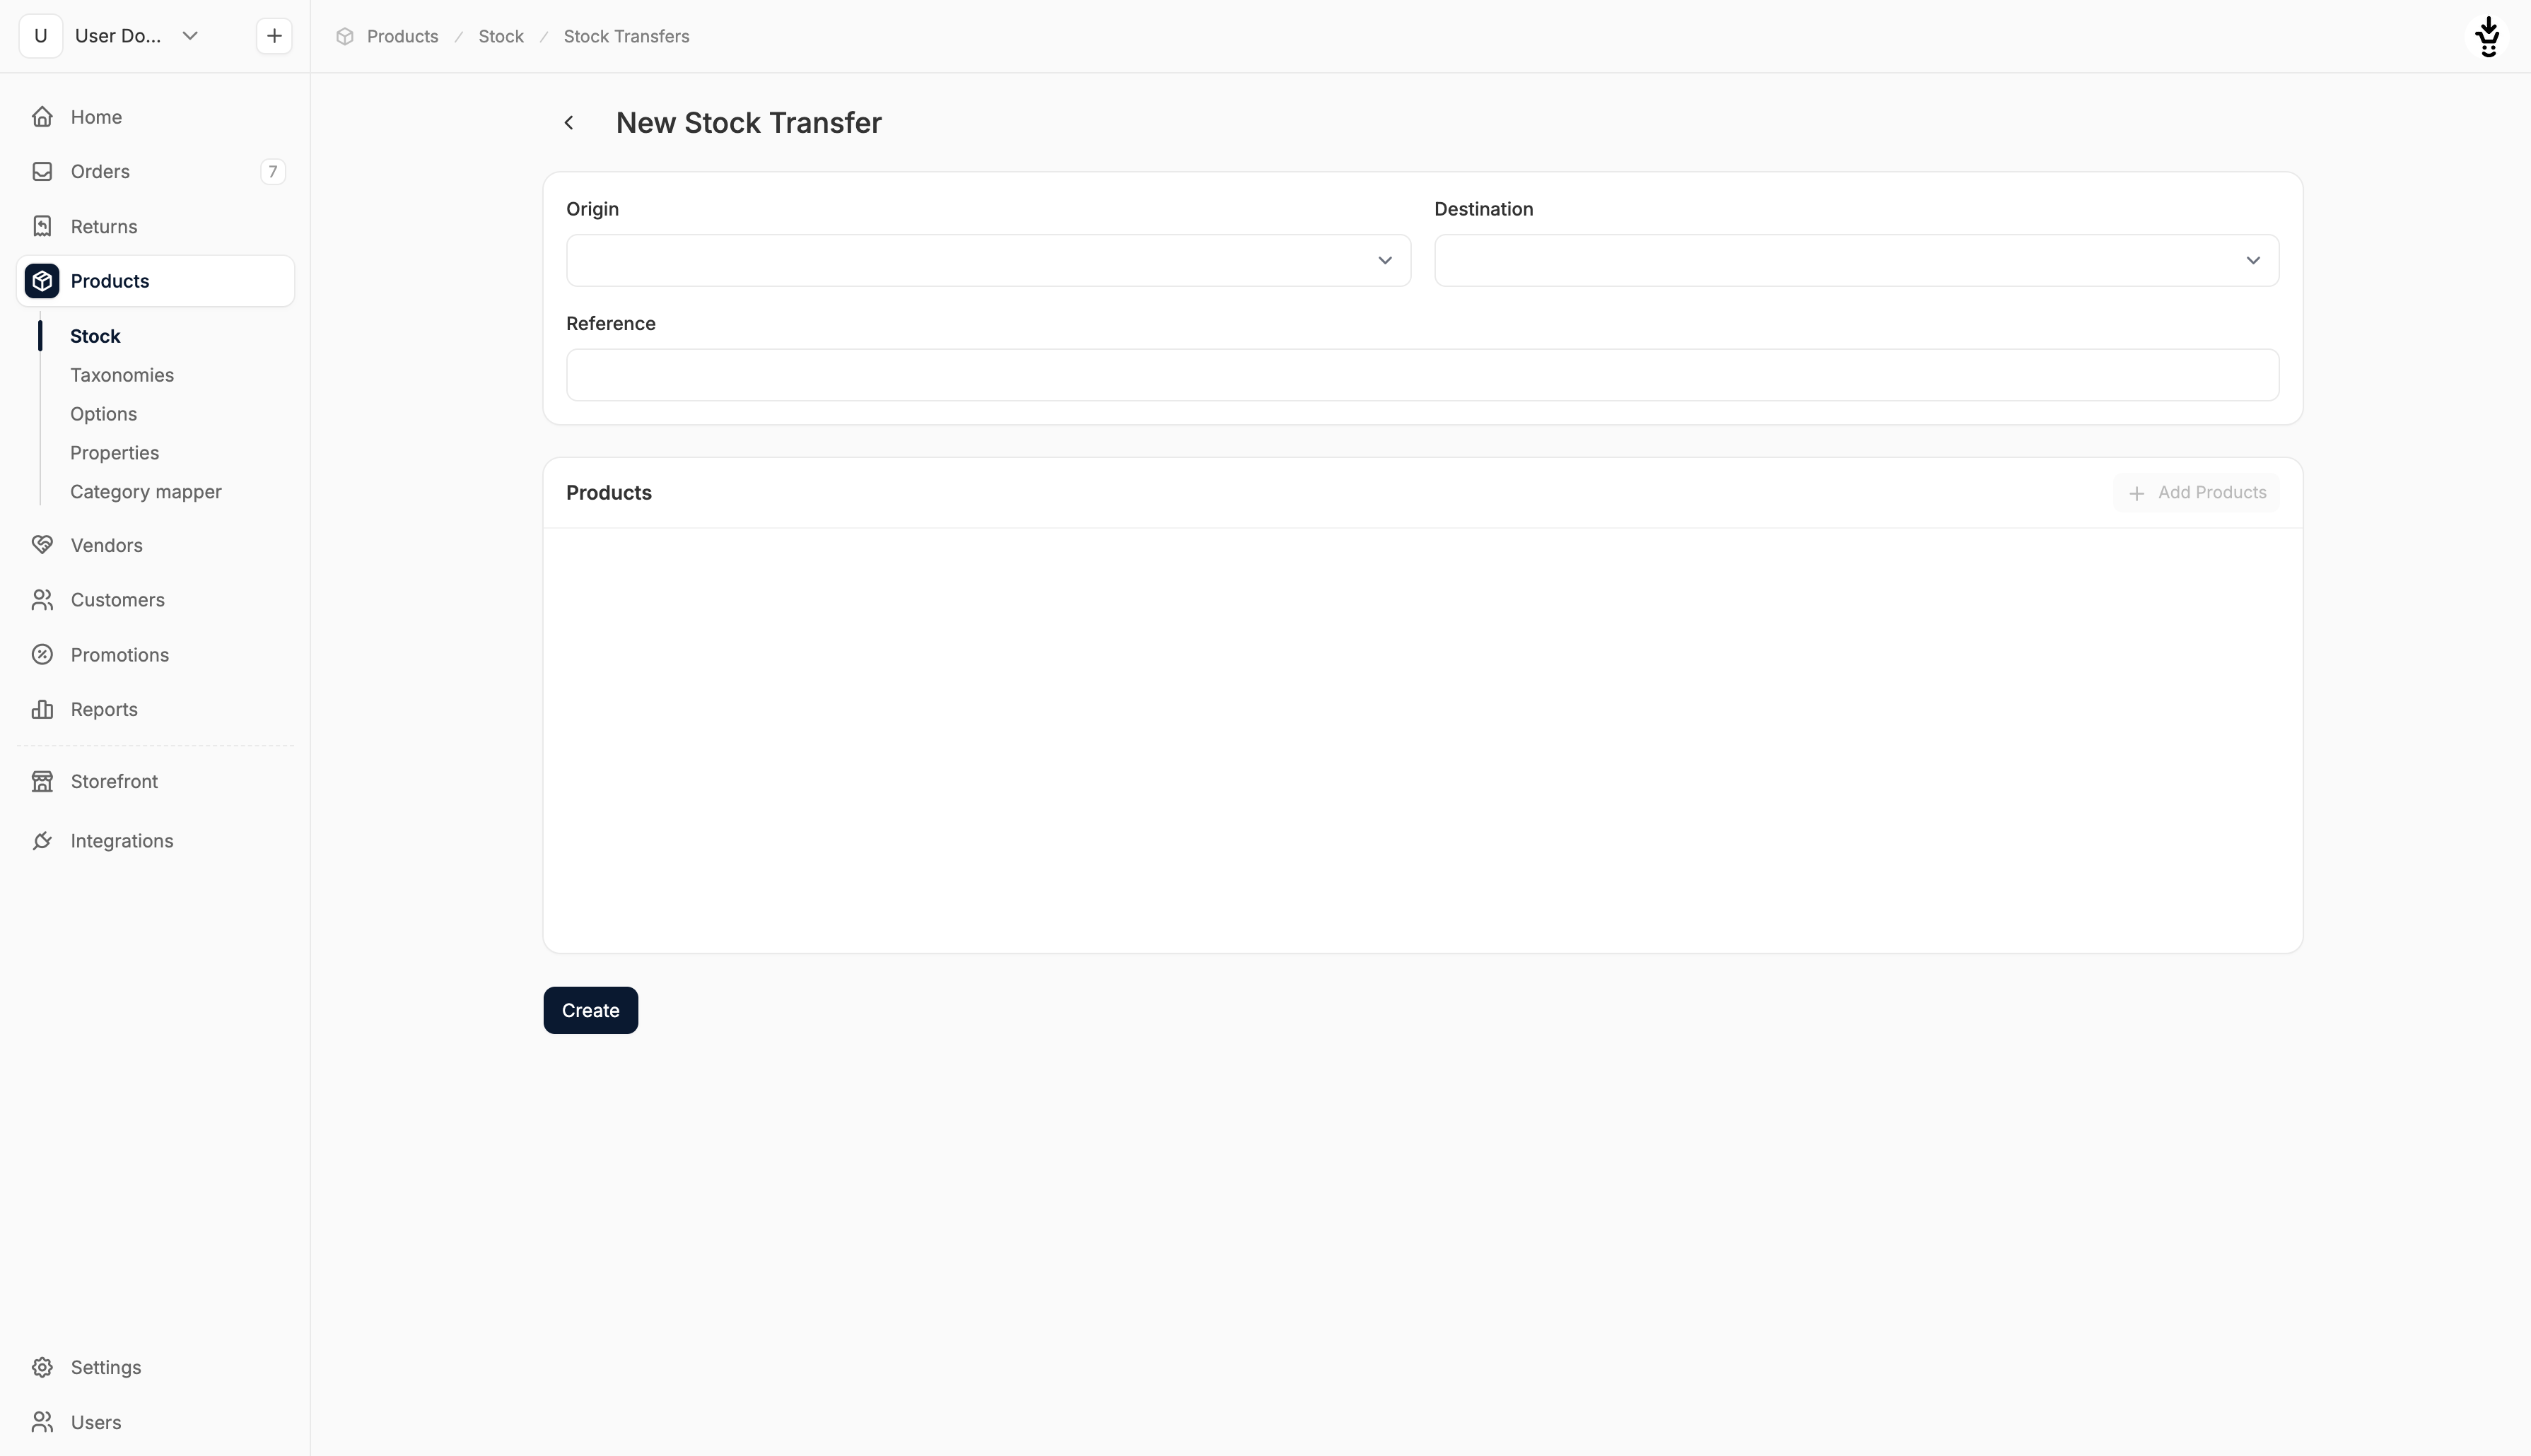
 At the top of the form, you can specify the details of the stock transfer:
- Origin Location: Select the warehouse the stock will be transferred from
- Destination Location: Select the warehouse the stock will be transferred to
- Reference (optional): Add a label or note to help identify the transfer (e.g., Q2 Restock - East Coast)
Add Products to the Transfer
 At the bottom of the form, you can add the products to be transferred.
To do so, click + Add Products and a search window will open, allowing you to start typing a product name to find matching variants.
At the bottom of the form, you can add the products to be transferred.
To do so, click + Add Products and a search window will open, allowing you to start typing a product name to find matching variants.
 Please select a variant and then click Add selected variant to add it to the stock transfer.
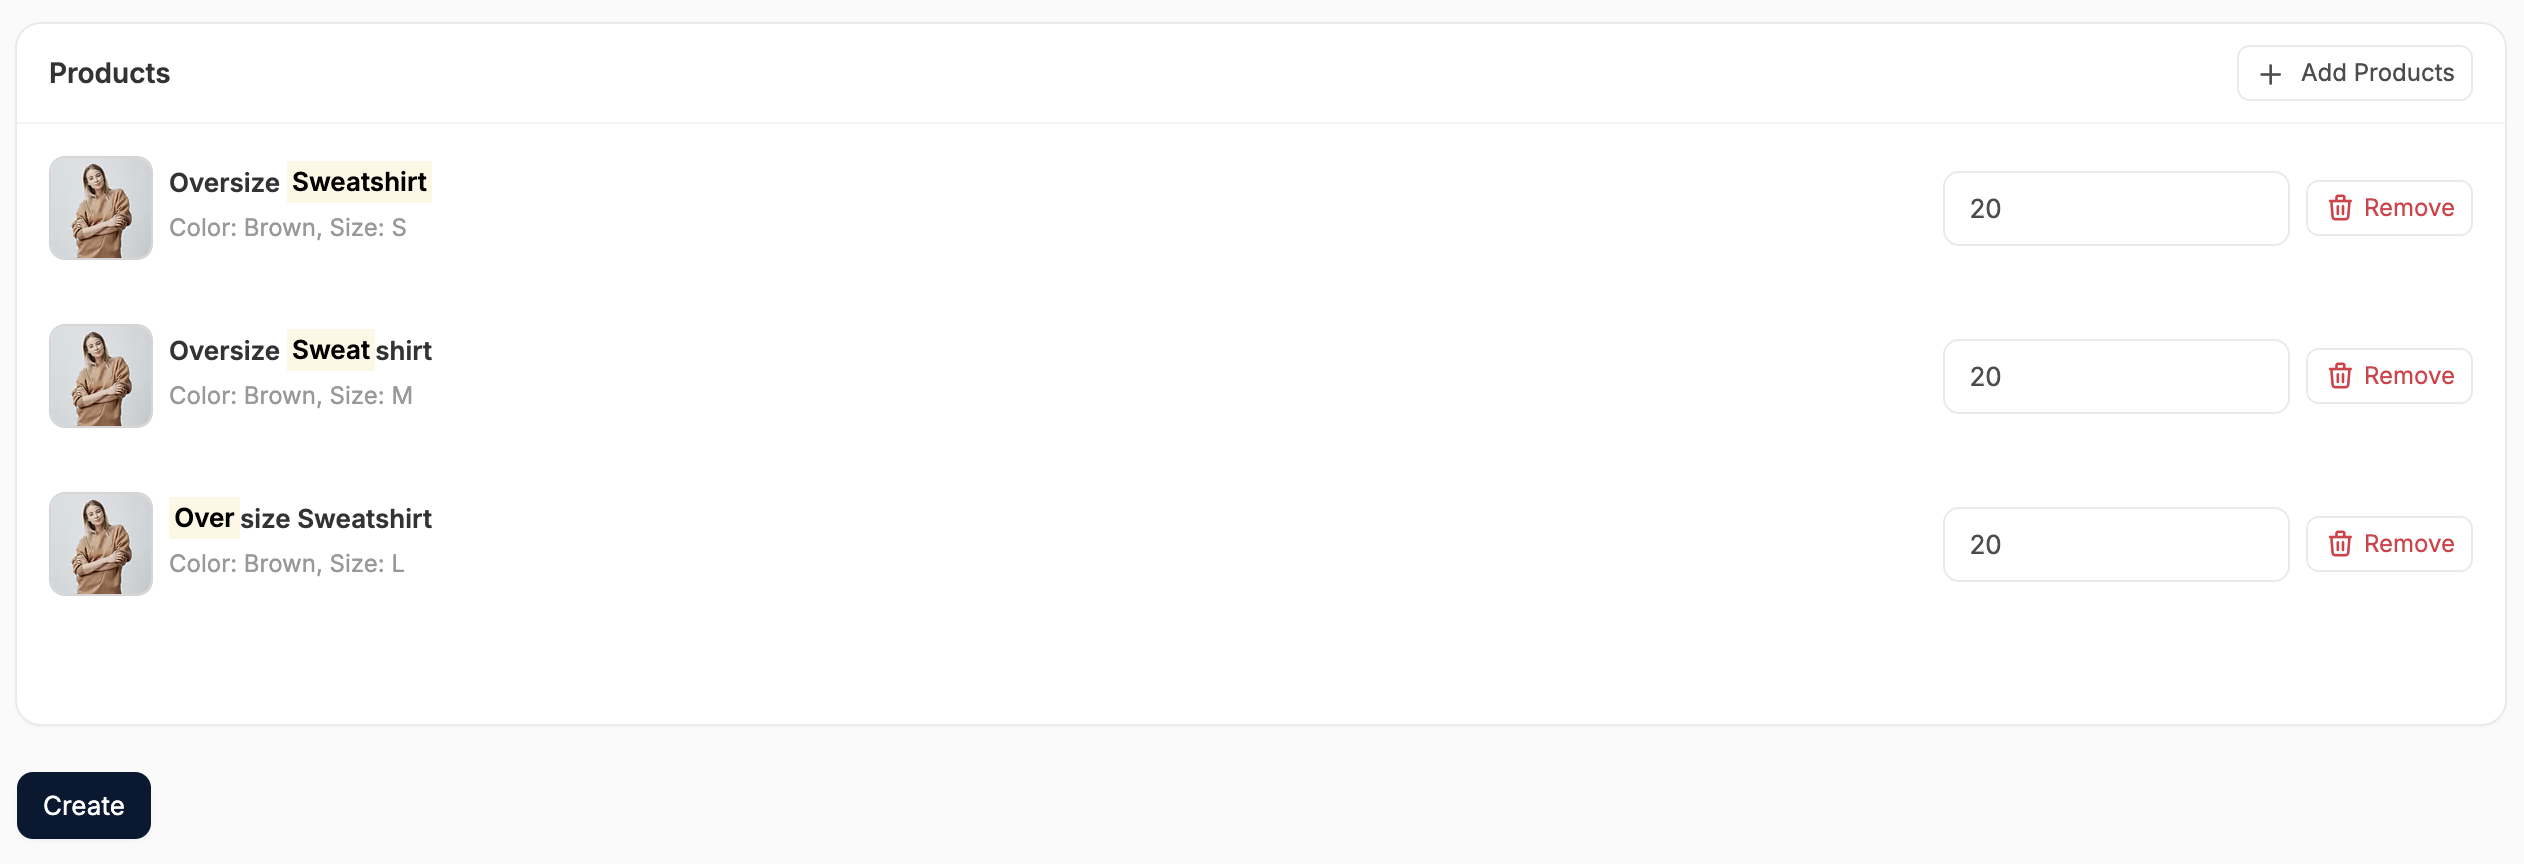 Now simply enter the number of units to be transferred for each variant.
You can only transfer quantities that are currently in stock at the origin location.
Finalize the Transfer
When you’re ready:
- Review the details
- Click Create to process the transfer
The inventory counts at each location will be updated immediately to reflect the transfer (assuming the physical movement of stock has already occurred) and a record of the transfer will be added to the Stock Transfers tab.