Overview
Render is a Platform as a Service that makes deploying and hosting Spree applications super easy. Spree Starter is pre-configured to work with Render out of the box. It includes render.yaml file that is used to deploy the application.Prerequisites
- Render account - you will also need to add a credit card to your Render account to be able to deploy the application.
- GitHub account
Setup repository
Firstly create your own repository based on Spree Starter template. Go to Spree Starter repository and click on “Use this template” button and select “Create a new repository”.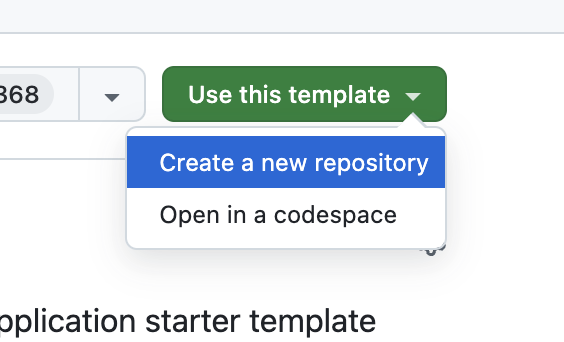
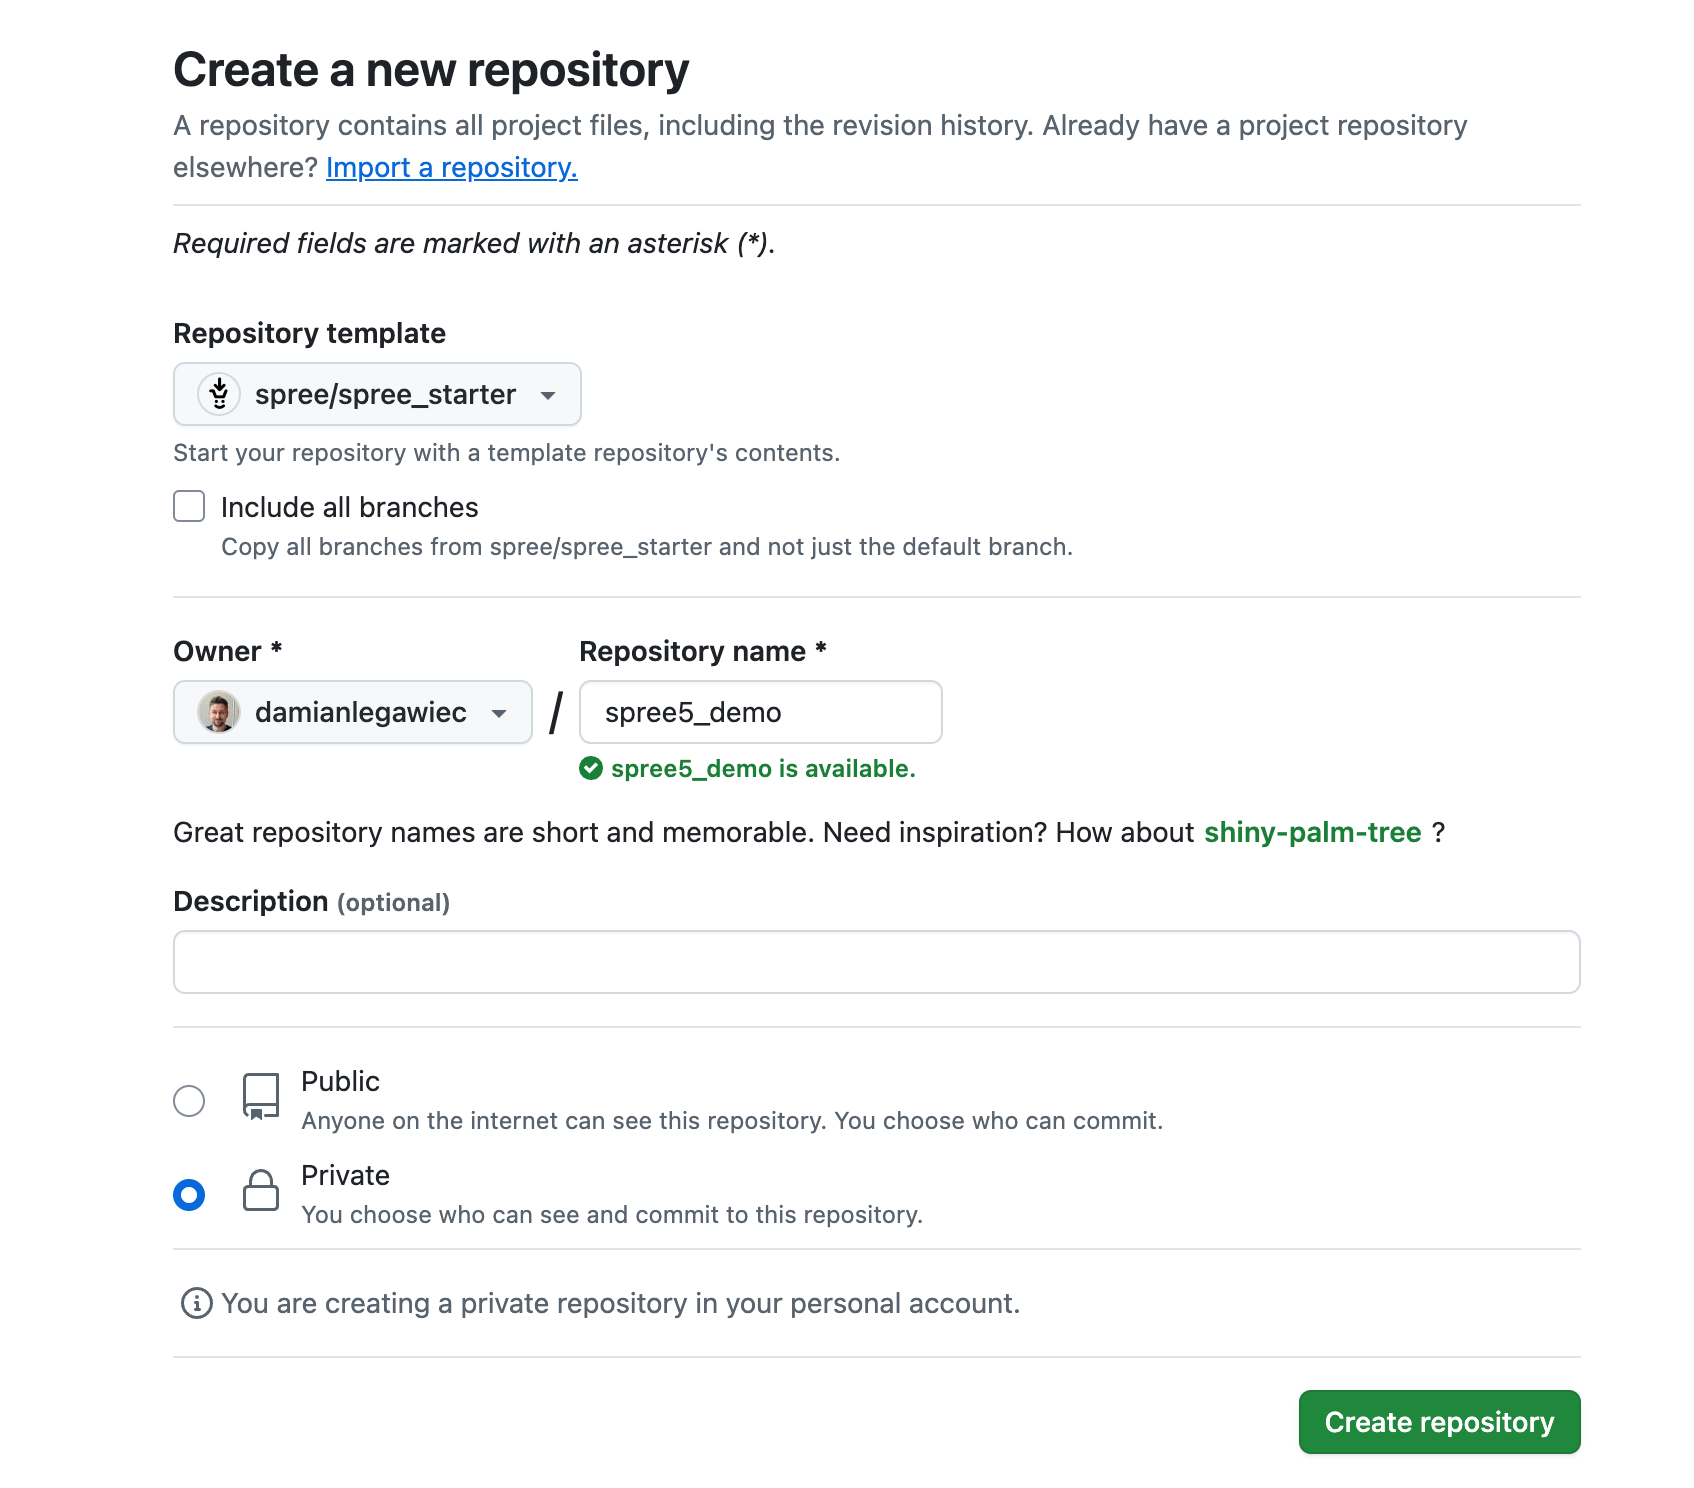
bin/setup script should set your SECRET_KEY_BASE environment variable correctly in the .env file.
Create Render account and connect your repository
Go to render.com and create an account. We recommend to use your GitHub account to sign up as it will automatically link your GitHub repositories to Render.Create Render blueprint
Render blueprints are YAML files used to deploy your application to Render. They consist a list of services that are required to run your application. In the Render dashboard select “New blueprint” from the “+New” button.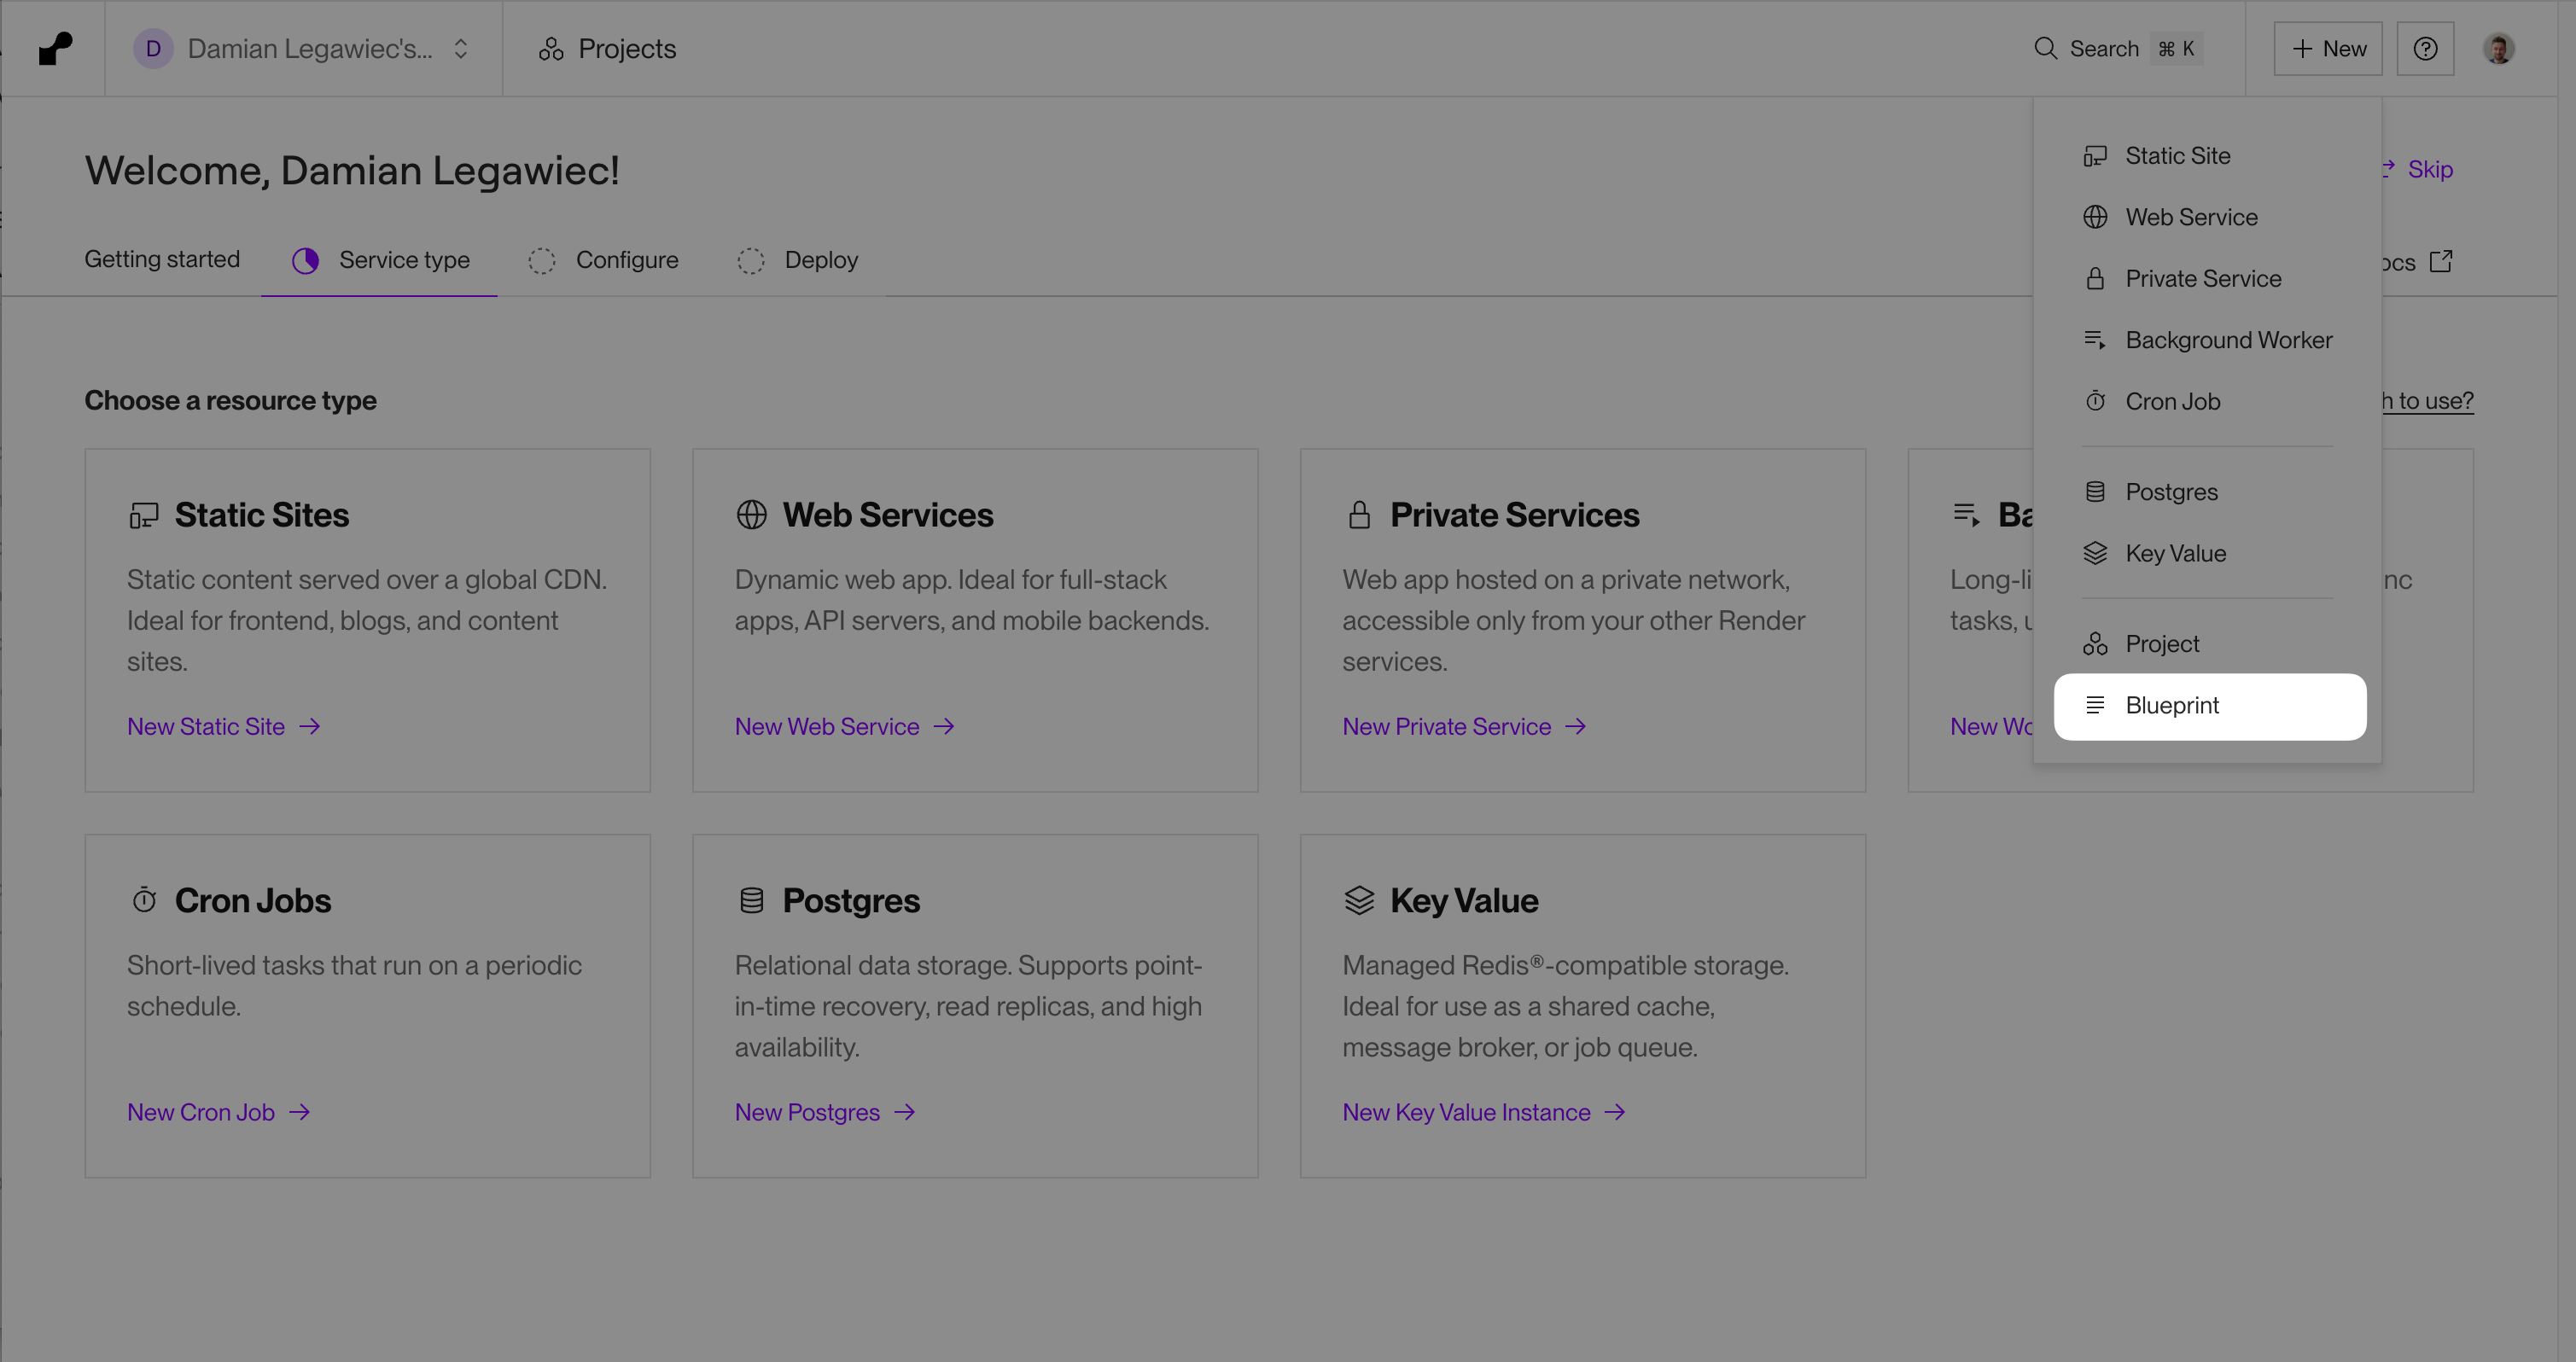
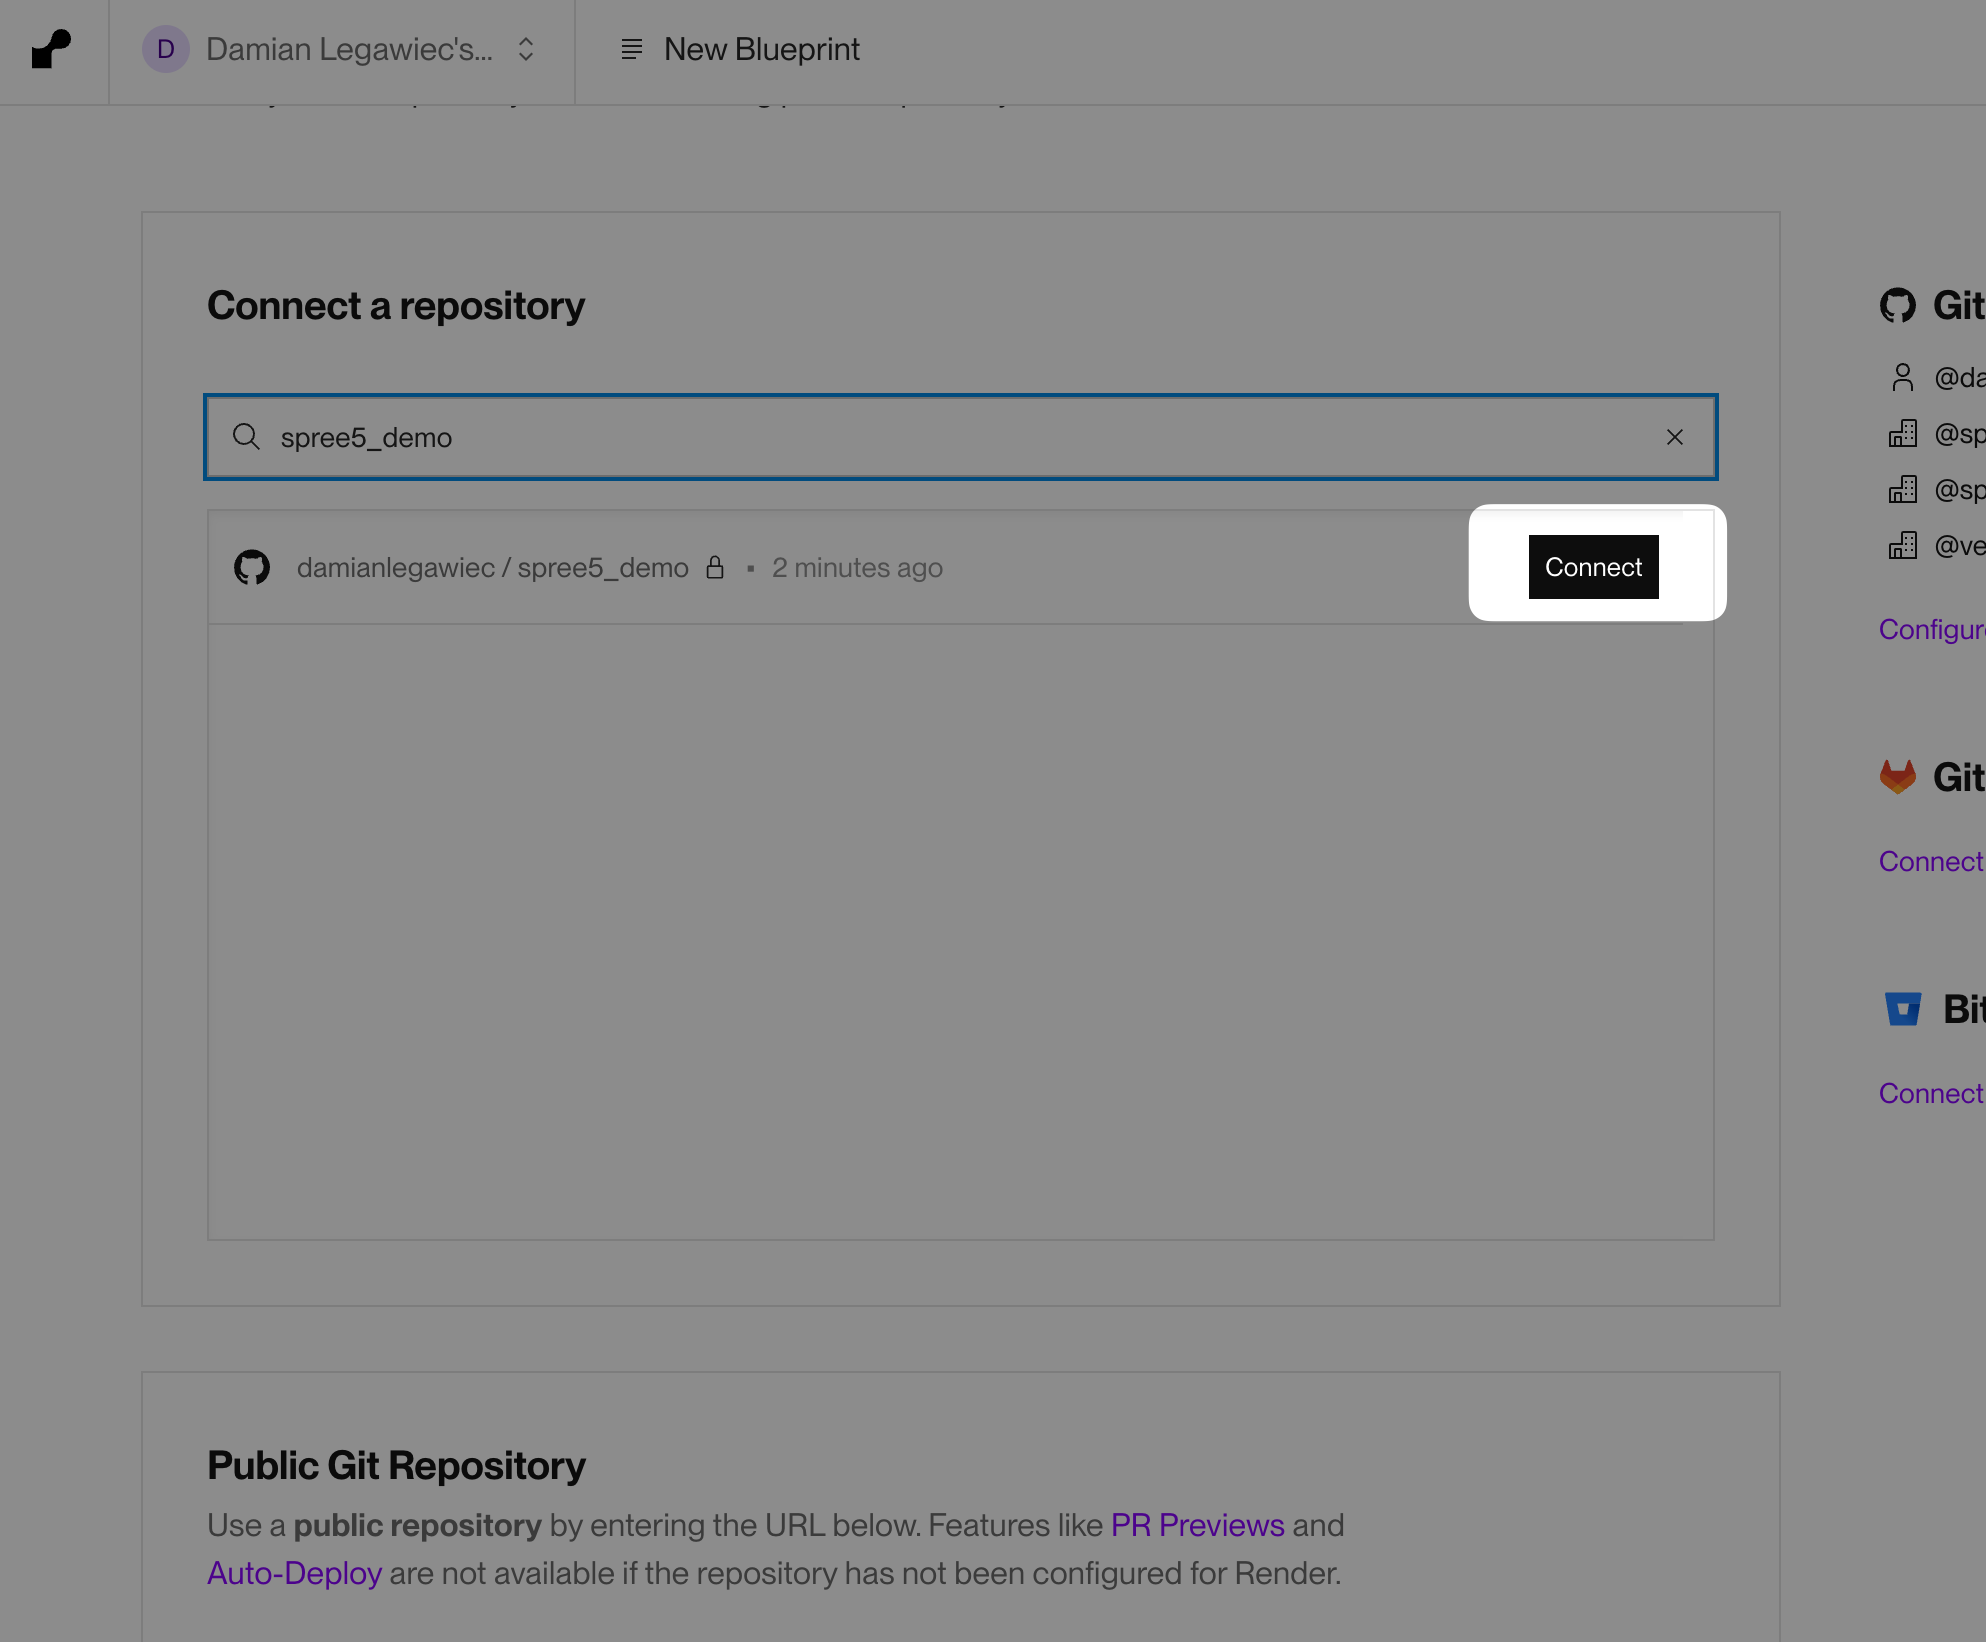
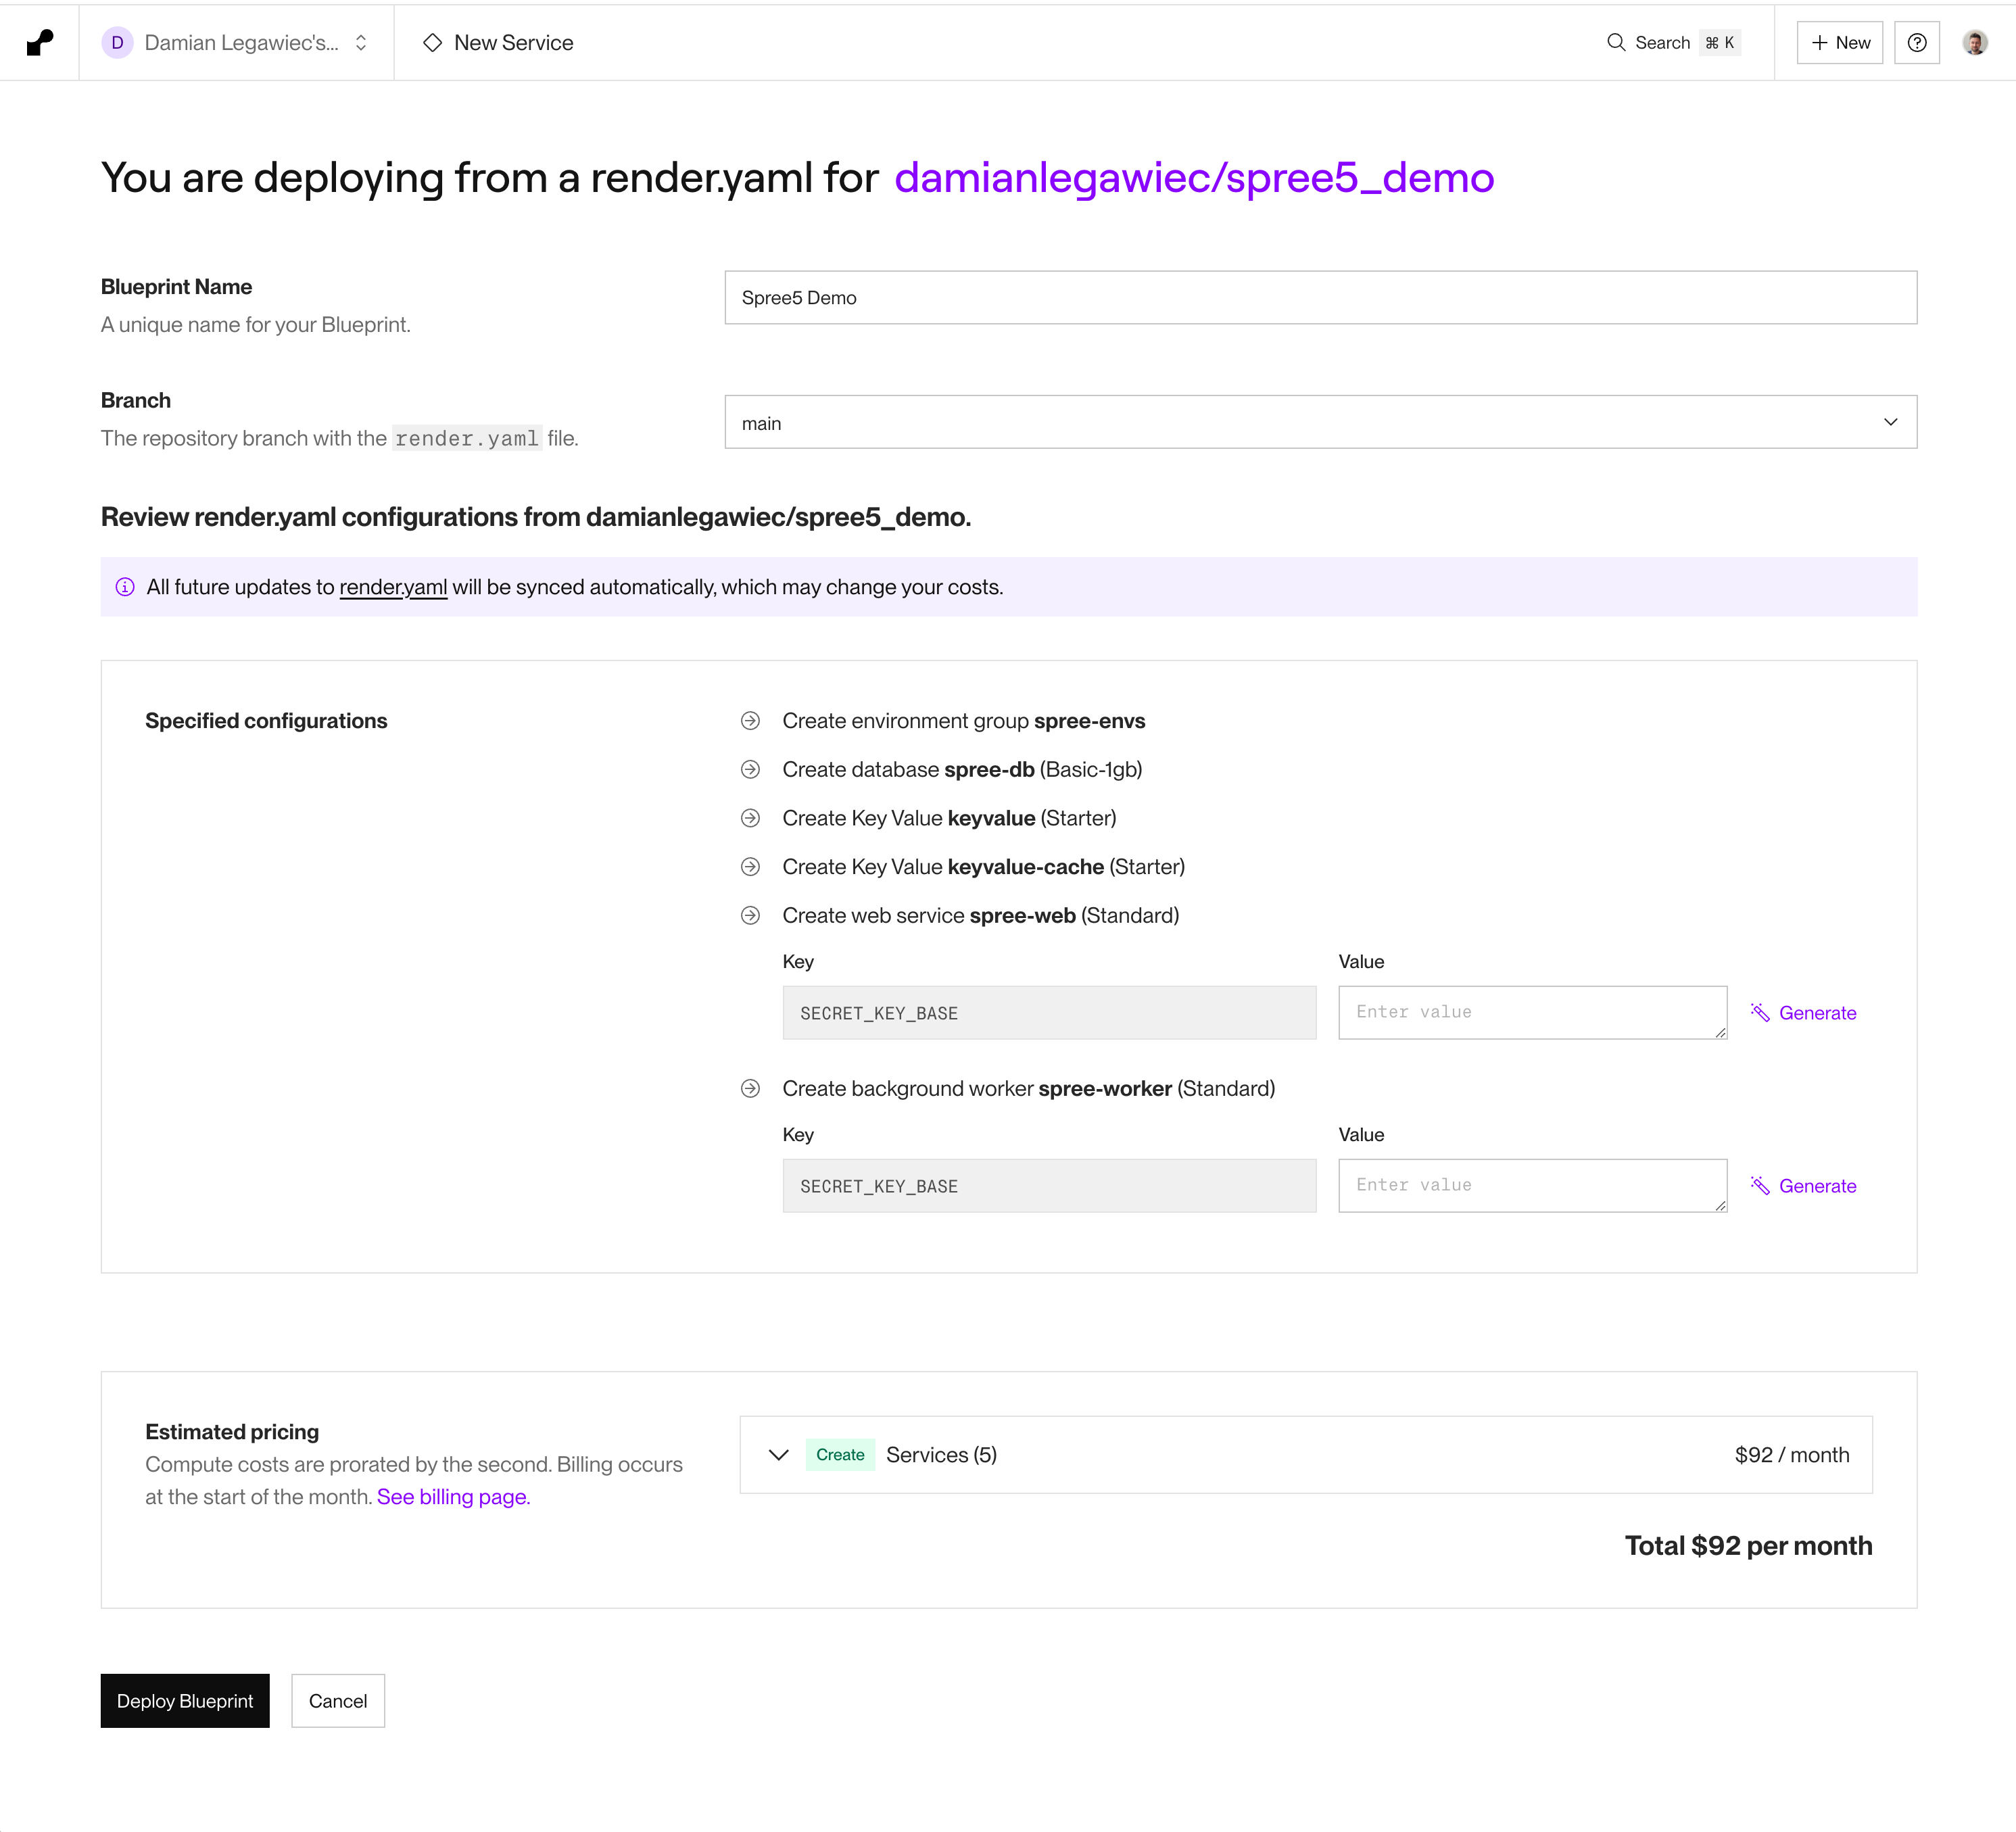
-
Set your blueprint name - eg.
Spree App -
Generate a new
SECRET_KEY_BASEvalue. -
Paste it to the
SECRET_KEY_BASEenvironment variable for bothwebandworkerservices (it needs to be the same value for both).
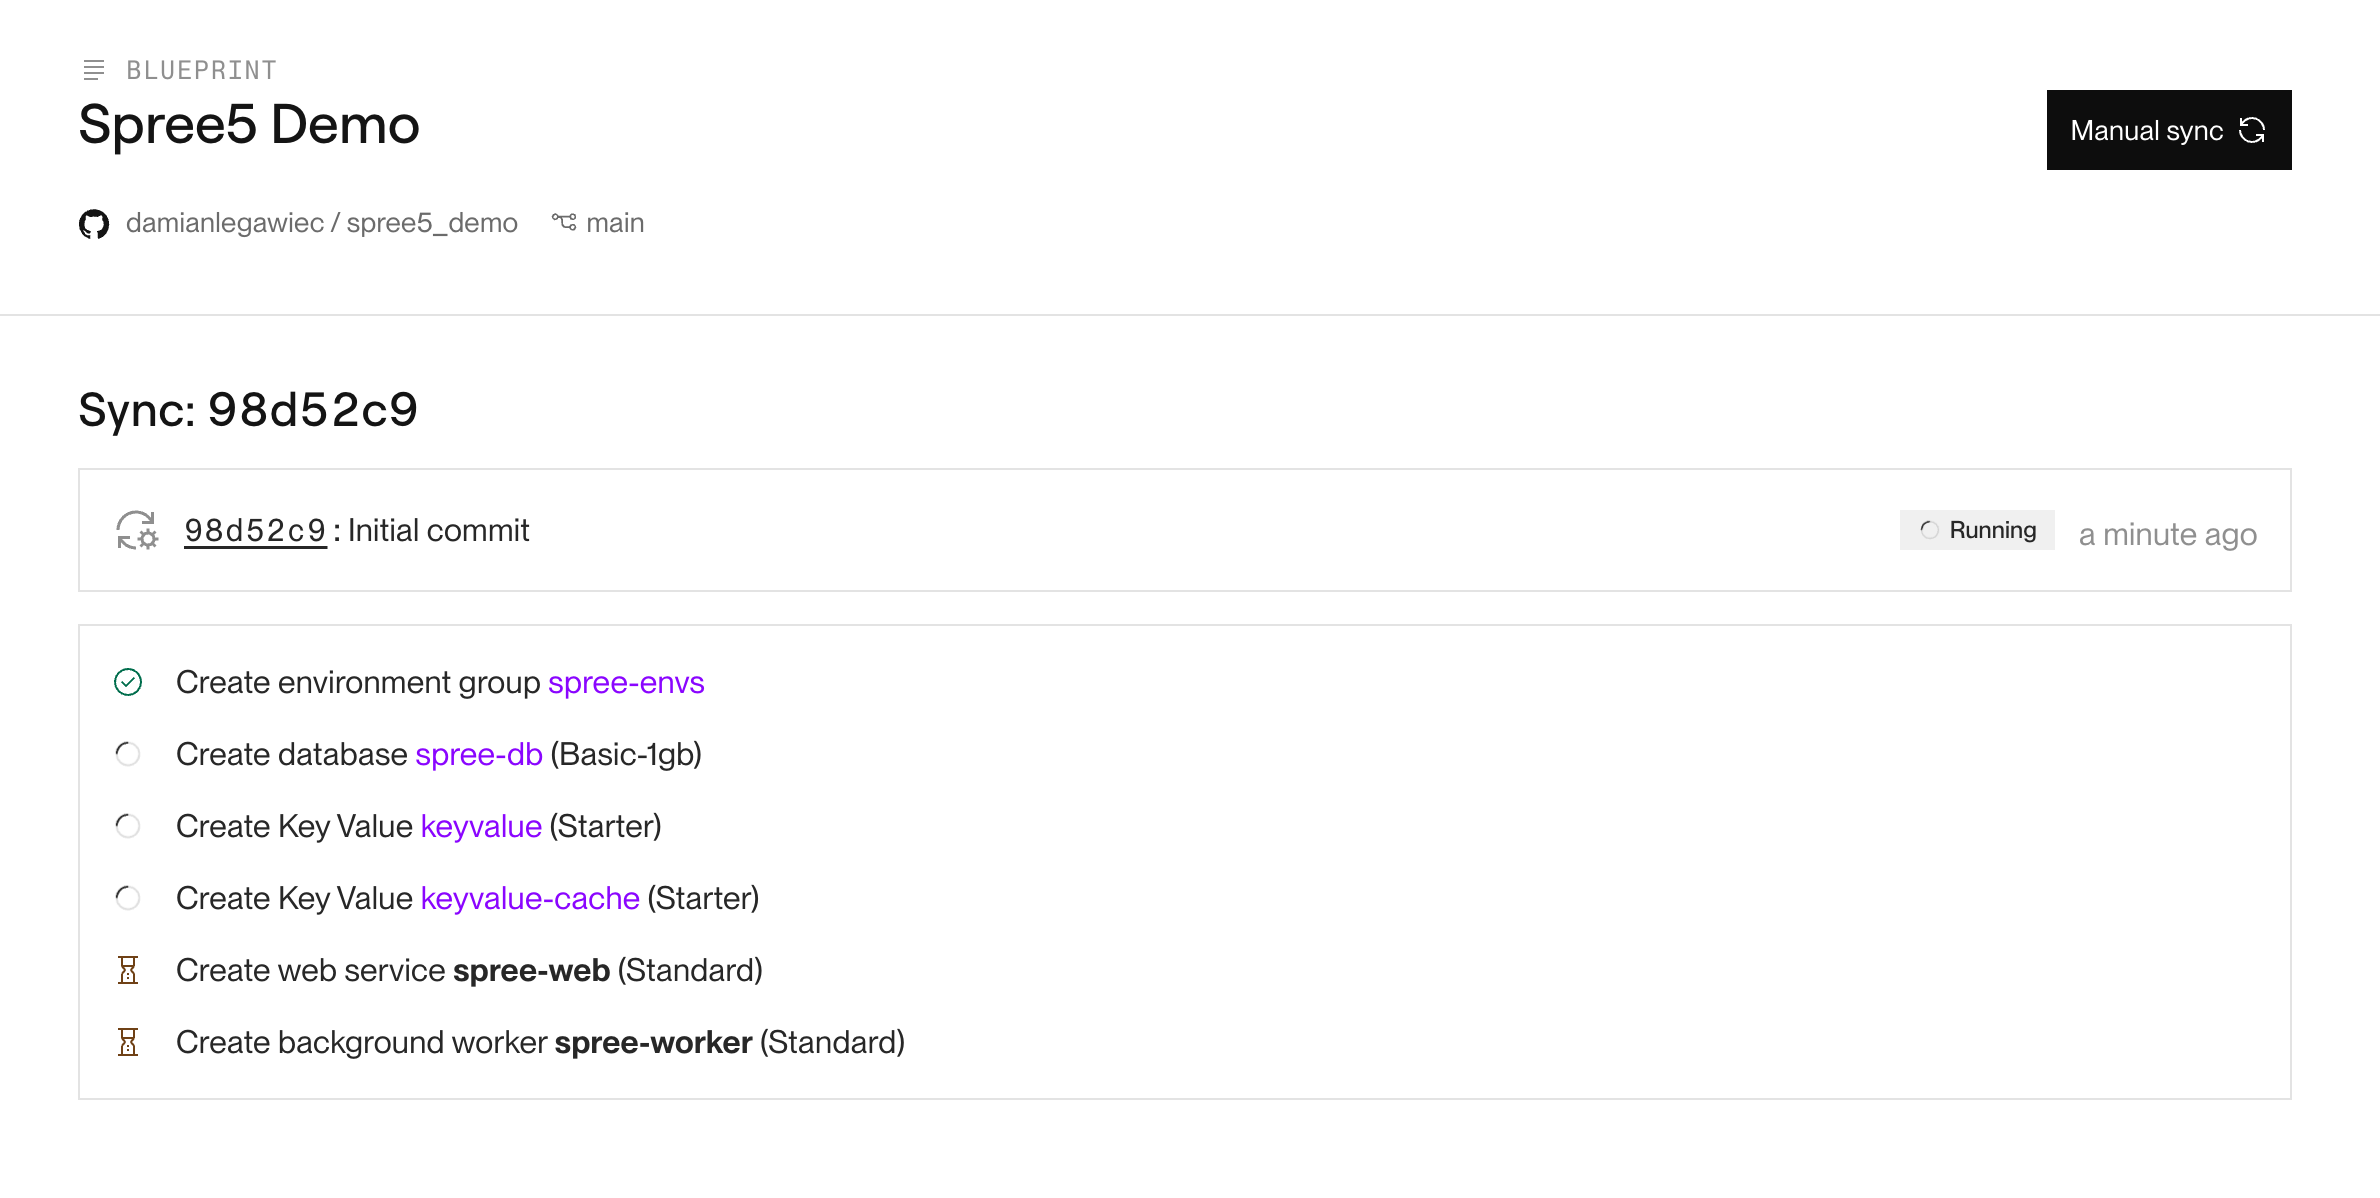
Render will automatically any new changes you push to your repository.
Next steps
Now that your application is deployed, you also need to setup asset storage as Render only provides ephemeral storage.- Setup Asset storage (Amazon S3/Cloudflare R2)


