Installation options
- create-spree-app
- Manual Installation
The quickest way to get started. Scaffolds a full Spree project with Next.js Storefront (optional).Requirements: Node.js 20+ and Docker running.The CLI walks you through an interactive setup:
- Choose Full-stack (Backend + Next.js Storefront) or Backend only
- Optionally load sample data (products, categories, images)
3000 is already used on your system.See the full create-spree-app documentation for all CLI flags and options.Accessing Admin Panel
Navigate to http://localhost:3000/admin and log in with the default credentials:
Upon successful authentication, you should see the admin screen:
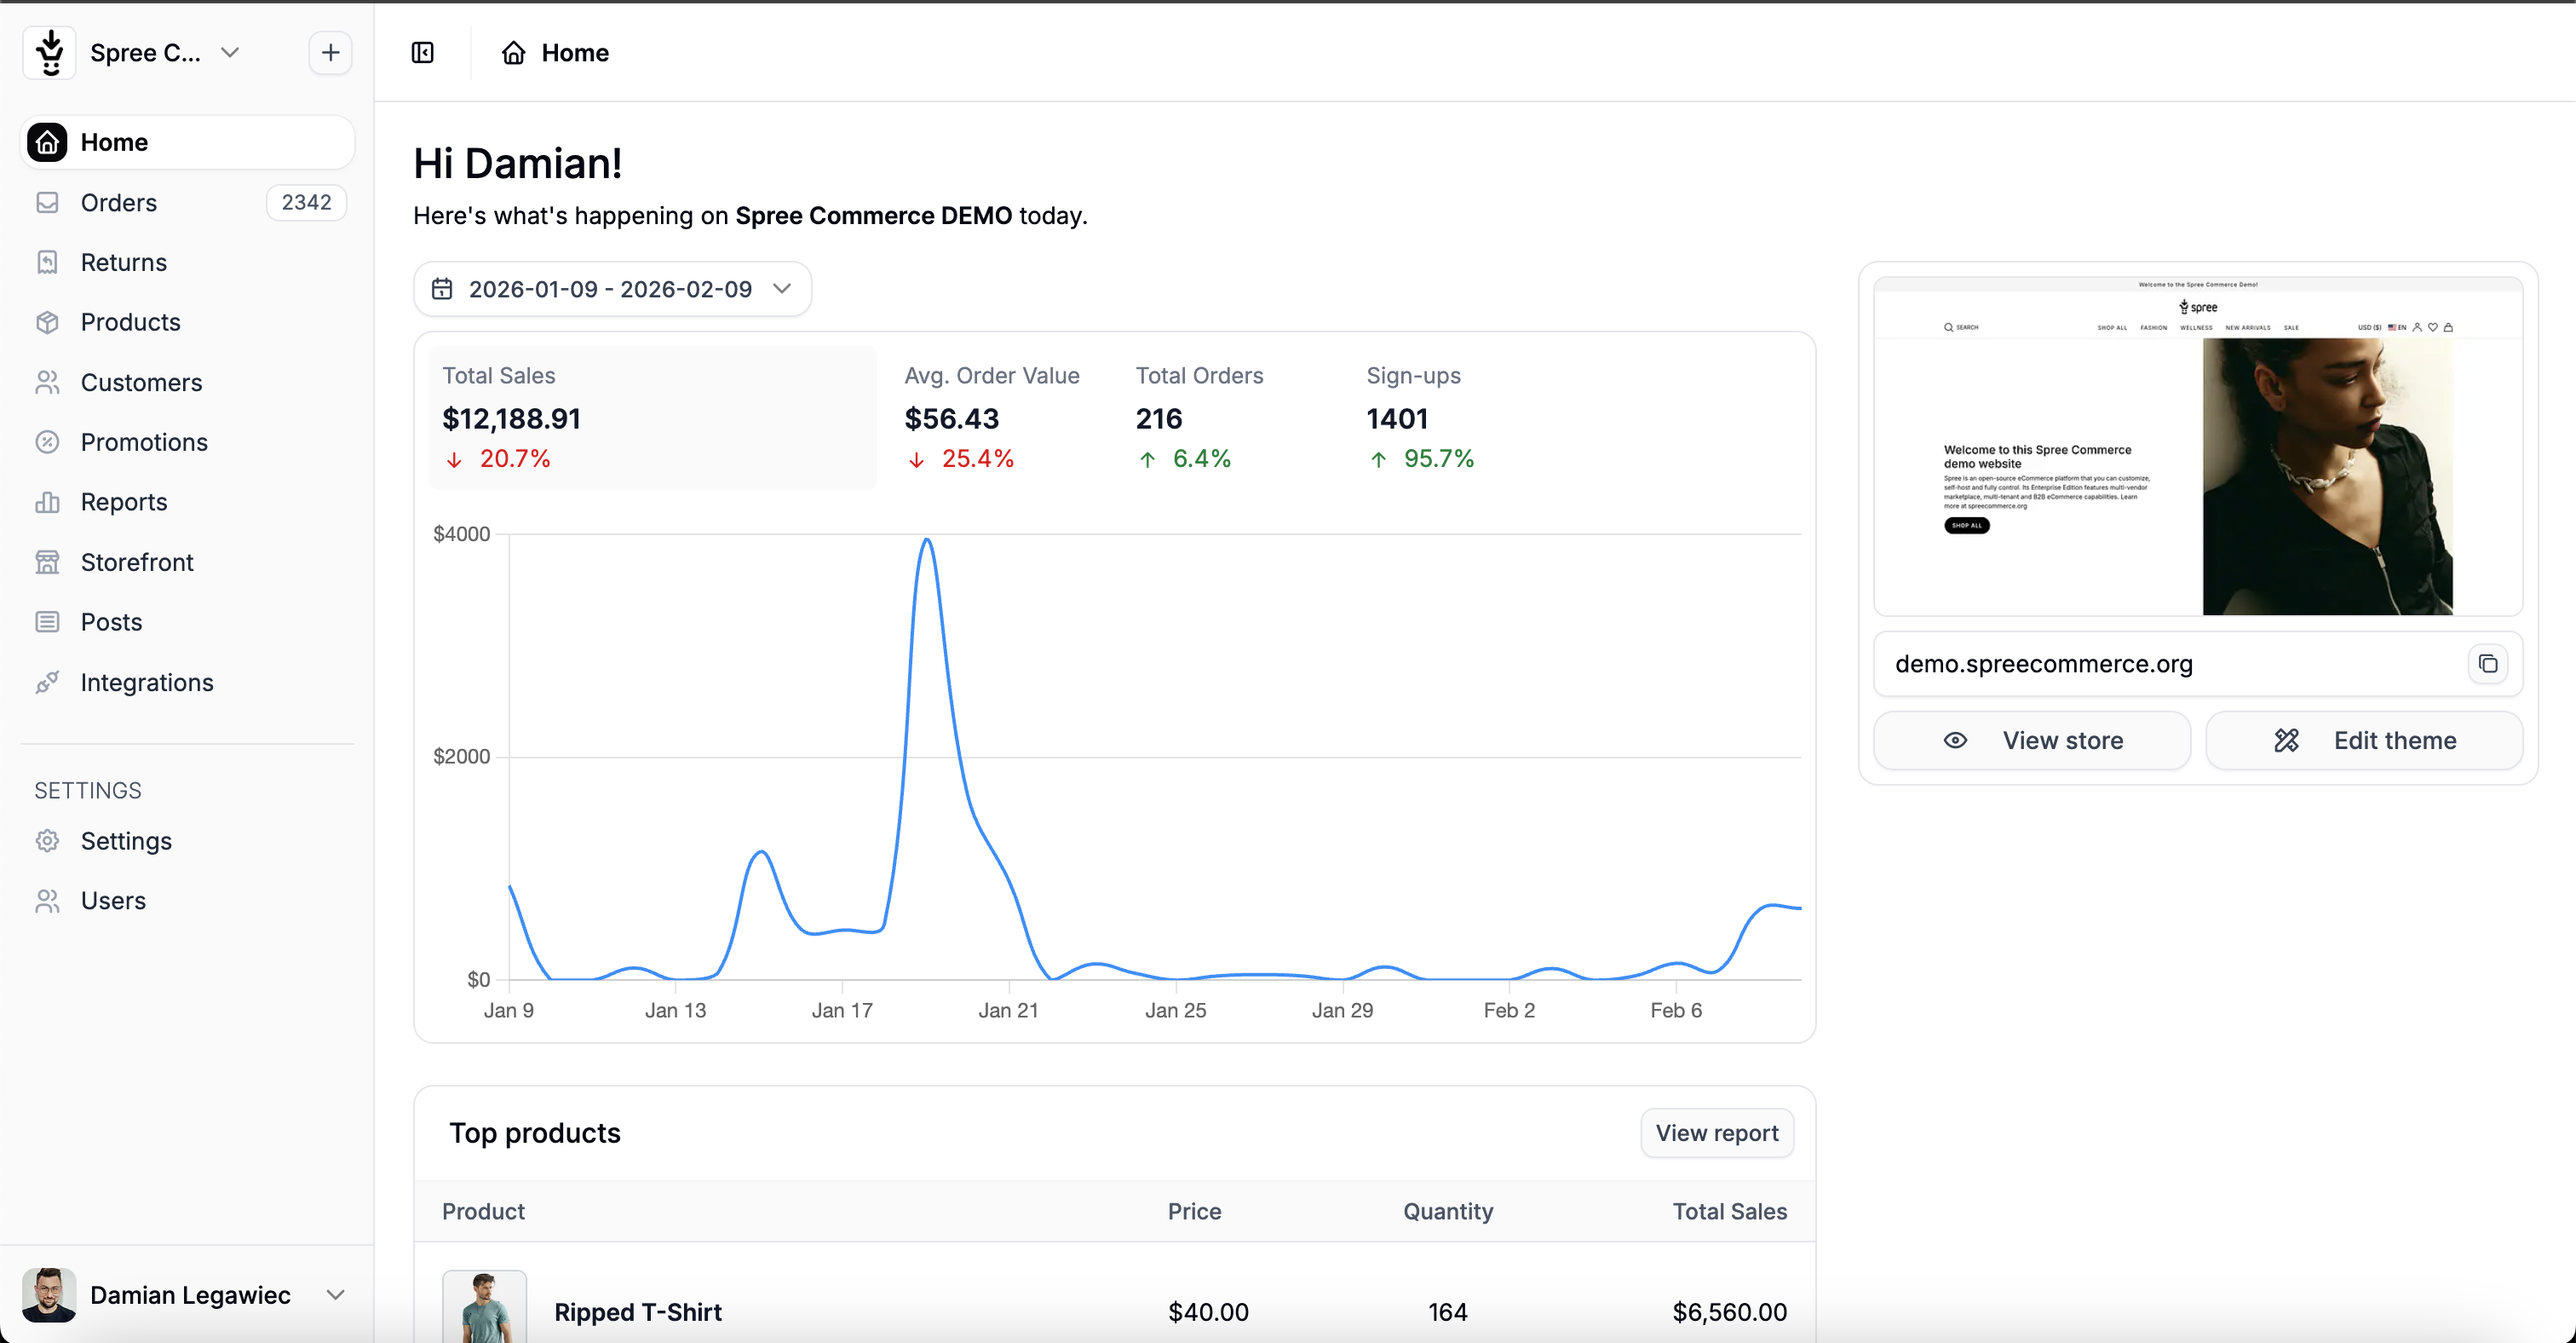
Spree Admin Dashboard
Using the Spree CLI
Projects scaffolded withcreate-spree-app include @spree/cli for managing the backend and calling the Admin API. Because it’s a project dependency, run it with npx (or any package-manager script):
.spree/credentials.json (and spree api mints it on first use if you skipped setup), so spree api works without any extra configuration.
To call spree directly without the npx prefix, install the CLI globally:
Next Steps
Build with AI Agents
Install the Spree agent skills and connect the docs MCP server — Claude Code, Cursor, Copilot, and 60+ other tools learn Spree’s conventions and build features with you.
Customization Tutorial
Build a complete custom feature — model, admin UI, API, and TypeScript SDK — step by step.
Core Concepts
Understand how Spree models commerce — stores, products, orders, payments.
Next.js Storefront
Customize and extend the headless storefront.
Congrats! You’ve set up your Spree Commerce and it’s looking amazing! Give Spree a GitHub Star, why don’t ya? Thank you for supporting Spree open-source! Need support or want to give some feedback? Join our Discord