

Earlier versions of Spree called these metafields. The dashboard says custom fields throughout.
Reviewing Your Custom Fields
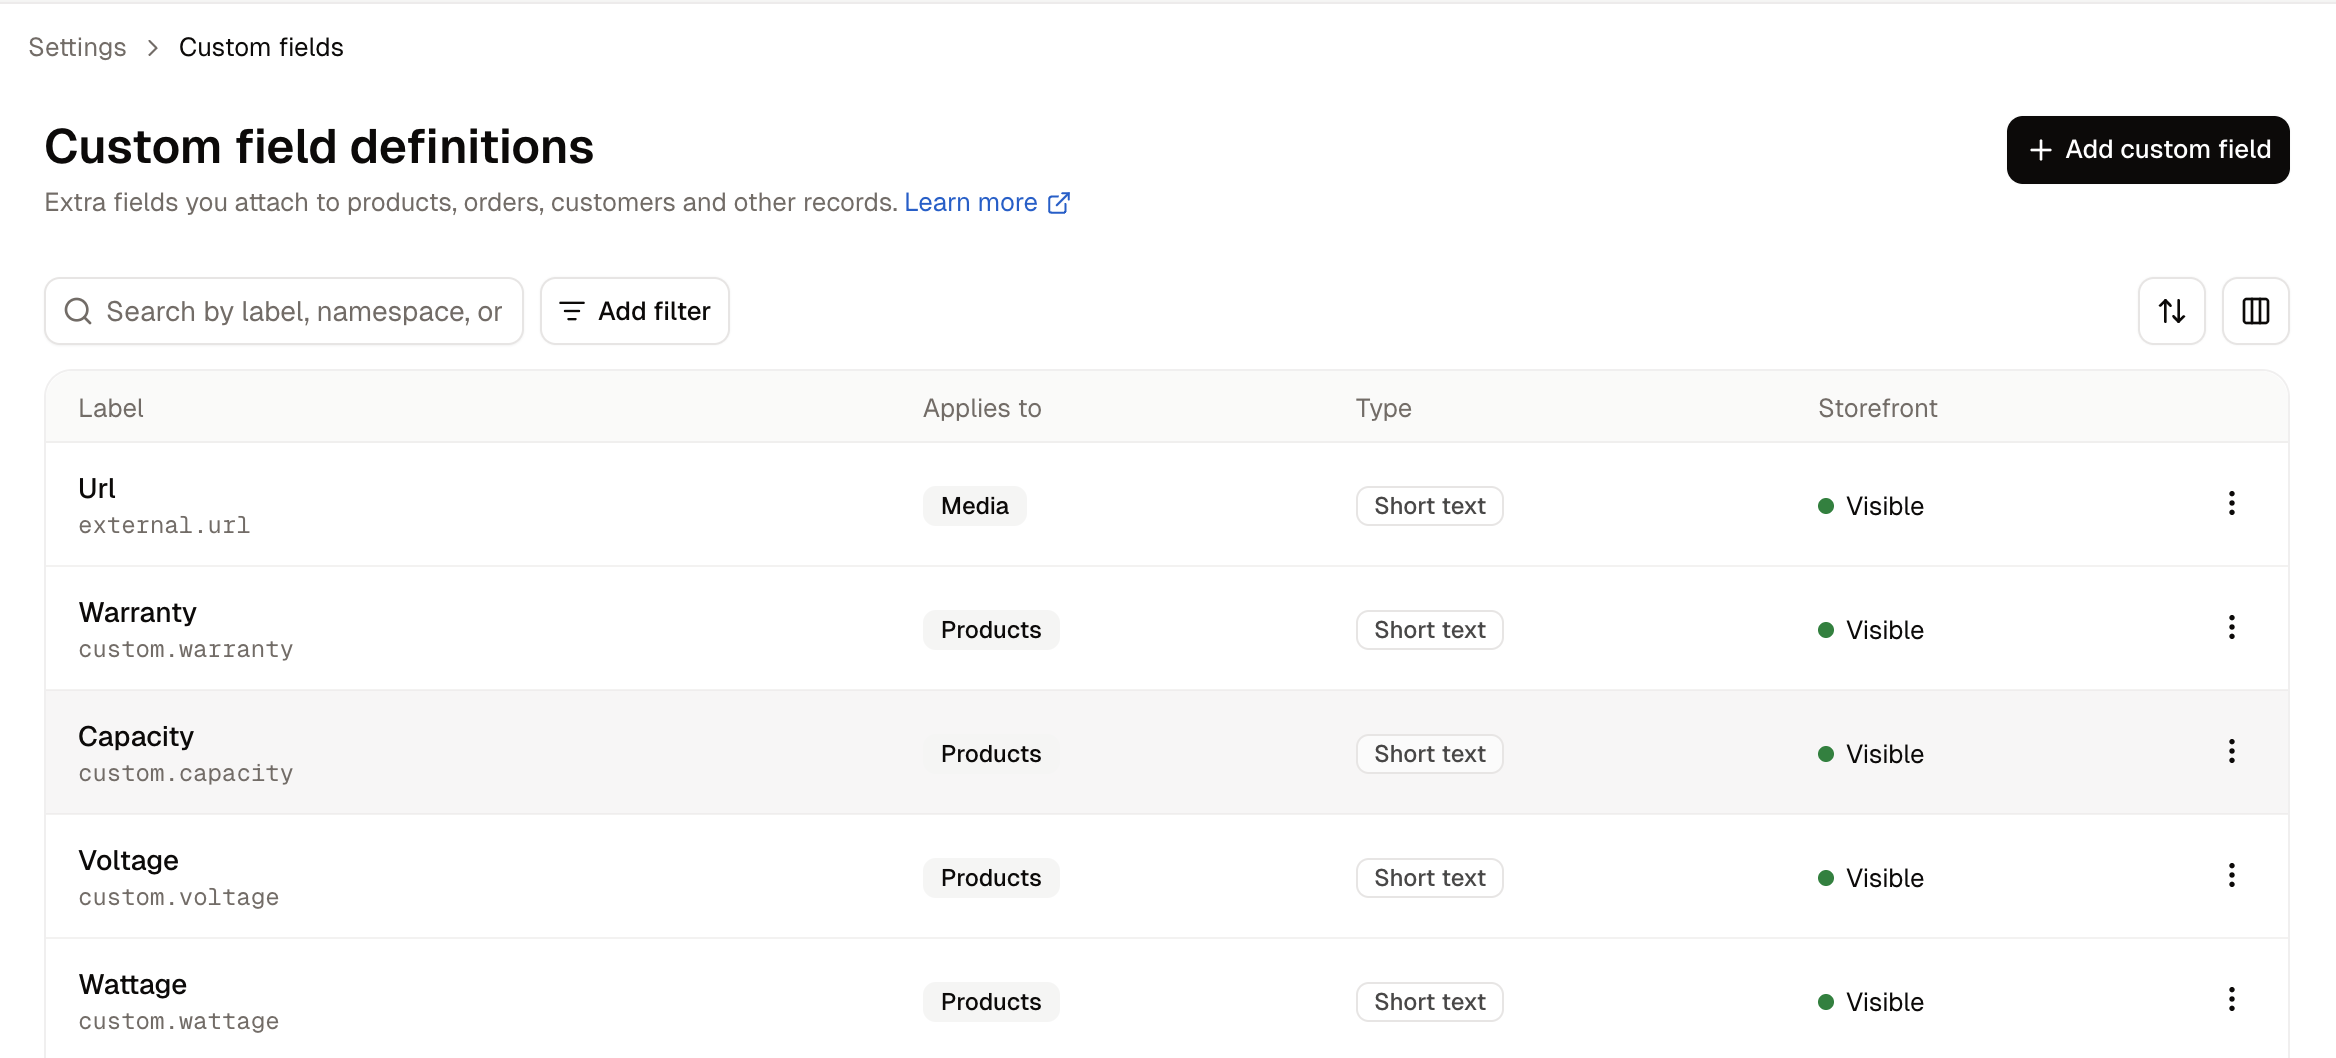
- Label - What the field is called, with its full key beneath, such as
custom.warranty. - Applies to - Which kind of record carries this field.
- Type - What kind of value it holds.
- Storefront - Whether shoppers can see the value.
How to Create a Custom Field
Click Add custom field.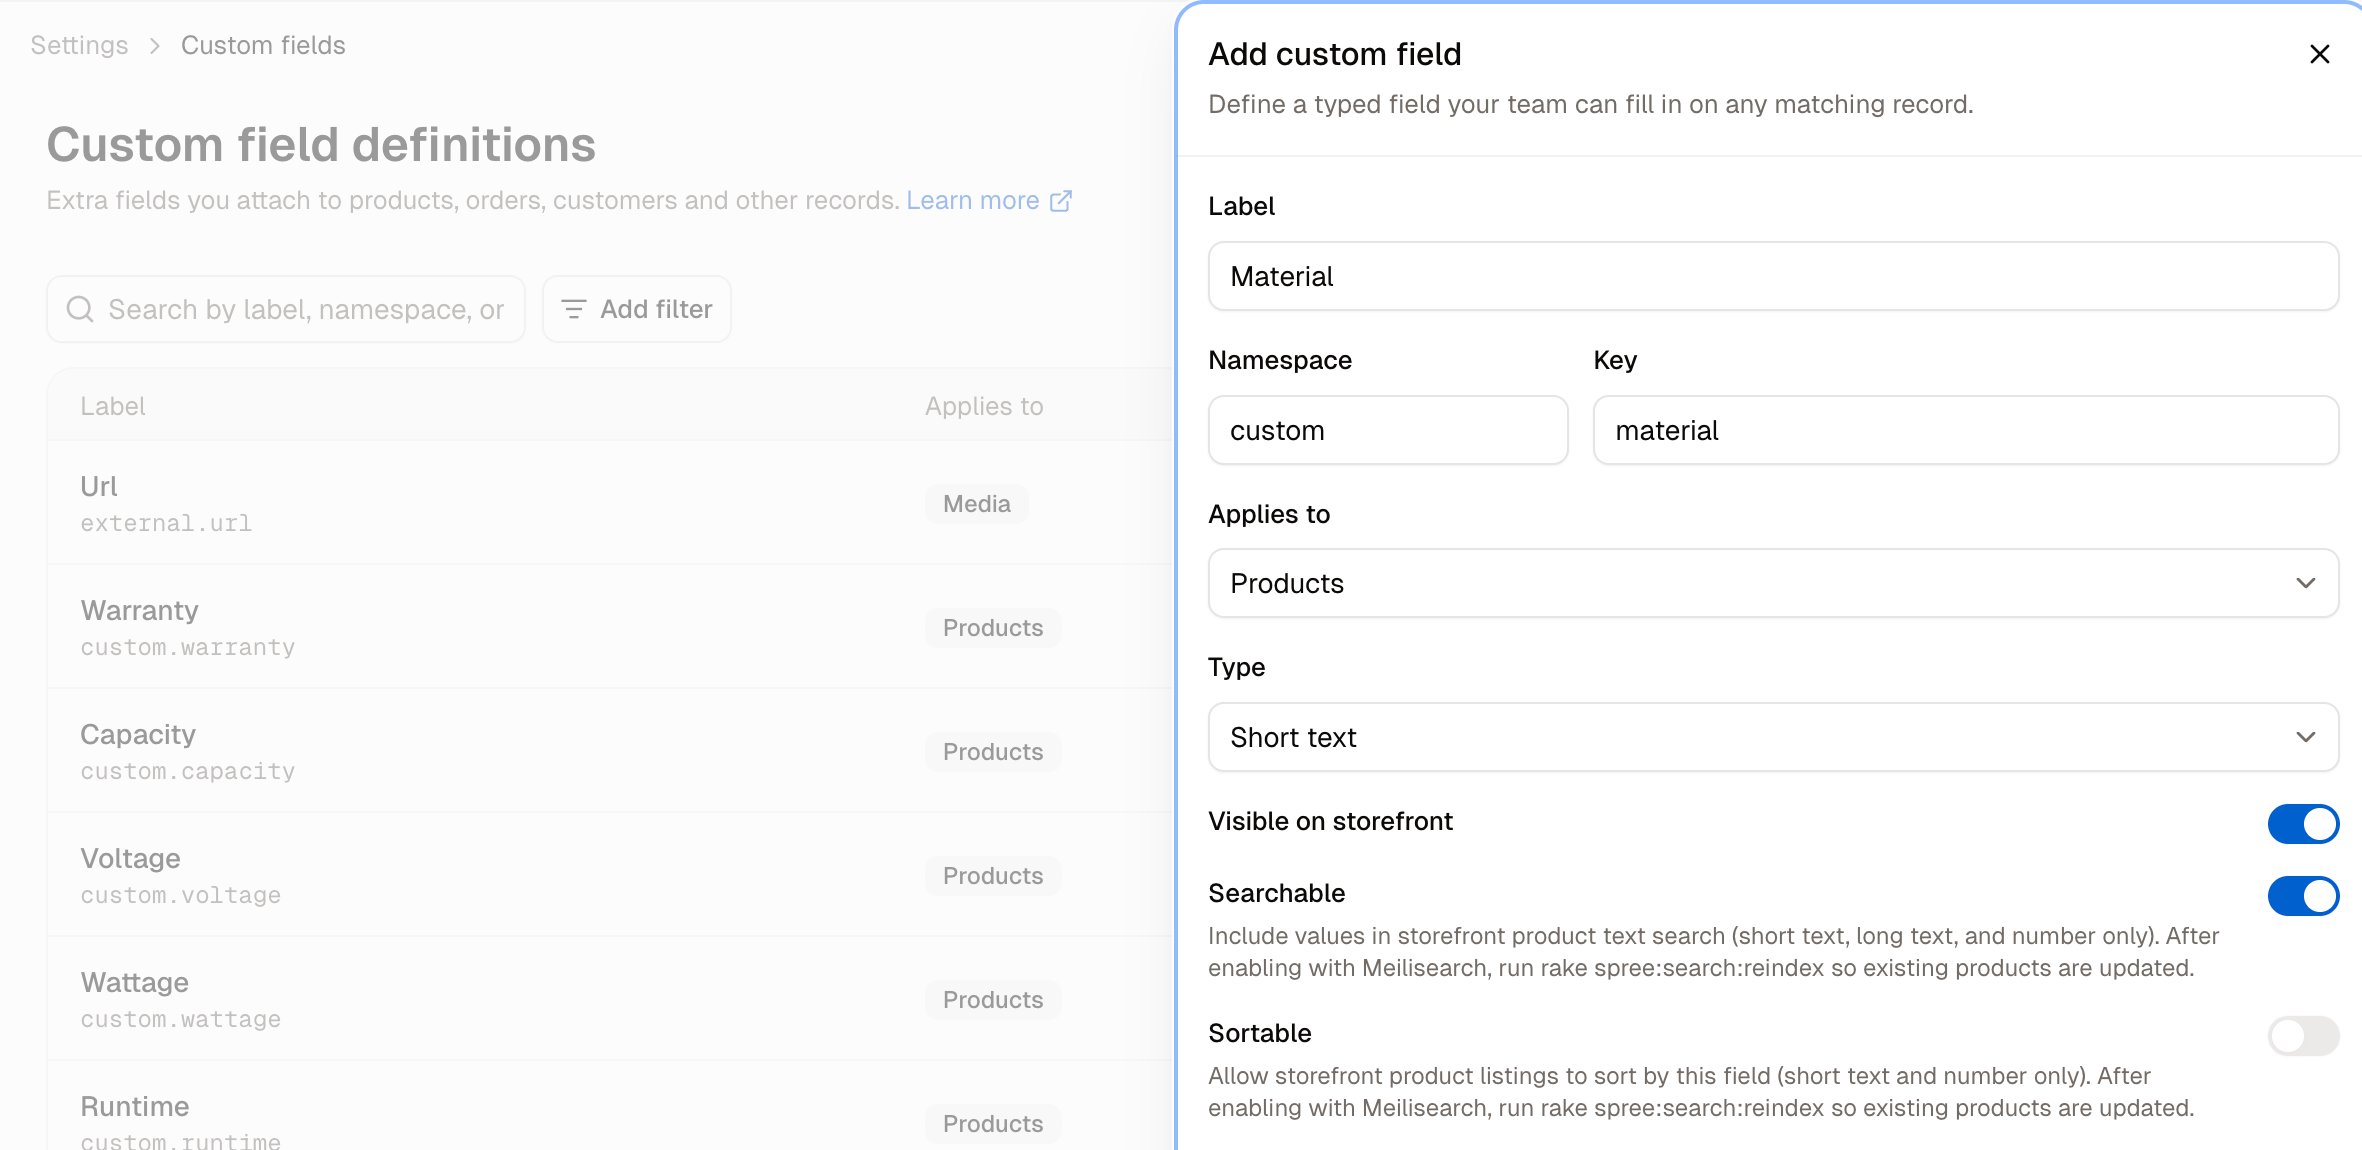
- Label - What your team reads on the form, such as
Warranty. - Namespace - Groups fields and avoids naming collisions. Pre-filled with
custom, which is right unless you have a reason to separate a set of fields. - Key - A short lower-case identifier, such as
warranty. The namespace and key together make the full name shown in the list,custom.warranty. - Applies to - Which kind of record the field belongs to.
- Type - What kind of value it holds. See below.
- Visible on storefront - Whether shoppers see the value.
- Searchable - Include values in storefront product text search. Short text, long text and number only.
- Sortable - Allow storefront listings to sort by this field. Short text and number only.
Choosing a type
Pick the narrowest type that fits. A number stored as short text still sorts, but alphabetically rather than numerically, so 10 comes before 9. Switching the type later means starting the field again.
What can carry a custom field
Applies to offers 31 kinds of record, covering most of what your store holds.How to Fill In a Custom Field
Open the record the field applies to. Products carry a Custom fields card showing every definition that applies to them.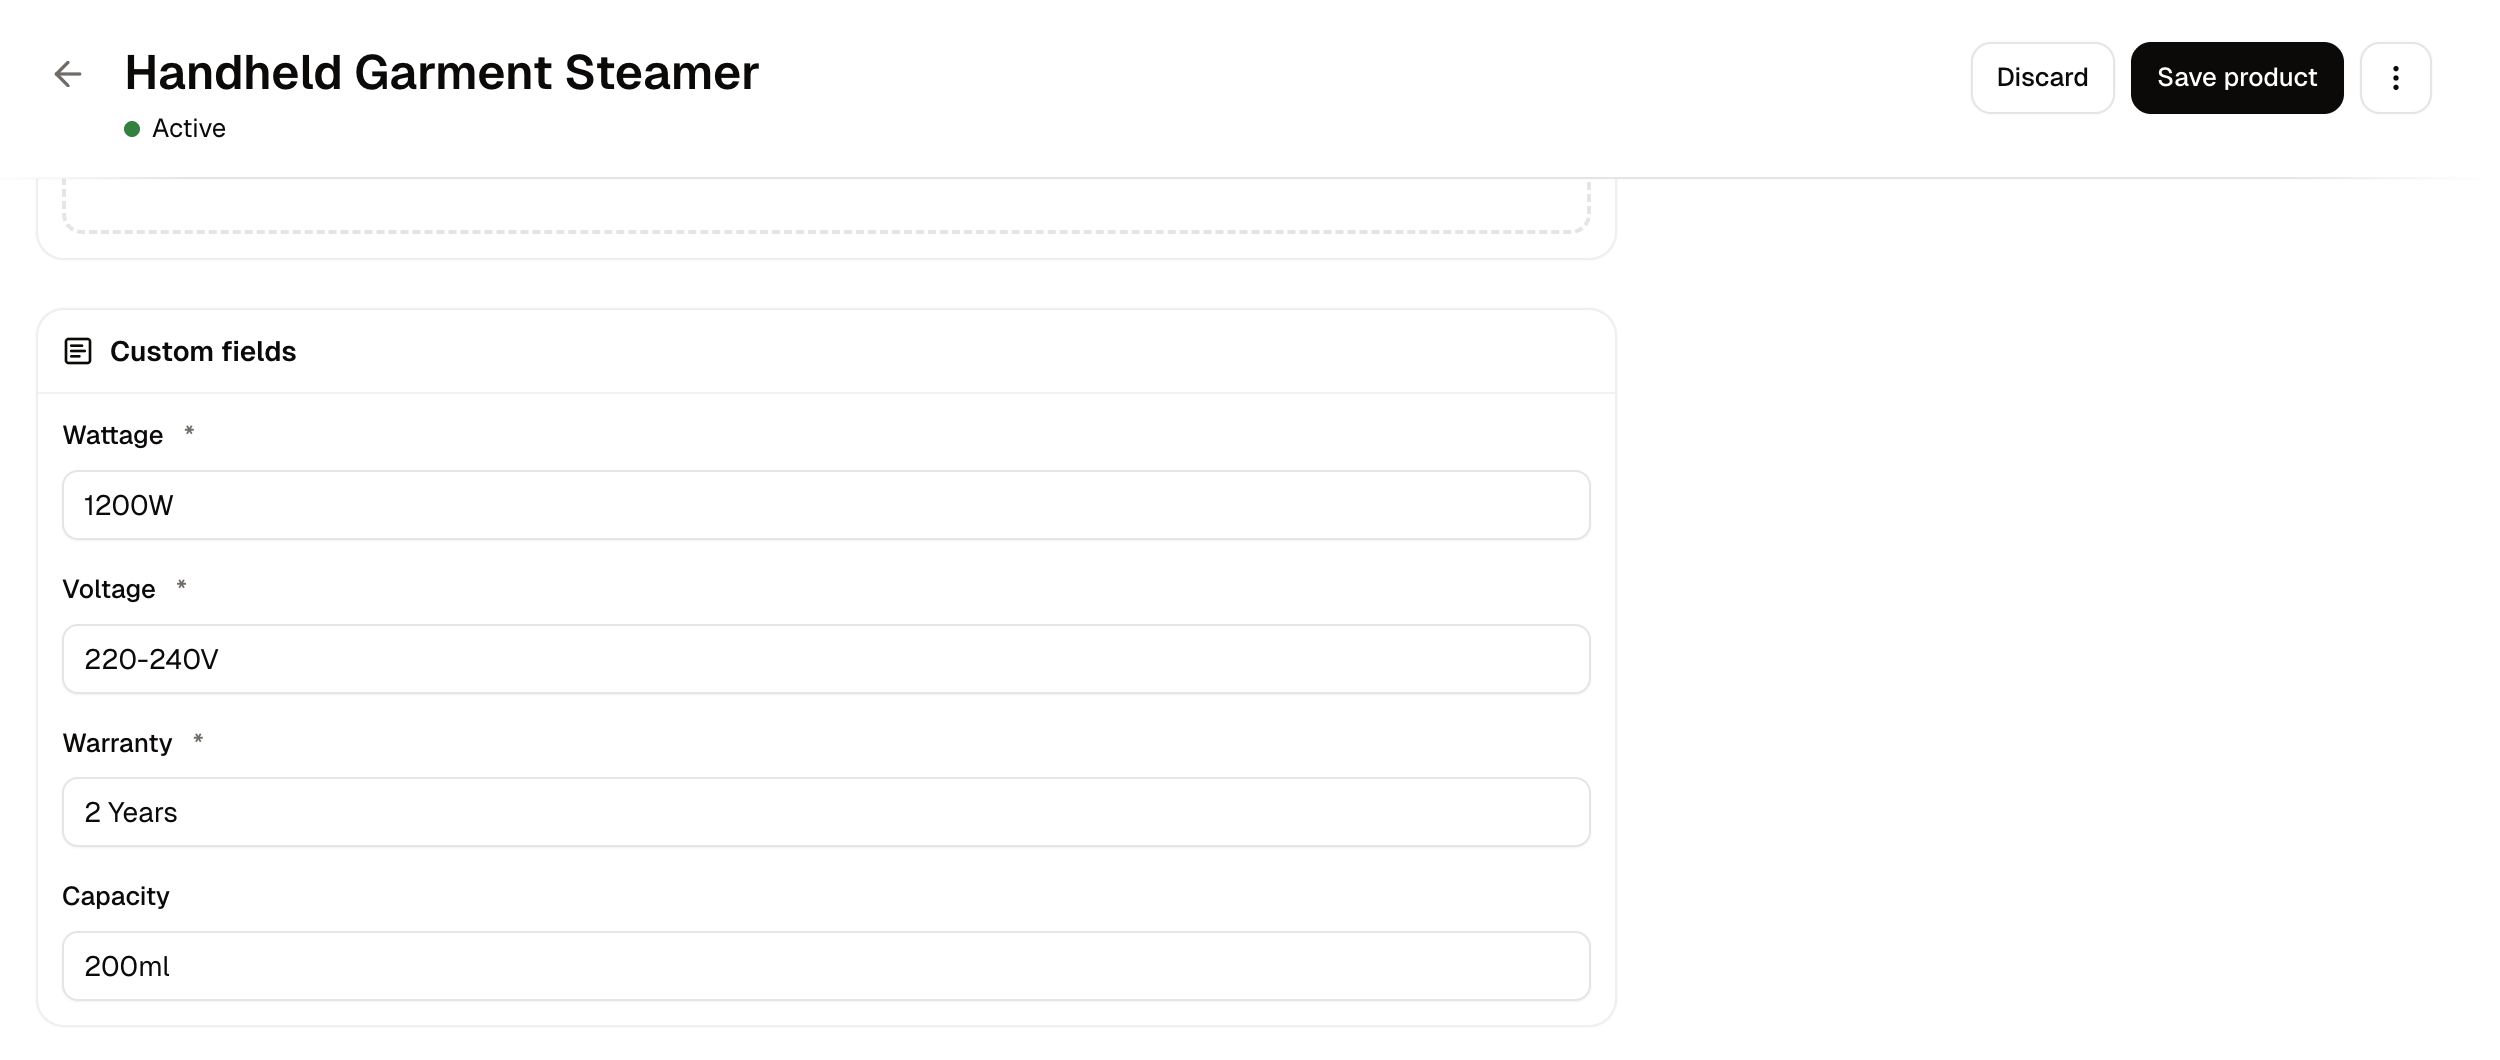
To have a field appear on a product automatically, add it to a product type. Products carrying that type then show the field without anyone assigning it.
Filling them in bulk
Product custom fields can be set through the product CSV. Add a column namedcustom_field.<namespace>.<key>, such as custom_field.custom.material, and fill in a value for each product row.
The import template generated for your store already ends with one column per custom field you have defined for products, so you may not need to add the columns by hand.
How to Edit a Custom Field
Open the row menu and choose Edit. You can change the Label, the Key and the storefront switches at any time. Applies to and Type are fixed once values exist.How to Delete a Custom Field
Open the row menu and choose Delete.Further Reading
- Product Types - Making a field appear on a product automatically
- Custom Product Fields - Using custom fields on products specifically
- Import Products - Setting values in bulk