Run your own Spree demo on Heroku
If you’d like to run your own Spree demo you may do so for free using Heroku cloud hosting. All you have to do is click on the button below and set up a free Heroku account. This will enable you to test the latest Spree version – both the buyer interface and the admin dashboard.
Step 1: click the below “Deploy to Heroku” button
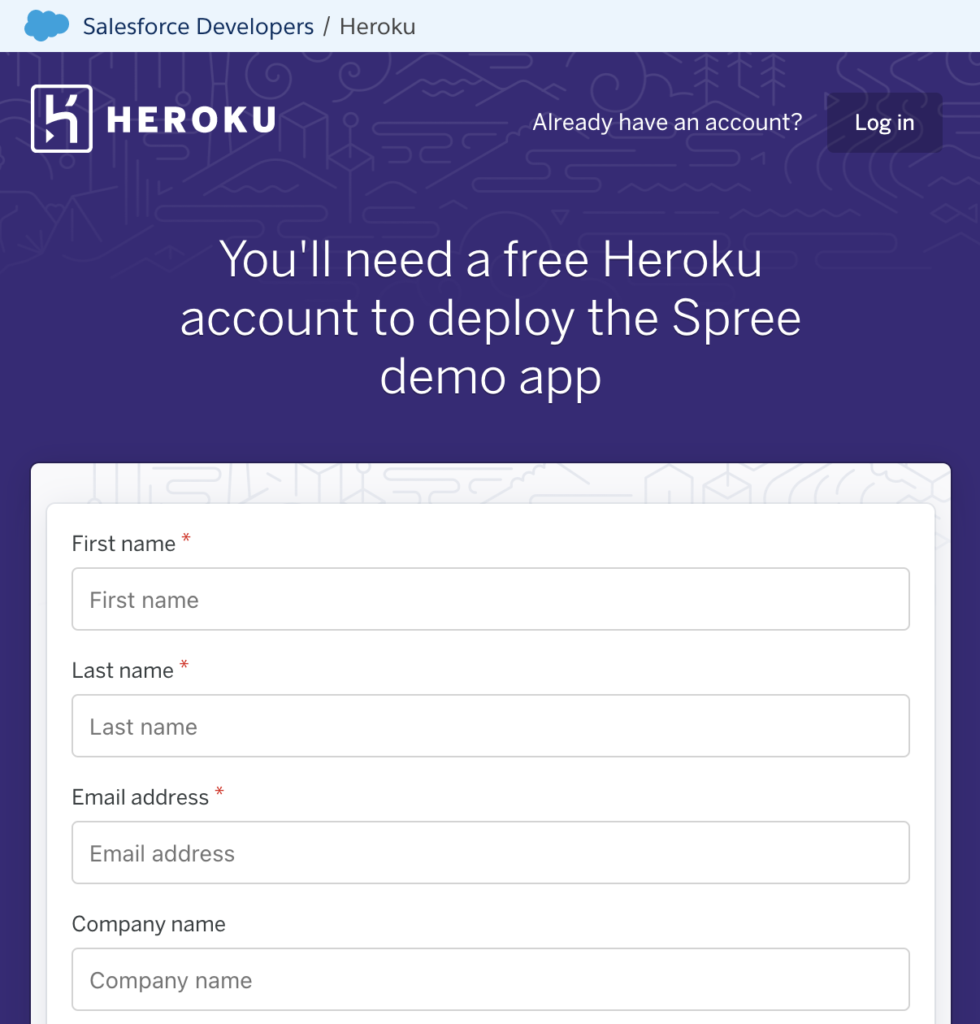
Step 2: log in or sign up with Heroku
You’ll need to log in to your Heroku account. In case you’re not a Heroku user yet, you’ll need to sign up for a free account.
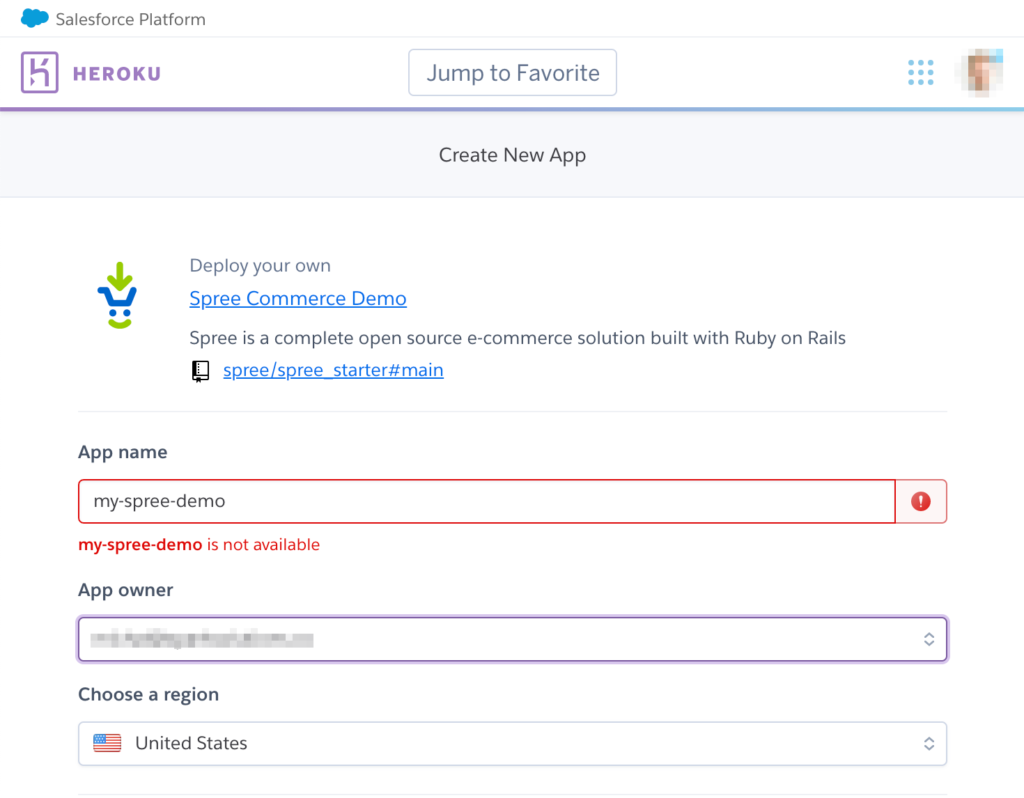
Step 3: pick your Spree demo app name (subdomain)
During the installation flow, you’ll need to specify your Spree demo app name. Just type in any name you need for testing purposes. Your Spree demo application will be available under a Heroku subdomain with the name you’ve chosen.
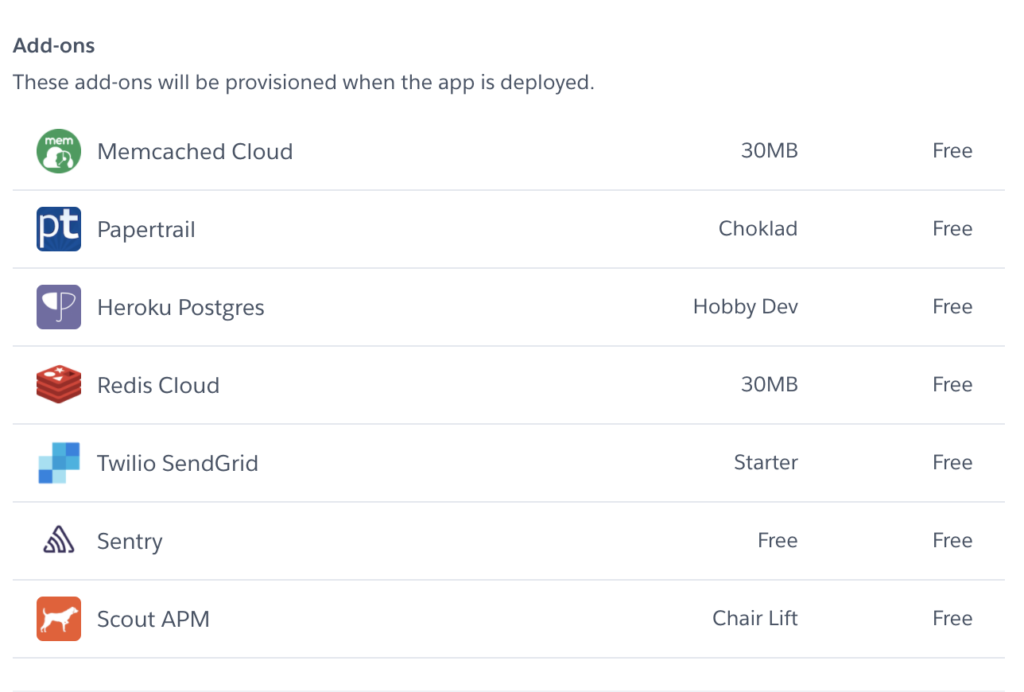
Step 4: enjoy the add-ons for free
During installation, all the necessary Heroku add-ons are installed but in order to keep your demo free, they are not production-grade. Please refer to the recommended minimal Spree Heroku setup for production installations.
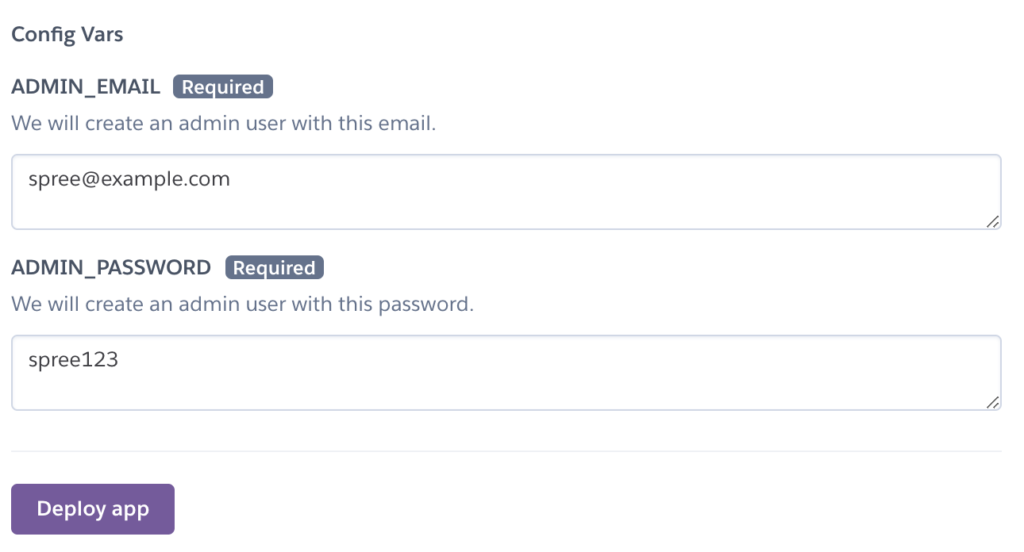
Step 5: enter your email and password
During installation, you may also pick your admin dashboard login and password. If you leave the default values, anyone in the Spree community will be able to log in to your private Spree demo.
Step 6: click the “Deploy app” button
Just click the “Deploy app” button already…
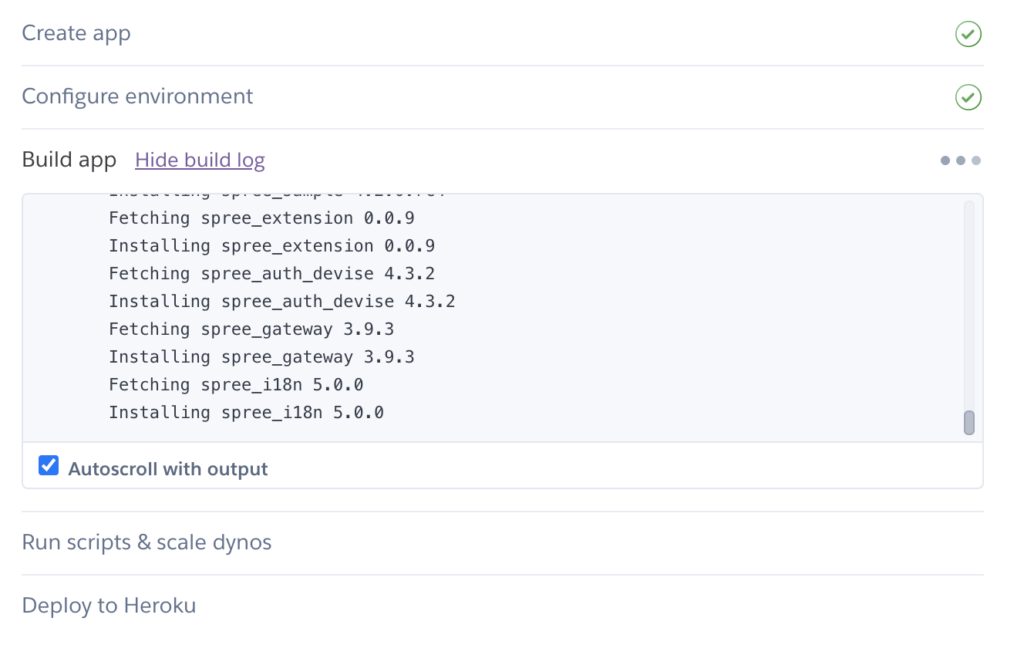
Step 7: watch the app build logs live
Demo installation might take some time but you’ll be able to view its progress in the log being displayed by Heroku in your browser.
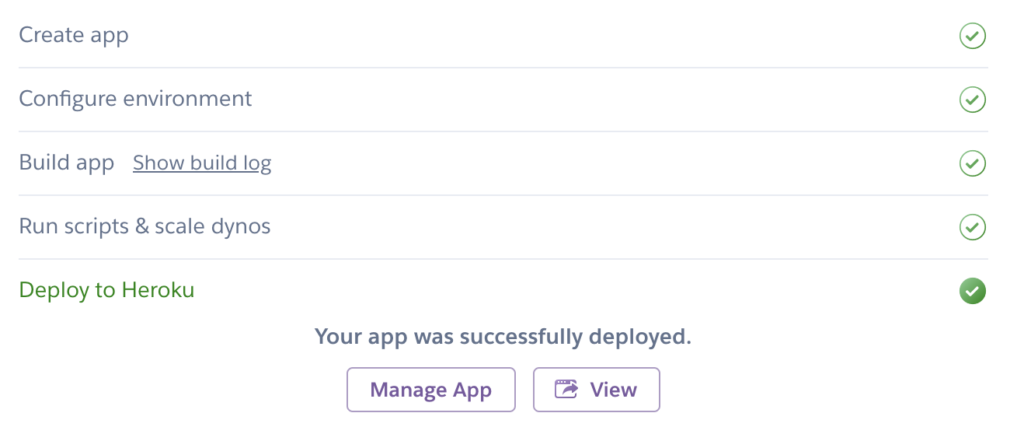
Step 8: view your Spree demo app
Once setup is complete, you can open your Spree demo app by clicking “View”.
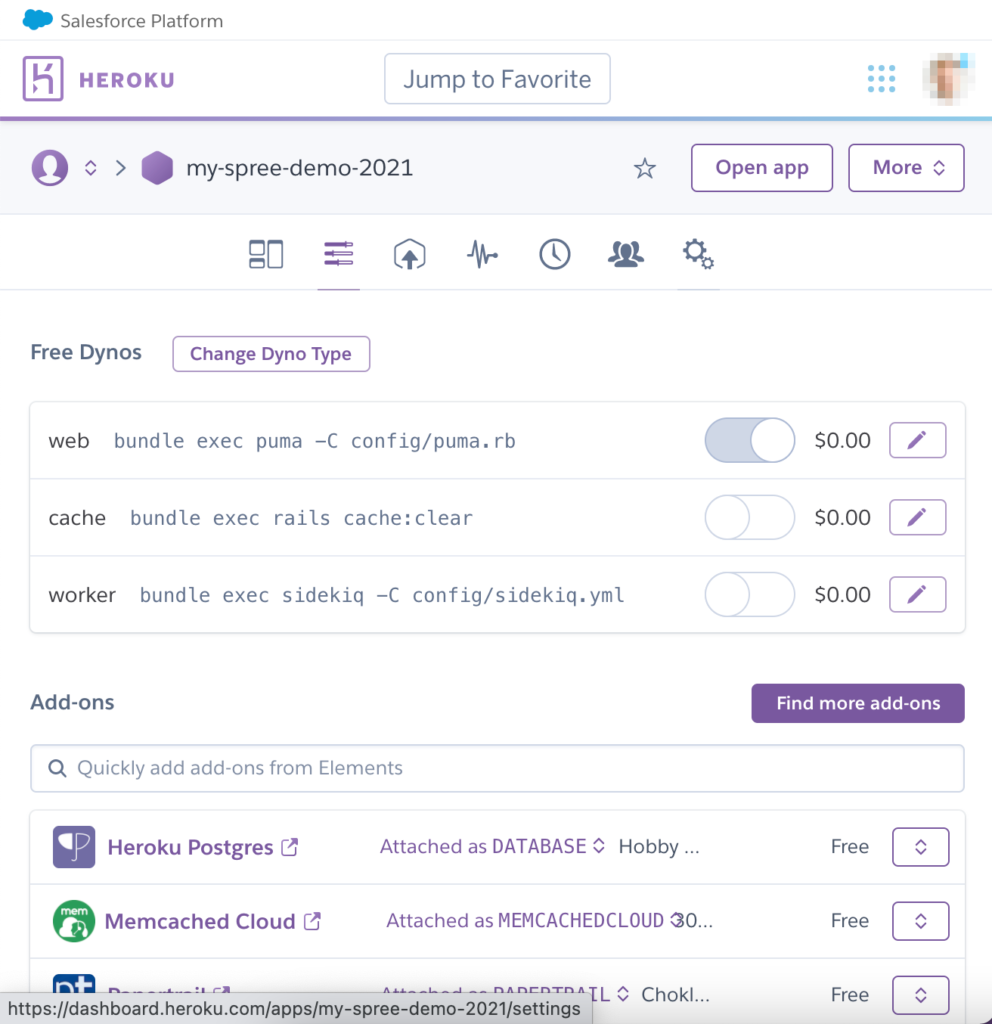
Step 9: manage your Spree demo app
You can also manage your Spree demo app in your Heroku dashboard. Visting the “Resources” tab will allow you to bump all your resources to recommended minimal Spree Heroku setup for production installations.
That’s it!
If you’re Heroku Button curious, here’s how it works.


