

Create a New Product
To get started, navigate to the Products tab of the admin dashboard.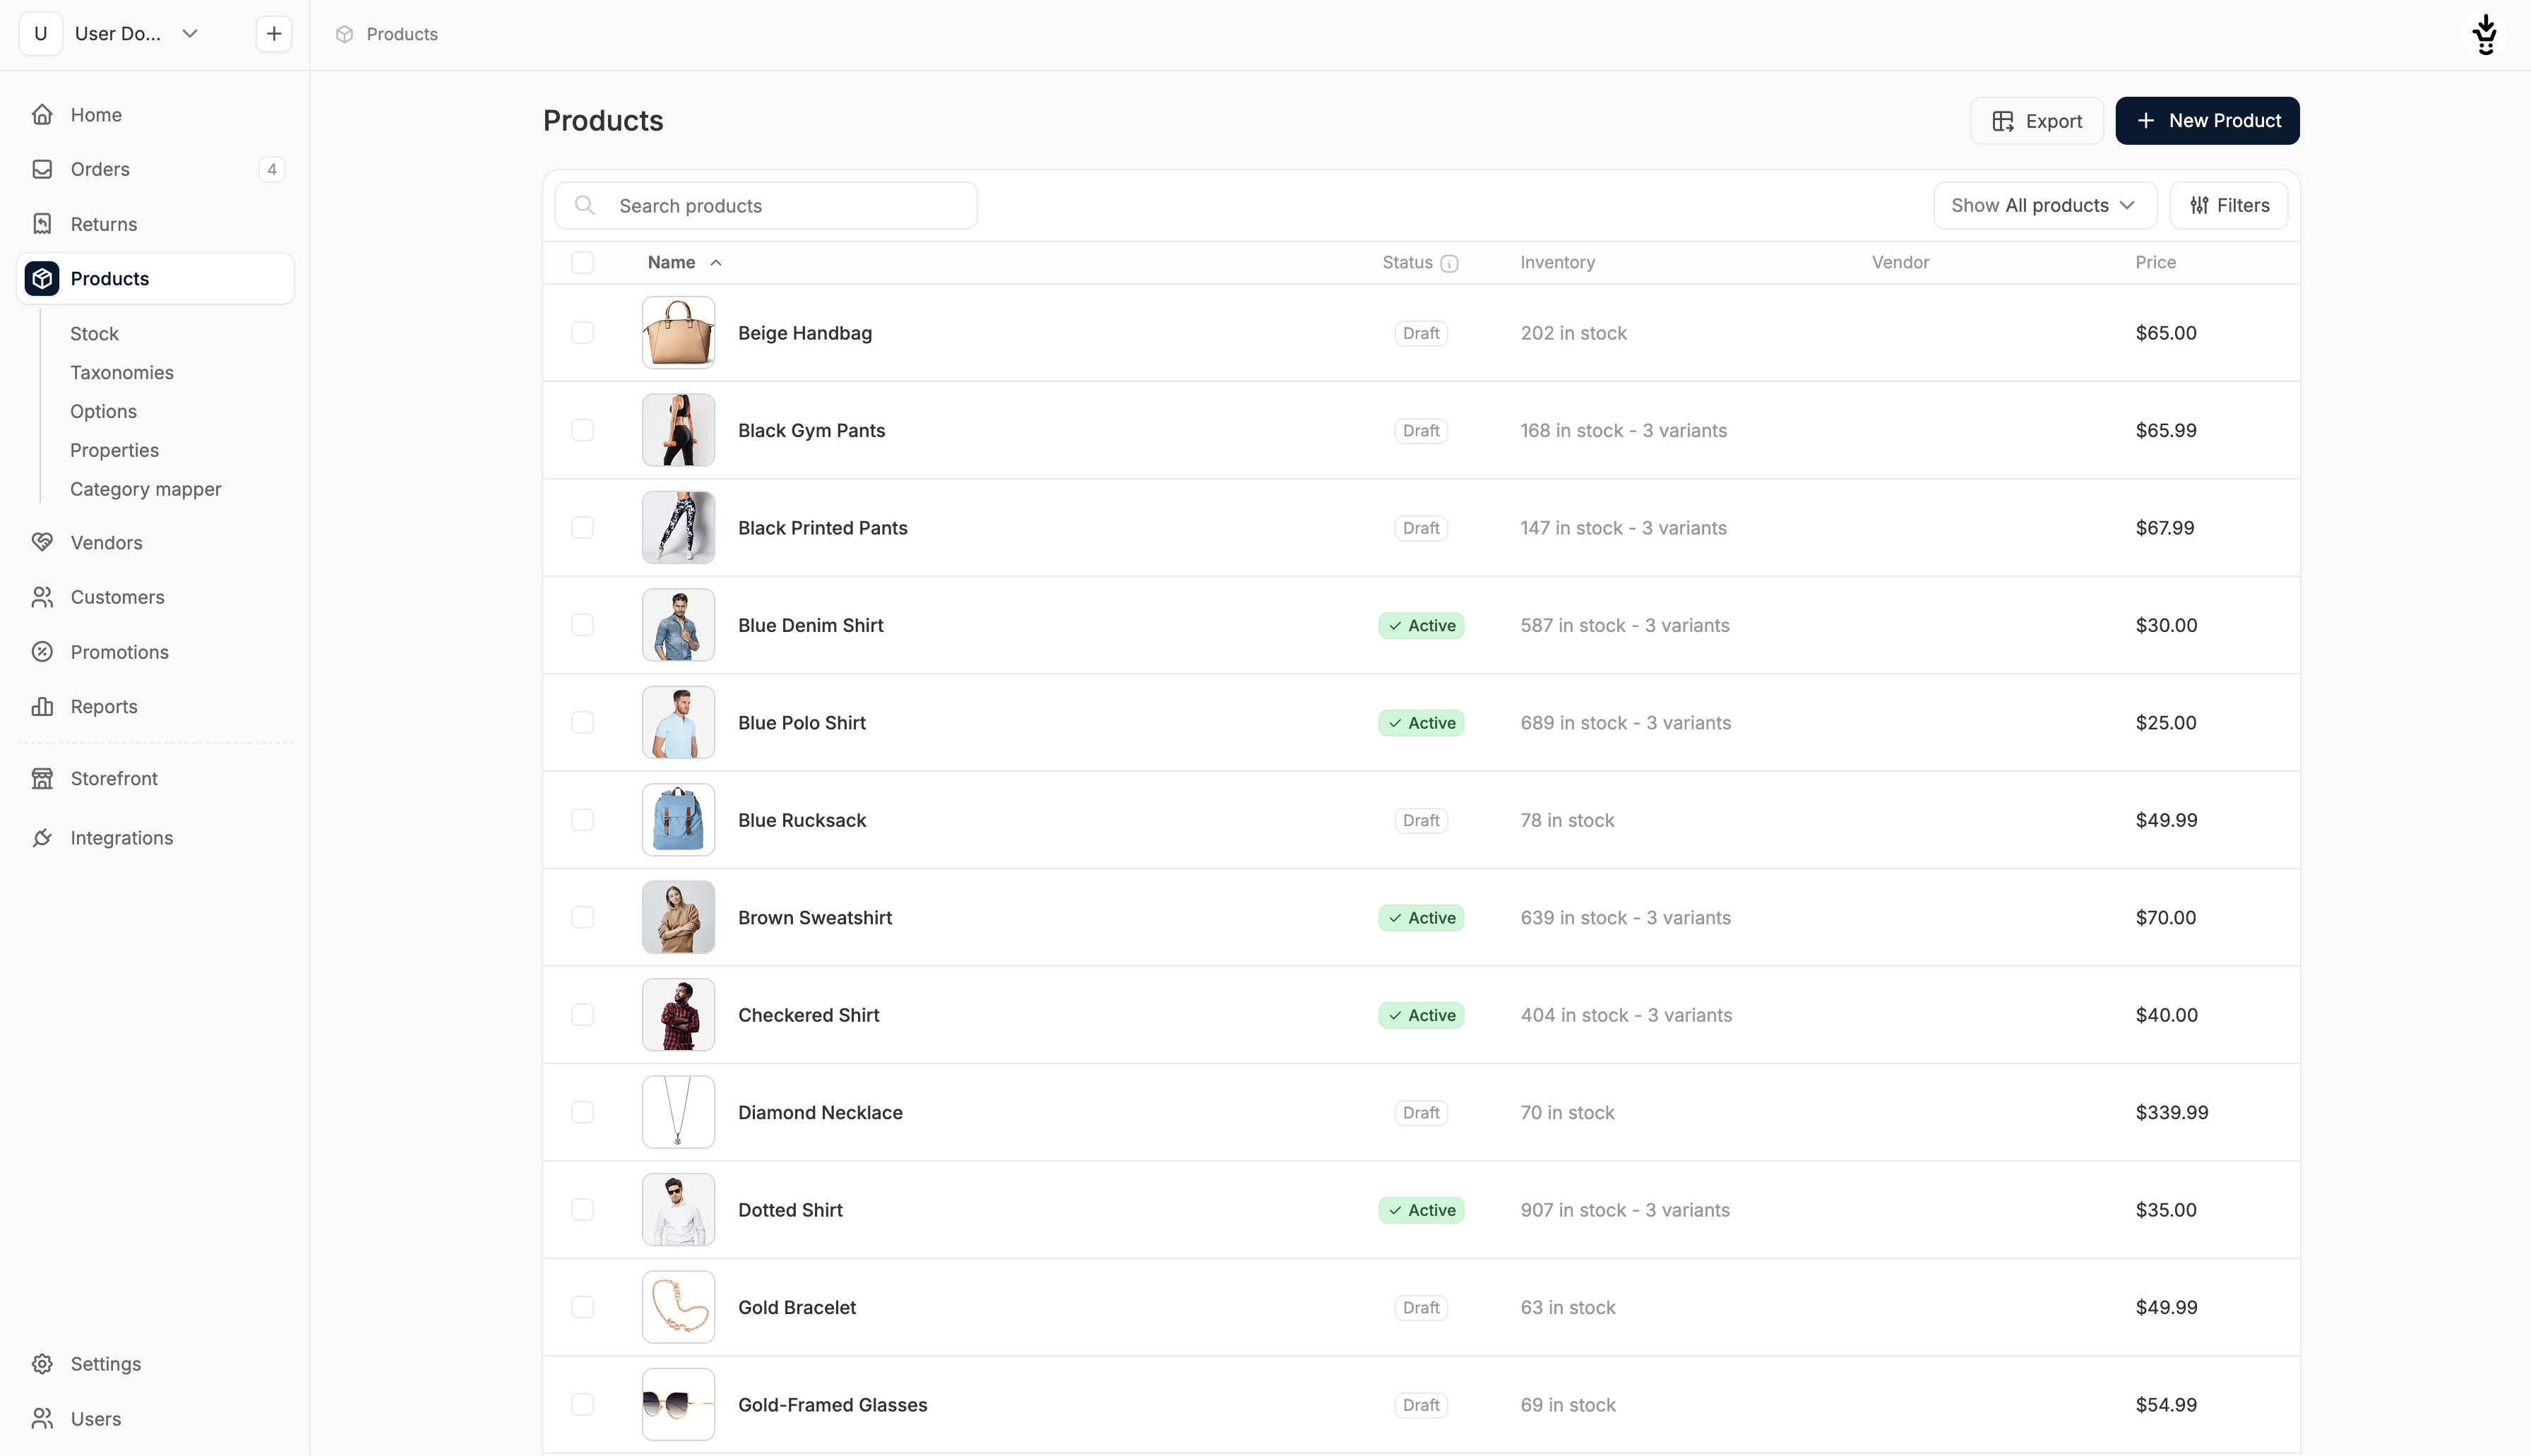
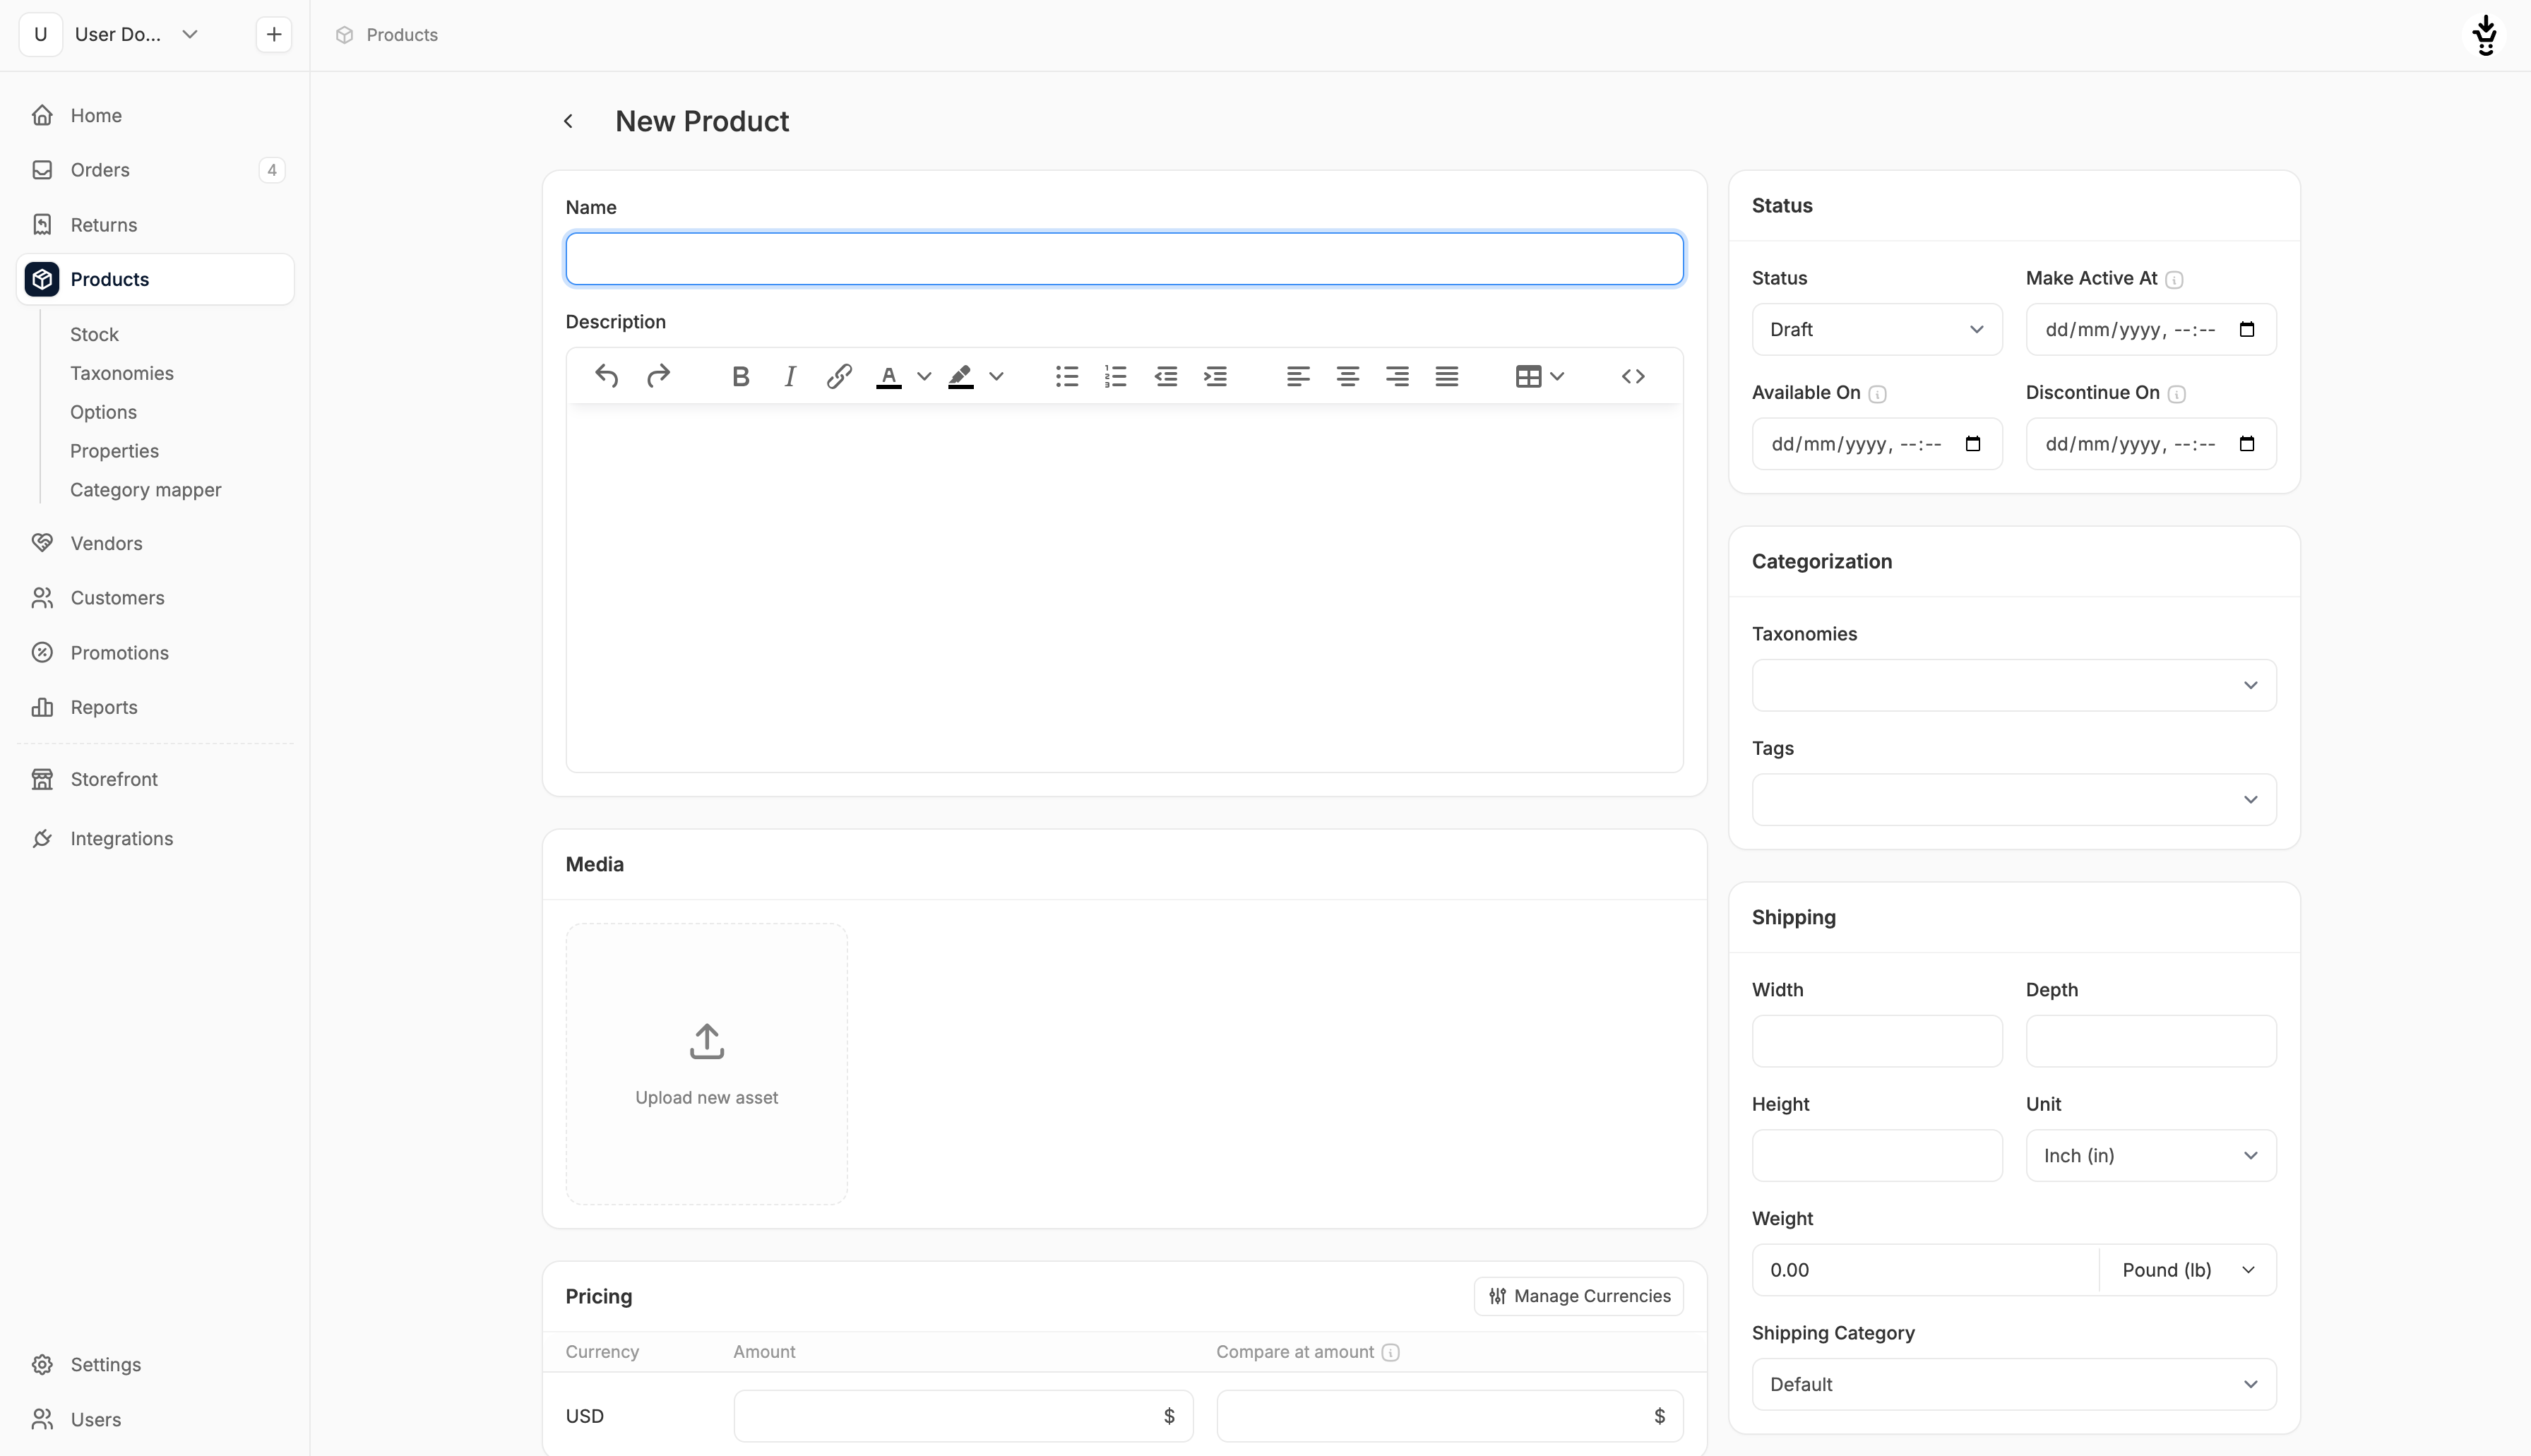
Name & Description
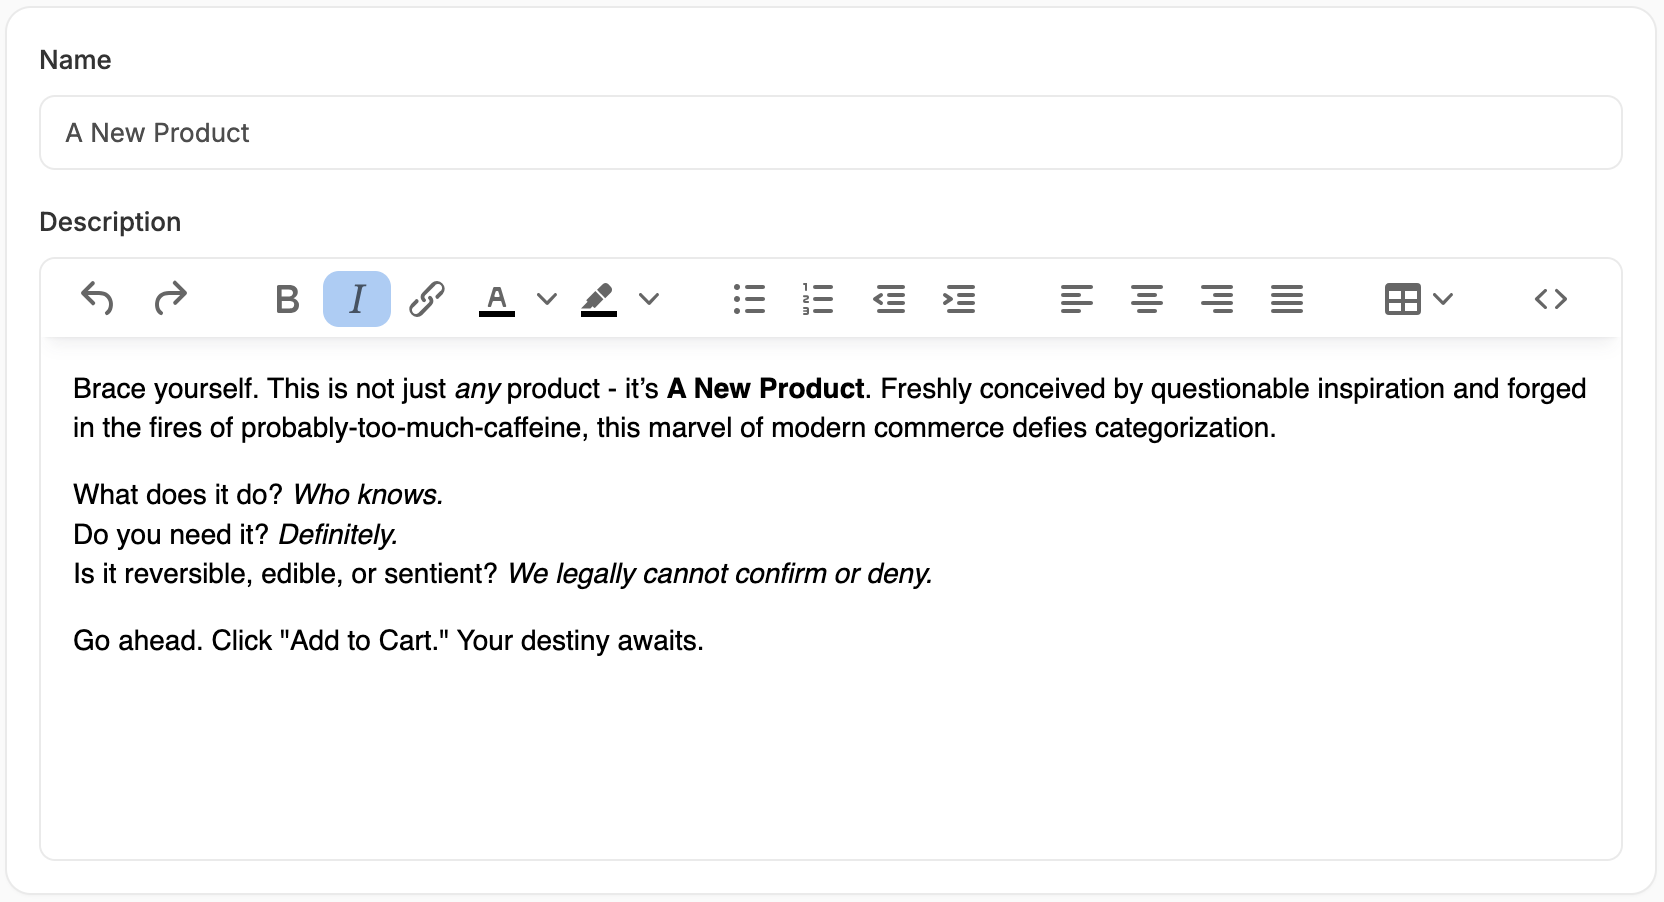
- Name: Shown on product listing pages, the PDP, checkout.
- Description: Displayed on the product detail page. Supports rich formatting like bold text, headings, links, and images.
Media
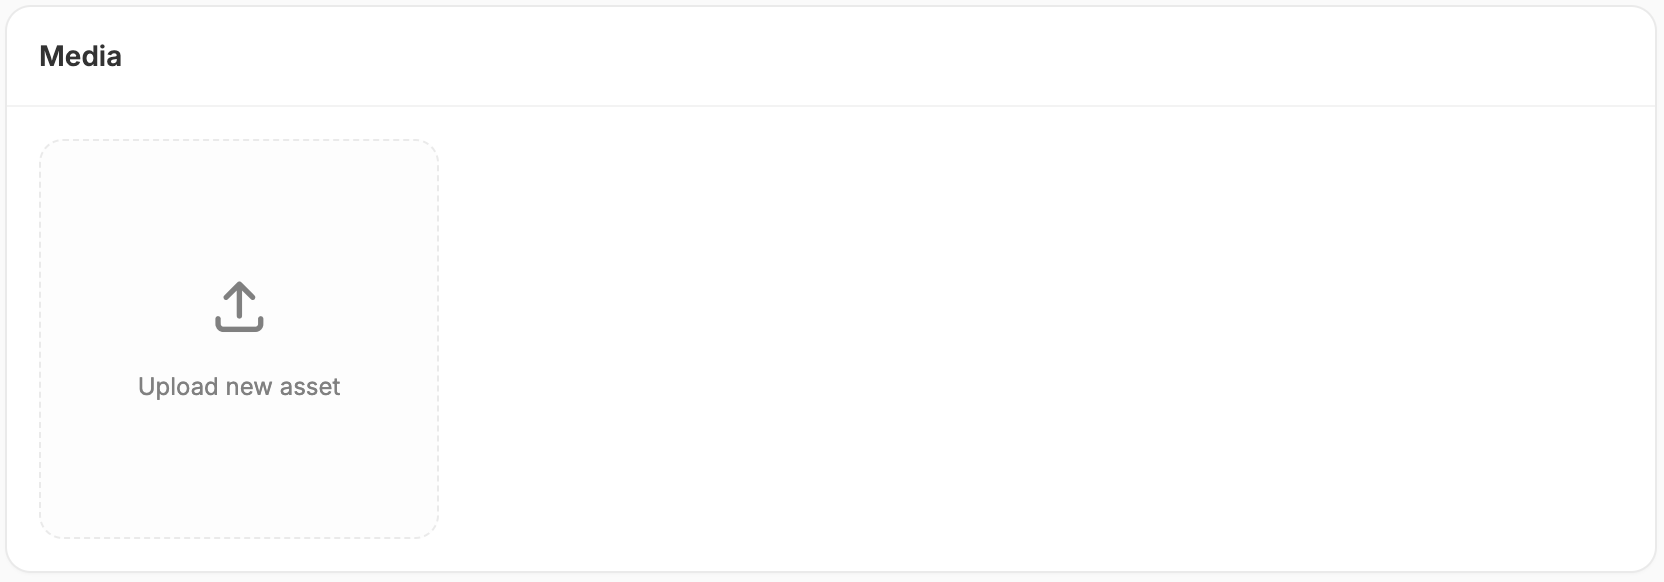
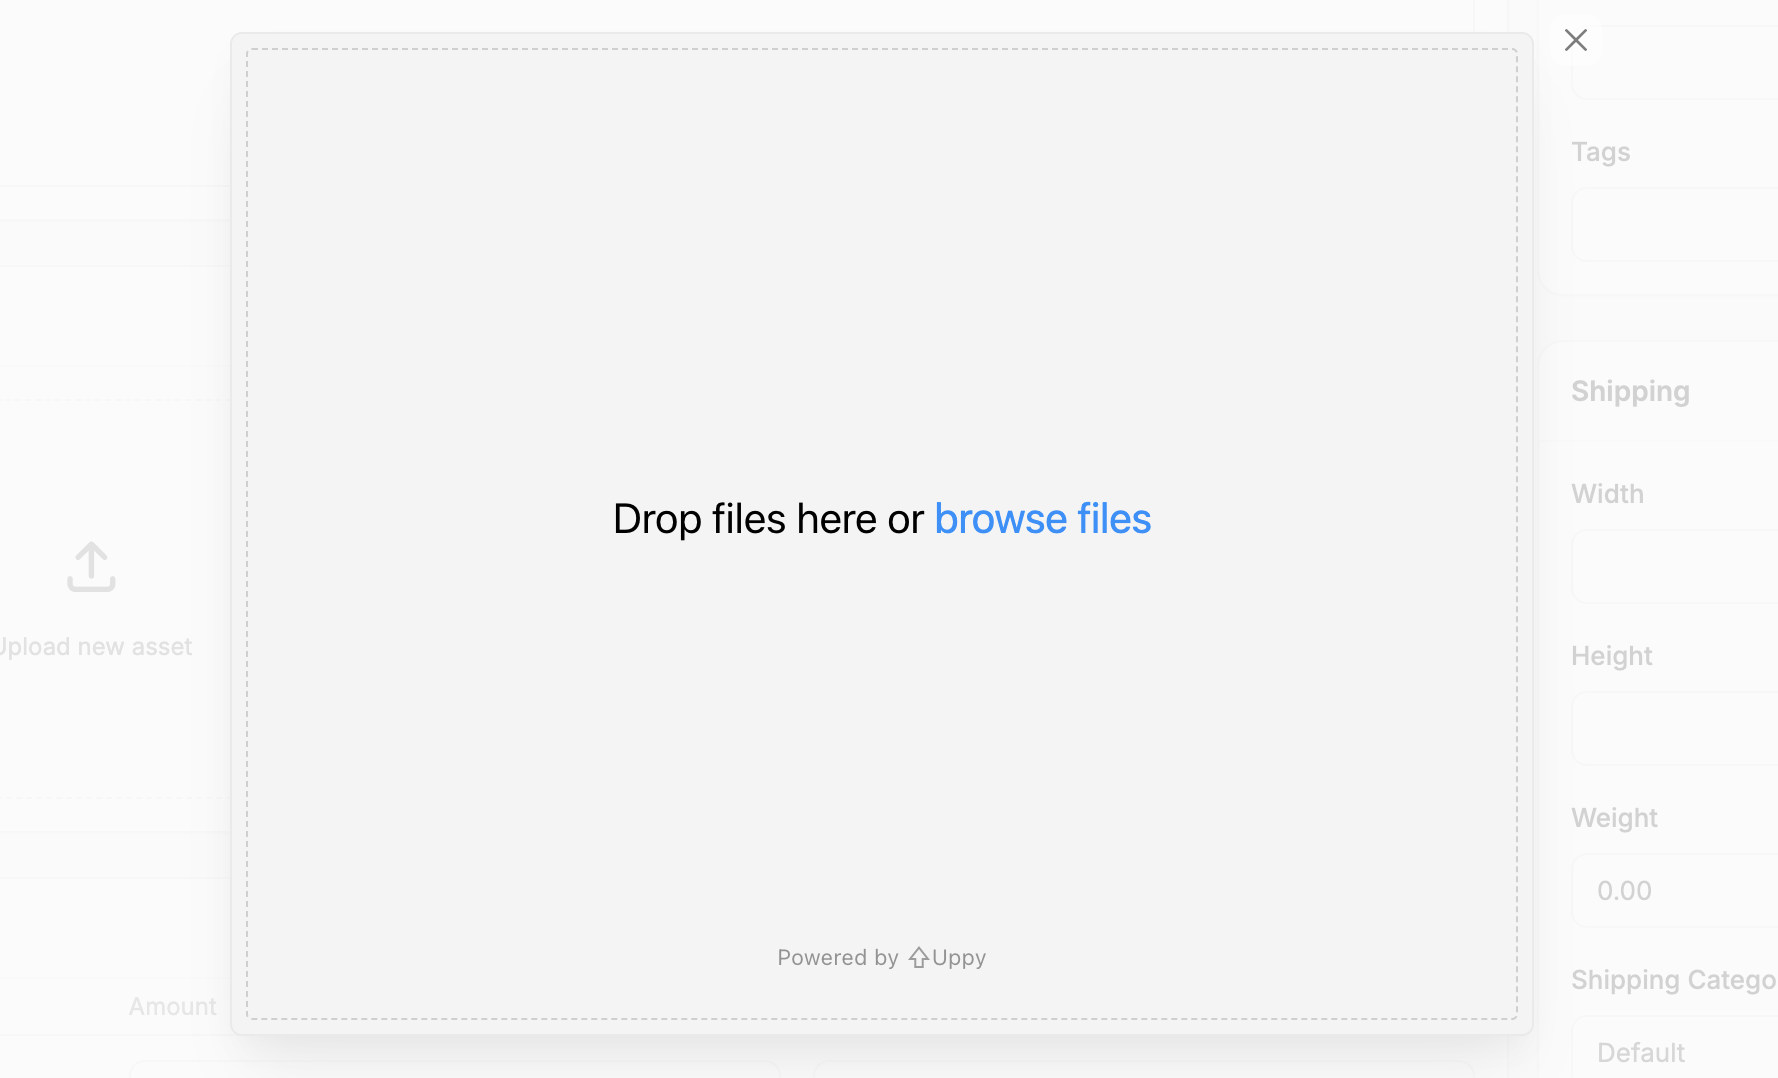
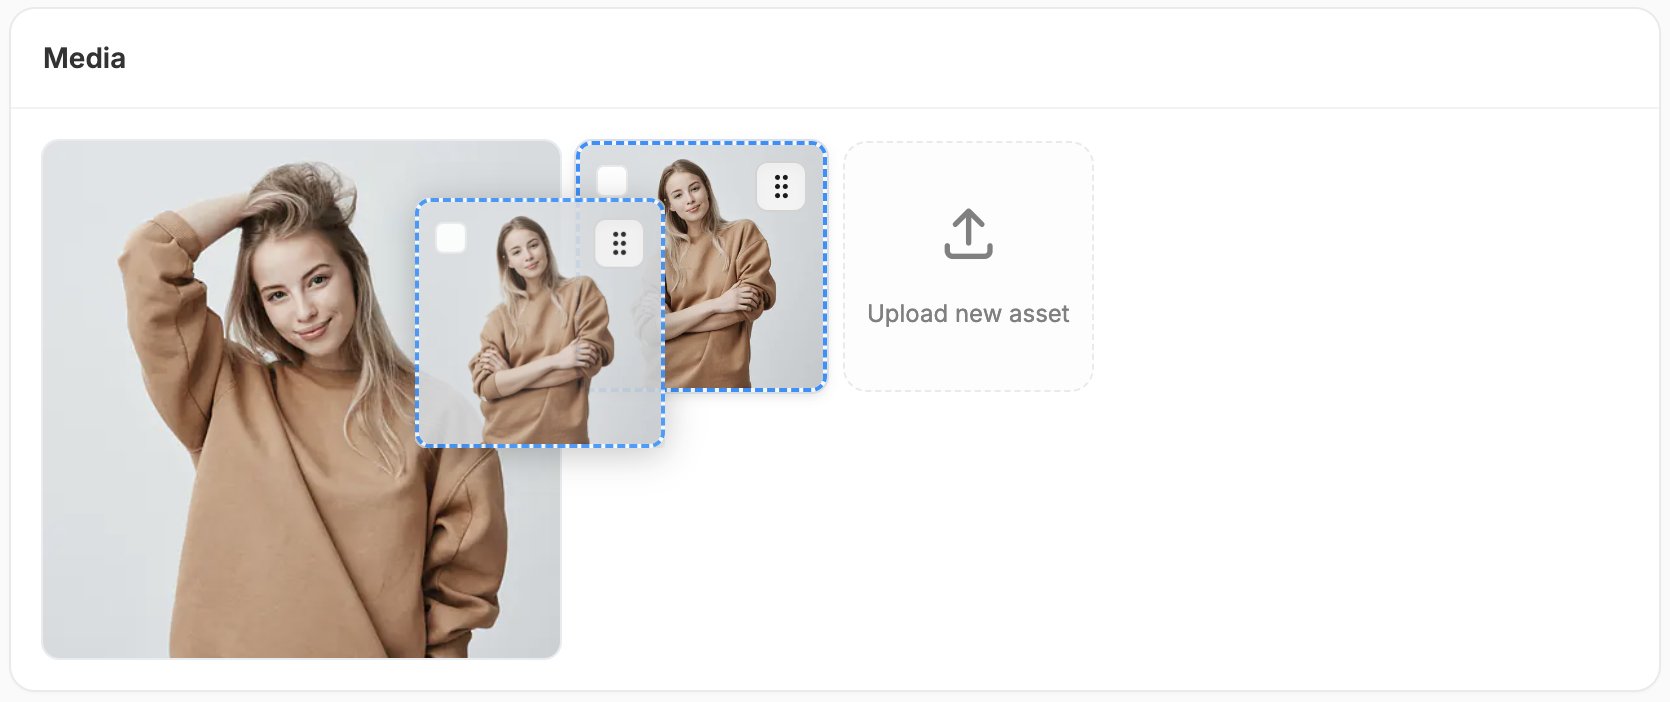
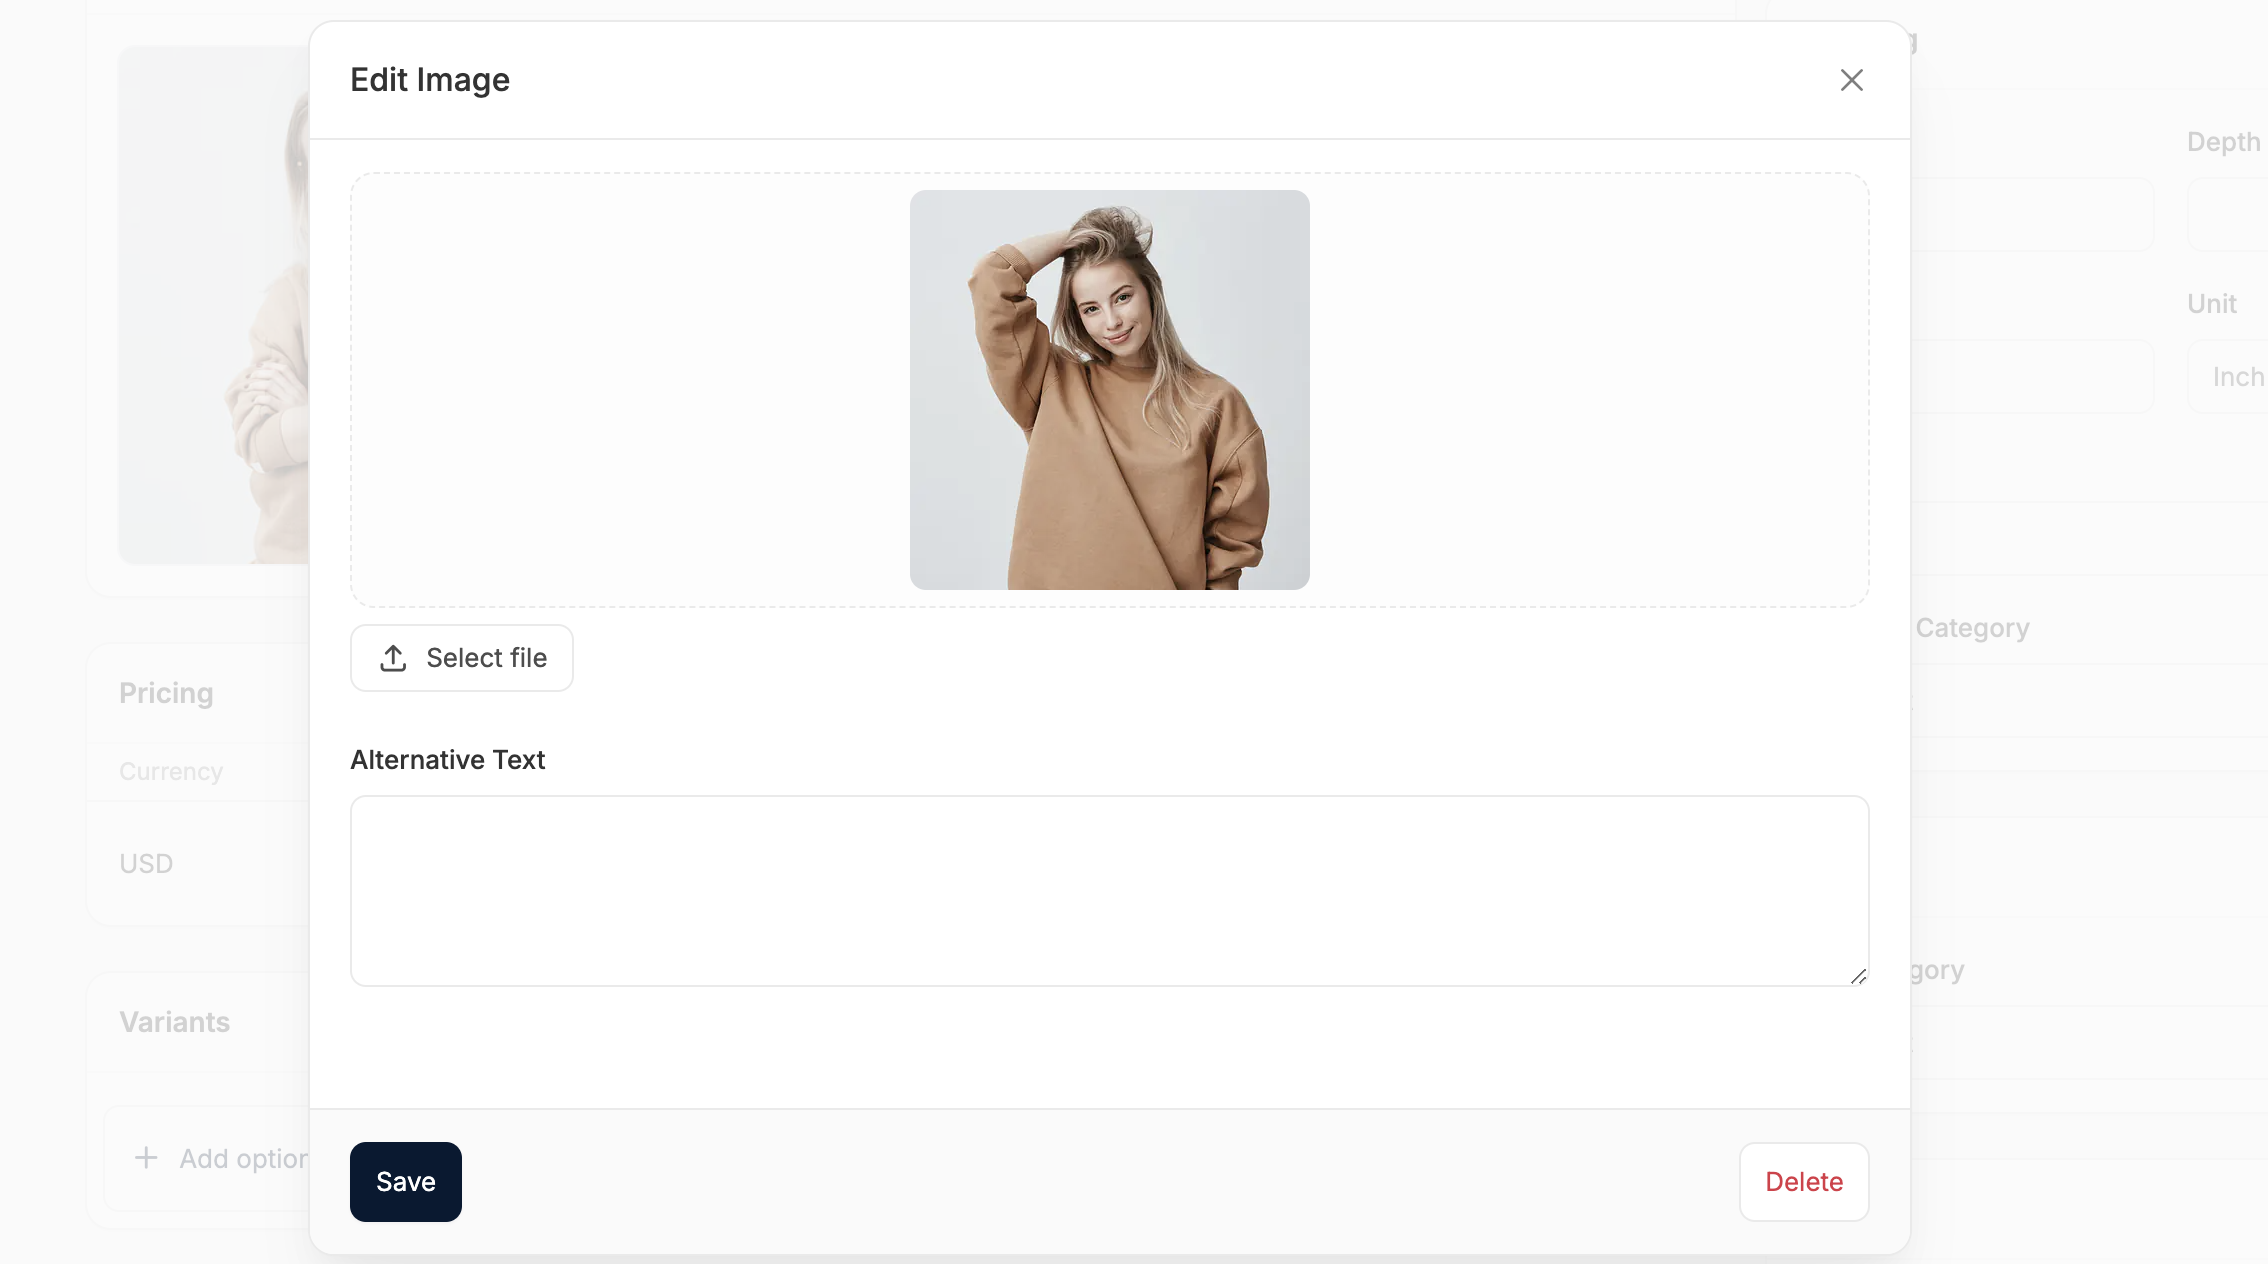
You can also use the checkboxes to delete multiple images at once.
Availability & Status
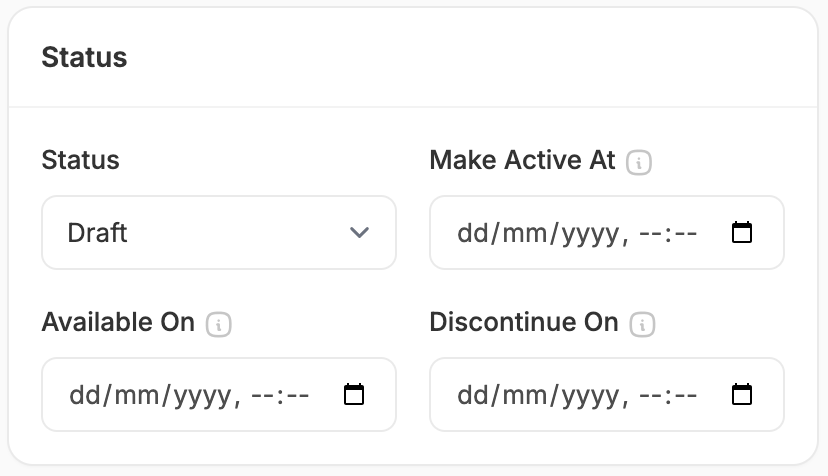
- Status:
- Active: visible and purchasable
- Draft: hidden from customers
- Archived: stored in the admin, no longer available
- Make Active At: Schedule a future go-live date
- Available On: Set a public release date (commonly used for preorders)
- Discontinue On: Choose a date to automatically unpublish the product
Categorization
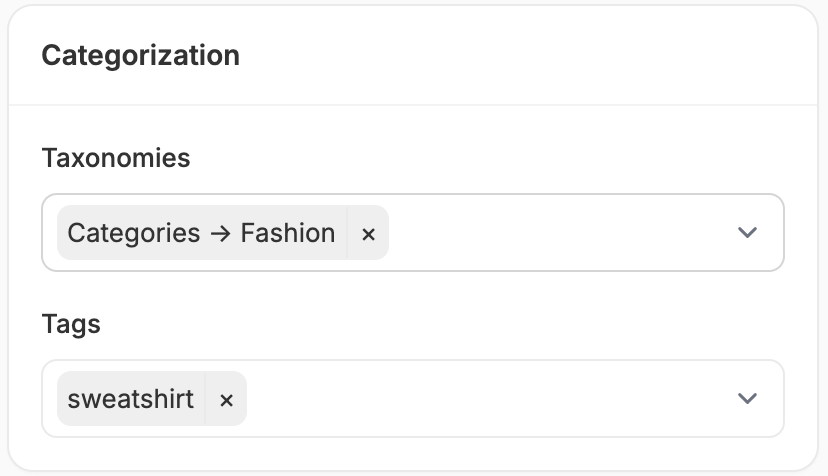
-
Taxonomies: Assign categories, collections, or brands (e.g., Fashion → Women → Tops). Products will appear anywhere the taxon is used on the site.
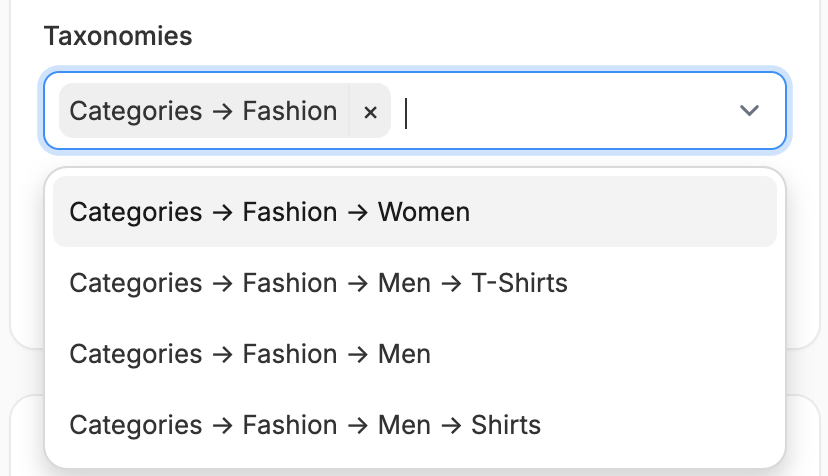
-
Tags: Use custom tags like Vegan, Eco-Friendly, or Summer Collection for filtering, related products, or smart merchandising logic.
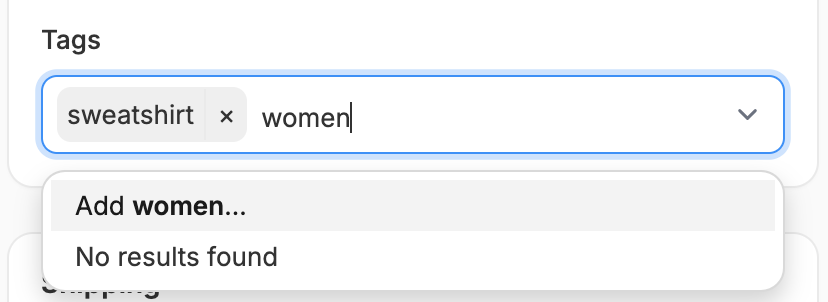
Taxonomies must be created in Products → Taxonomies before they can be assigned to products. Tags, on the other hand, can be created directly in the product editor.
Pricing

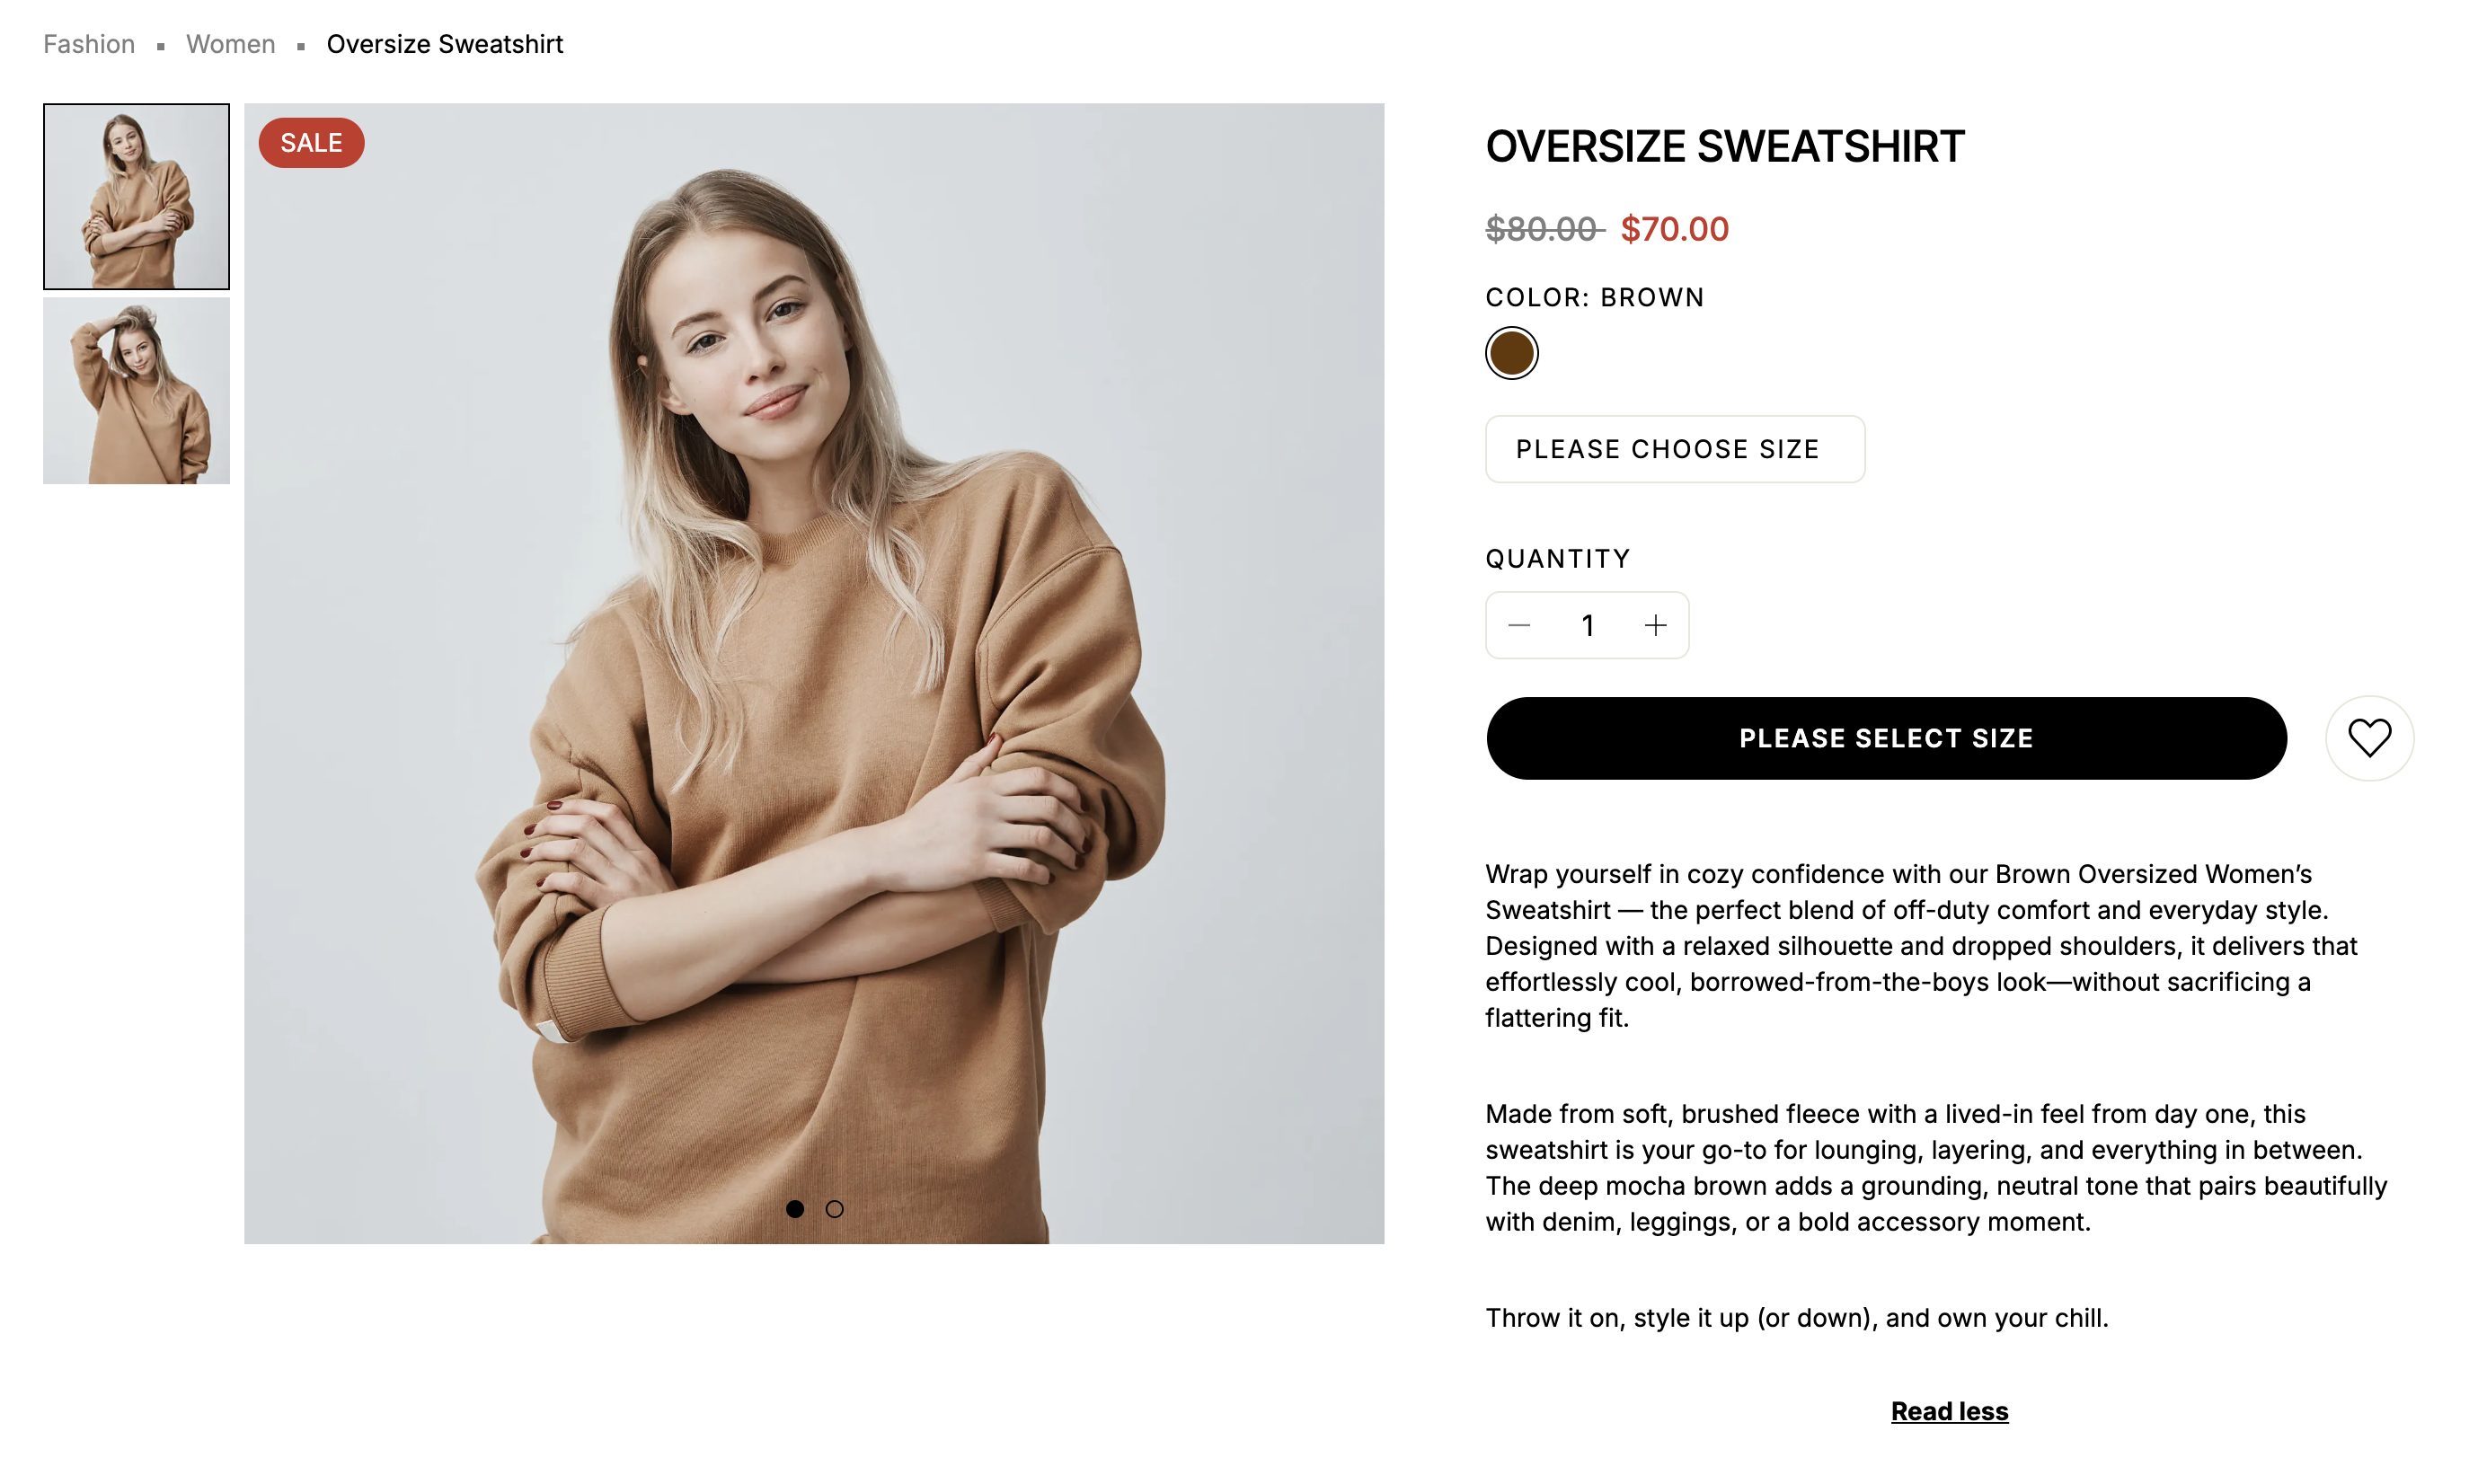
- Amount: The selling price shown on the storefront
- Compare At Amount: Optional field for showing a discounted or original price.
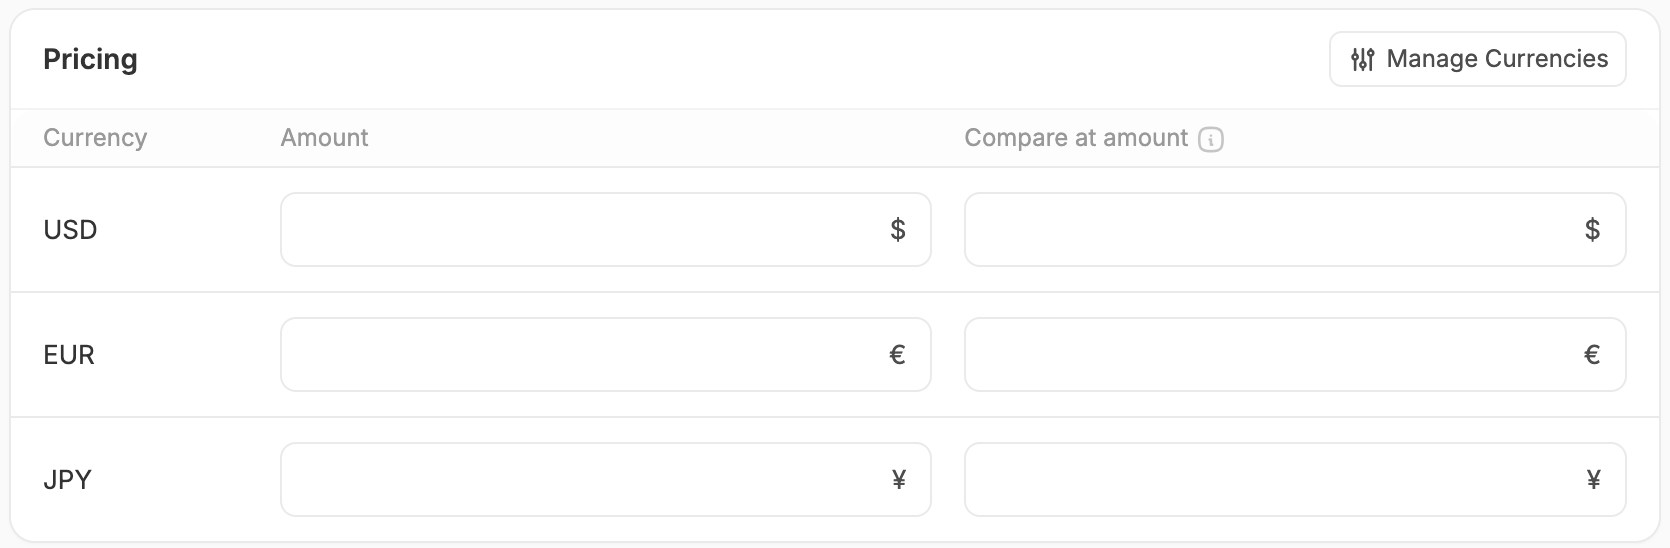
Add or manage supported currencies in Settings → Store Settings.
Inventory
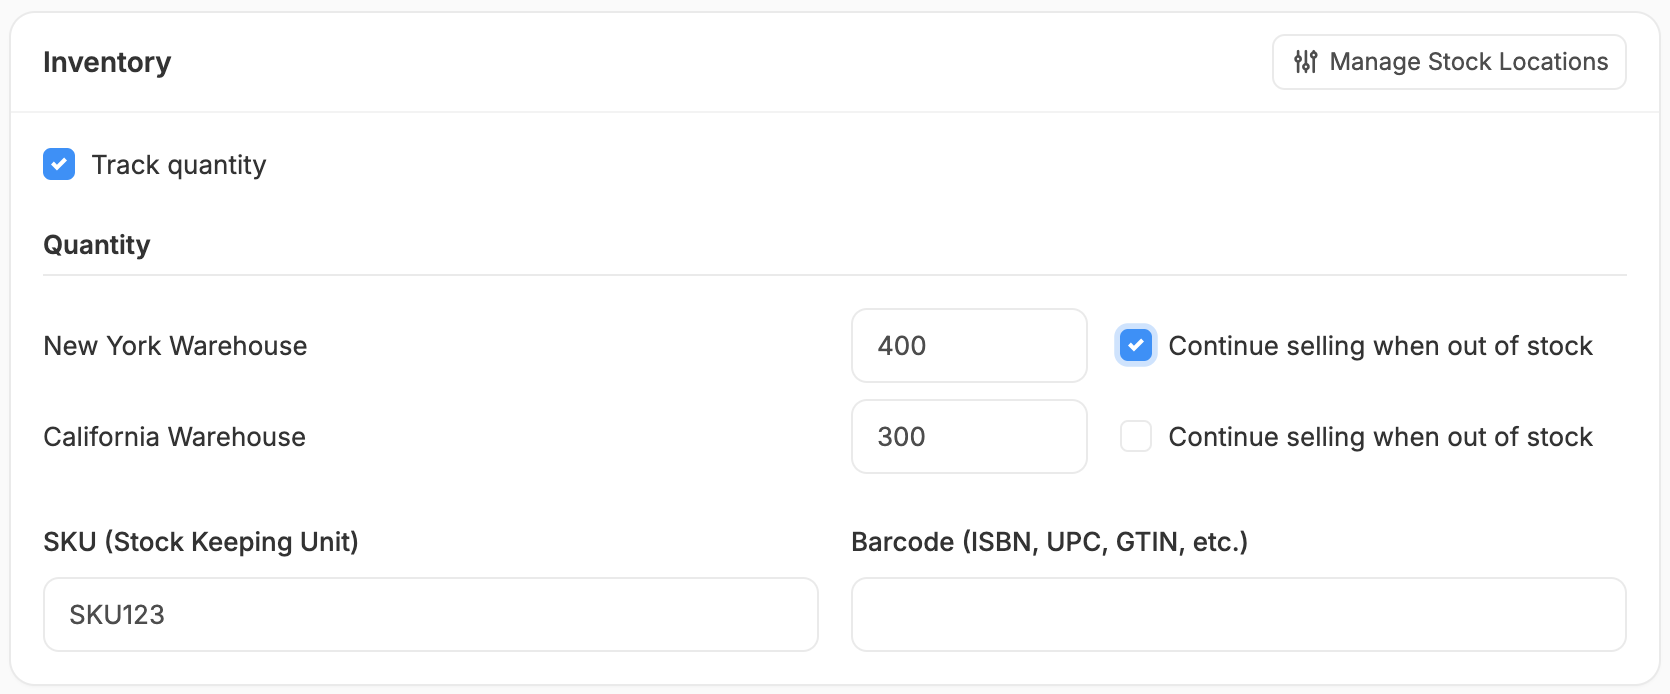
- Track Quantity: Enable this if you want to keep count of stock and prevent overselling.
- Quantity: Set available inventory for each stock location.
- Continue Selling When Out of Stock: Optional override that allows customers to purchase even if stock is zero.
- SKU: Internal identifier for managing stock. Not required, but helpful — must be unique per variant.
- Barcode: Used for scanning in warehouses, syncing with logistics providers, or POS systems. Supports ISBN, UPC, GTIN, etc.
If quantity tracking is enabled, stock is automatically reduced when orders are placed.
Variants

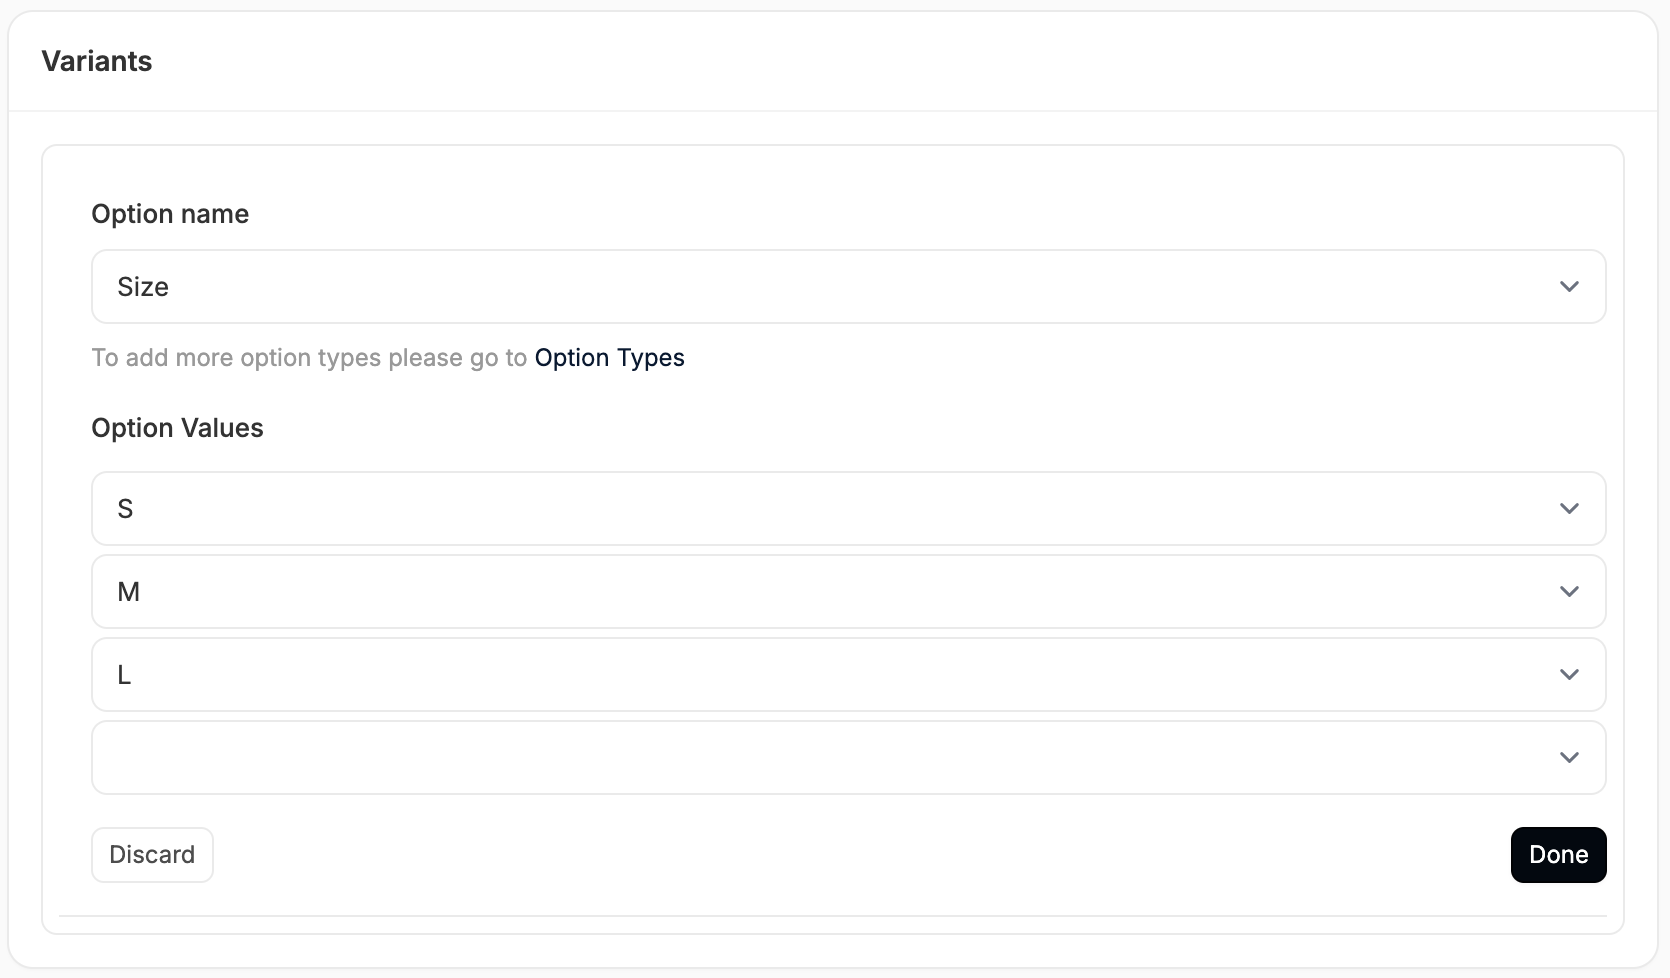
- Choose an Option Name (e.g., Size, Color)
- Add Option Values (e.g., S, M, L)
- Click Done
- Add more option types if needed
You can add or manage Options under Products → Options.
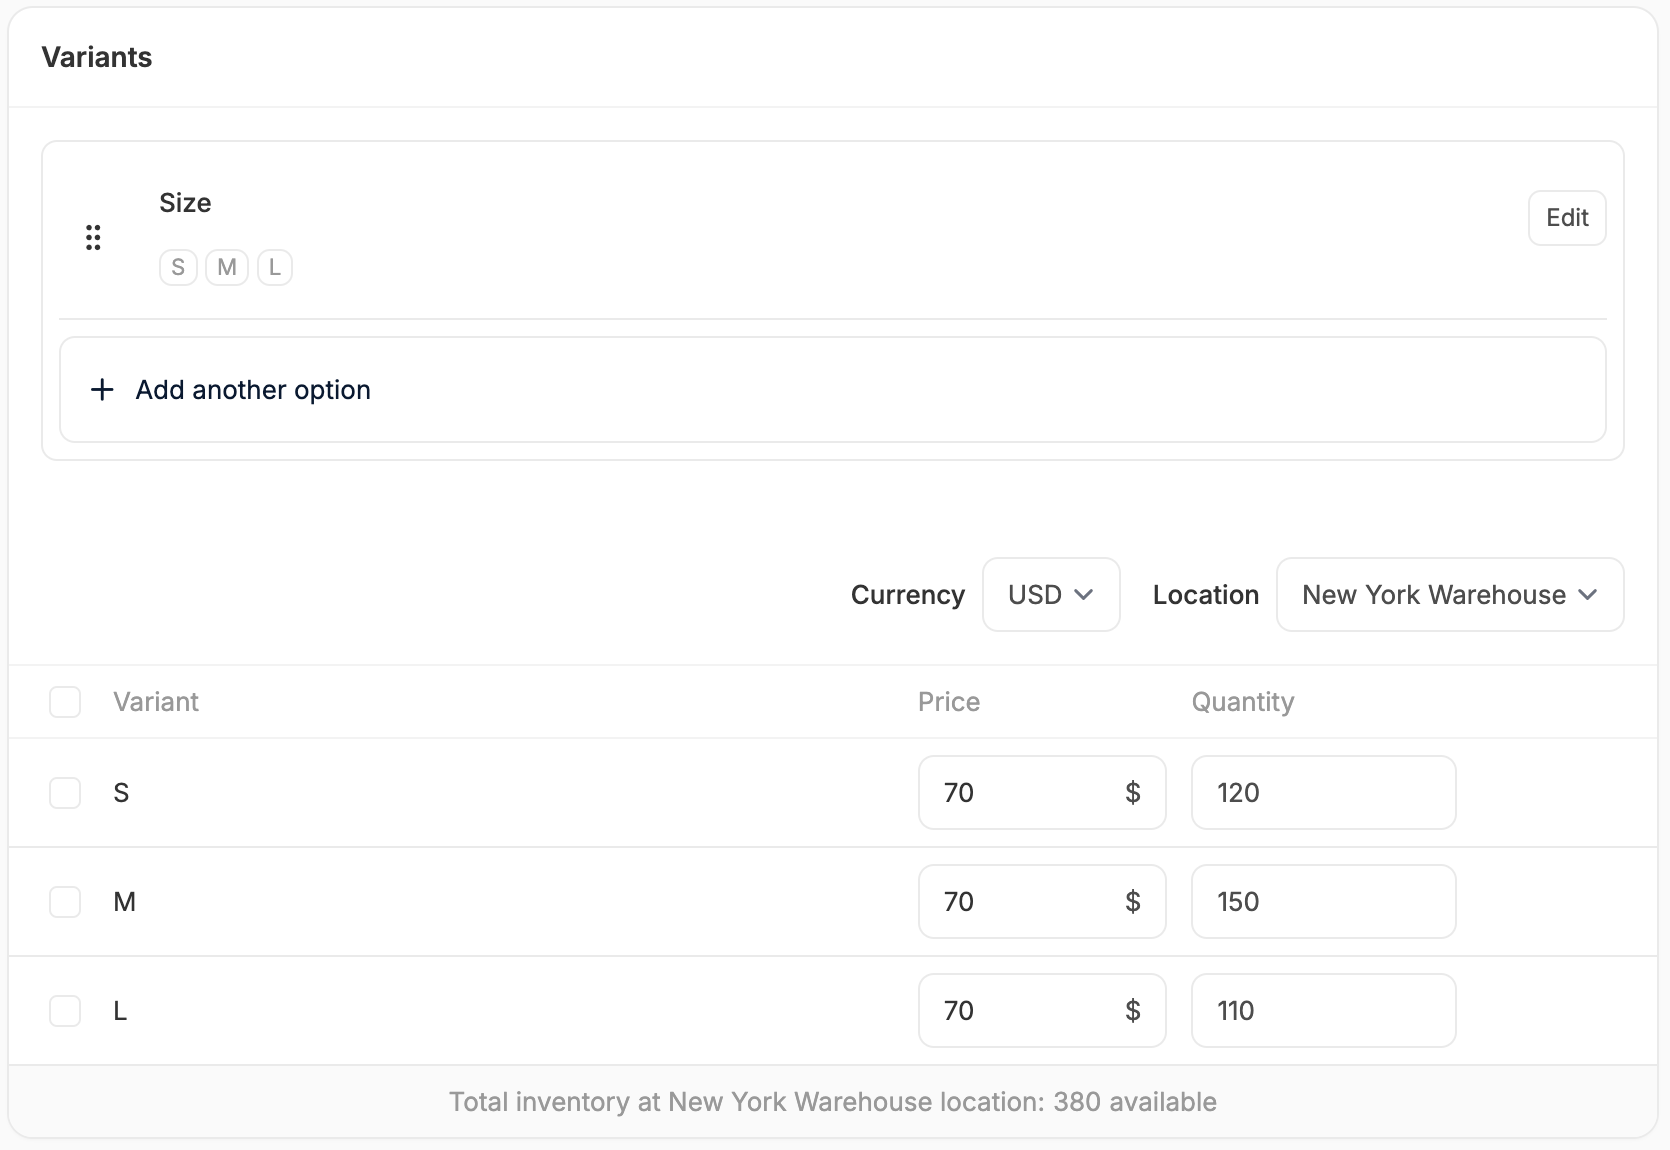
Keep naming consistent across products (e.g., use S, M, L everywhere - not Small, Medium, Large on some items and initials on others).
Shipping
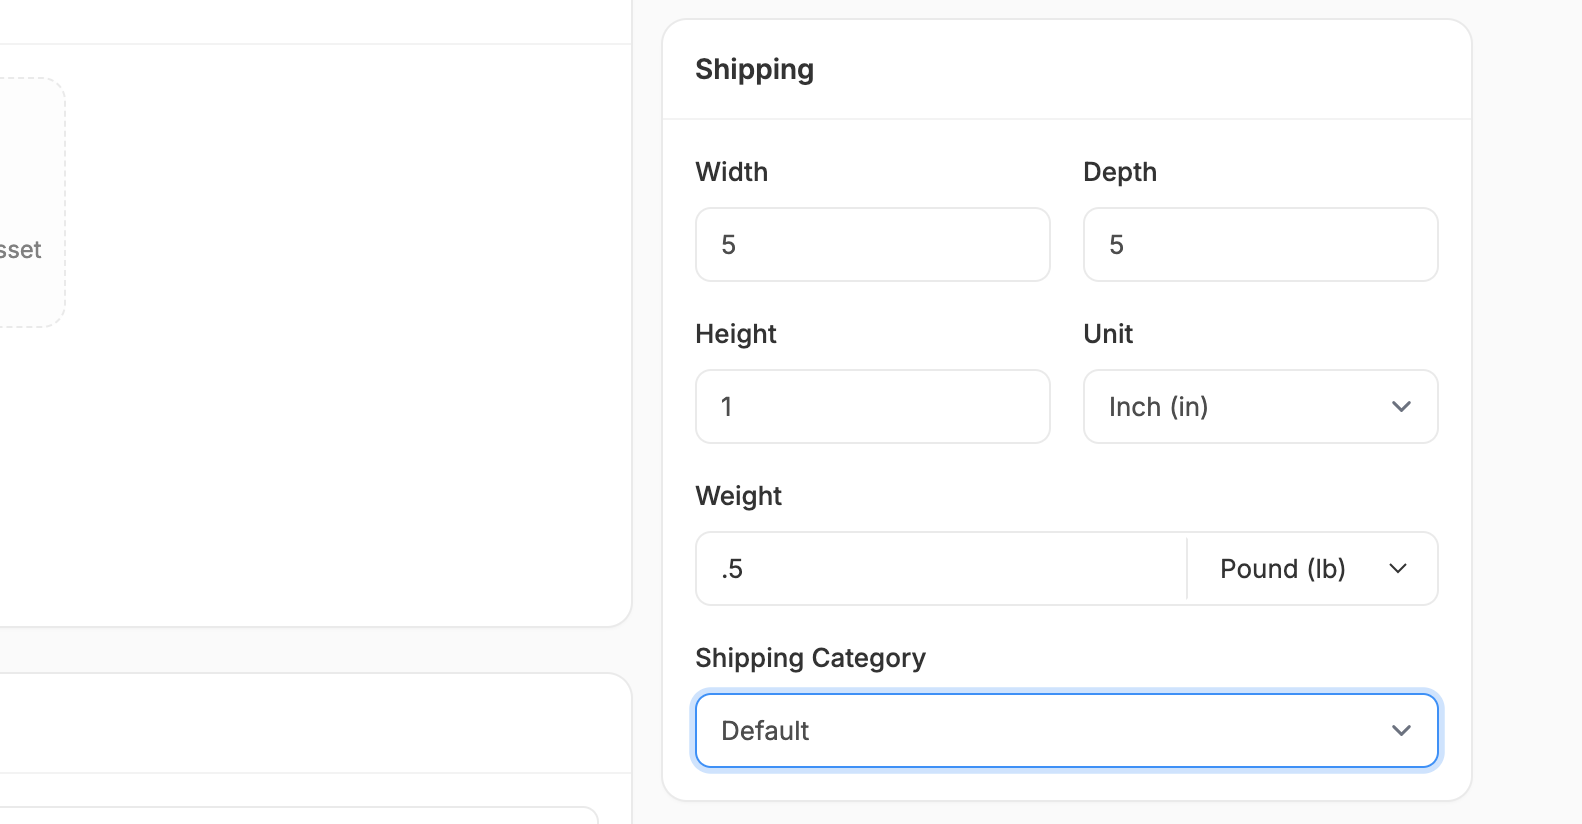
- Dimensions & Weight: Enter the product’s width, height, depth, and weight.
- These values can be used to calculate shipping costs automatically
- Shipping Category: Choose the category that determines shipping behavior.
- E.g., assign Digital for downloadable products, or Heavy for oversized items.
You can change the default unit system (metric vs imperial) in Settings → Store Details → Standards & Formats.
Product Metafields
Product Metafields let you add custom data fields to a product beyond Spree’s built-in fields — useful for technical specs, care instructions, supplier notes, or anything else specific to your catalog. For example, a clothing product might have a Material metafield set to “100% Organic Cotton,” or an electronics product might have a Voltage metafield set to “110–240V.” See Product Metafields to learn how to create metafield definitions and add values to your products.Tax
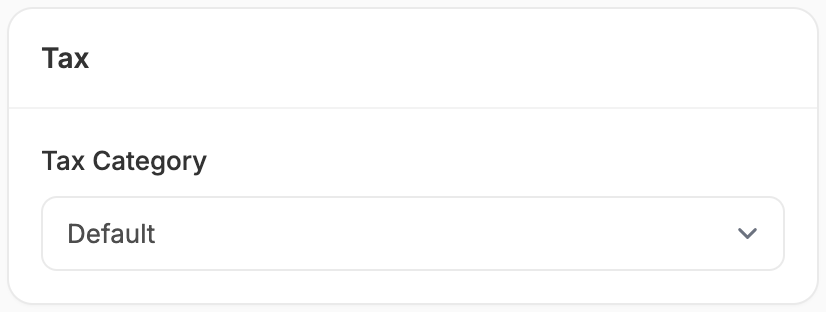
- Default Tax
- Tax Exempt
- Downloadable Goods
Search Engine Listing
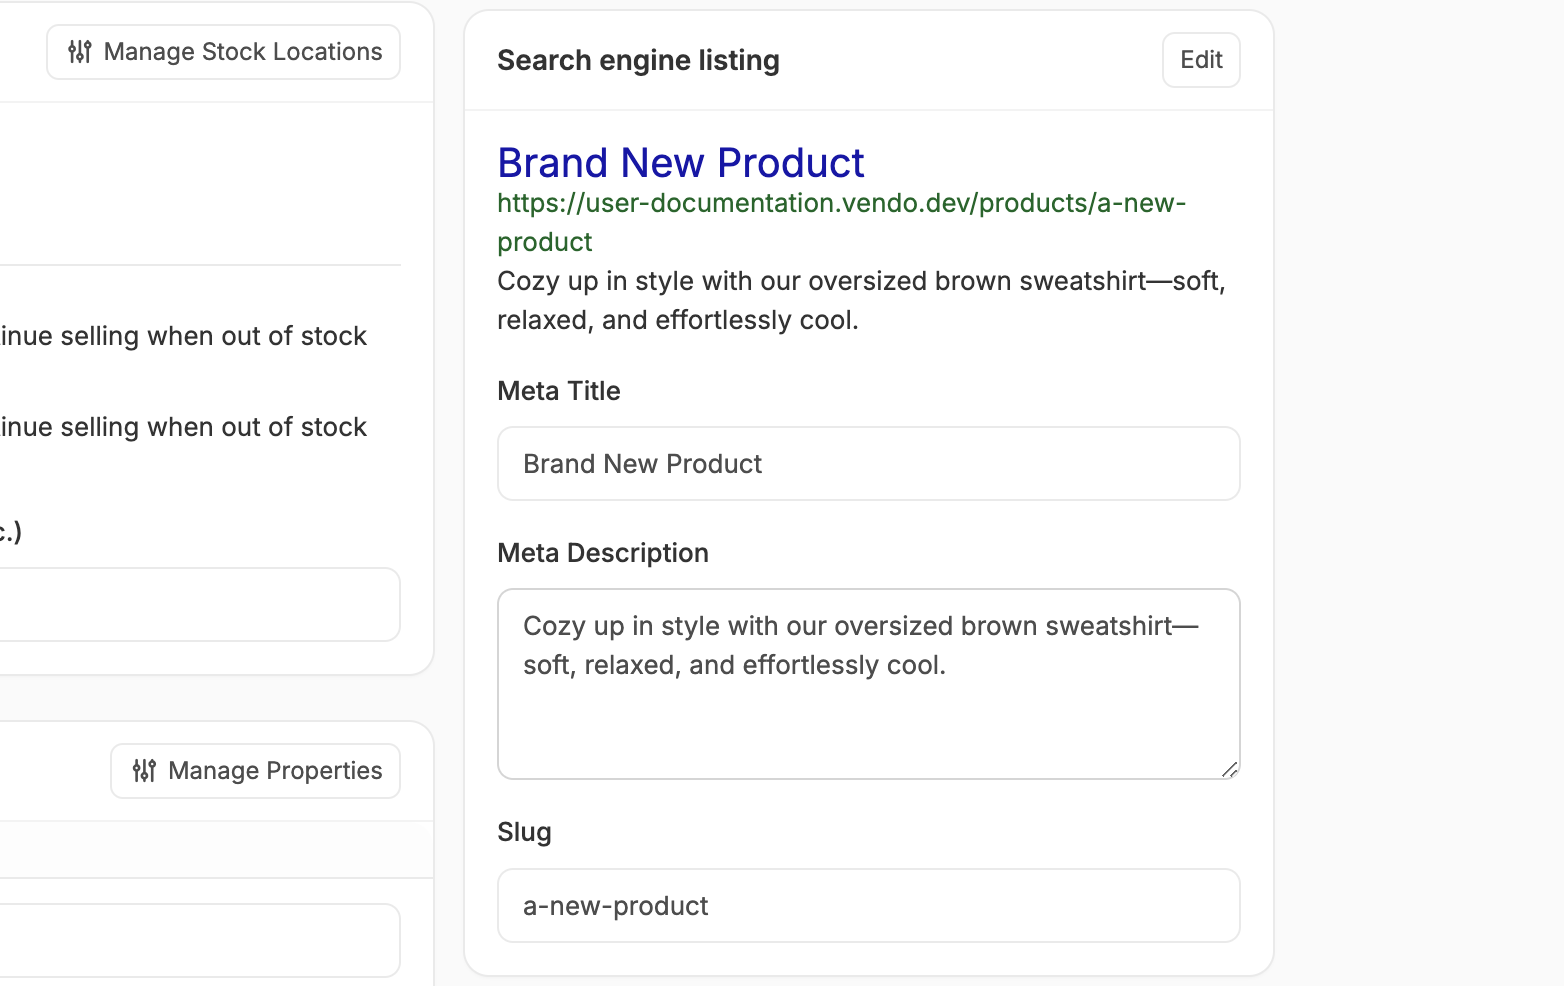
- Meta Title: The page title shown in search results
- Meta Description: Short summary shown beneath the title
- Slug: Controls the product’s URL. If not set, the product name is used (e.g., /black-hoodie)
Digital Products
If you assign the Digital shipping category to a product, no physical fulfilment is required — but you’ll also need to upload the file customers will receive after purchase. Digital assets can be any downloadable file, most commonly:- PDFs — ebooks, guides, certificates
- ZIP archives — software, templates, sample packs
- Audio and video files — courses, music, video content
- License or activation keys — delivered as a text file
- In the product editor, click the three-dot* menu in the top-right corner.
- Select Digital Assets to open the digital assets management screen.
- Click New Digital Asset to open the upload form.
- Upload the file. If the product has multiple variants, also select which variant the asset should attach to.
Download access and limits
Spree generates a unique digital link with a token for each purchased line item. You can restrict how customers use that link from your store’s digital product settings:- Maximum downloads - cap how many times the file can be downloaded per order (for example, 5).
- Link expiry - set how long the link remains valid after purchase (for example, 3 days).
How customers receive the file
After an order is placed, customers can access their files in three ways:- Order confirmation page - download links appear on the success page immediately after checkout.
- Order confirmation email - links are included in the email sent after purchase.
- My Account dashboard - logged-in customers can return to their account to re-download (subject to the limits above).
GET /api/v3/store/digitals/{token}. The token alone authorizes the download — no API key or login is required — which is why download limits and expiry exist.
For more on selling digital products, see the Digital Products guide.