

product_id, seller_name and labels) and none of the customs or packing columns, so see Import & Export if you are starting from an export rather than the template.
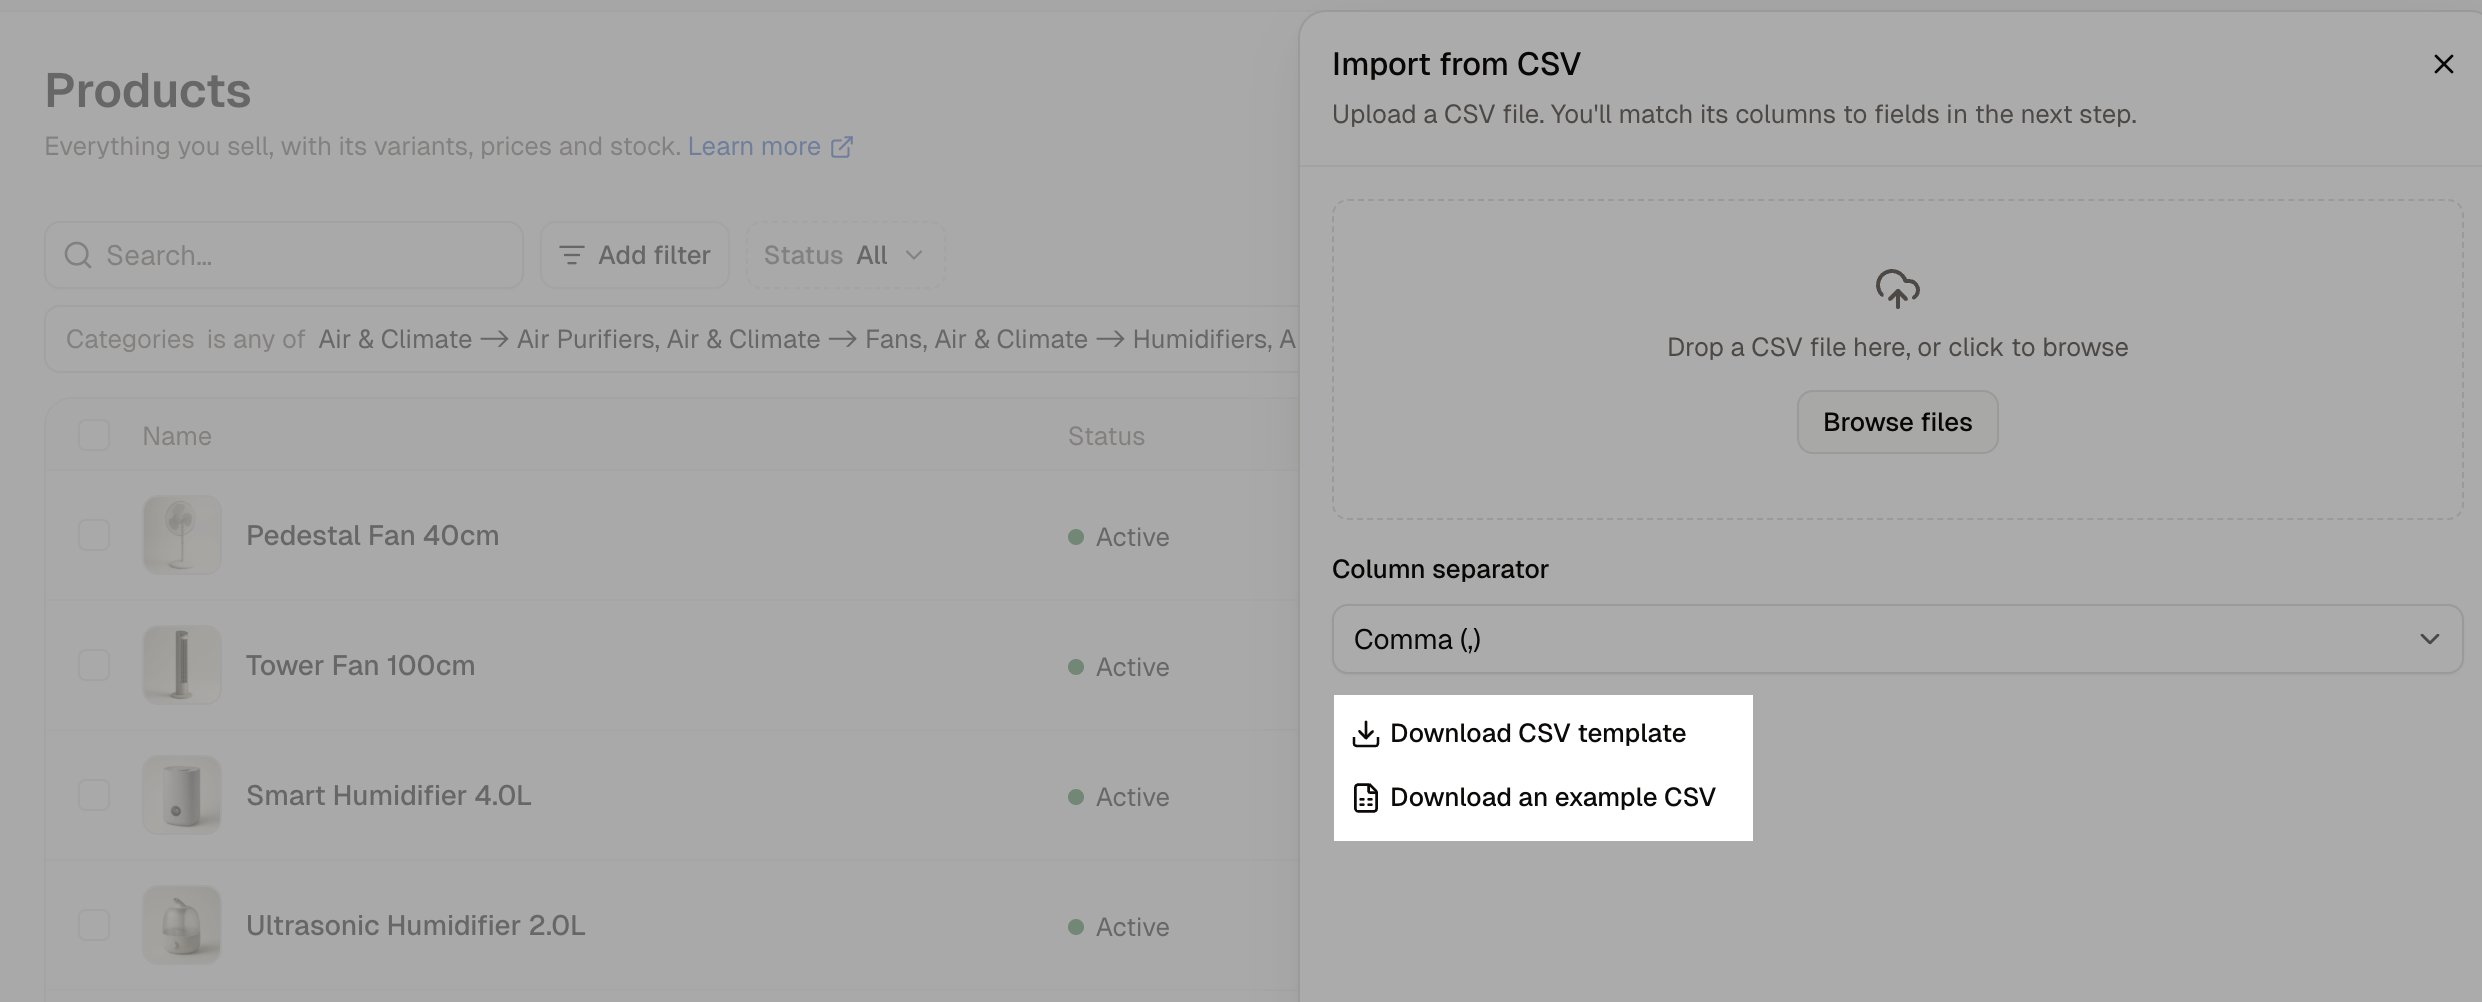
To get the template, navigate to Products in the admin dashboard and click Import.
How to Download the Template
- Go to Products and click Import.
- In the Import from CSV panel, click Download CSV template.
The Columns in the Template
The template carries 45 fixed columns, then one more for each product custom field your store has defined. Only Slug, SKU, Name and Price have to be mapped; every other column can be left out of the file.The Four Required Columns
Four columns have to be matched to something before an import can start. Every other column can be left out of the file altogether.slug- The key tying every line of one product together. All of a product’s lines carry the same slug.sku- The variant’s own product code. A line whose SKU already exists in the store updates that variant rather than adding a new one.name- The product’s name, which only needs filling in on the line carrying the product’s details.price- The price in that line’s currency.
How to Fill In a Product With Variants
Every line of the file is a variant, and all of a product’s lines share oneslug. The product’s own details go on one of those lines, and the rest carry only what belongs to their variant.
- On the product’s first line, fill in
slug,sku,name,priceandstatus, along with the description, categories and anything else that belongs to the product as a whole. Give that line its ownoption1_nameandoption1_value, because it is a variant too. - On each following line, repeat the
slug, give the variant its ownskuandprice, and fill in itsoption1_nameandoption1_value. - Leave
name,descriptionand the other product columns empty on those lines.
Bronze adds both the variant and a new Bronze value to the store’s Color option.
How to Fill In Prices in More Than One Currency
Each currency is a line of its own.- Fill in the variant’s line in your store’s default currency.
- Add another line for the same variant, carrying the same
slugandsku, the price in the other currency, and that currency’s code incurrency.
How to Write Values
Columns of the same kind expect the same format.How the Template’s Columns Are Matched on Upload
After you click Continue, the Map columns step lists every import field for you to match against a column of your file.- Field - the import field, with Required beside Slug, SKU, Name and Price.
- File column - the column from your file. It is filled in for you when your column’s header equals the field name, and reads Not mapped otherwise.
- Example - the value in that column on your file’s first data row.
Further Reading
- Import & Export - Uploading the finished file, and exporting products back out
- Options - The option values your lines refer to
- Variants - What the option columns become once the file is imported
- Adding Products - The same fields on the product form