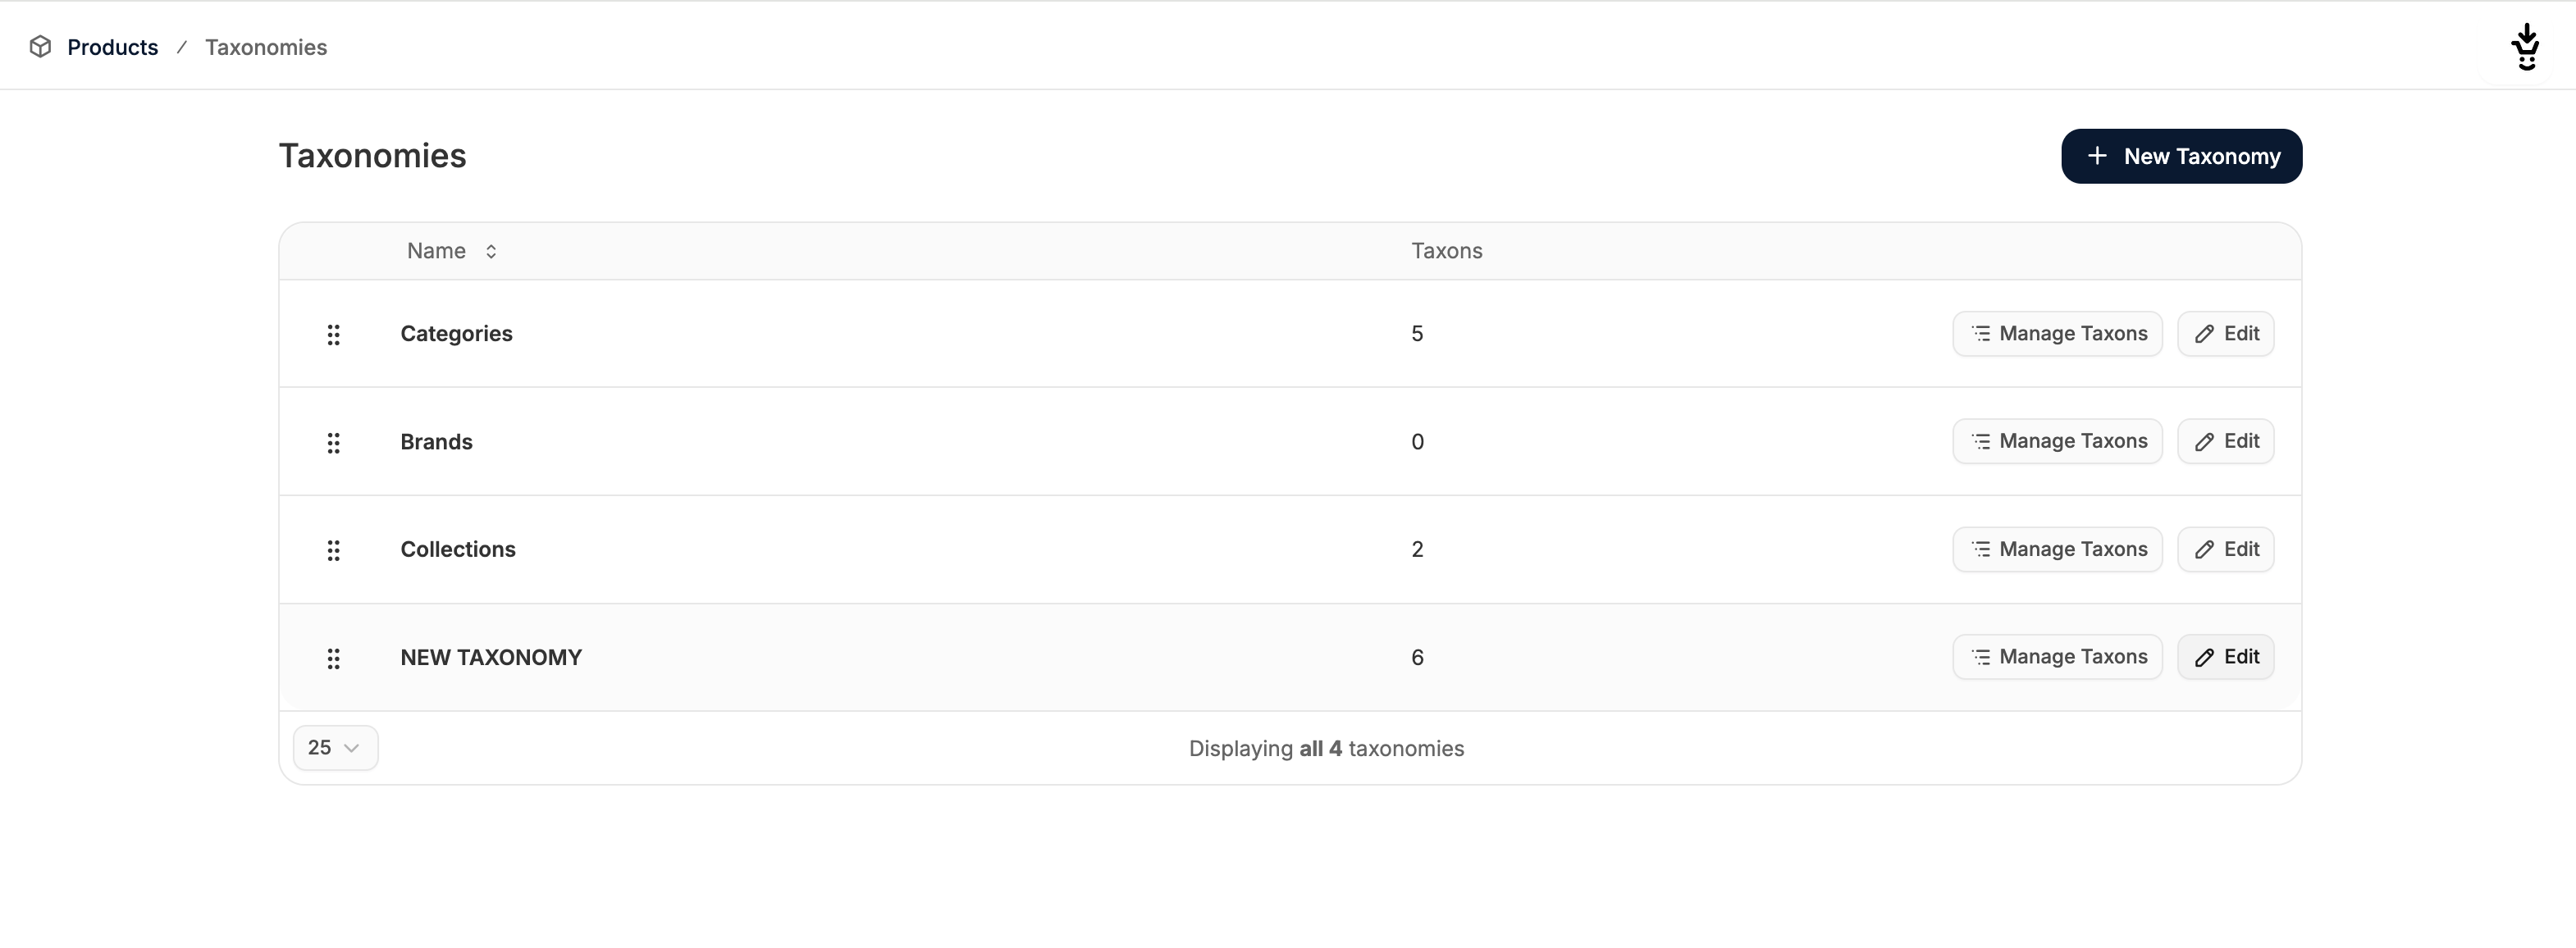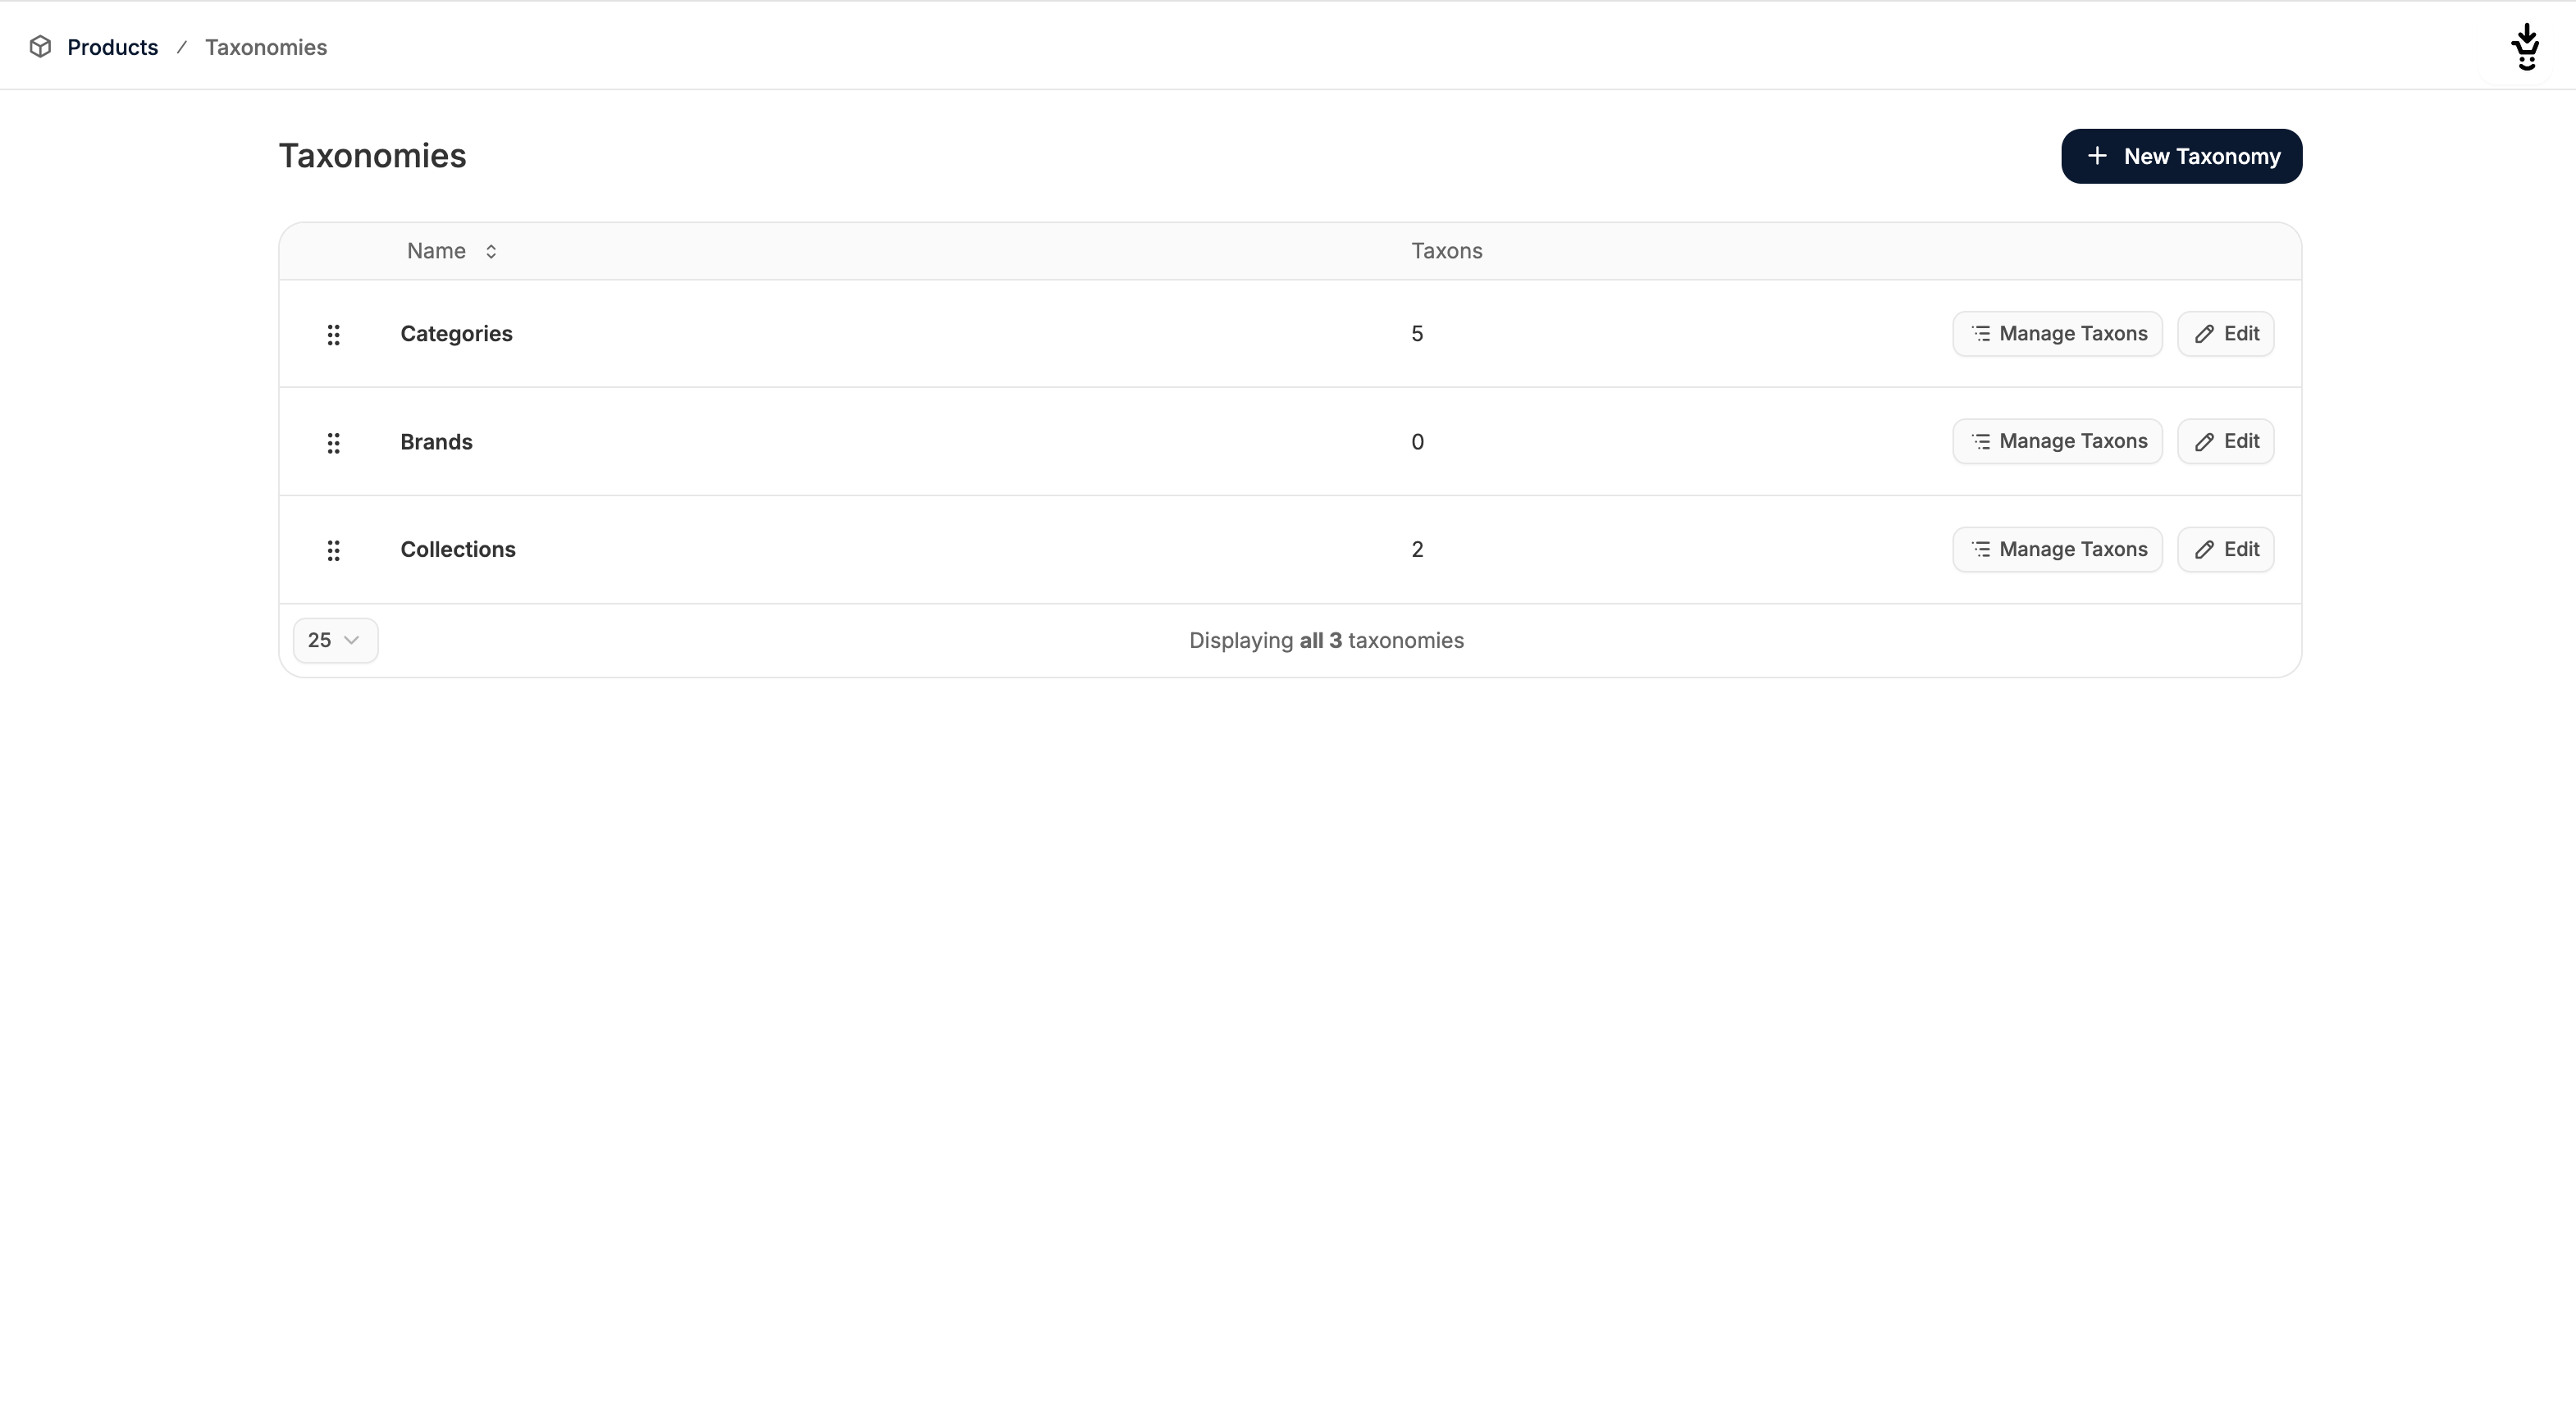
- Categories - Groups of products based on type or purpose for easy navigation
- Brands - Organizes products by their manufacturer or label
- Collections - Curated groups of products based on themes or trends
Add a category
To add a category, click New Category in the top right corner — or, on an empty list, Add One in the middle of the page.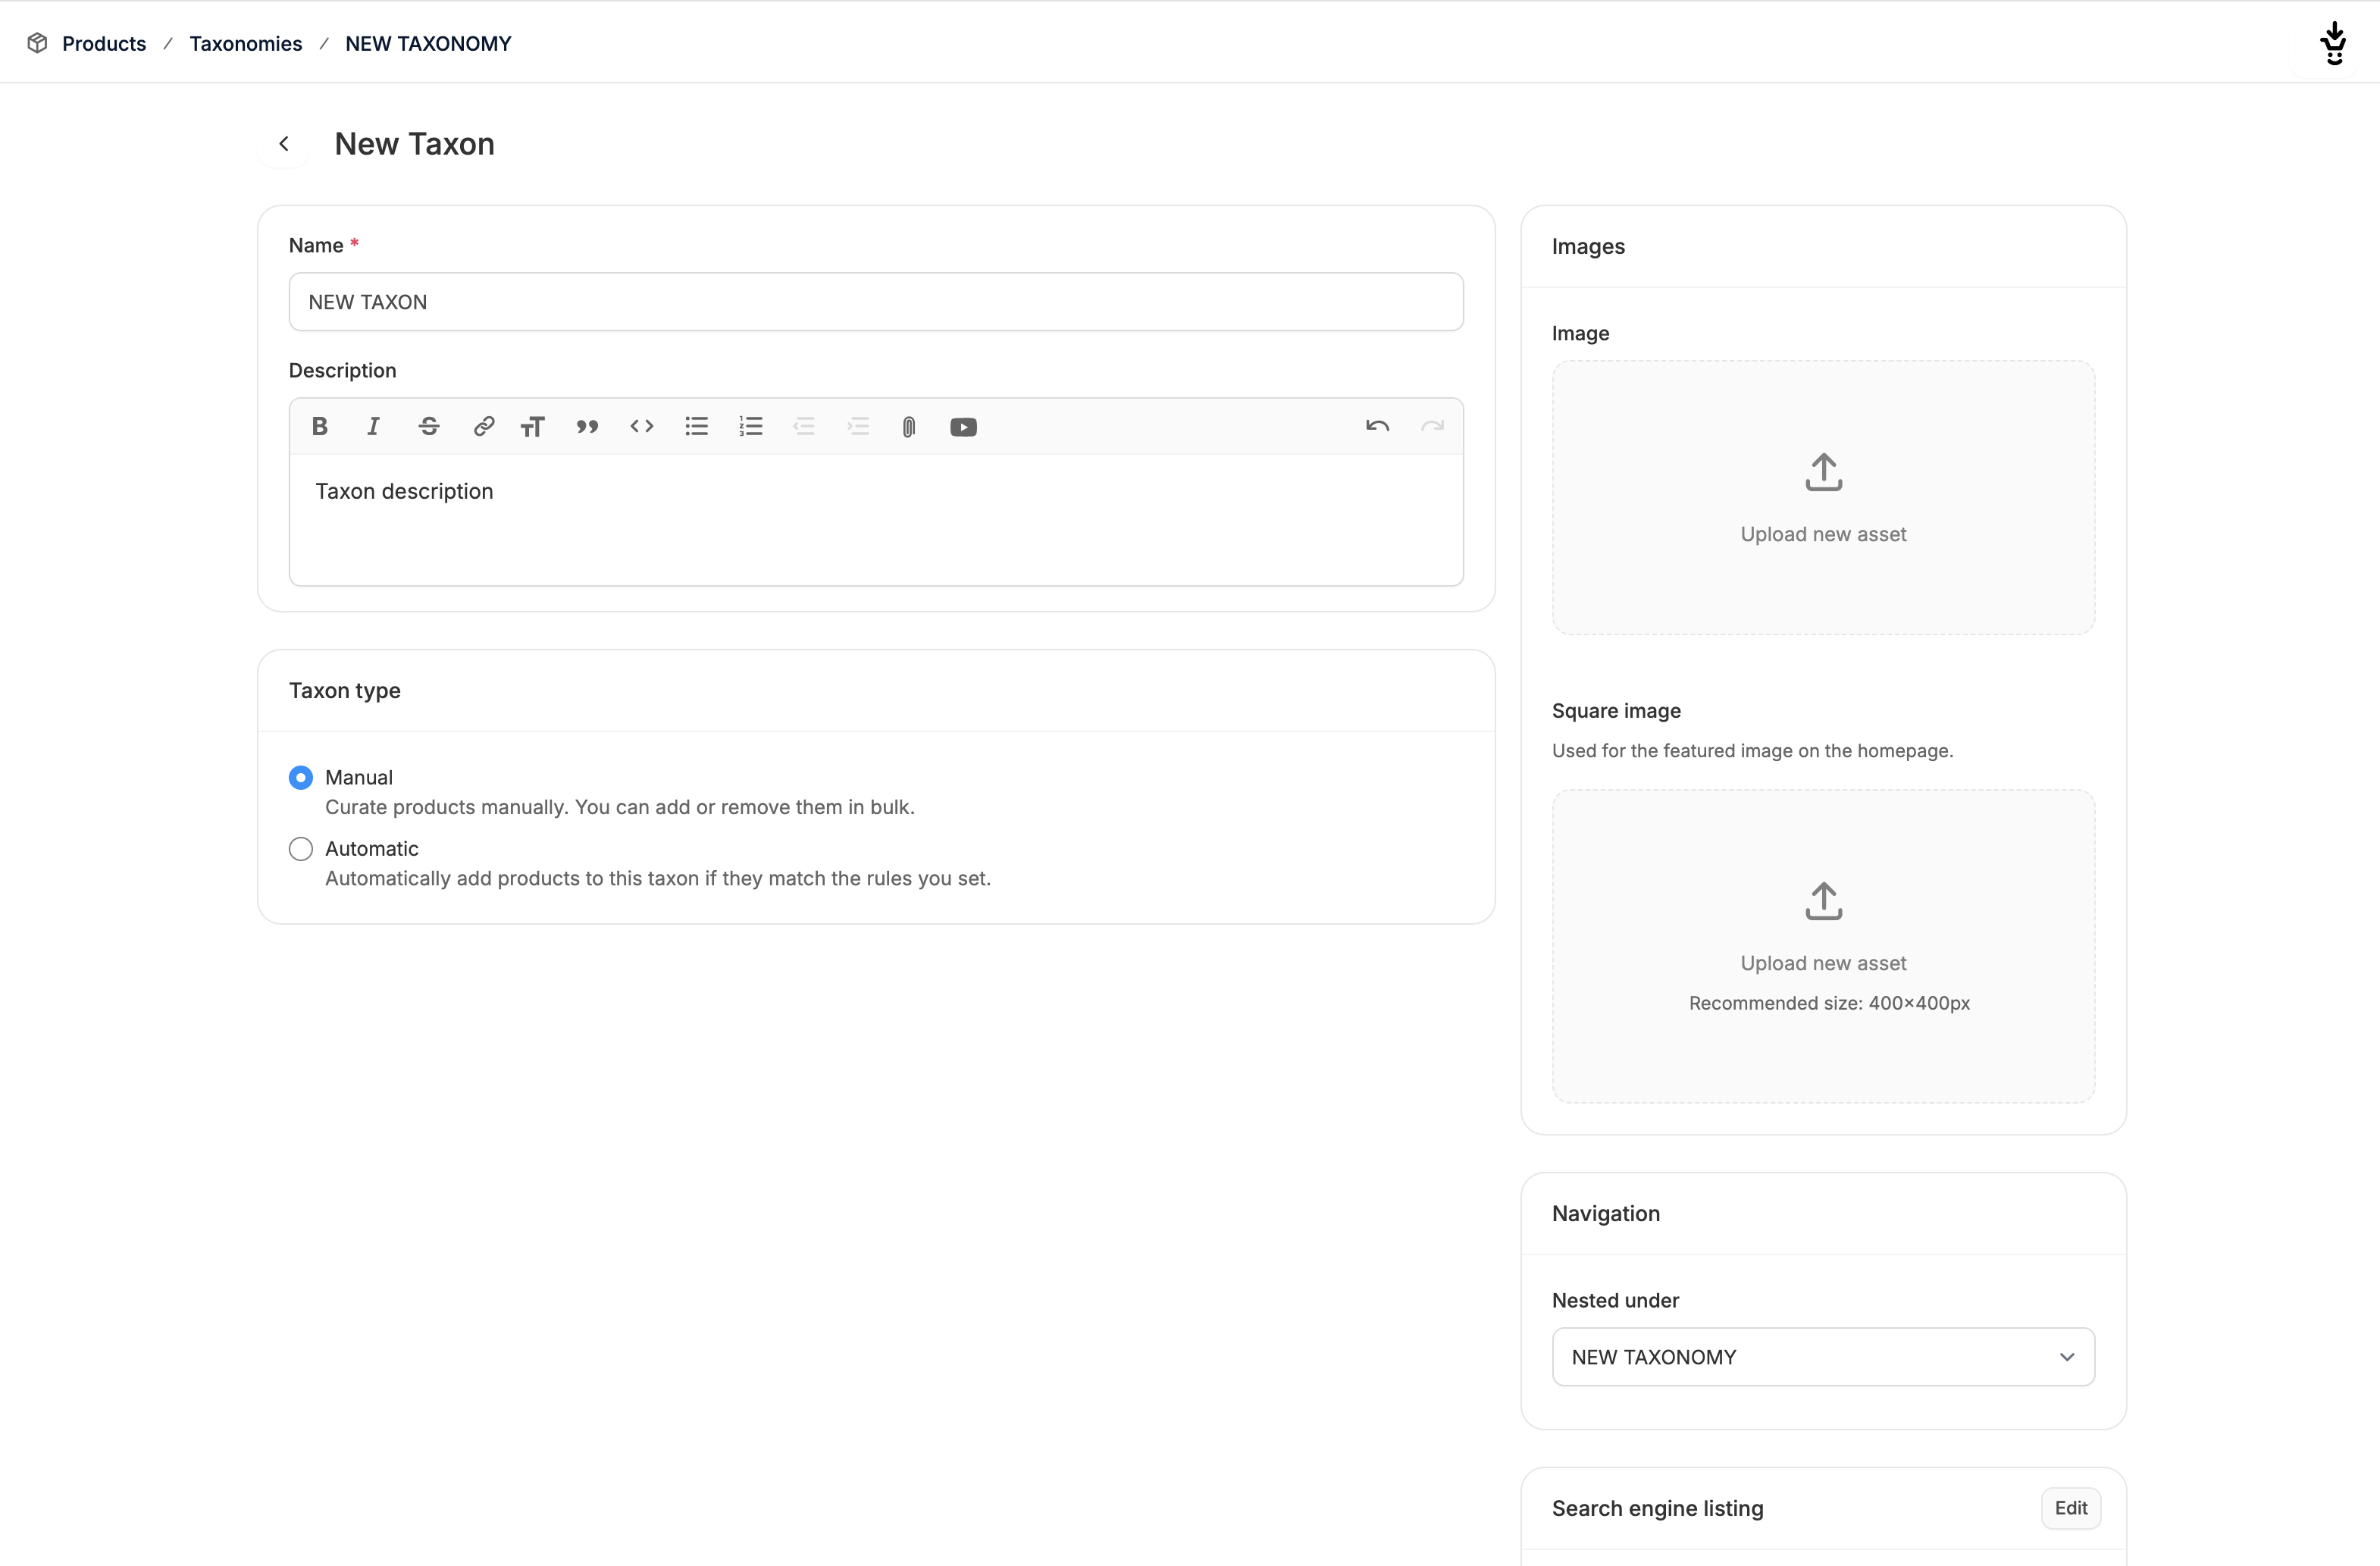
Presentation
There are four sections that affect how the category is presented on the storefront:- Name - Add a name to be displayed on the frontend and backend
- Description - Add text describing the category, optionally displayed on the storefront
- Image - Upload a complimentary image to be displayed on the categories storefront page
- Square Image - Upload a complimentary square image to optionally be displayed in page sections featuring that category
Automatic grouping
Categories are curated by hand. If you want a grouping that fills itself — everything on sale, everything taggedorganic — create a Collection instead.
Navigation
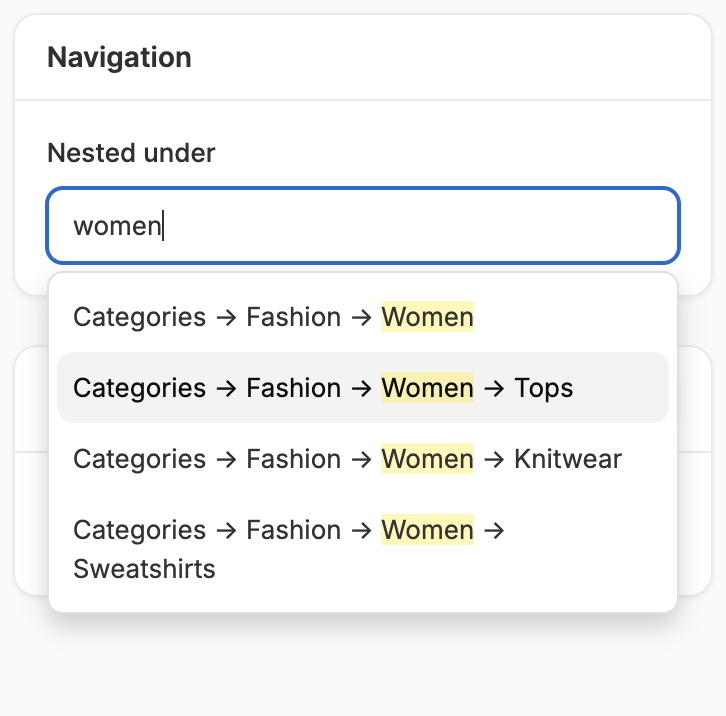
Here you can select where the new category should be nested.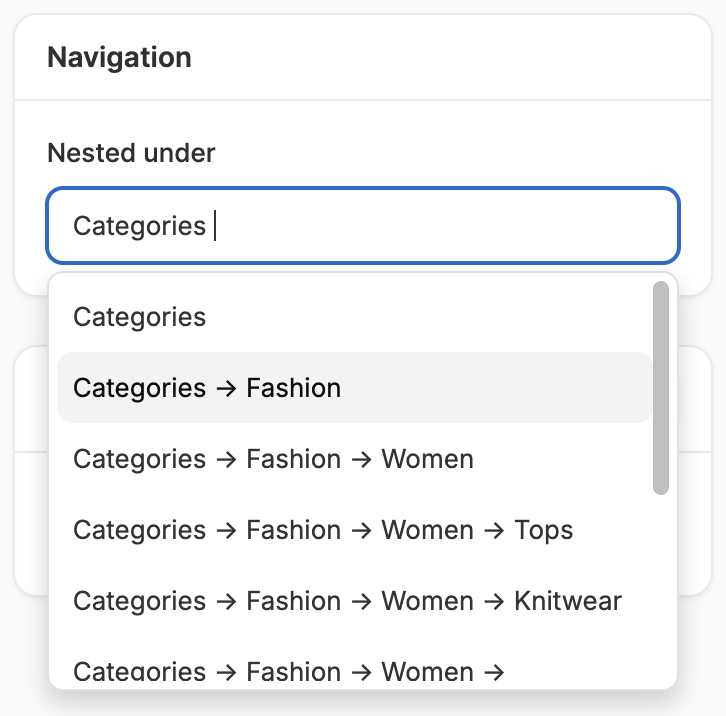
Search Engine Listing
Here you can set the meta title, meta description, and the slug for the new category.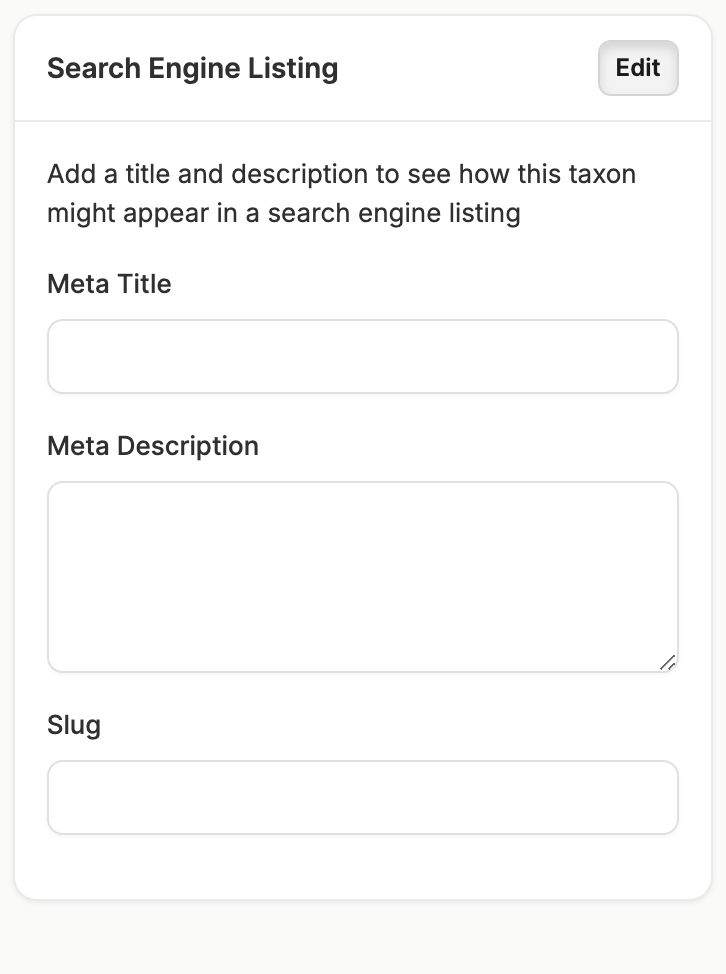
Create Category
Once you’ve added the name and defined the category type, click Create at the bottom of the page to create the category, and you’ll receive a notification that the category was successfully created.Add Products
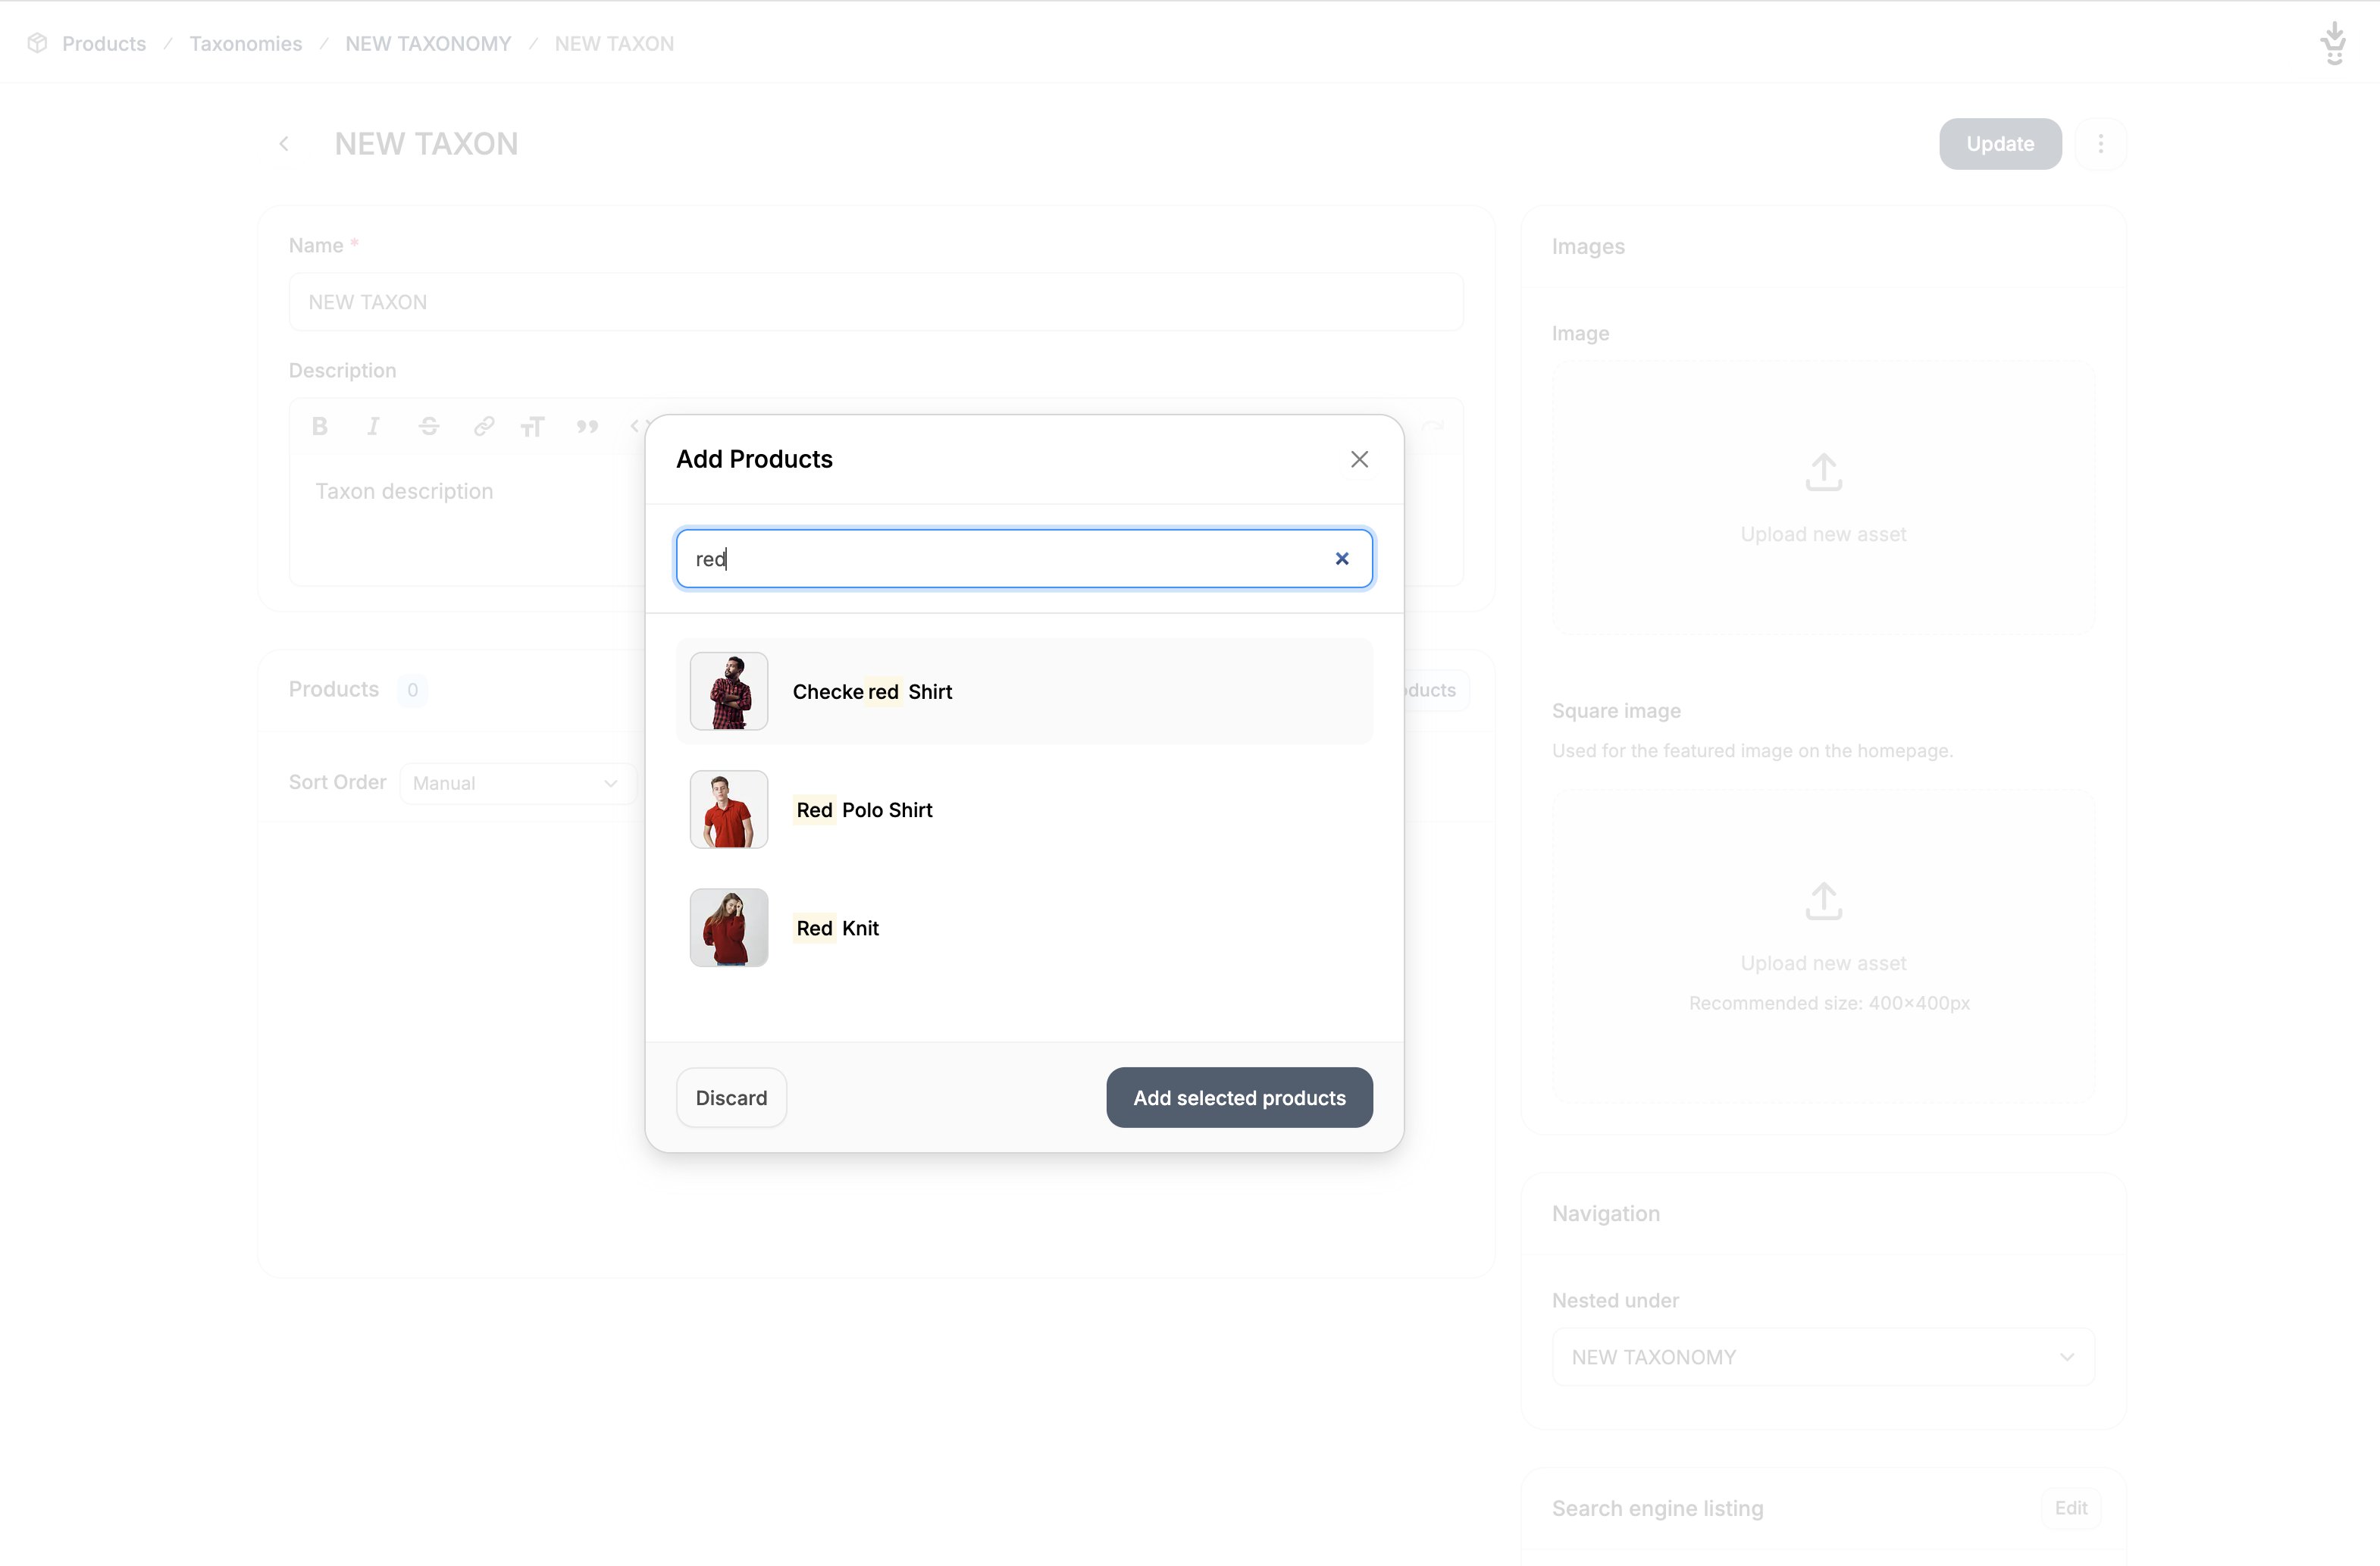
Once the category is created, you can add products to the category directly in category editor page by clicking Add Products, if and only if you chose the manual Category Type. This will open a window that allows you to search for and select the products you’d like to add.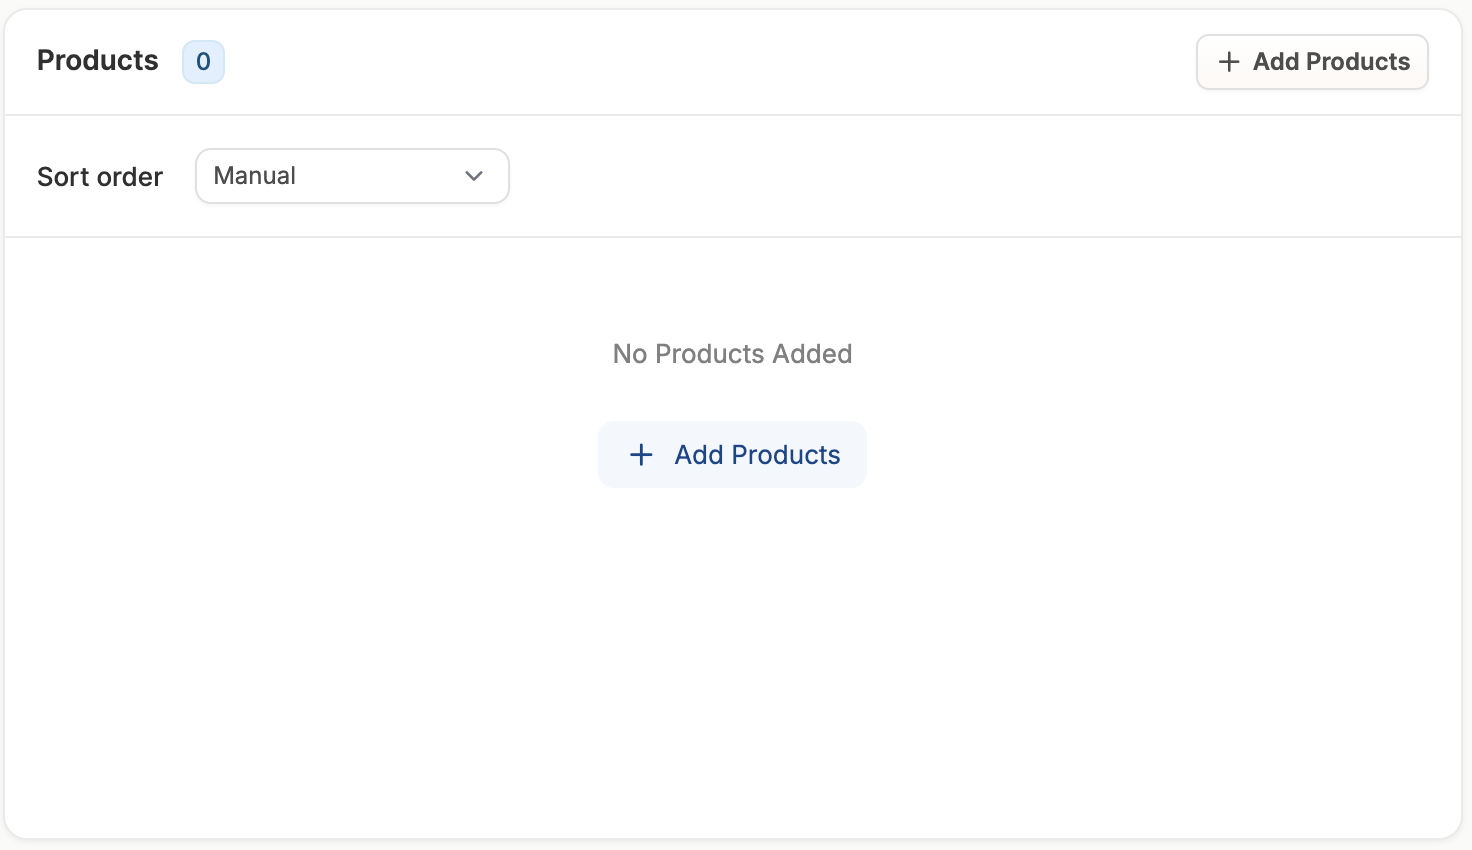
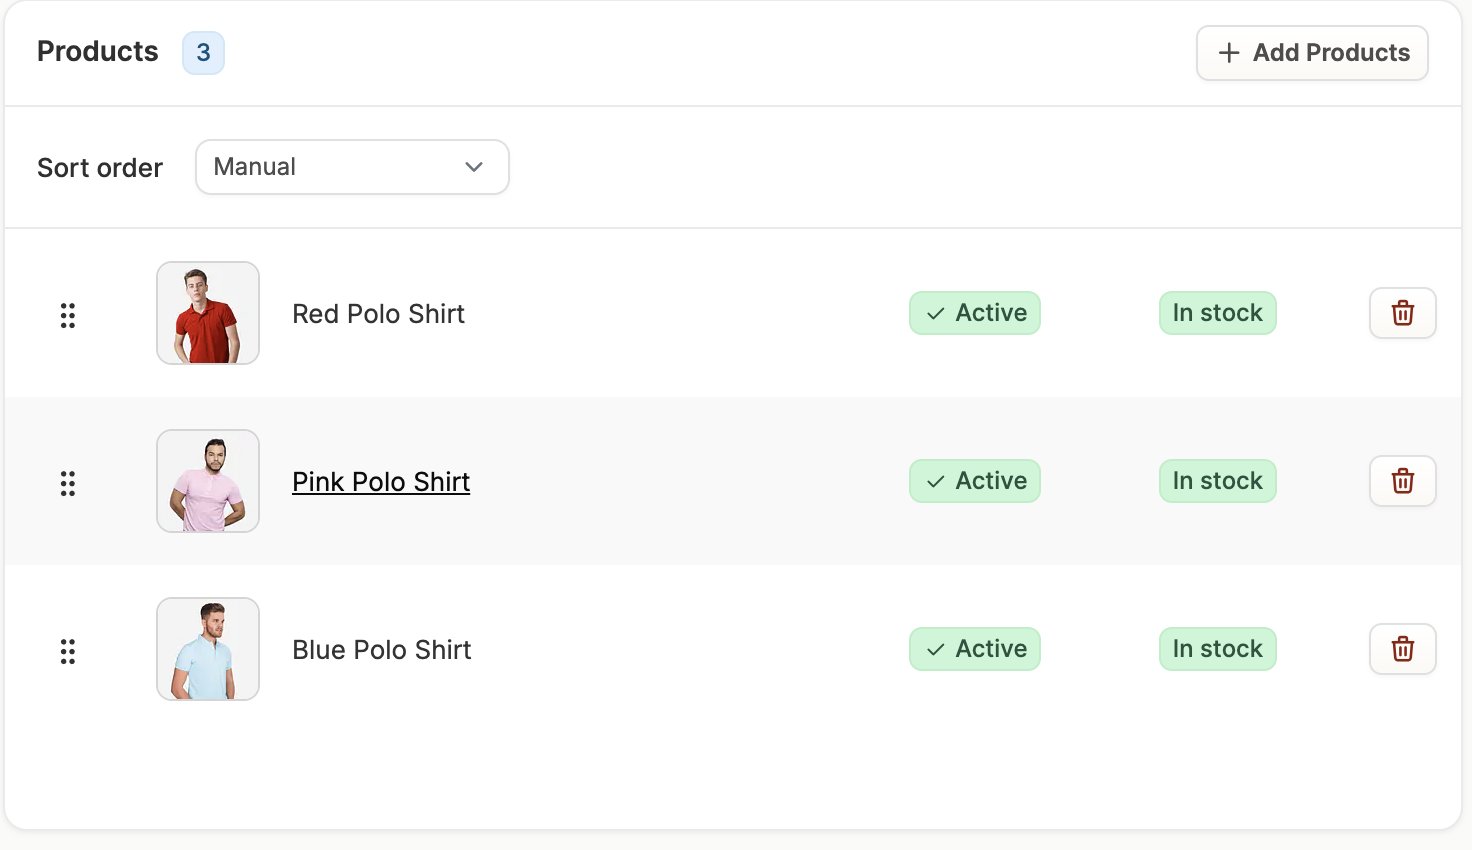
You can remove individual products by clicking on the red trash can button in the far right column.
Sort Order
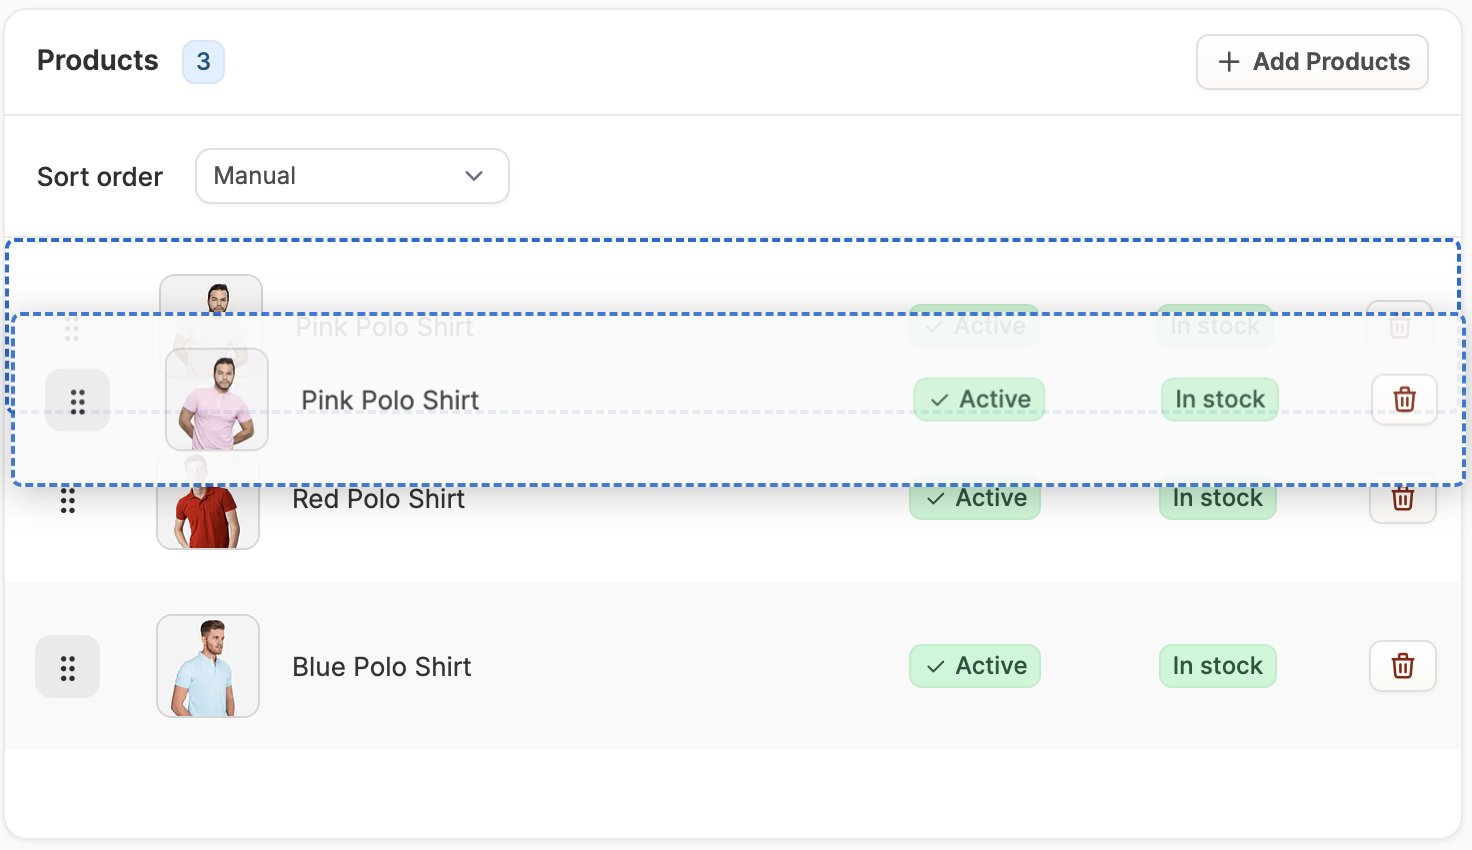
For merchandising purposes, you may want to change the order in which products in a category are presented in the storefront. To do so, you can select the sort order from the dropdown menu in the Products section of the category editor.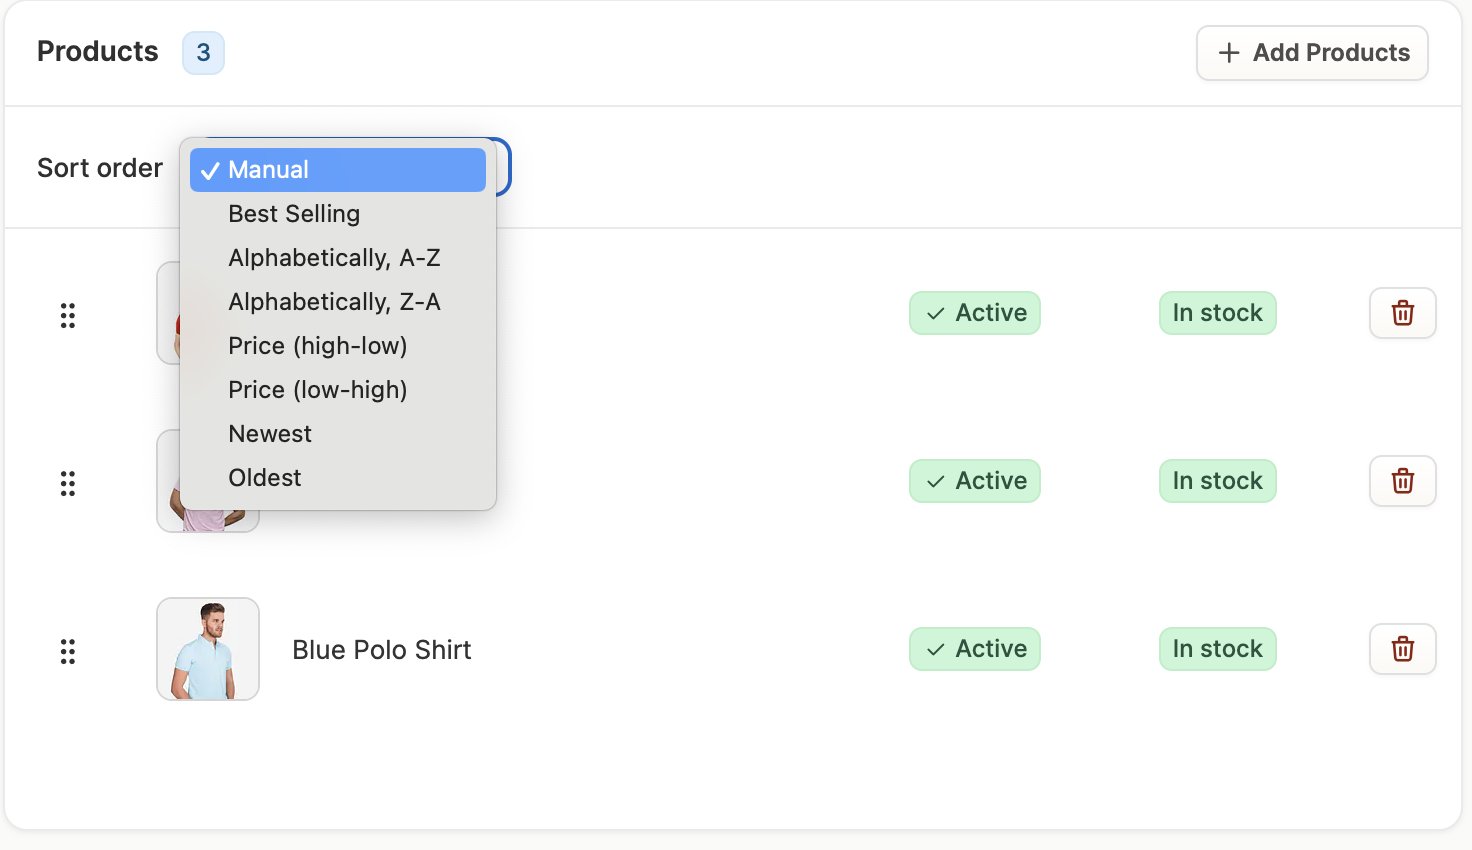
Make sure to click Update at the bottom of the page if you want to save any changes you’ve made to category.
Build A Category Tree
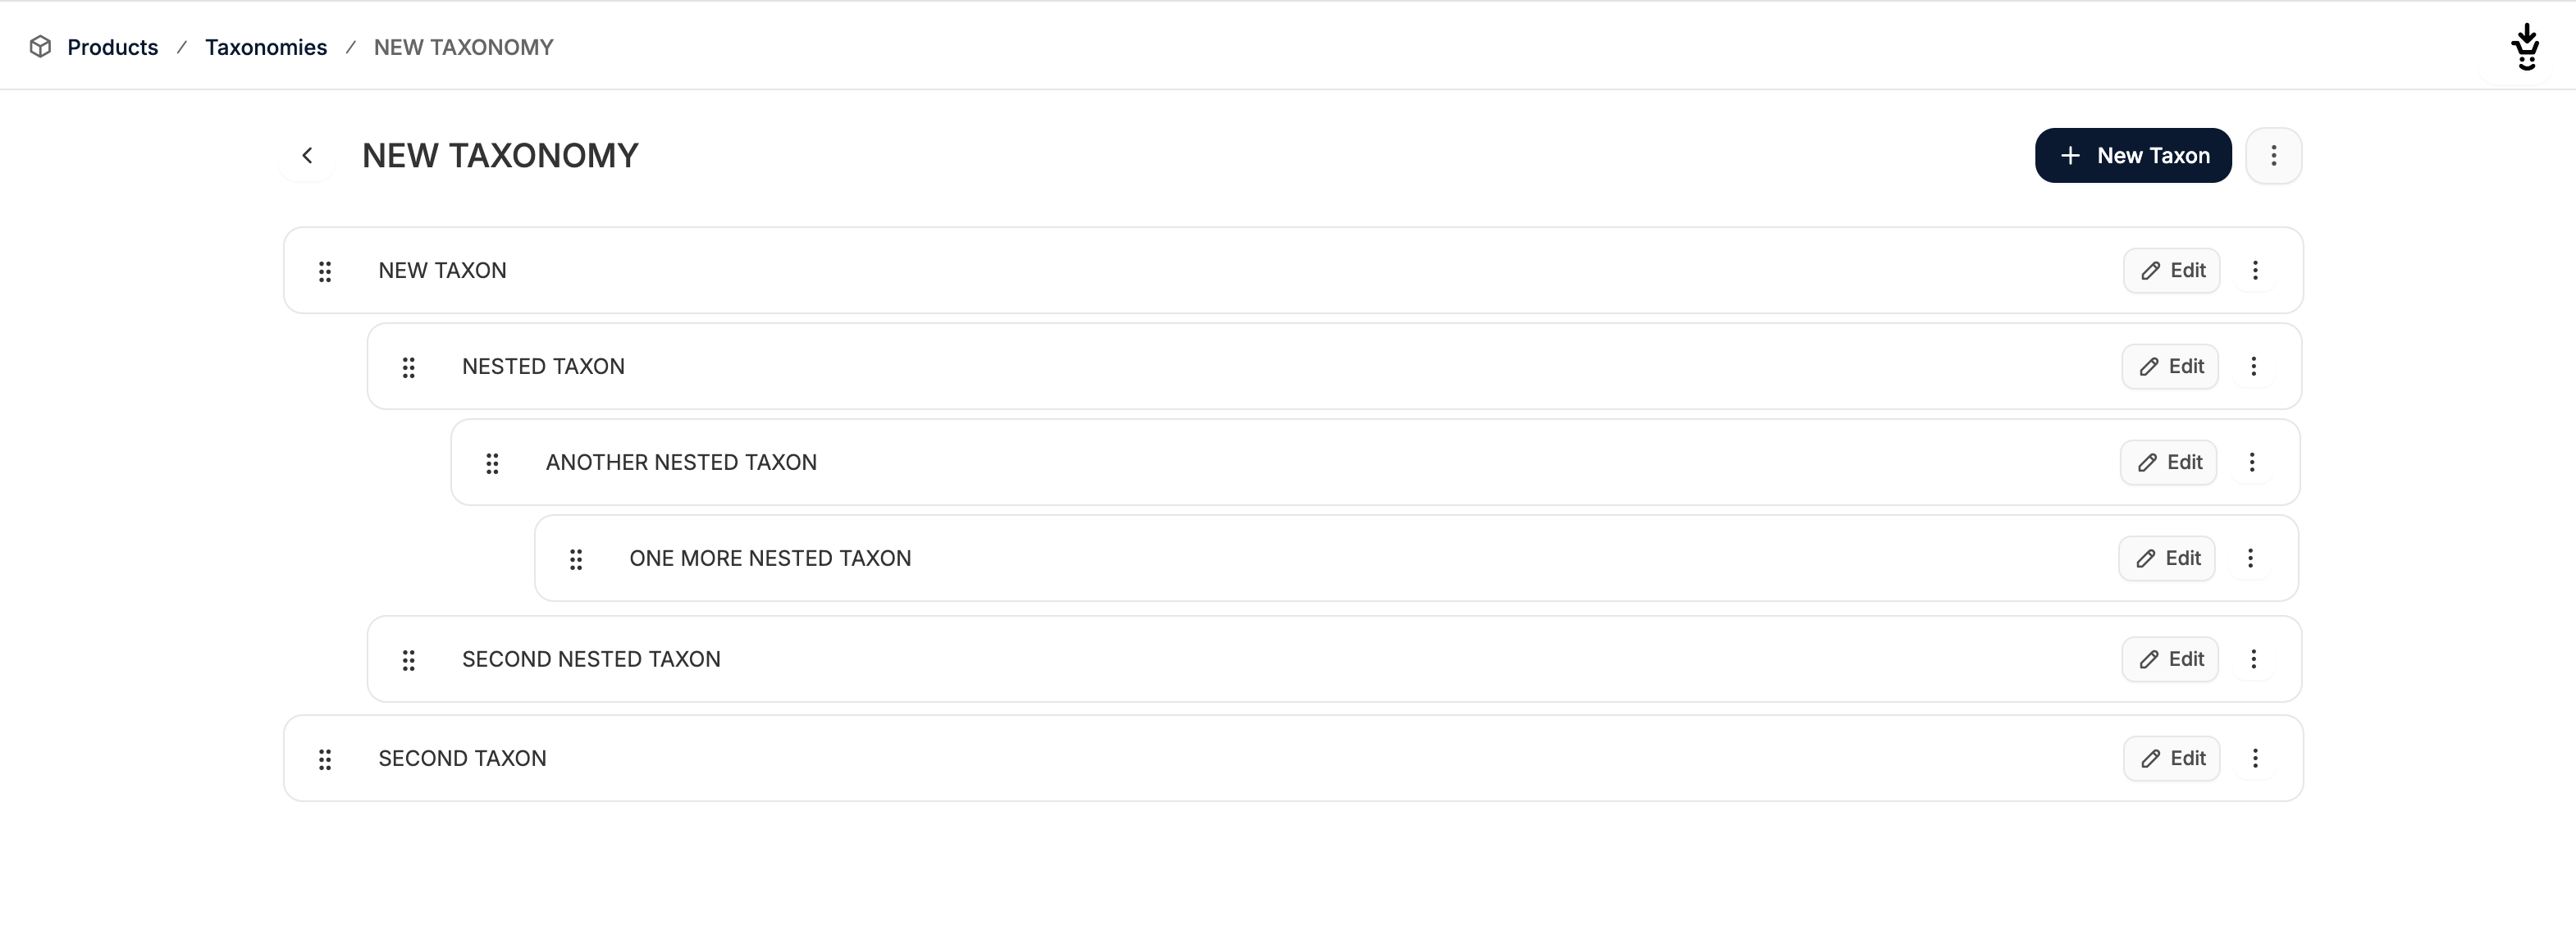
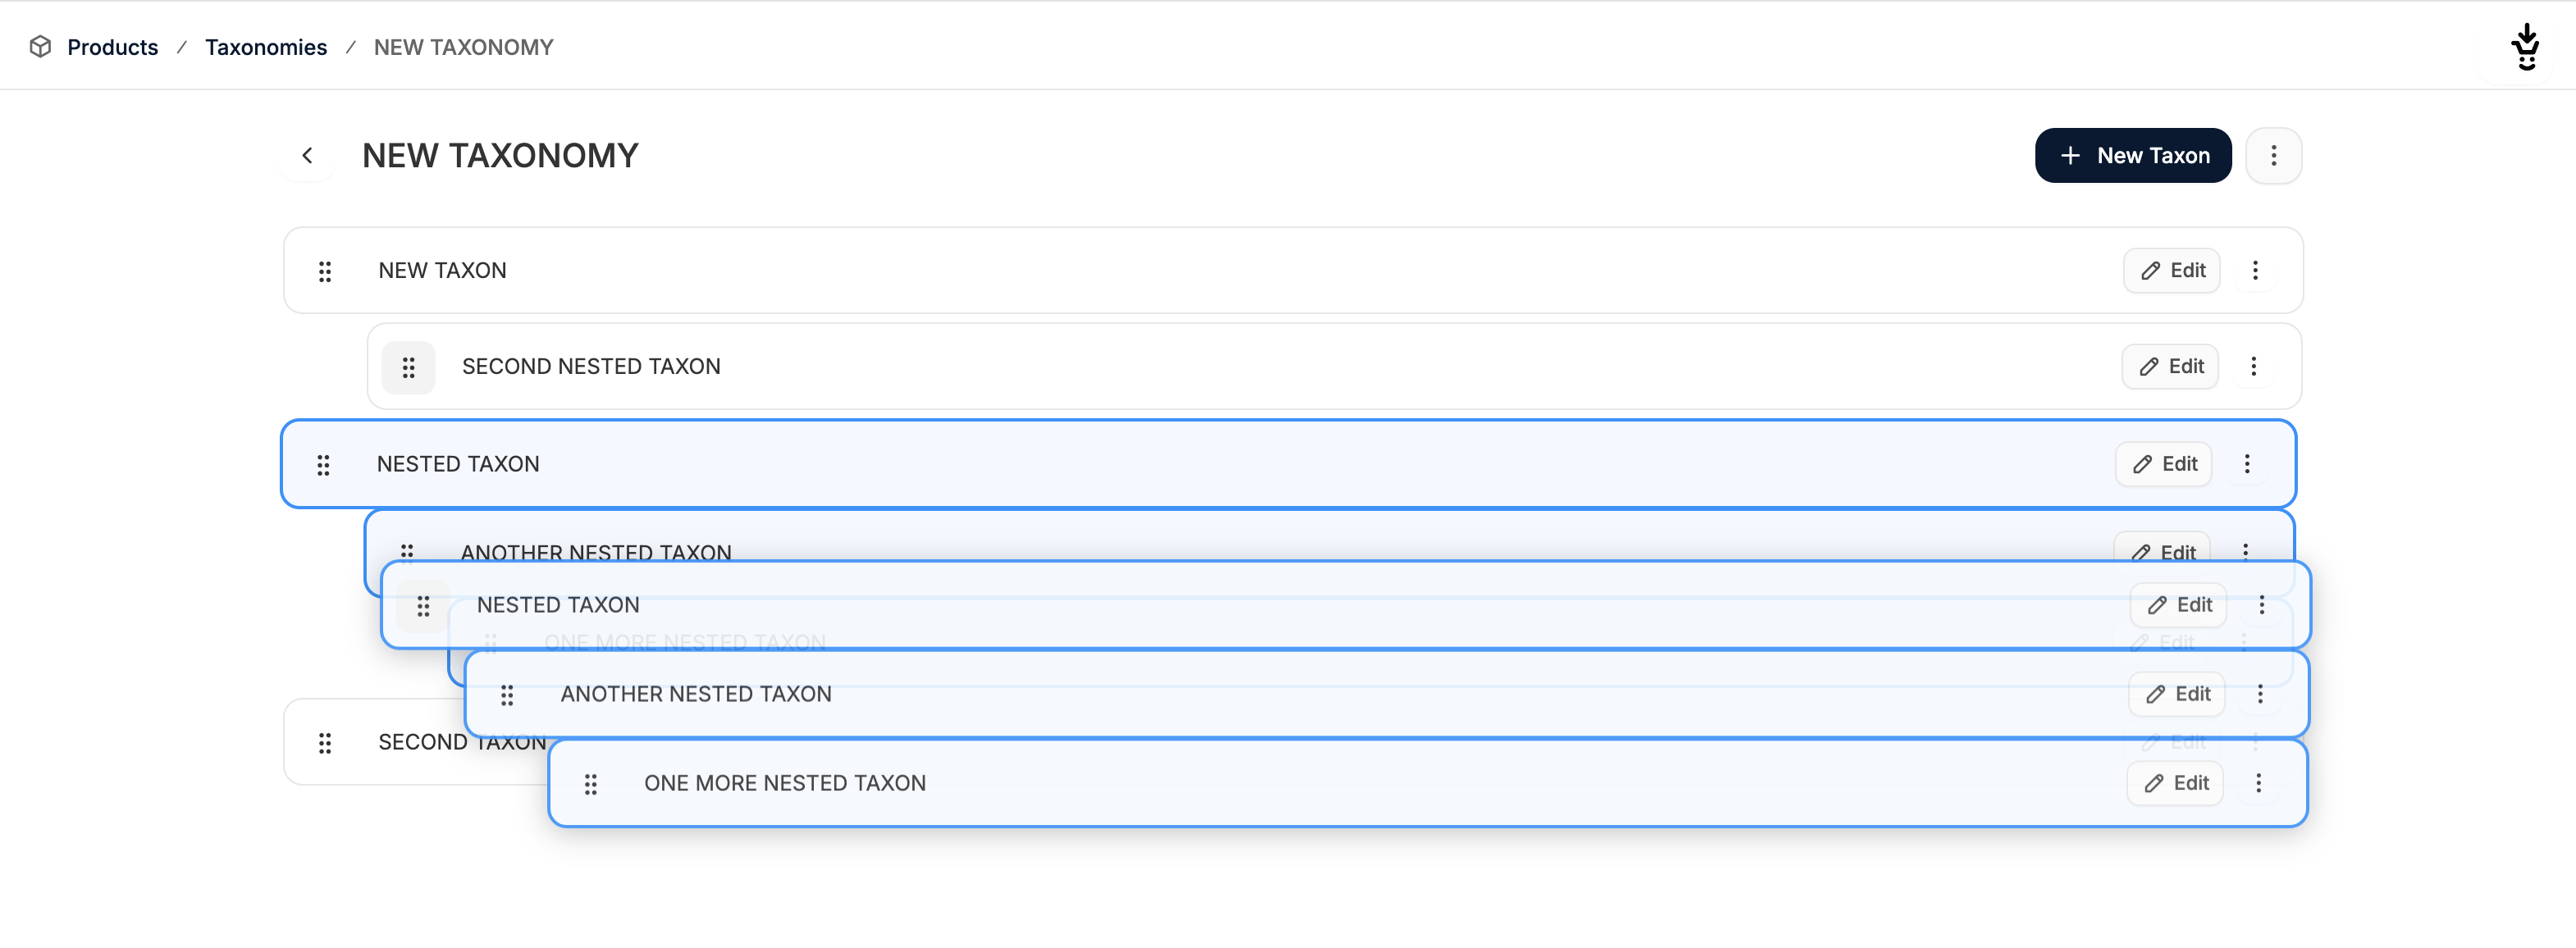
If you’d like to create multiple levels of the category tree, you can add subcategories (i.e. nested categories) to an existing category. Simply click on the 3 dots on the far left of the category’s row and select New Nested Category.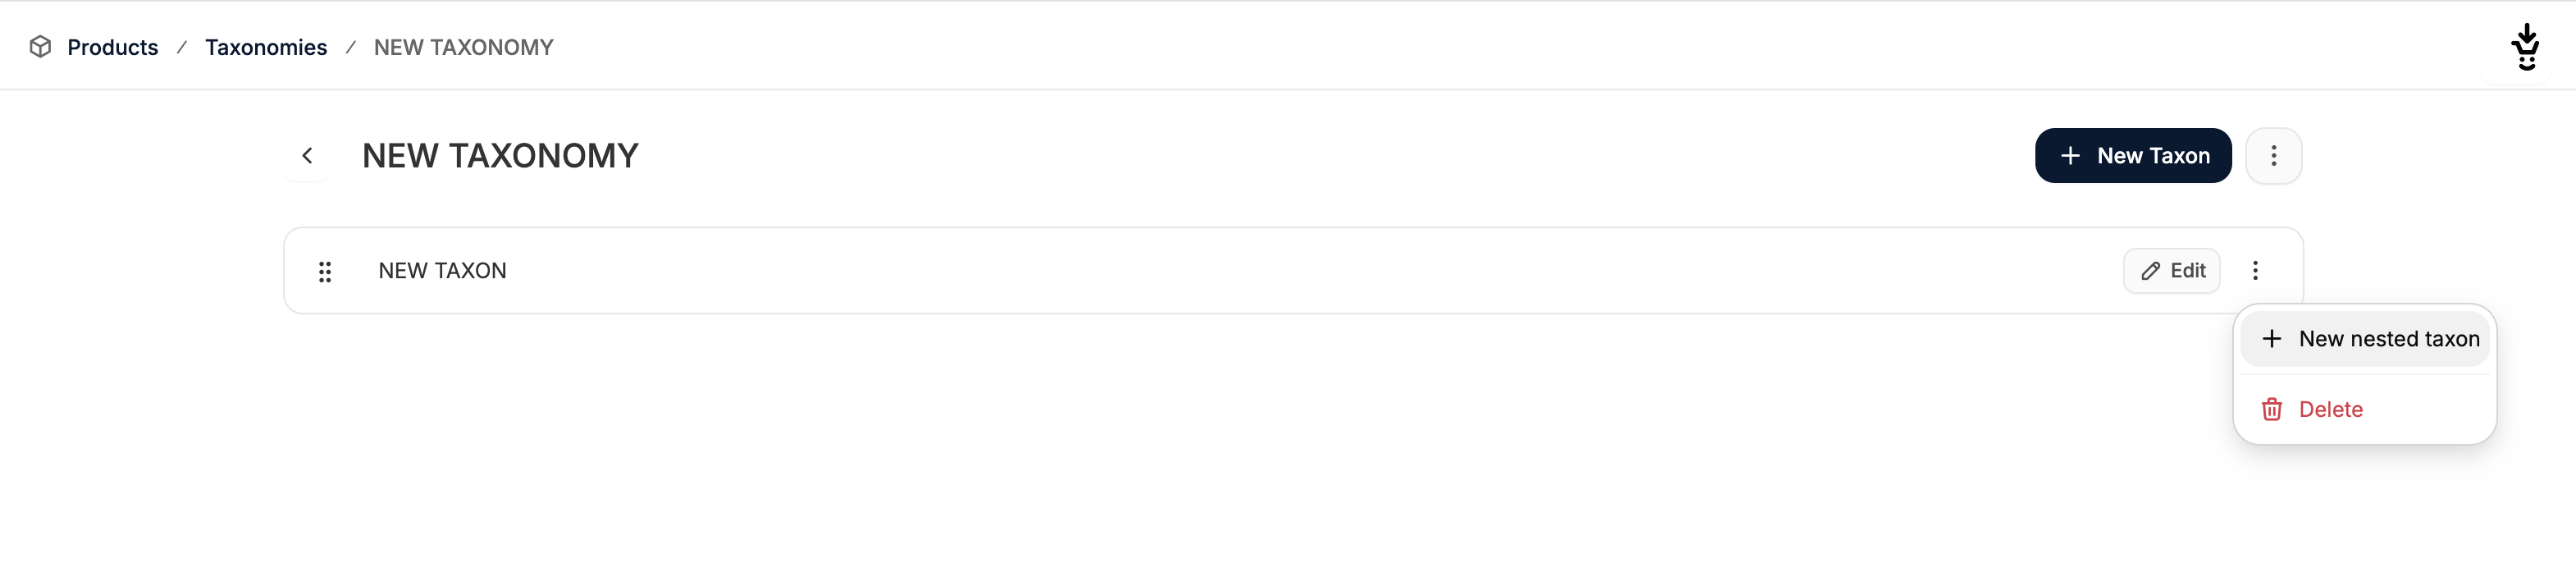
Import Categories
Categories can be automatically imported if you add the appropriate values to the category columns in a product import file. Just make sure to use the correct naming convention for the categories to make sure nesting is respected after import, e.g.:- Categories -> Fashion -> Men
- Categories -> Fashion -> Women -> Footwear
- Categories -> Electronics -> TVs
- Categories -> Nutrition -> Supplements -> Vitamins
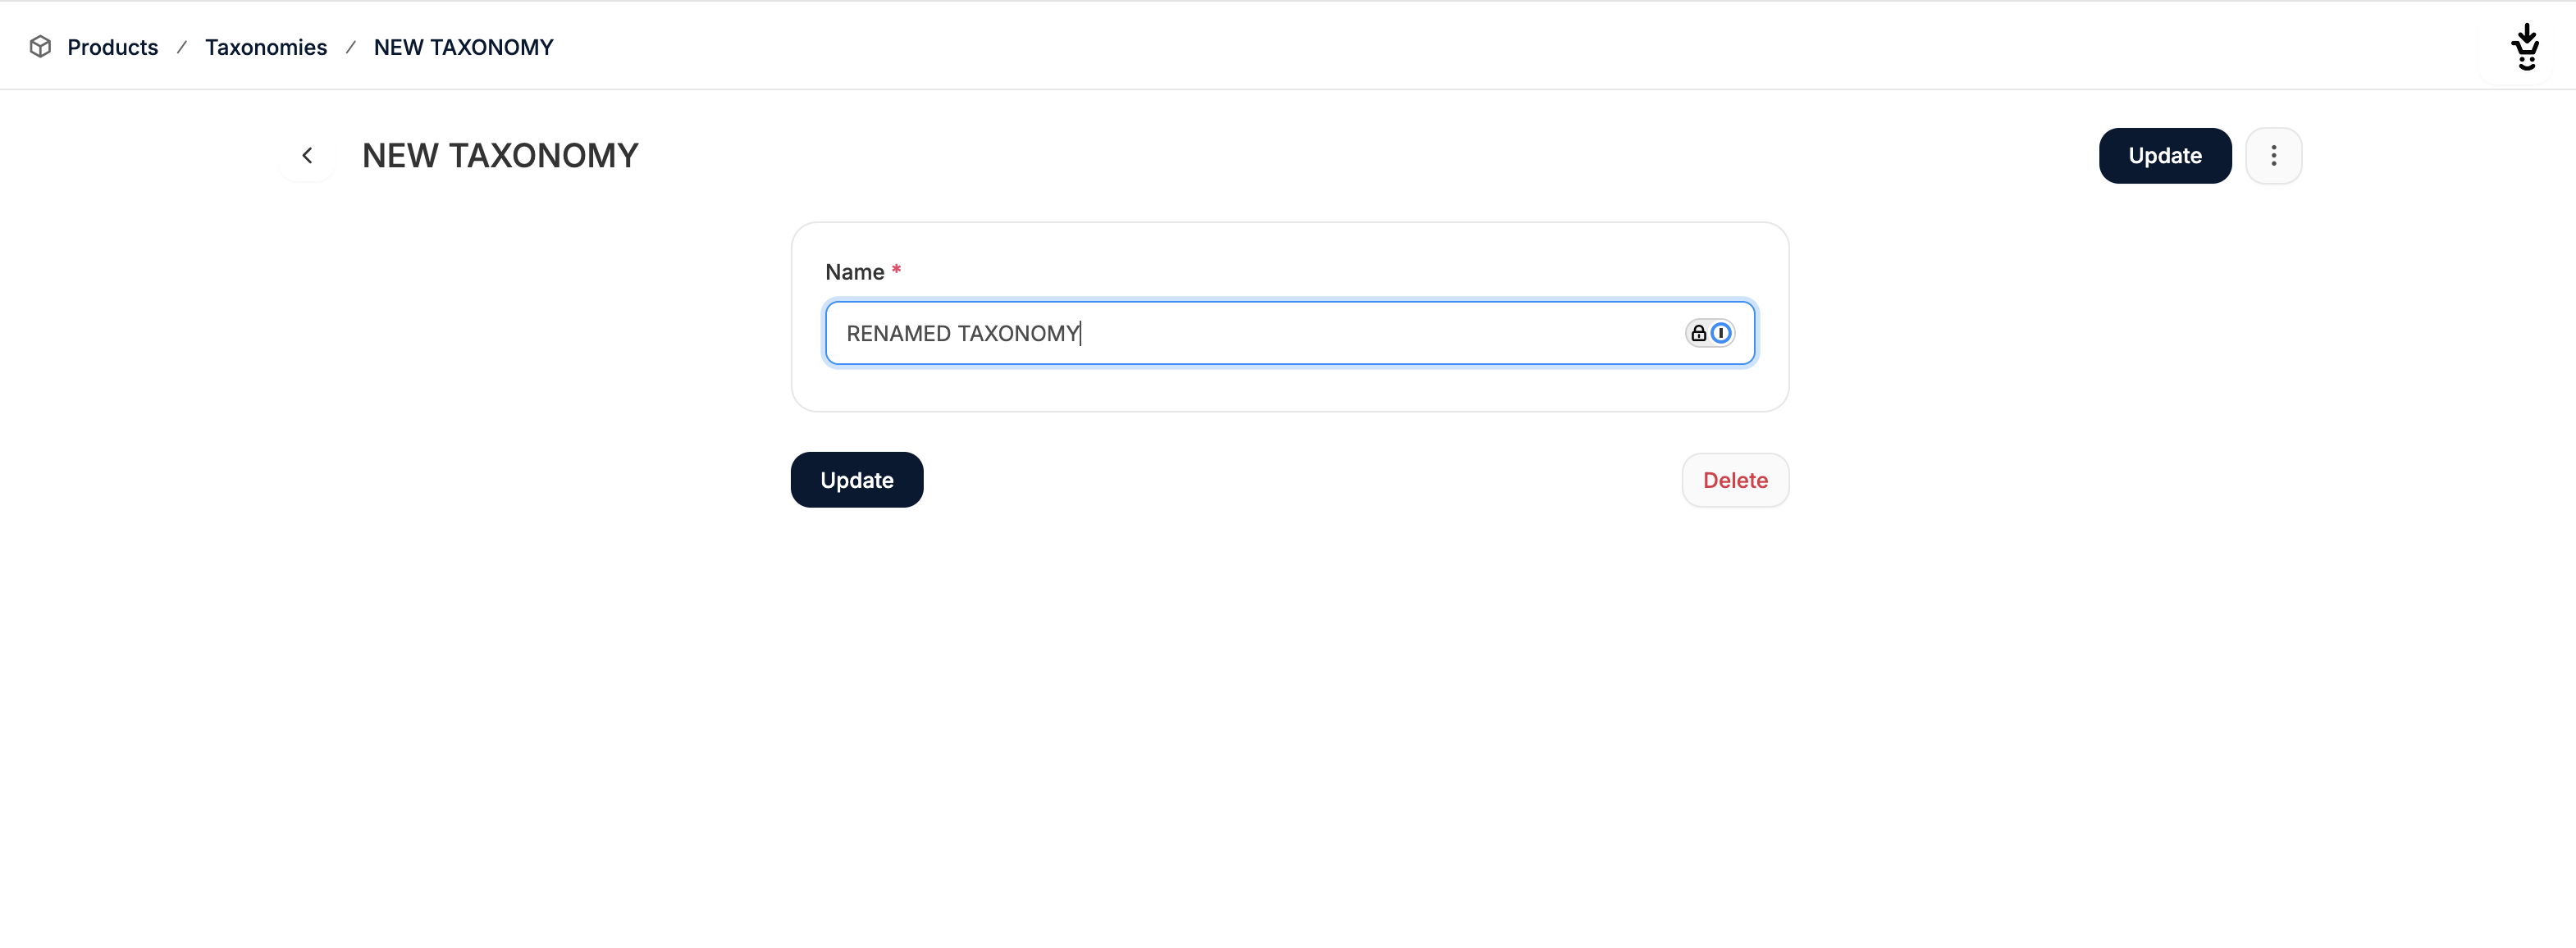
Renaming a category
If you’d like to change the name of a category, navigate back to the main Categories tab.