5 tips for Do-it-Yourself product photography
Whether it’s family photos or professional headshots, do-it-yourself photography is all the rage lately. We all have an HD camera in our pocket, so why not? No disrespect to the professionals—they’ll always give you the best photos—but if you follow these tips you can get high-quality shots that will definitely fit in your budget.
Try out your Smart Phone Camera Fist
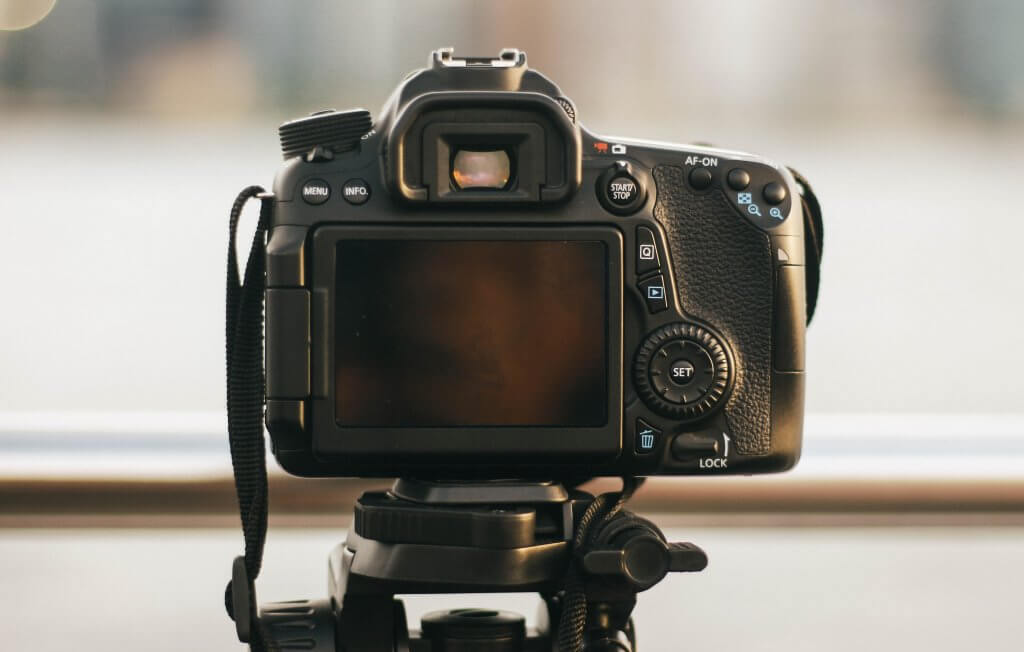
Obviously, the first thing you’ll need to take a picture is a camera. But before you go out and spend hundreds of dollars on a name-brand, HD device, see how you like the camera on your phone. Take a look at the picture below, and you can see there may be a little-to-no difference in the quality of the photo between a high-end camera and an iPhone.
If you like what you see from your phone’s camera, you can save yourself a lot of money by going that route.
Buy a Tripod
Even if you’re using a smartphone, you’ll want to invest in a tripod. Even the steadiest hands are hard-pressed to capture the perfect image, and there are even tripods that are designed specifically for camera phones. You can get a decent tripod for as low as $20, so it’s well worth the low-end investment here.
Setup on a White Backdrop
Often, shoots like these are done in front of a white backdrop. You can create a simple, inexpensive “do-it-yourself” method that will give you that professional look with just some craft paper and metal clamps.
If you’re going that route, roll the paper down a long and wide table, and use the clamps to attach the paper to something a few feet above the table. This will provide a smooth, clean base for you to shoot your product photo.
If you’re going the natural lighting route, do this in a big, open room with lots of windows. If you’re using purchased photography lights, you’ll want a darker room.
Use a Mannequin or a Model
If you were shopping, what would look more attractive? A lifeless shirt lying on some background? Or a shirt on a mannequin or model? Not only does a mannequin/model give the shirt the appearance it will actually have when worn if you’re using a model, but it also gives a more personal feel to it.
If you’re in the clothing/fashion/accessory industry, getting that item off the lifeless backdrop is definitely the way to go. Look at the two shirts below. Which one would you rather buy?
Pay Attention to the Details
Avoid hard backlighting that will cast shadows on the surface of the object. Keep your lights or lighting on the same side as your camera, or slightly off to the side.
Also, be sure to check your photos as you take them. You don’t want to do all the work only to realize an ugly fingerprint on your lens ruined all your images. Using a digital camera makes checking your pictures as you go along simple, and will help you avoid the pain of retaking all those images.
Learn from the Best
Check out these examples of Spree stores making amazing product photos:


