

Installation
Before you can enable Stripe, it must be installed. To do so, you need to run the following command:New Spree projects include Stripe already, so you can skip this step.
Connect Stripe
Sign in to your Spree admin dashboard and navigate to Settings → Payments.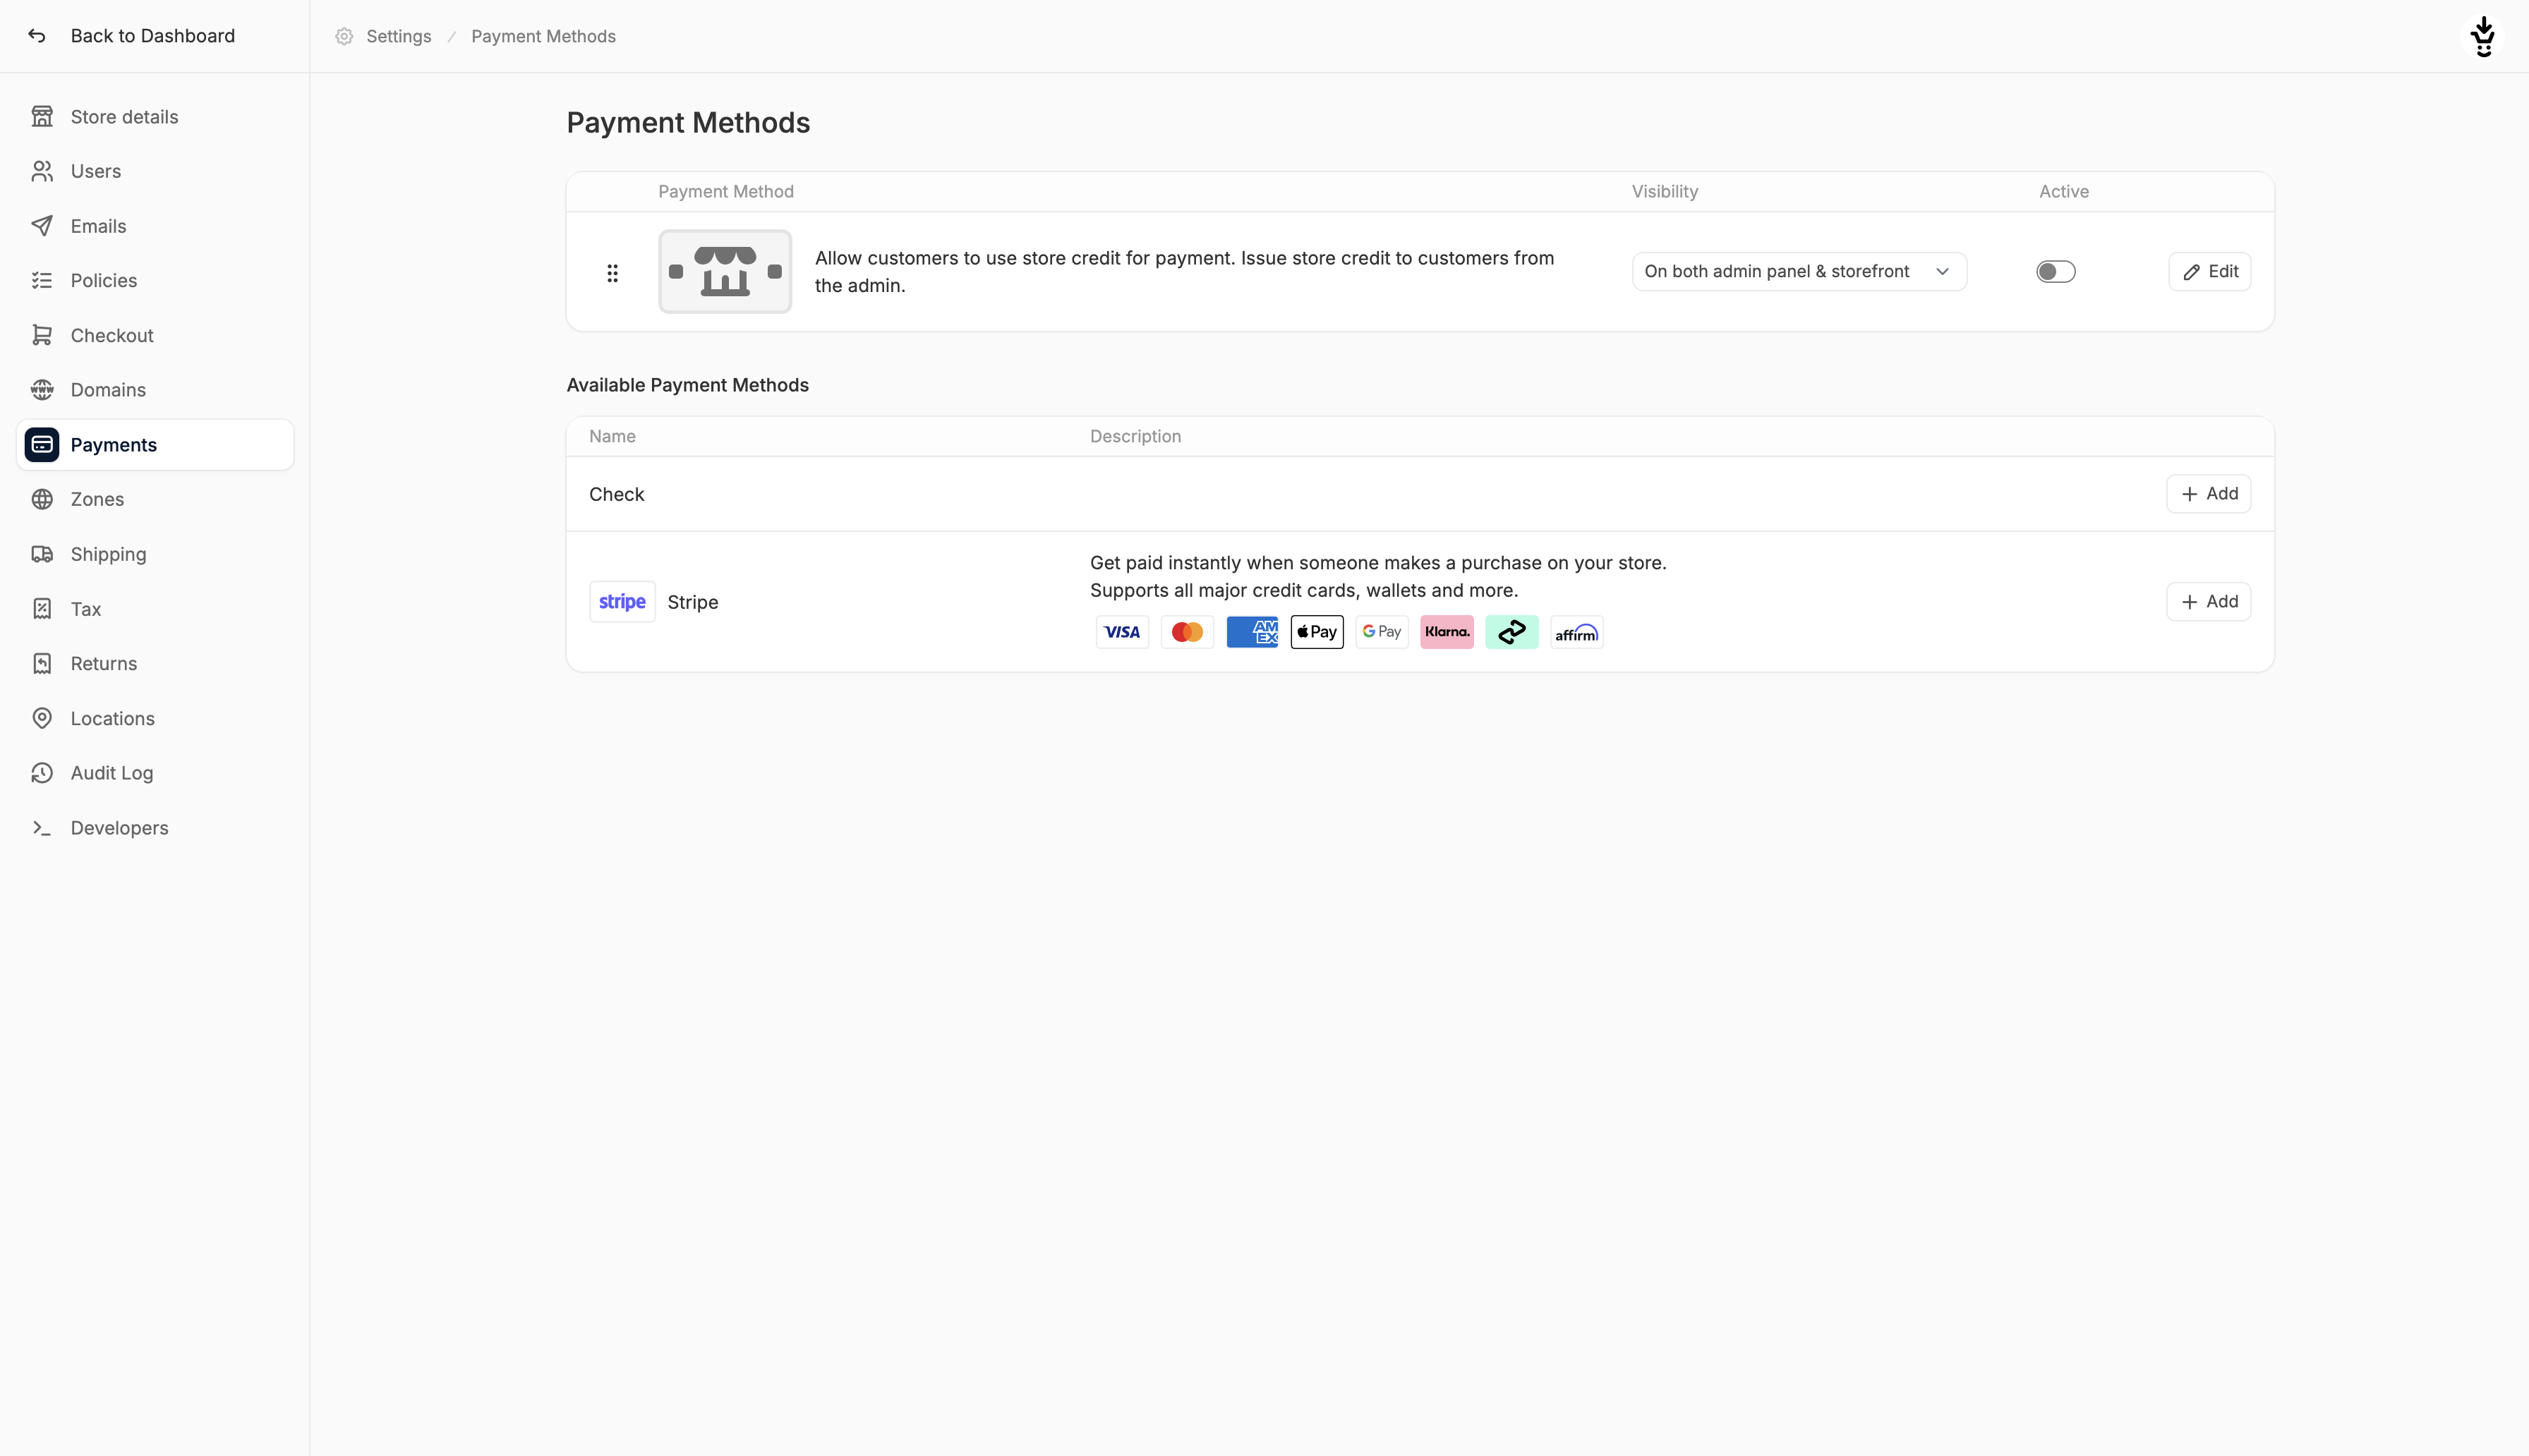
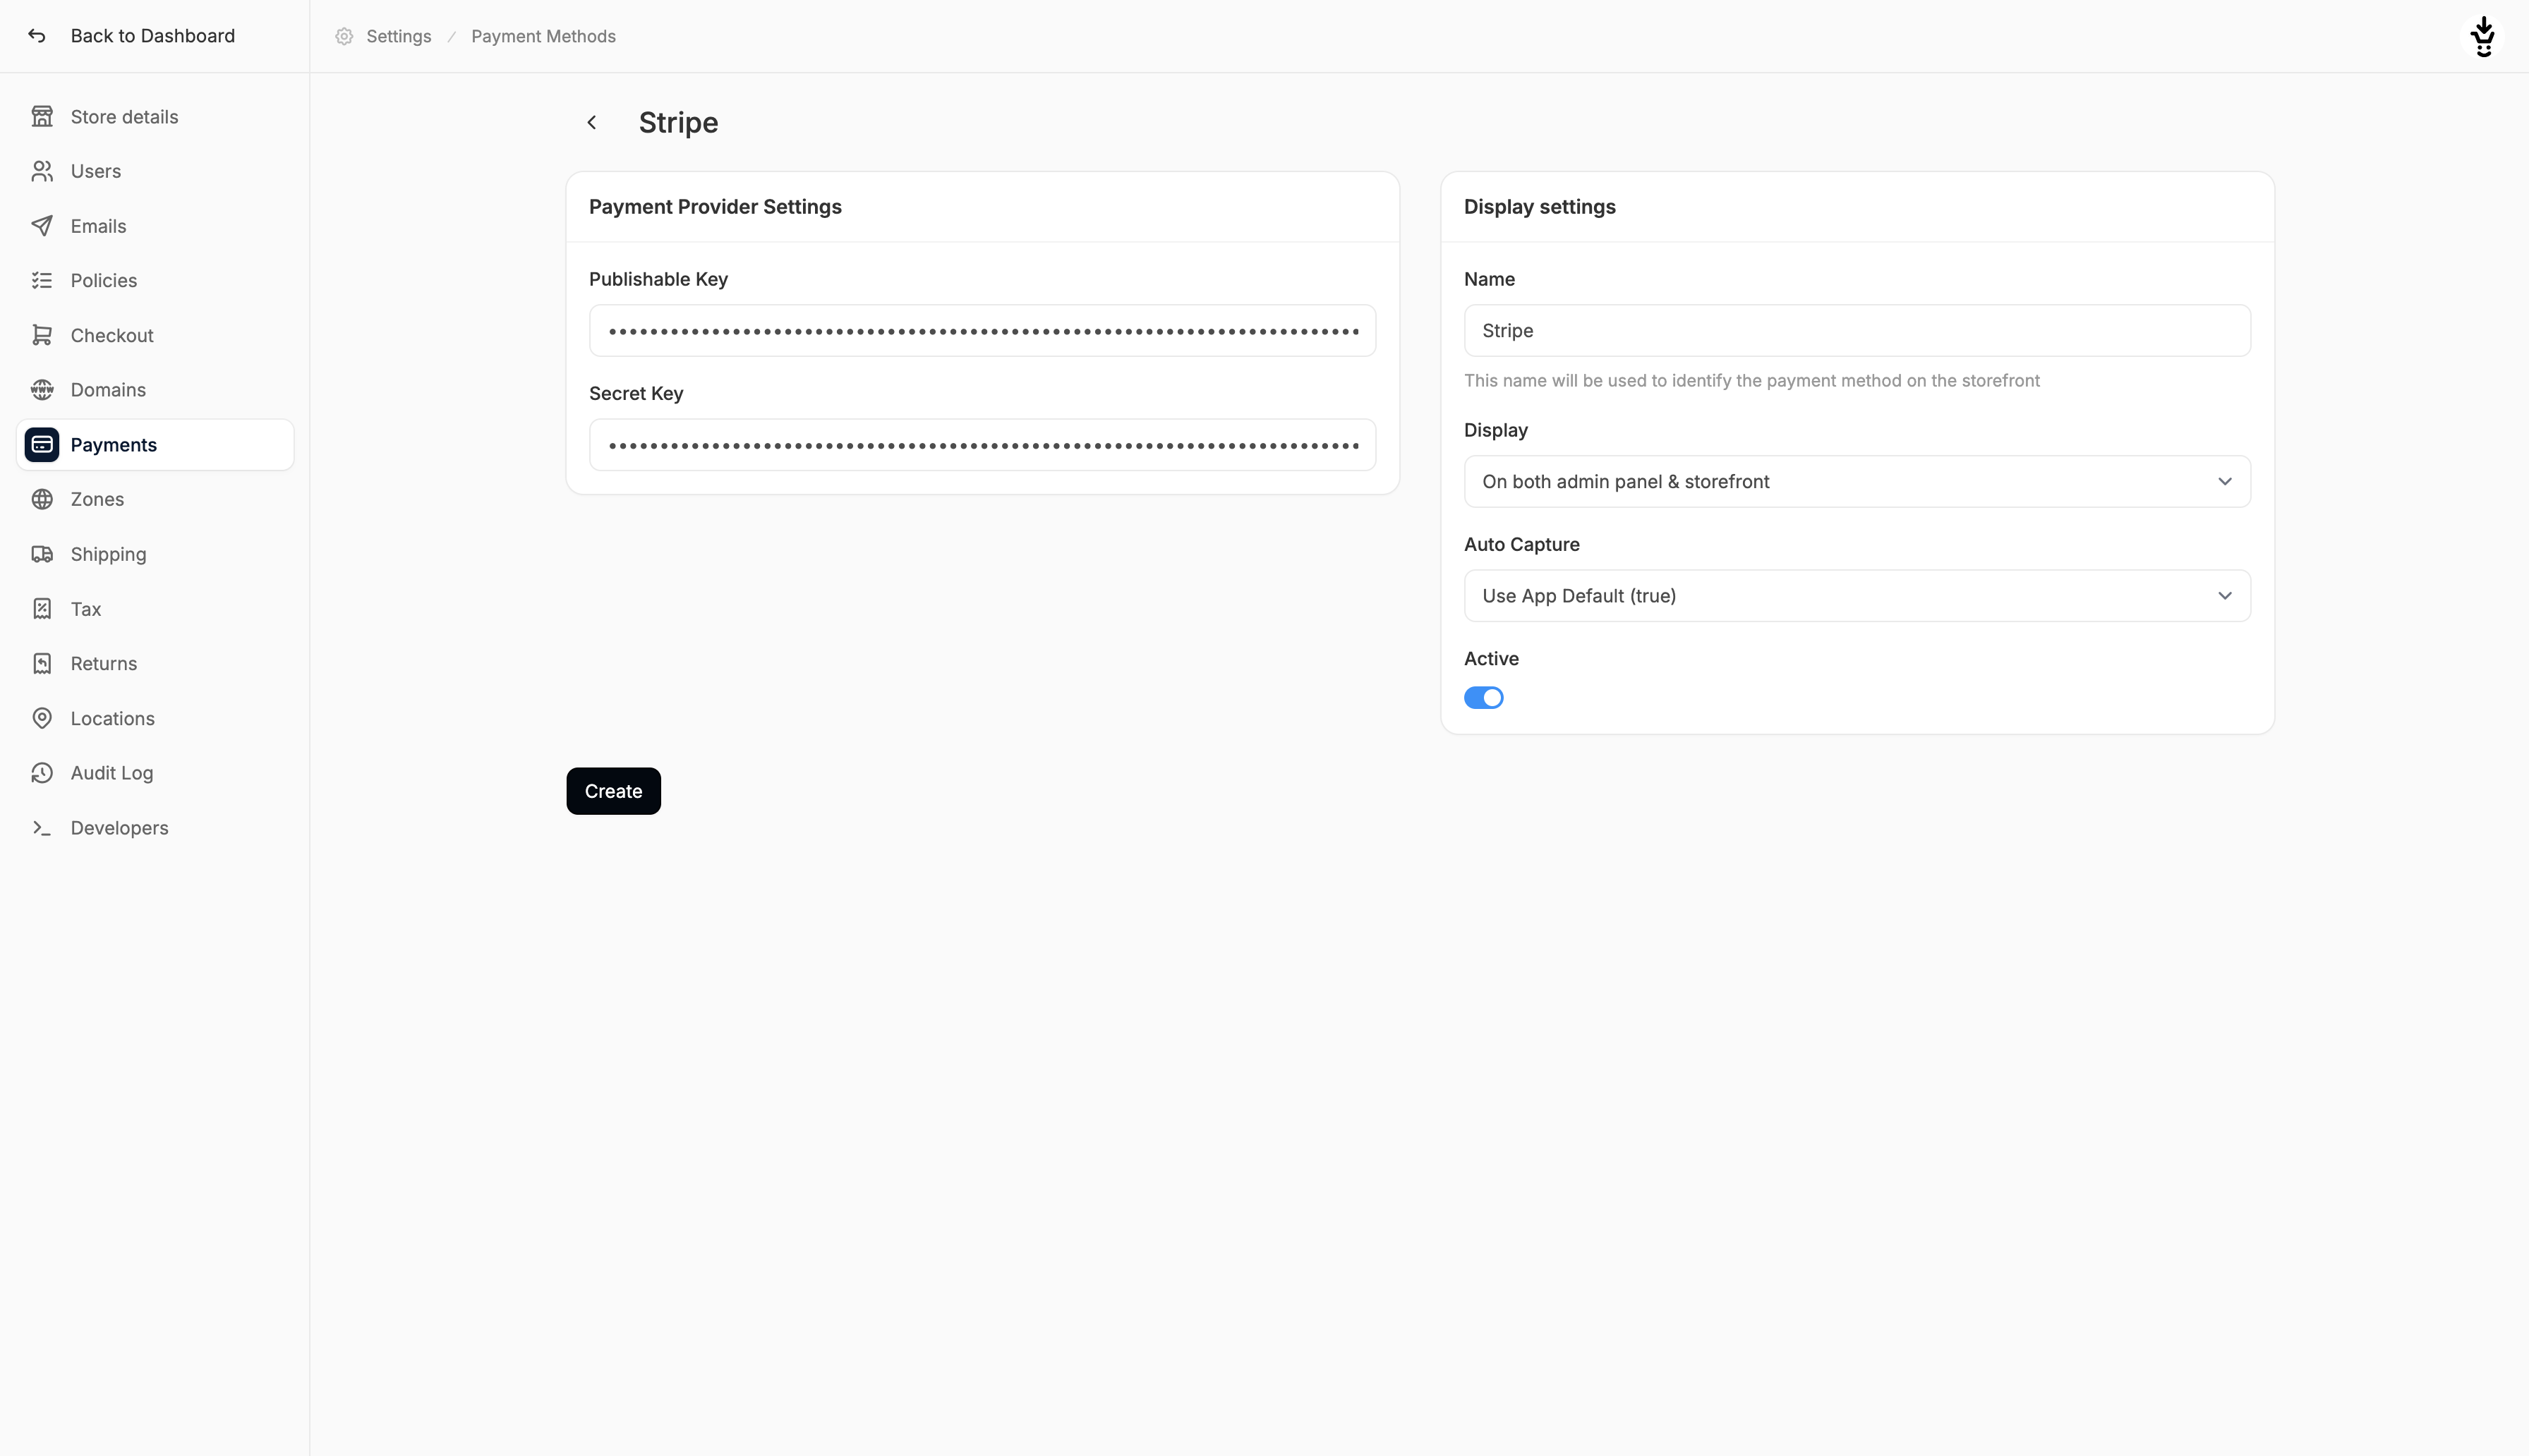
The Publishable Key and Secret Key can be found in the Get Started section of the Home screen in your Stripe dashboard. Alternatively, they can be found out in Developers → API Keys.
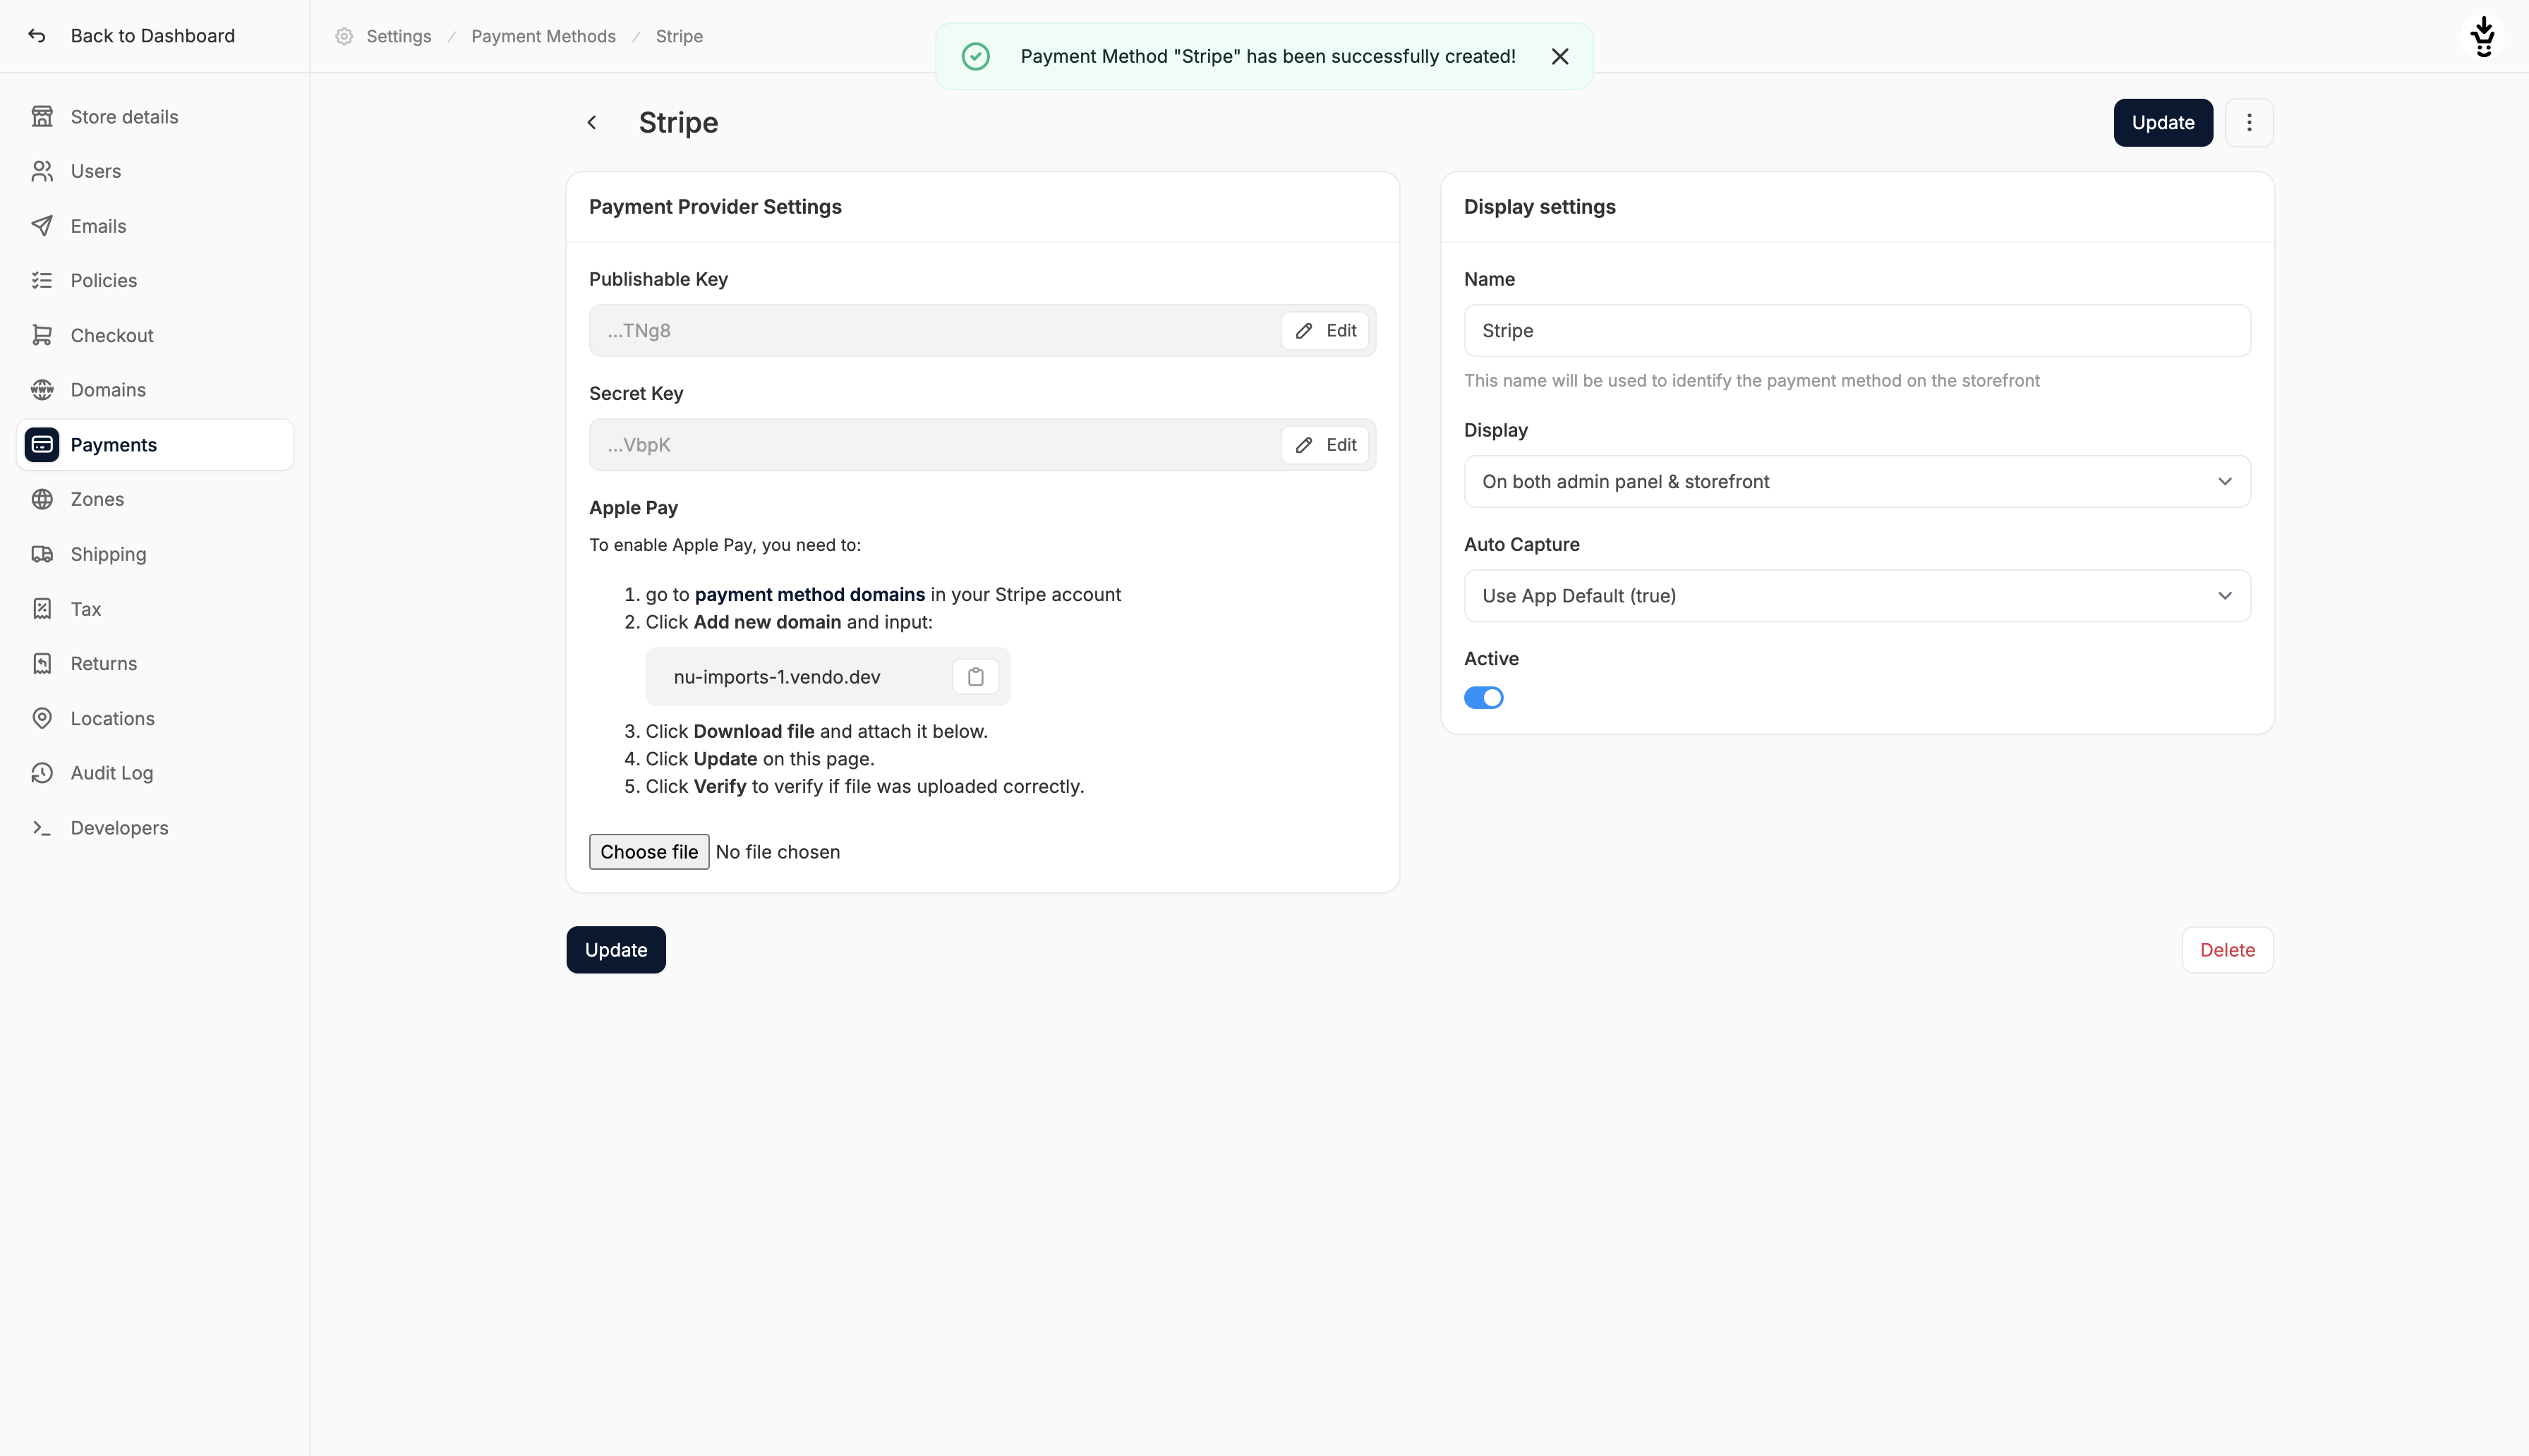
Additional Settings
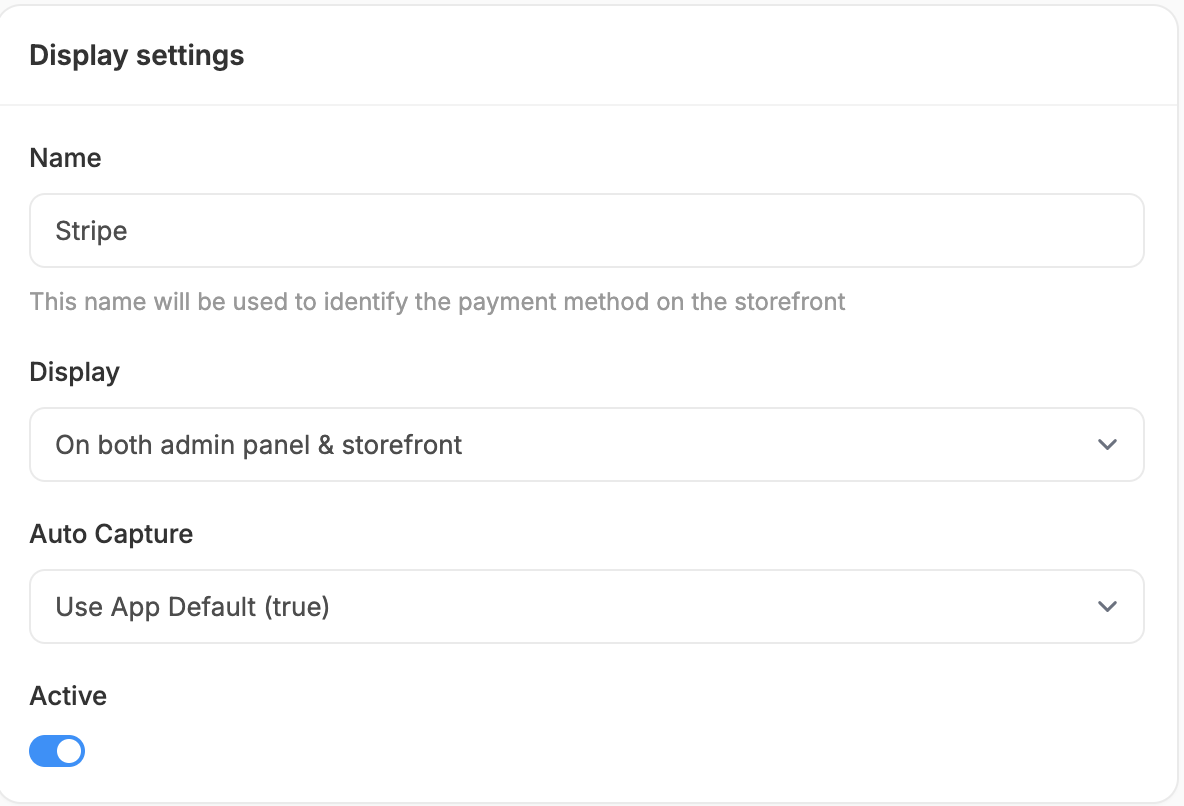
- Name: Customize the display name shown for this payment method on the storefront.
- Display: Choose where Stripe should be available:
- Storefront only
- Admin panel only
- Both (recommended)
- Auto Capture: Decide whether payments should be automatically captured at the time of authorization (recommended), or manually captured later.
- Active Status: Enable or disable the payment method. Inactive methods are hidden from checkout but not removed.
Enable Apple Pay
To enable Apple Pay (including Apple Pay quick checkout) as a payment method, follow these steps:- Find ‘payment method domains’ in your Stripe dashboard
- Click ‘Add new domain’ and enter your store’s domain
- Click ‘Download file’ and attach it using the ‘Choose file’ button in Spree
- Click ‘Update’ at the bottom of the page
- Click ‘Verify’ to verify the file was uploaded correctly
Test Mode
If you’d like to test your checkout flow without processing real payments, Stripe’s test mode is a safe and effective way to simulate transactions. To enable it, simply switch your Stripe dashboard to Test mode and paste the corresponding test API keys into the payment method settings in Spree.Features
Spree’s native Stripe integration supports a wide range of features and payment methods to help you offer a fast, secure, and flexible checkout experience:- Support for quick checkout using Apple Pay, Google Pay, Stripe Link
- Support for 3D Secure and other security standards
- Support for off-session payments
- Support for Storefront API integration (see the API docs here).
- Accept payments in over 130 currencies
- Accept Credit Cards, Apple Pay, Google Pay, and more
- Accept SEPA Direct Debit payments
- Accept iDEAL payments
- Accept SOFORT payments
- Accept Bancontact payments
- Accept Alipay payments
- Accept WeChat Pay payments
- Accept Afterpay, Klarna, Affirm, and more
- Automatic tax calculation at checkout with Stripe Tax
Storefront Display
Spree’s Stripe integration enhances the customer experience with dynamic, context-aware payment options across the storefront:- Installment (BNPL) payments indicator on PDP (Product Detail Page)

- Quick payment options on the cart (Apple Pay, Google Pay, Link)

- Quick payments bypassing checkout 1st step (Apple Pay, Google Pay, Link)

- Various payment options on the payment step (cards, BNPL, Apple Pay, Google Pay, Link)

Stripe Tax
Stripe Tax lets Spree calculate tax automatically at checkout based on the customer’s shipping address, so you don’t need to maintain manual rates for every region you sell into. It’s only available if Stripe is connected as your payment gateway.Before using Stripe Tax, you need to configure your tax nexus (the regions where you’re registered to collect tax) in your Stripe dashboard.
- Navigate to Settings → Tax → Tax Rates and add a new tax rate.
- Set the Calculator field to Stripe Tax Calculator.
- Make sure any products you want Stripe to calculate tax on are assigned the tax category associated with that rate. You can assign a tax category from the Tax section of the product editor.