

Quick Start
Sections are the building blocks of all pages in Spree Storefront. There are two types of sections:Layout sections
- eg. Header, Footer
- Present on all pages
Content sections
- eg. Hero, Featured Products
- Present on specific pages
- can be managed via the Page Builder
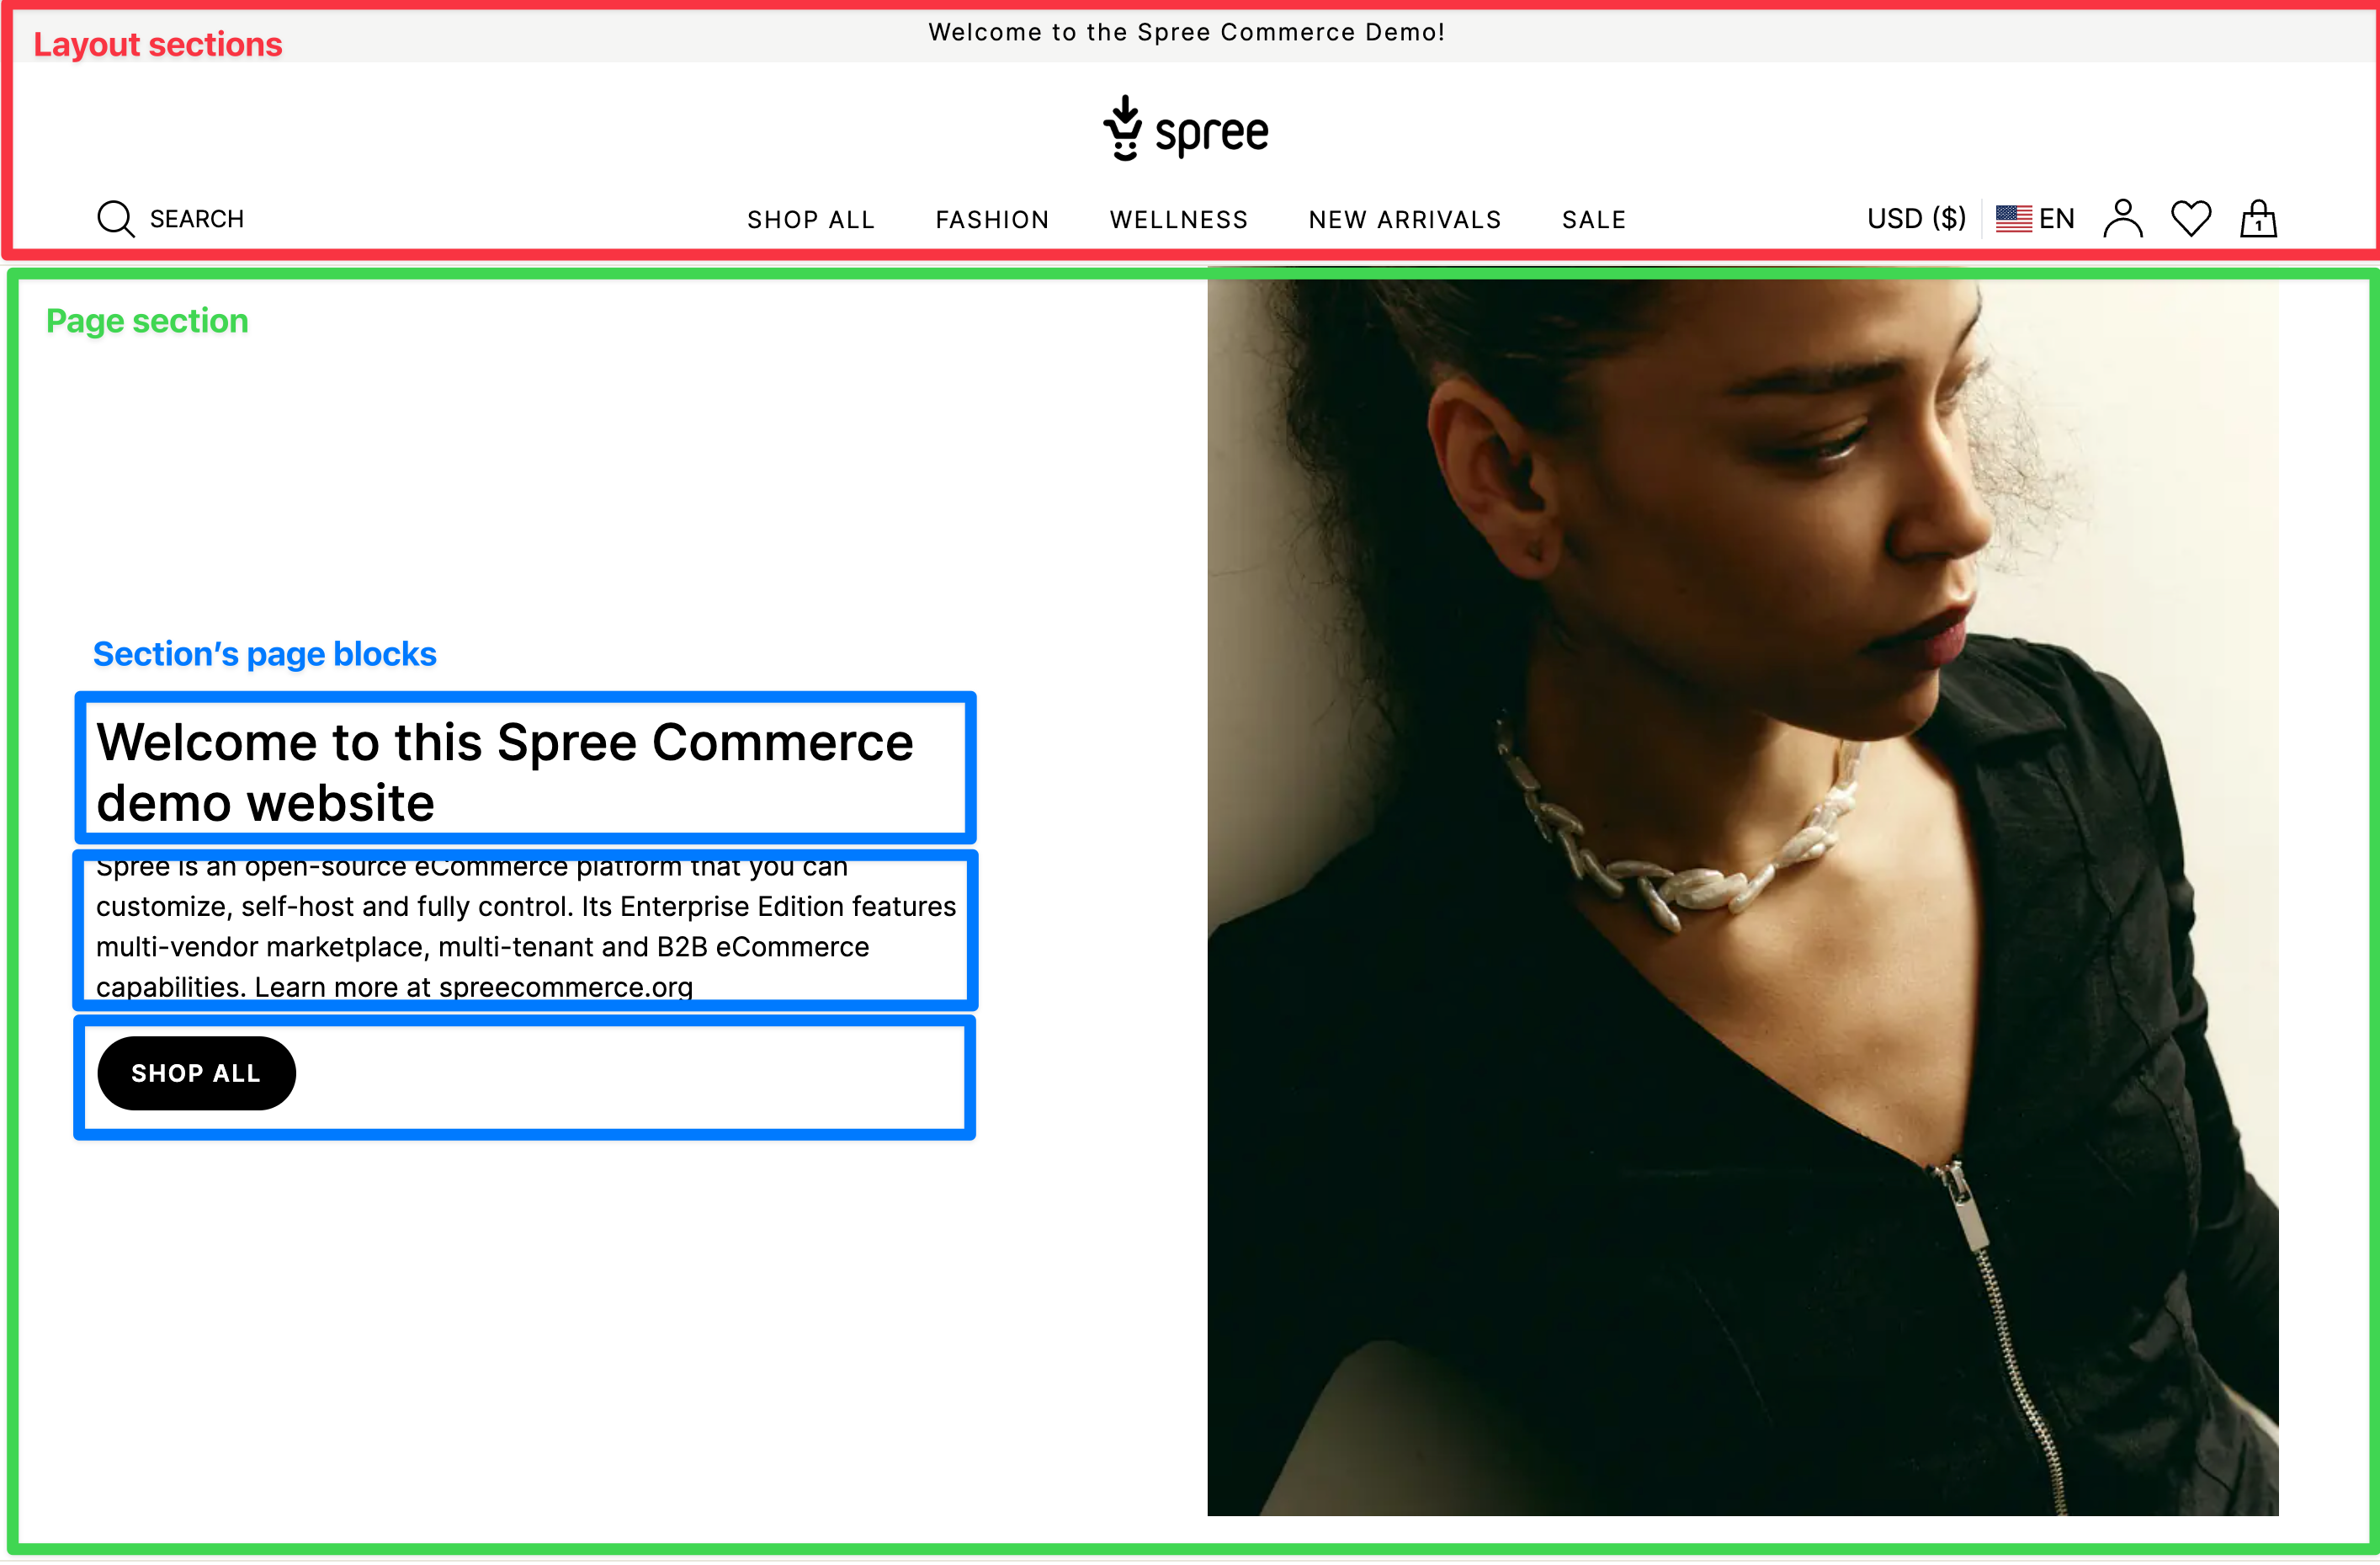
Layout Sections
We have two types of layout sections - Header and Footer. As the name suggests, they are rendered at the top and bottom of the page respectively. Between them, we have a main content area that is used to render the page sections.Header sections
Announcement Bar

Header
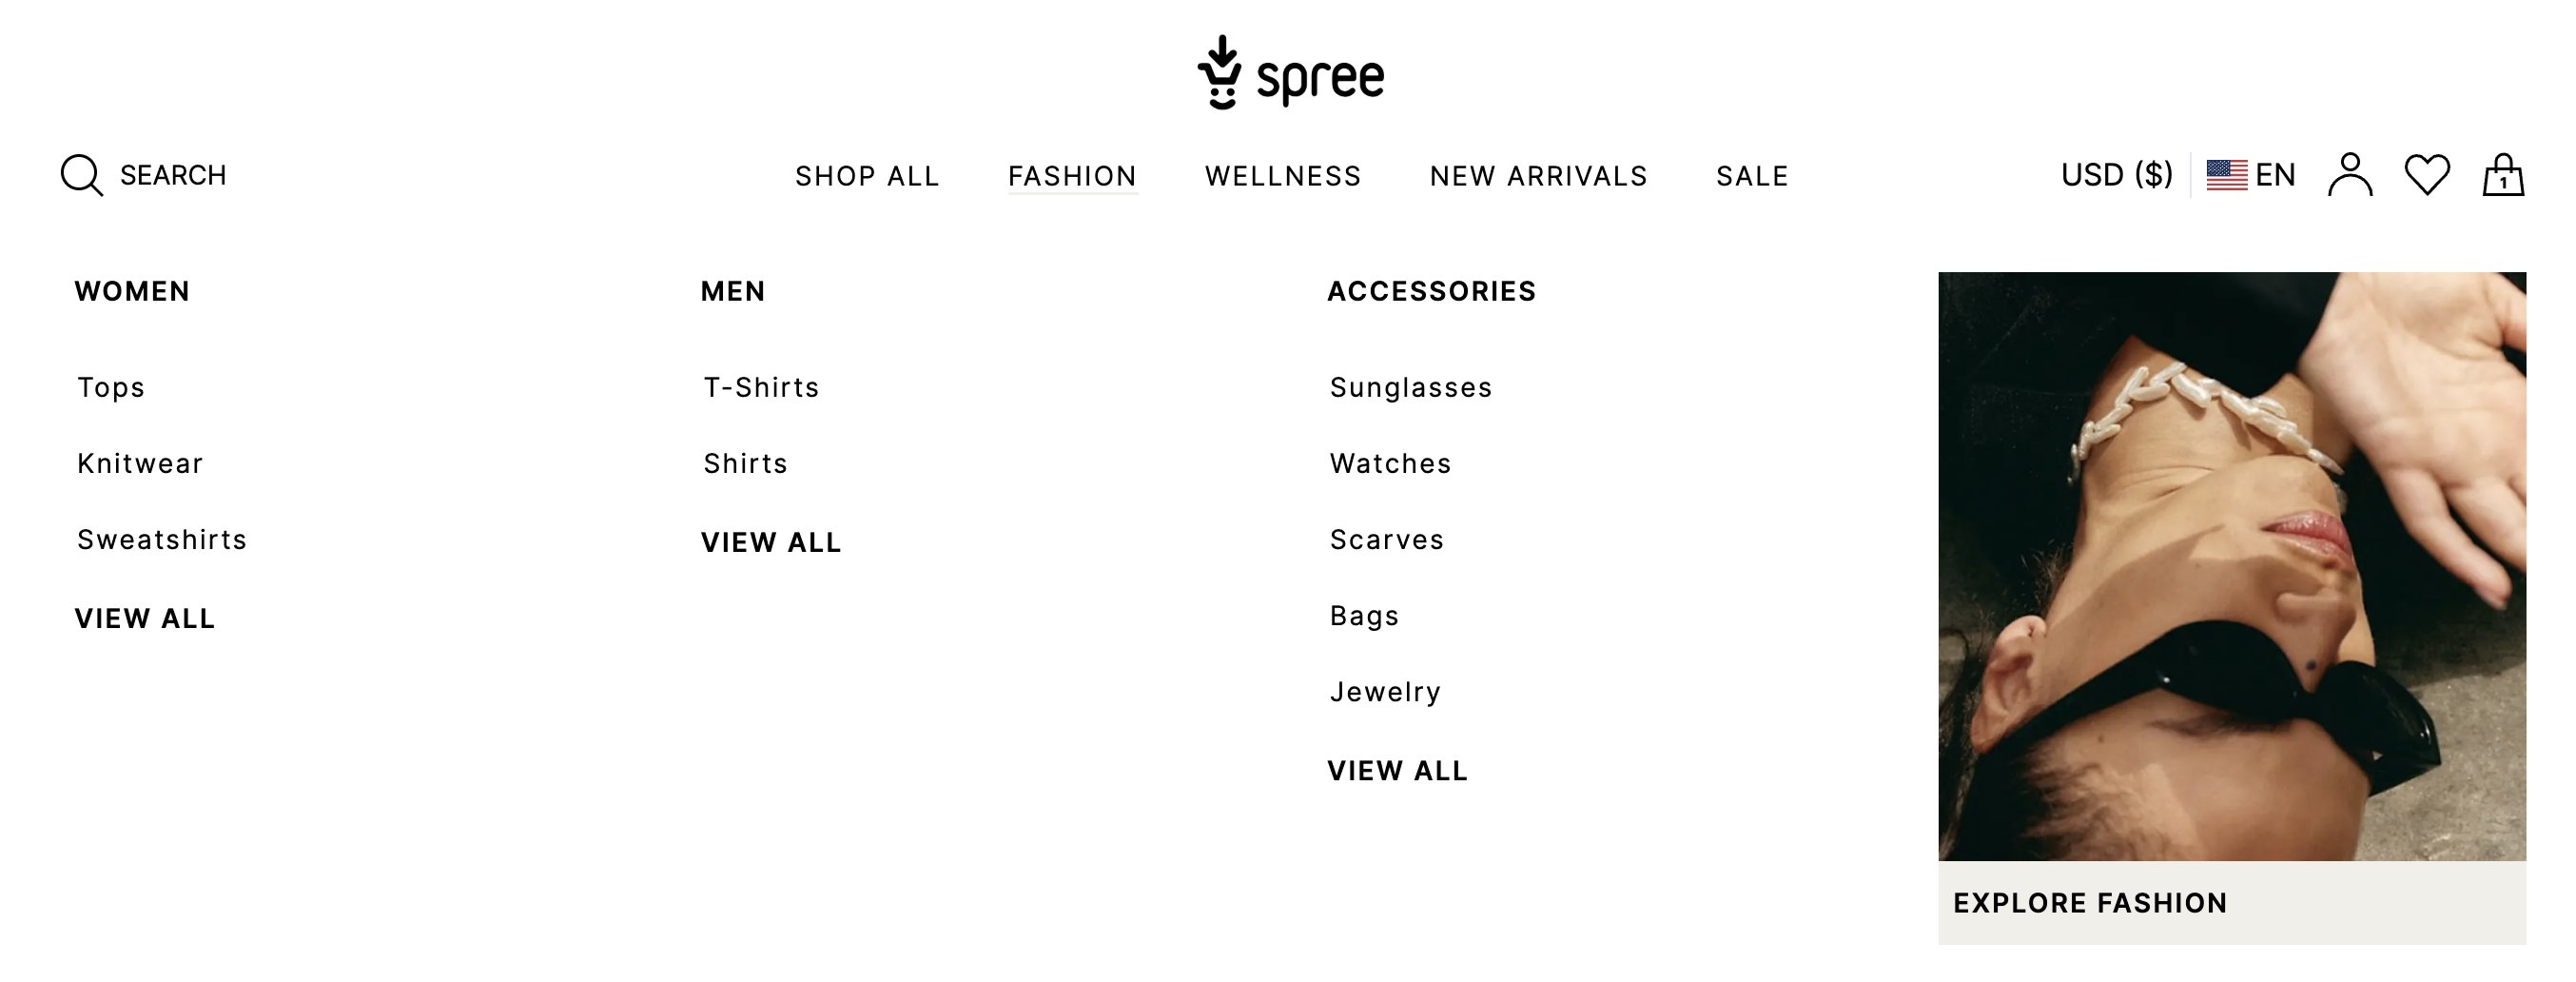
Footer sections
Newsletter

Footer

Content Sections
Architecture
Let’s dive into the details of how sections work.Active Record Model
Each section’s model inherit from Spree::PageSection abstract model class.Associations
Each sections has many blocks and links. You can call them viasection.blocks and section.links respectively.
Section belongs to a polymorphic parent model called pageable which can be either Spree::Page (content sections) or Spree::Theme (layout sections).
You can access section’s theme by calling section.theme.
Preferences
Each section has set of default preferences
Particular sections can introduce their own preferences. For example,
Spree::PageSections::ImageWithText has desktop_image_alignment and vertical_alignment preferences.
Creating a New Section
This guide walks you through creating a custom section for your Spree storefront. We’ll create a “Testimonials” section that displays customer reviews.Step 1: Create the Model
Create your section model that inherits fromSpree::PageSection. Place it in app/models/spree/page_sections/:
app/models/spree/page_sections/testimonials.rb
Step 2: Register the Section
Add your section toSpree.page_builder.page_sections in your Spree initializer:
config/initializers/spree.rb
Sections are filtered by their
role method. By default, sections have role 'content' which makes them available in the Page Builder. Sections with role 'header' or 'footer' are layout sections.Step 3: Create the Admin Form
Create the admin form partial for configuring the section in the Page Builder. Place it inapp/views/spree/admin/page_sections/forms/:
app/views/spree/admin/page_sections/forms/_testimonials.html.erb
The
data: { action: 'auto-submit#submit' } attribute enables live preview in the Page Builder - changes are saved automatically as the user types.Step 4: Create the Storefront View
Create the storefront partial that renders the section. Place it in your theme’s views directory:app/views/themes/default/spree/page_sections/_testimonials.html.erb
Section Roles
Sections have different roles that determine where they appear:
To set a section’s role, override the
self.role class method:
Section with Image Upload
If your section needs an image, use the built-inasset attachment:
app/models/spree/page_sections/hero_banner.rb
app/views/spree/admin/page_sections/forms/_hero_banner.html.erb
Section with Links
To add clickable links to your section, include theSpree::HasPageLinks concern (included by default) and define links:
Lazy Loading Sections
For sections that load external data (products, taxons), implement lazy loading to improve page performance:Helper Methods
These helper methods are available in storefront section views:Adding Translations
Add translations for your section in your locale files:config/locales/en.yml
Complete Example
Here’s a complete example putting it all together - a “Brand Story” section:1
Create the model
app/models/spree/page_sections/brand_story.rb
2
Register the section
config/initializers/spree.rb
3
Create admin form
app/views/spree/admin/page_sections/forms/_brand_story.html.erb
4
Create storefront view
app/views/themes/default/spree/page_sections/_brand_story.html.erb