> ## Documentation Index
> Fetch the complete documentation index at: https://spreecommerce.org/docs/llms.txt
> Use this file to discover all available pages before exploring further.
# User Quickstart
> Launch a Spree Commerce store fast: configure payments and taxes, add products, set a support email, and complete the Getting Started onboarding checklist.
Spree Commerce gives you a powerful, flexible platform to build and manage your online store - but before you can start selling, there are a few key steps to complete.
This guide walks you through the essential setup tasks, from configuring payments and taxes to adding products and launching your storefront. Whether you're launching an MVP or just exploring Spree’s capabilities, this guide will help you get up and running quickly.
## Getting Started
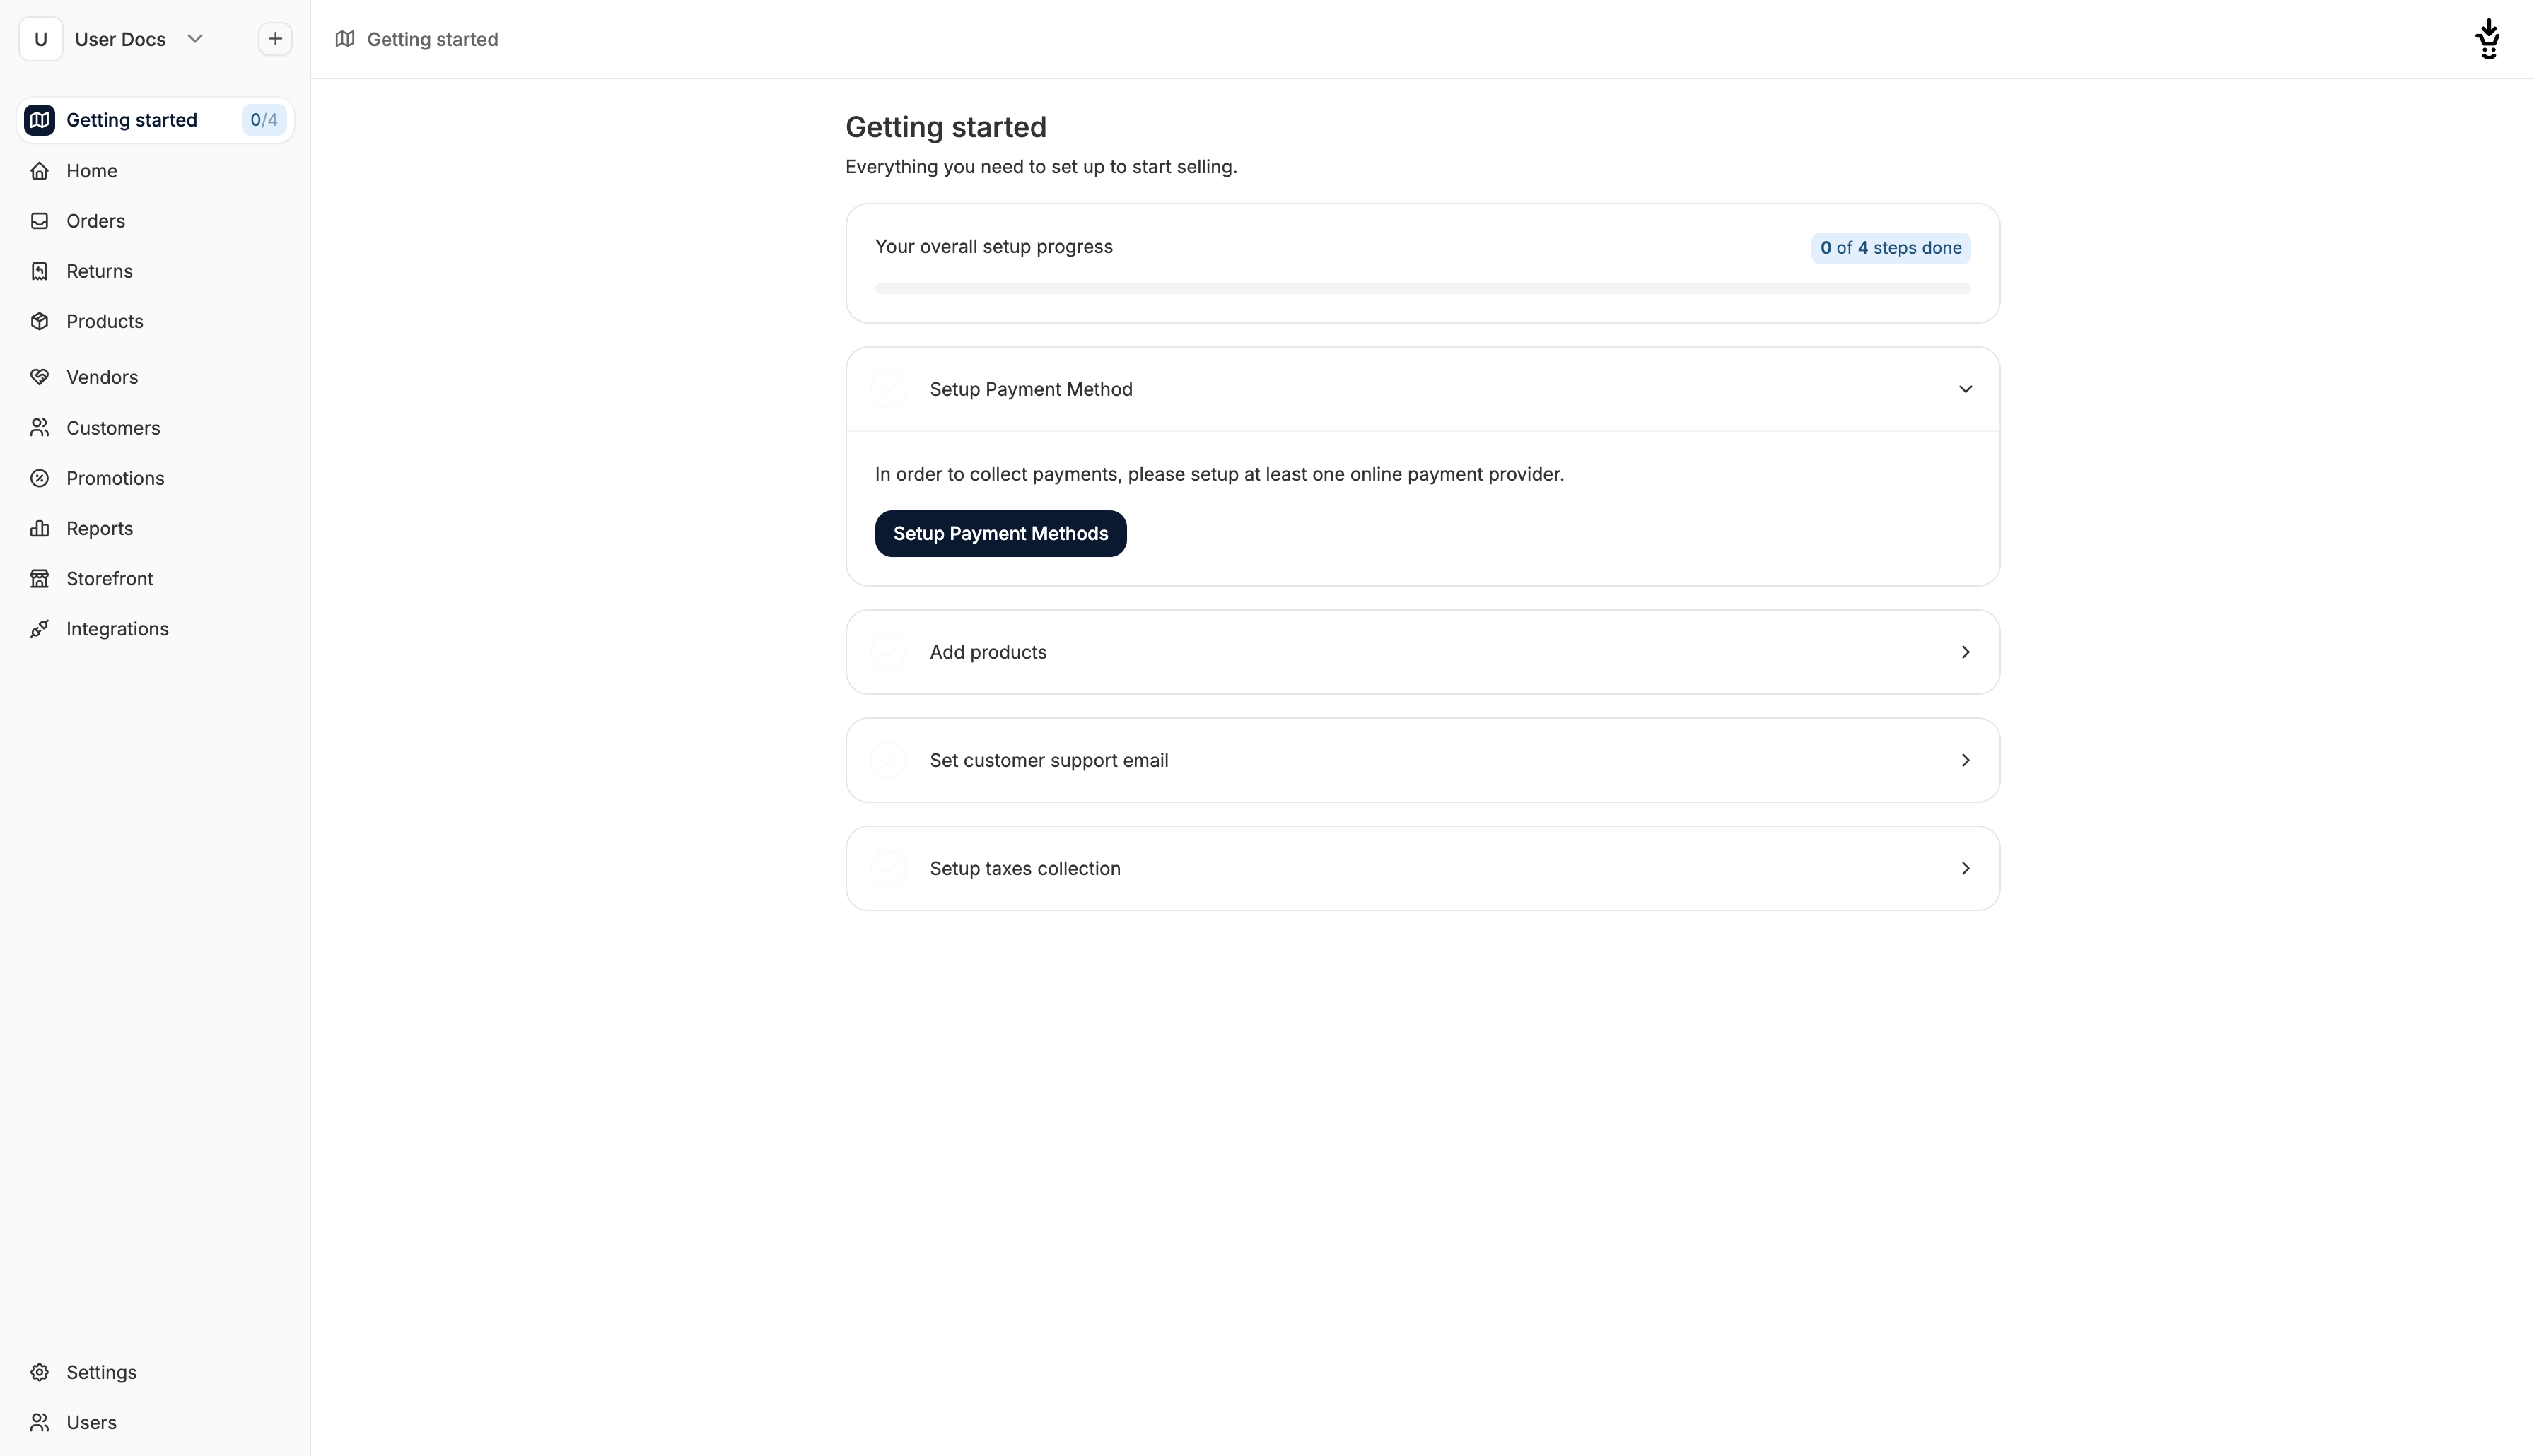 When you log into a fresh Spree Commerce instance, you’ll land on the Getting Started tab - a quick-launch checklist that helps you configure the essentials and go live faster.
You’ll see four key onboarding tasks:
* Setup payments
* Add products
* Set customer support email
* Setup taxes collection
Once all tasks are completed, the checklist will disappear from view. Let’s walk through each step below.
### Setup Payment Method
When you log into a fresh Spree Commerce instance, you’ll land on the Getting Started tab - a quick-launch checklist that helps you configure the essentials and go live faster.
You’ll see four key onboarding tasks:
* Setup payments
* Add products
* Set customer support email
* Setup taxes collection
Once all tasks are completed, the checklist will disappear from view. Let’s walk through each step below.
### Setup Payment Method
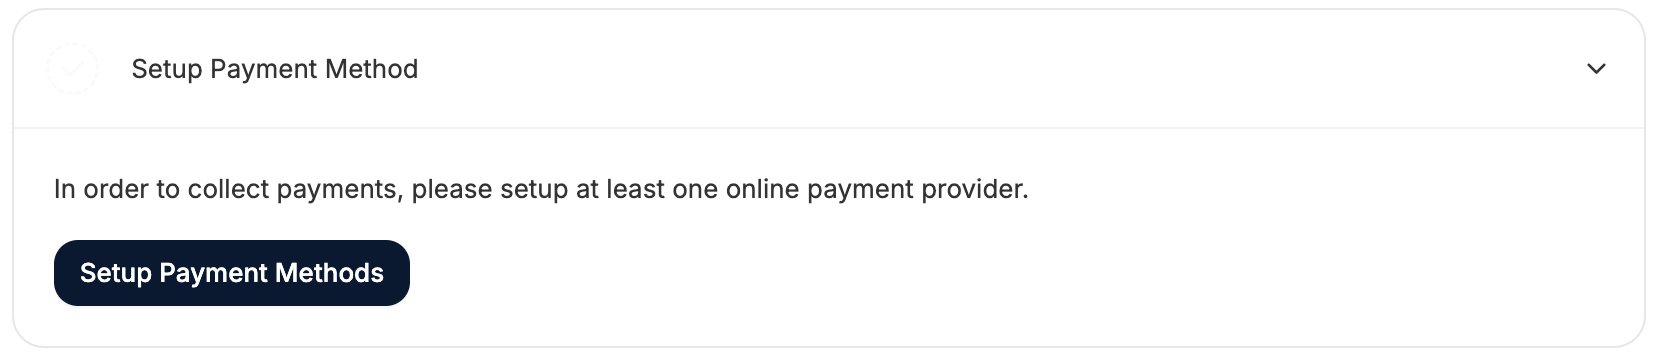 To sell anything, you’ll need to configure at least one payment method.
Click **Setup Payment Method** to jump to **Settings → Payments**.
To sell anything, you’ll need to configure at least one payment method.
Click **Setup Payment Method** to jump to **Settings → Payments**.
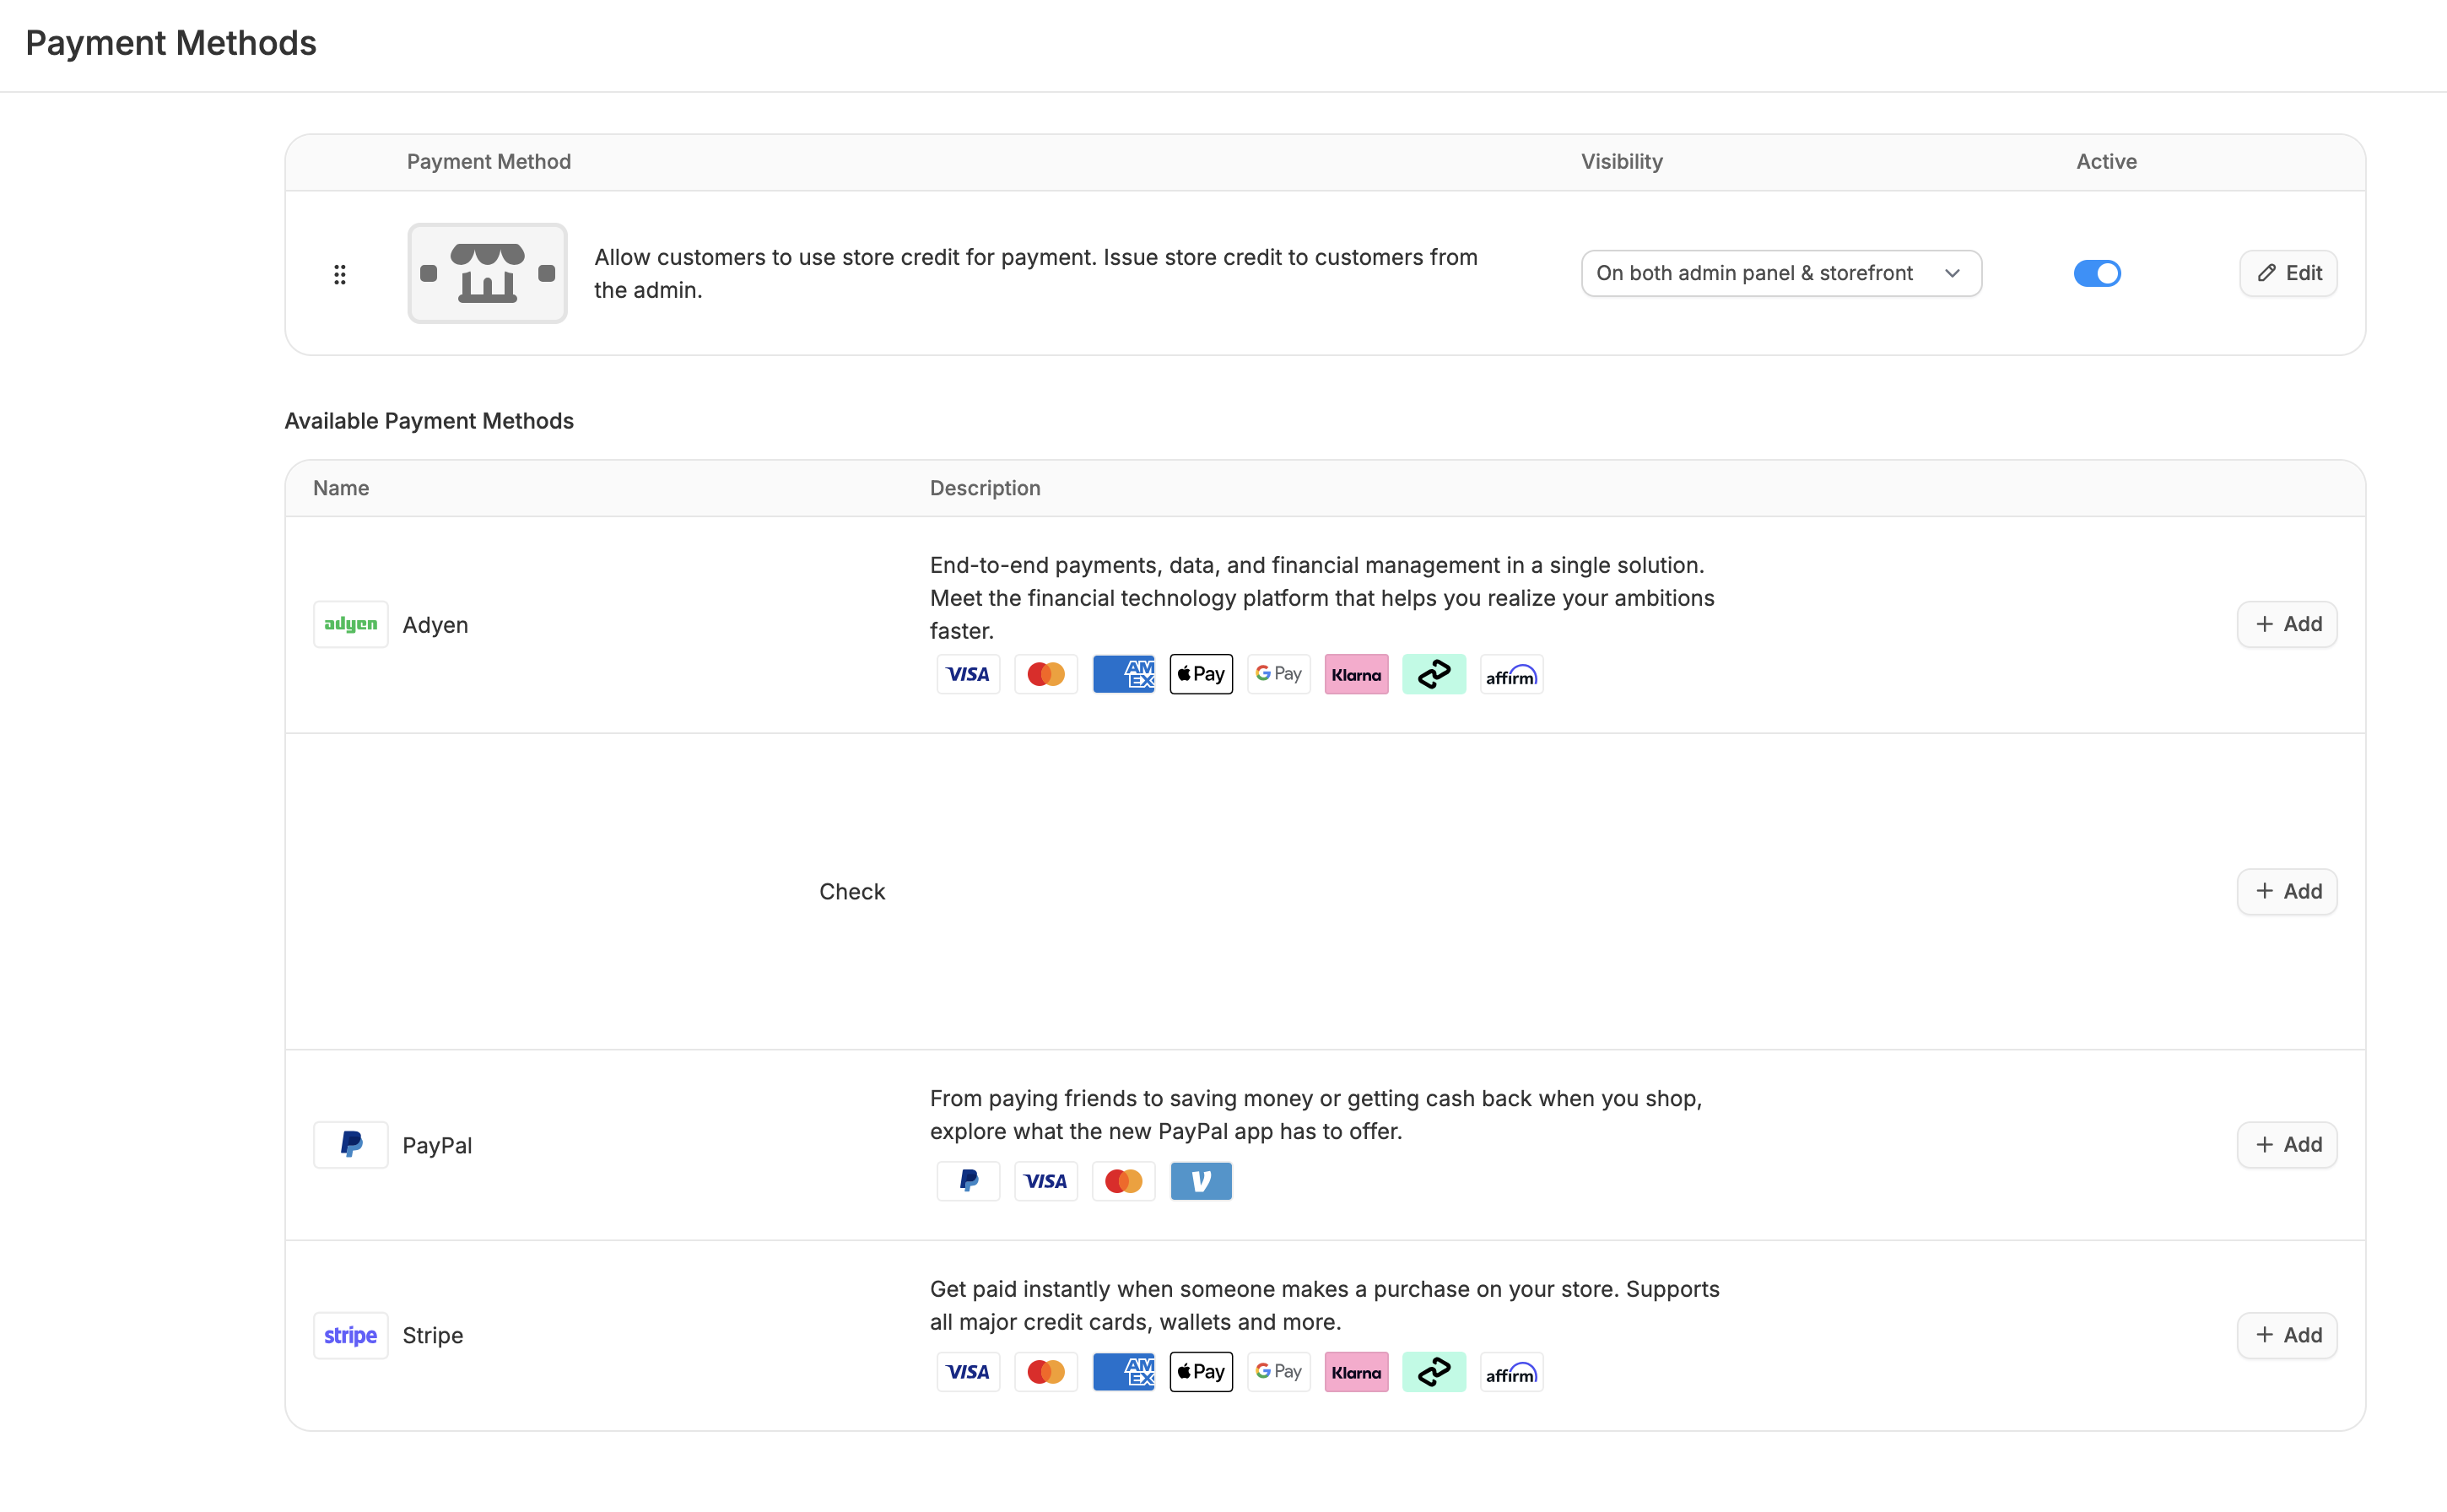 At the top, you’ll see your currently enabled methods (e.g., Store Credits, added by default).
Below that is a list of available payment methods you can add, such as Stripe, Adyen or PayPal.
Only payment methods that have been installed will appear in the Available Payment Methods list. If a method you’re expecting isn’t listed, ask your developer to confirm it has been added to the codebase.
To add a method:
1. Click **Add** next to your chosen method
2. Follow the setup instructions in the form
3. Click **Create** to enable it
Most payment gateways require you to have an account with the provider before setup.
To learn more about available methods and configuration, see [Payments](https://spreecommerce.org/docs/user/settings/payments).
### Add Products
At the top, you’ll see your currently enabled methods (e.g., Store Credits, added by default).
Below that is a list of available payment methods you can add, such as Stripe, Adyen or PayPal.
Only payment methods that have been installed will appear in the Available Payment Methods list. If a method you’re expecting isn’t listed, ask your developer to confirm it has been added to the codebase.
To add a method:
1. Click **Add** next to your chosen method
2. Follow the setup instructions in the form
3. Click **Create** to enable it
Most payment gateways require you to have an account with the provider before setup.
To learn more about available methods and configuration, see [Payments](https://spreecommerce.org/docs/user/settings/payments).
### Add Products
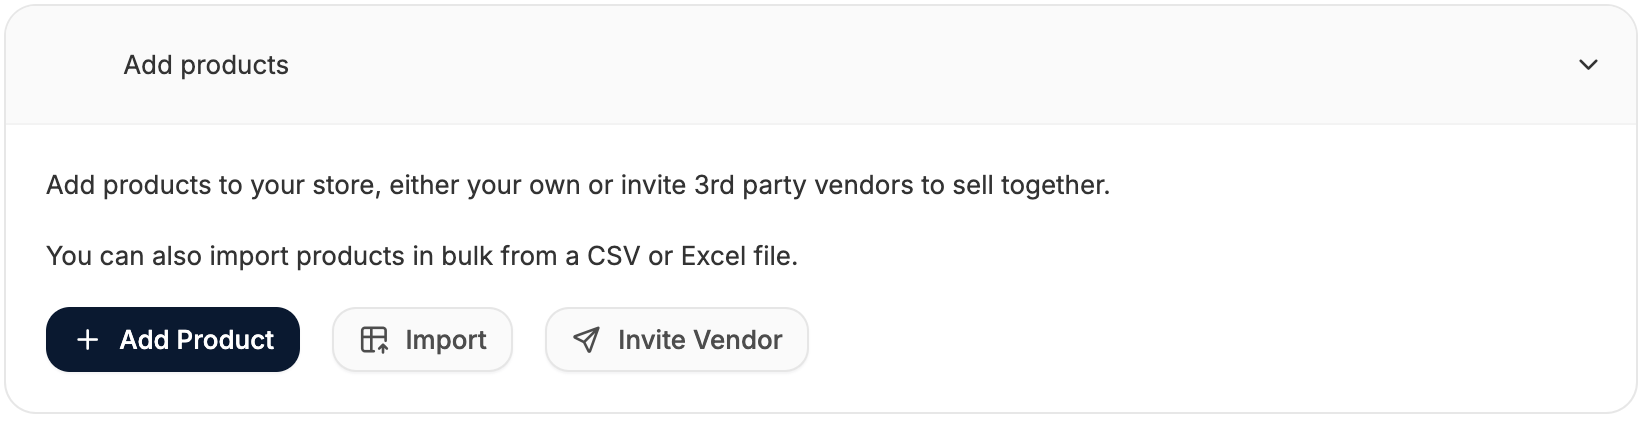 There are three ways to populate your store’s catalog:
* [Add products manually](https://spreecommerce.org/docs/user/products/creating-products) (ideal for small catalogs or testing)
* Import products using CSV (essential for large catalogs)
* [Invite vendors to add their own products](https://spreecommerce.org/docs/user/vendors/invite-vendor) (for marketplaces - Spree Enterprise only)
Click the **Add Products** button to start adding manually, or refer to the relevant articles based on your method.
Once you’ve added some products, make sure to set them as **Active** to publish them on the storefront.
For more detailed guides on creating and managing products, see:
* [Creating Products](https://spreecommerce.org/docs/user/products/creating-products)
* [Editing Products](https://spreecommerce.org/docs/user/products/editing-products)
* [Editing Multi-Variant Products](https://spreecommerce.org/docs/user/products/editing-multi-variant-products)
* [Managing Products in Bulk](https://spreecommerce.org/docs/user/manage-products/bulk-product-operations)
### Add Customer Support Email
There are three ways to populate your store’s catalog:
* [Add products manually](https://spreecommerce.org/docs/user/products/creating-products) (ideal for small catalogs or testing)
* Import products using CSV (essential for large catalogs)
* [Invite vendors to add their own products](https://spreecommerce.org/docs/user/vendors/invite-vendor) (for marketplaces - Spree Enterprise only)
Click the **Add Products** button to start adding manually, or refer to the relevant articles based on your method.
Once you’ve added some products, make sure to set them as **Active** to publish them on the storefront.
For more detailed guides on creating and managing products, see:
* [Creating Products](https://spreecommerce.org/docs/user/products/creating-products)
* [Editing Products](https://spreecommerce.org/docs/user/products/editing-products)
* [Editing Multi-Variant Products](https://spreecommerce.org/docs/user/products/editing-multi-variant-products)
* [Managing Products in Bulk](https://spreecommerce.org/docs/user/manage-products/bulk-product-operations)
### Add Customer Support Email
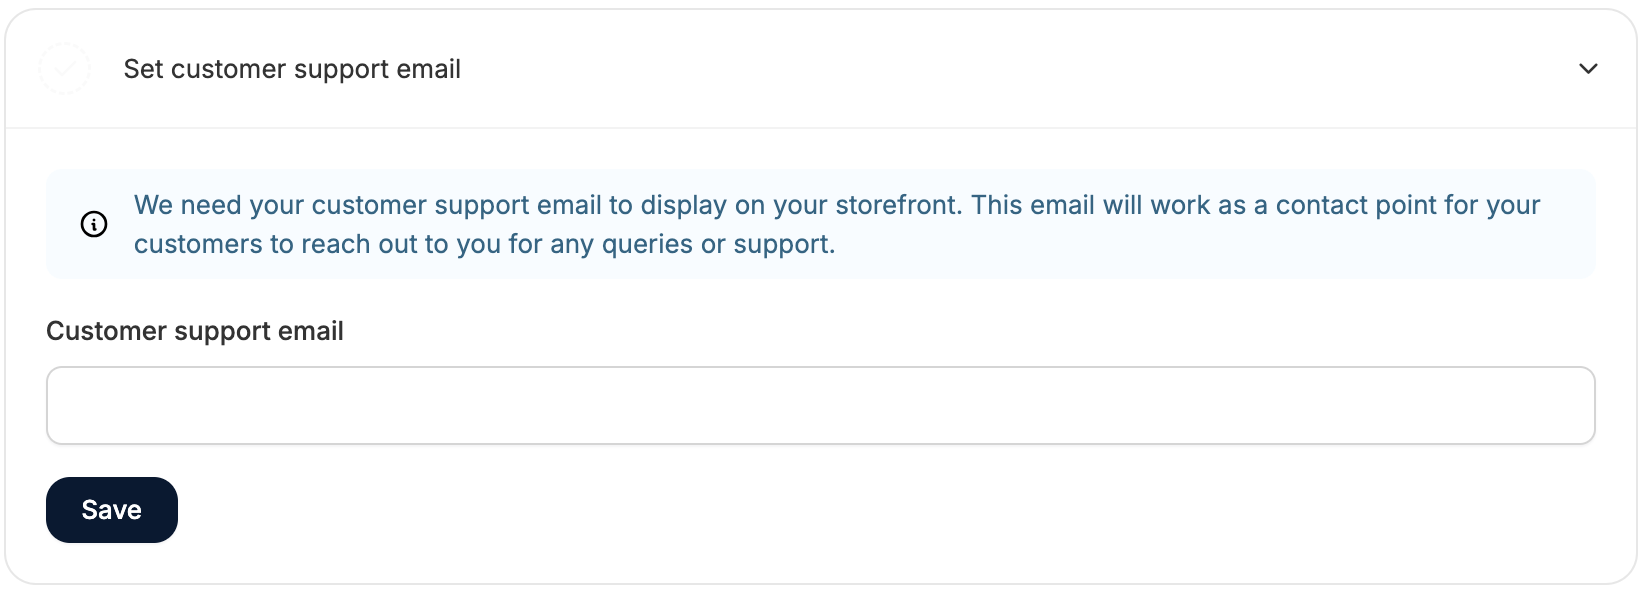 This small but critical step ensures customers know how to reach you.
Simply enter your customer support email in the field provided, and click **Save**.
This address will appear on your storefront and works as a contact for your customers in case they have any queries or require support.
### Setup Taxes Collection
This small but critical step ensures customers know how to reach you.
Simply enter your customer support email in the field provided, and click **Save**.
This address will appear on your storefront and works as a contact for your customers in case they have any queries or require support.
### Setup Taxes Collection
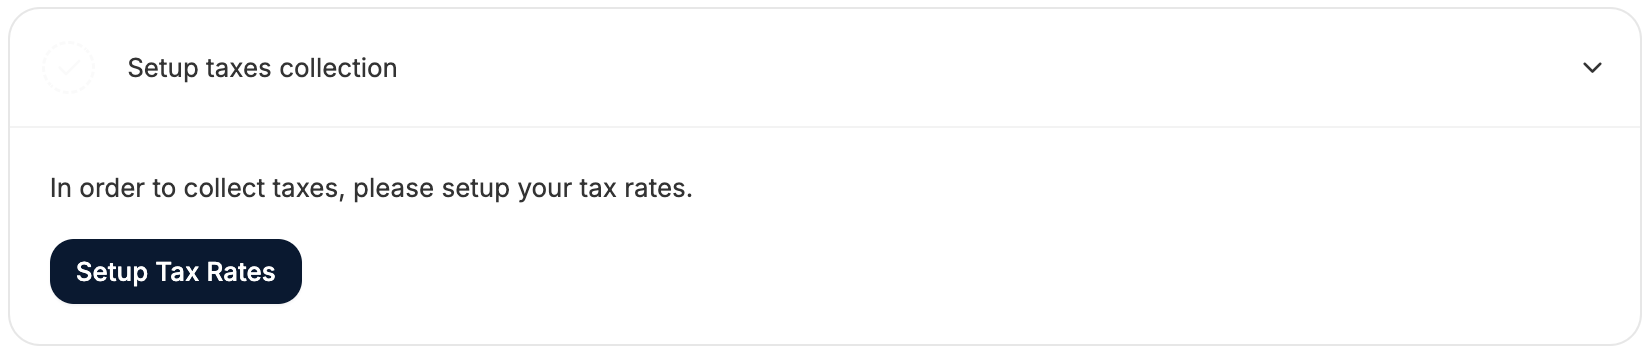 To charge the correct taxes at checkout, click **Setup Tax Rates** to be taken to **Settings → Tax**.
From here, you can configure:
* Tax rates (manual or through third-party services like Avalara)
* Tax categories
For full instructions, please refer to our [Tax support article](https://spreecommerce.org/docs/user/settings/tax).
## Shipping Methods
To charge the correct taxes at checkout, click **Setup Tax Rates** to be taken to **Settings → Tax**.
From here, you can configure:
* Tax rates (manual or through third-party services like Avalara)
* Tax categories
For full instructions, please refer to our [Tax support article](https://spreecommerce.org/docs/user/settings/tax).
## Shipping Methods
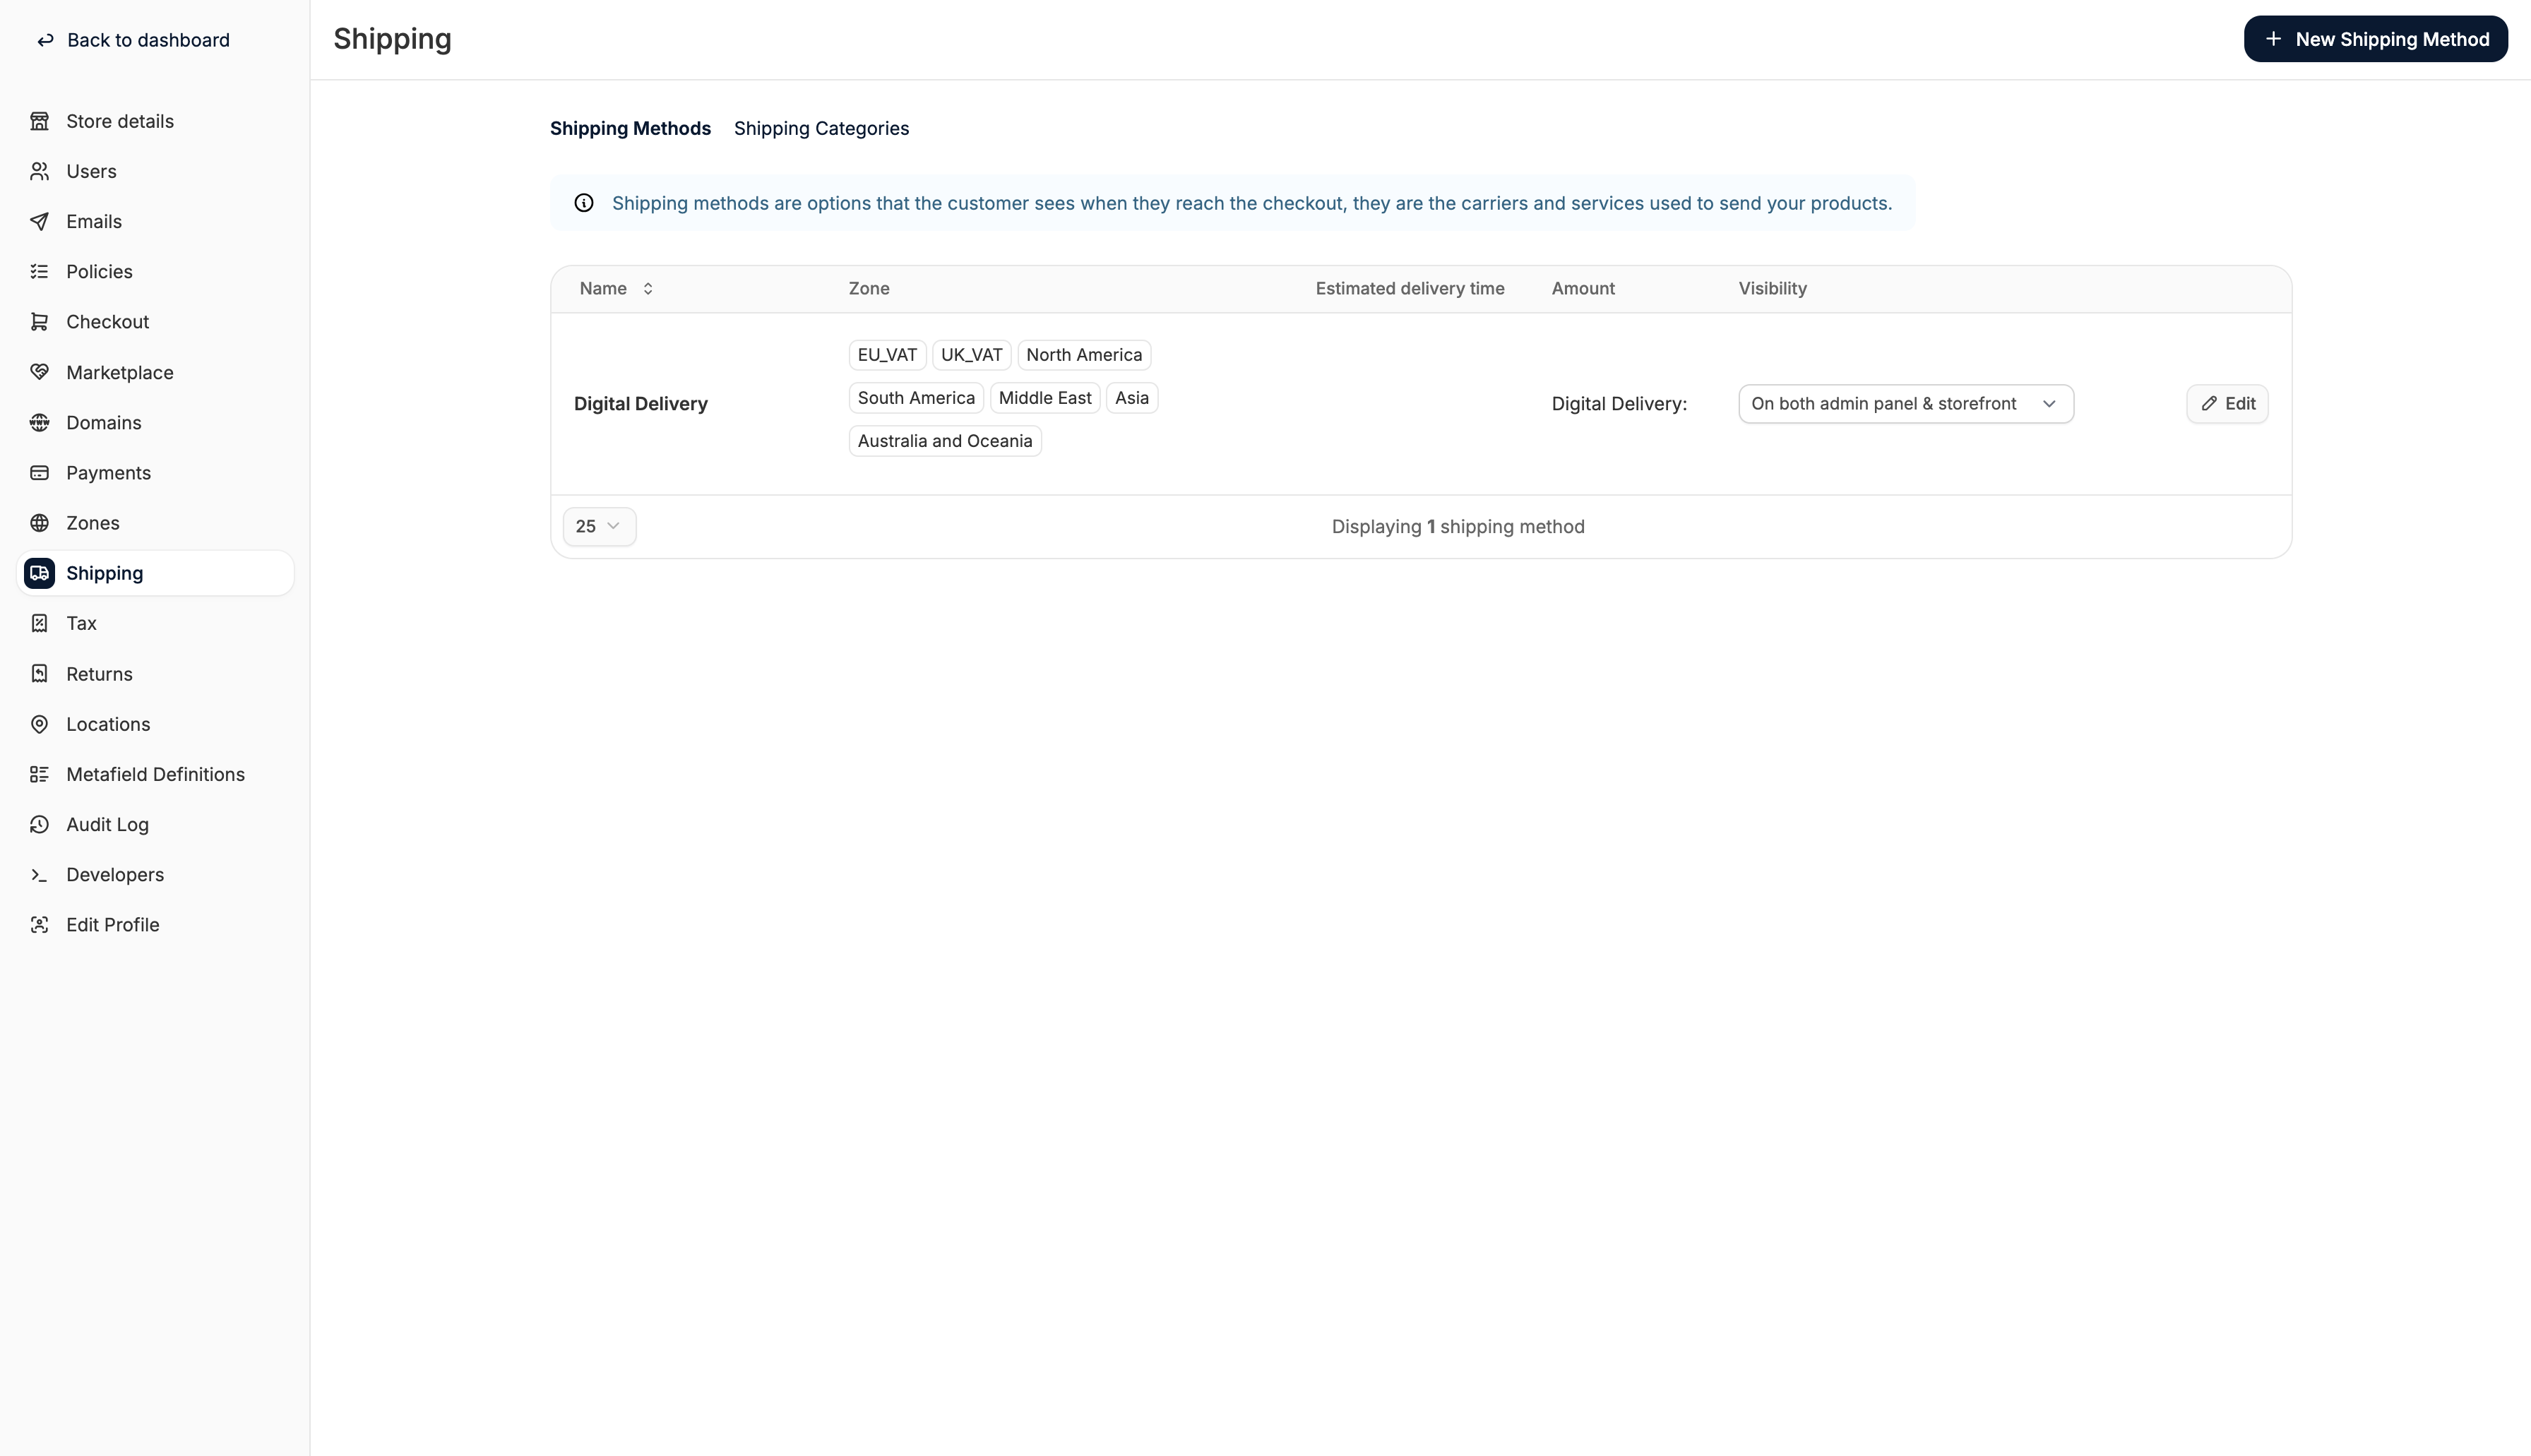 Customers won’t be able to complete orders without at least one shipping method configured.
To configure a shipping methods, go to **Settings → Shipping** and click **New Shipping Method** to define:
* Shipping zones
* Cost calculator settings
* Estimated delivery times
* Shipping and Tax categories
* Tracking links
See [Shipping Methods](https://spreecommerce.org/docs/user/settings/shipping-methods) for a full breakdown of settings and examples.
By default, all Spree stores have a Digital Delivery method pre-configured. If you plan on selling digital products, be sure to assign those products the Digital shipping category.
## Next Steps
Once you’ve completed the basic setup, you’re ready to explore more advanced features and tailor your store to your business model. Here’s some recommended reading:
* [**Learn how to manage orders**](https://spreecommerce.org/docs/user/orders/processing-orders) - process payments, fulfill shipments, create and edit orders
* [**Learn how to process returns**](https://spreecommerce.org/docs/user/returns/returns-processing) - configure returns flow, authorize returns, reimburse customers
* [**Launch a B2B storefront**](https://spreecommerce.org/docs/use-case/b2b/b2b-commerce-model) - offer net terms, tiered pricing, company accounts, and purchase flows optimized for wholesale
* [**Build a multi-vendor marketplace**](https://spreecommerce.org/docs/use-case/marketplace/model) - invite third-party vendors to sell through your platform
* [**Create a multi-tenant platform**](https://spreecommerce.org/docs/use-case/multi-tenant/multi-tenant-model) power multiple stores or clients from a single backend
* [**Sell digital products**](https://spreecommerce.org/docs/use-case/digital-products/model) - deliver files automatically, skip shipping steps, and disable inventory tracking
Customers won’t be able to complete orders without at least one shipping method configured.
To configure a shipping methods, go to **Settings → Shipping** and click **New Shipping Method** to define:
* Shipping zones
* Cost calculator settings
* Estimated delivery times
* Shipping and Tax categories
* Tracking links
See [Shipping Methods](https://spreecommerce.org/docs/user/settings/shipping-methods) for a full breakdown of settings and examples.
By default, all Spree stores have a Digital Delivery method pre-configured. If you plan on selling digital products, be sure to assign those products the Digital shipping category.
## Next Steps
Once you’ve completed the basic setup, you’re ready to explore more advanced features and tailor your store to your business model. Here’s some recommended reading:
* [**Learn how to manage orders**](https://spreecommerce.org/docs/user/orders/processing-orders) - process payments, fulfill shipments, create and edit orders
* [**Learn how to process returns**](https://spreecommerce.org/docs/user/returns/returns-processing) - configure returns flow, authorize returns, reimburse customers
* [**Launch a B2B storefront**](https://spreecommerce.org/docs/use-case/b2b/b2b-commerce-model) - offer net terms, tiered pricing, company accounts, and purchase flows optimized for wholesale
* [**Build a multi-vendor marketplace**](https://spreecommerce.org/docs/use-case/marketplace/model) - invite third-party vendors to sell through your platform
* [**Create a multi-tenant platform**](https://spreecommerce.org/docs/use-case/multi-tenant/multi-tenant-model) power multiple stores or clients from a single backend
* [**Sell digital products**](https://spreecommerce.org/docs/use-case/digital-products/model) - deliver files automatically, skip shipping steps, and disable inventory tracking