> ## Documentation Index
> Fetch the complete documentation index at: https://spreecommerce.org/docs/llms.txt
> Use this file to discover all available pages before exploring further.
# Users
> Invite, edit, and manage admin users in the Spree dashboard — send invitations, assign roles, track pending invites, and control backend access for your team.
Effectively managing user access to your store’s backend is essential for operational security and team collaboration. The Users settings section allows you to view active users, track invitations, and (eventually) create roles to define permissions.
To manage admin users, navigate to the Users tab of the admin dashboard.
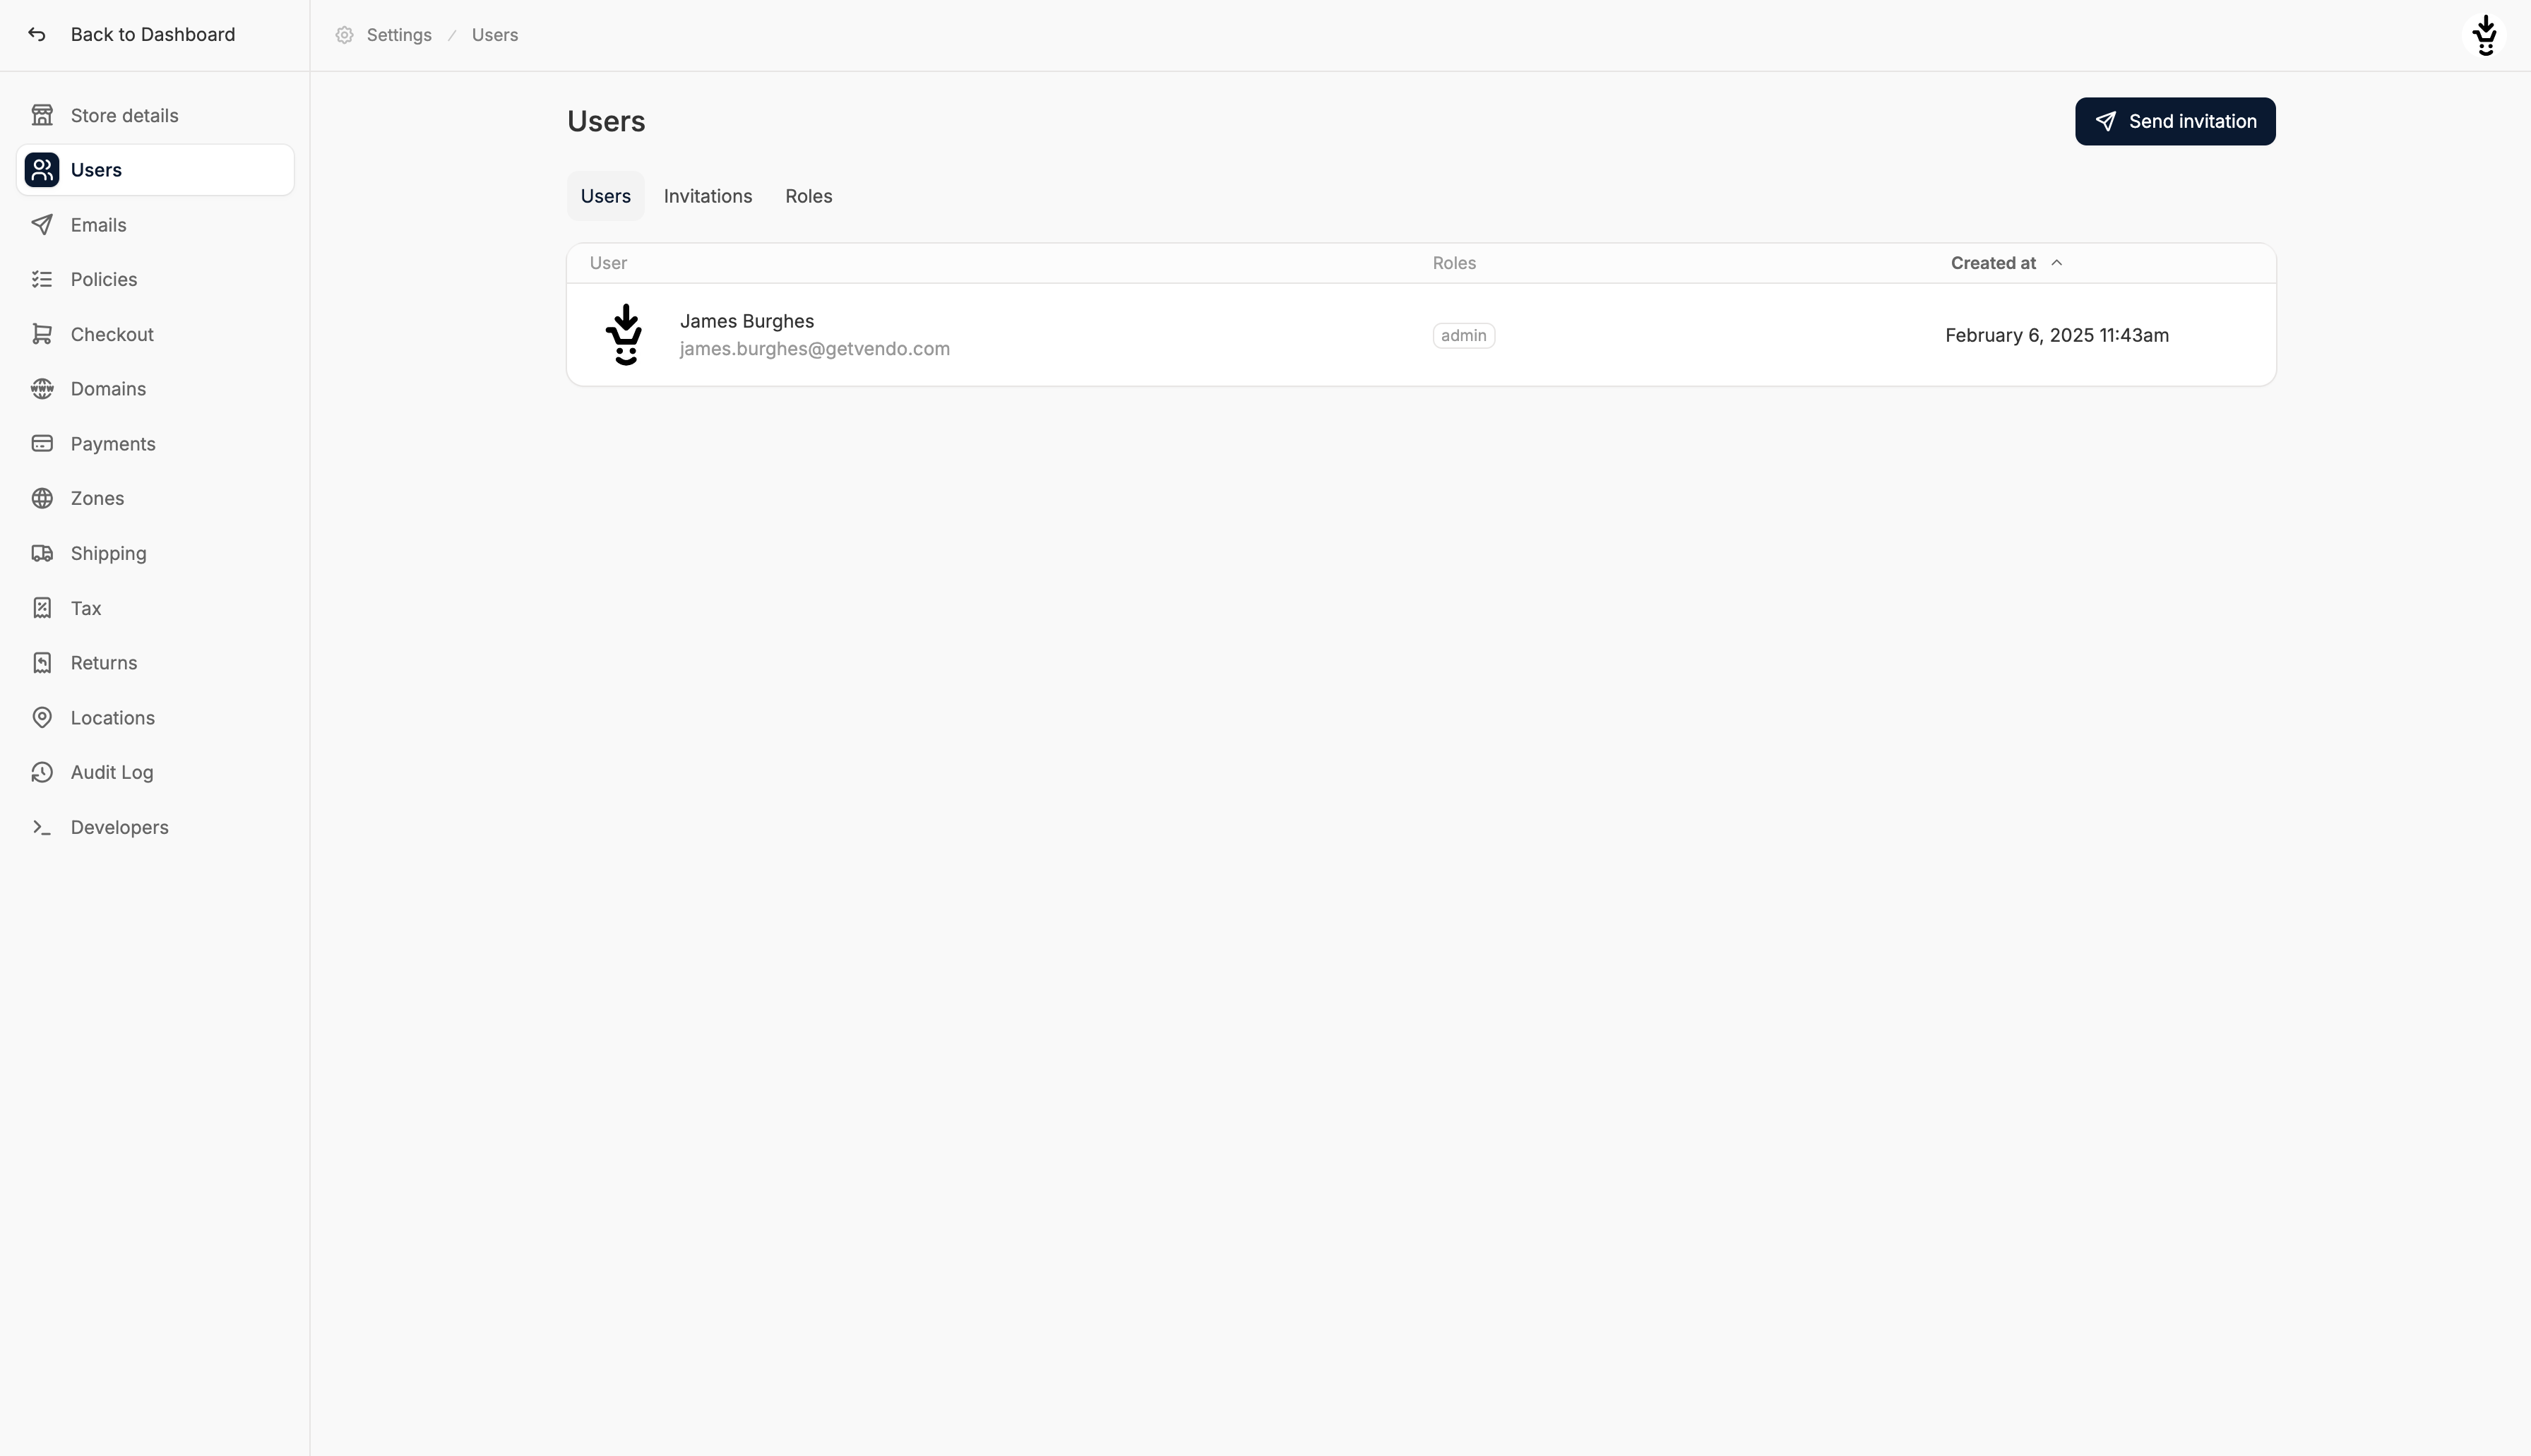 This page is split into three subsections for Users, Invitations, and Roles. Let’s take a look at each in detail:
## Users
This page is split into three subsections for Users, Invitations, and Roles. Let’s take a look at each in detail:
## Users
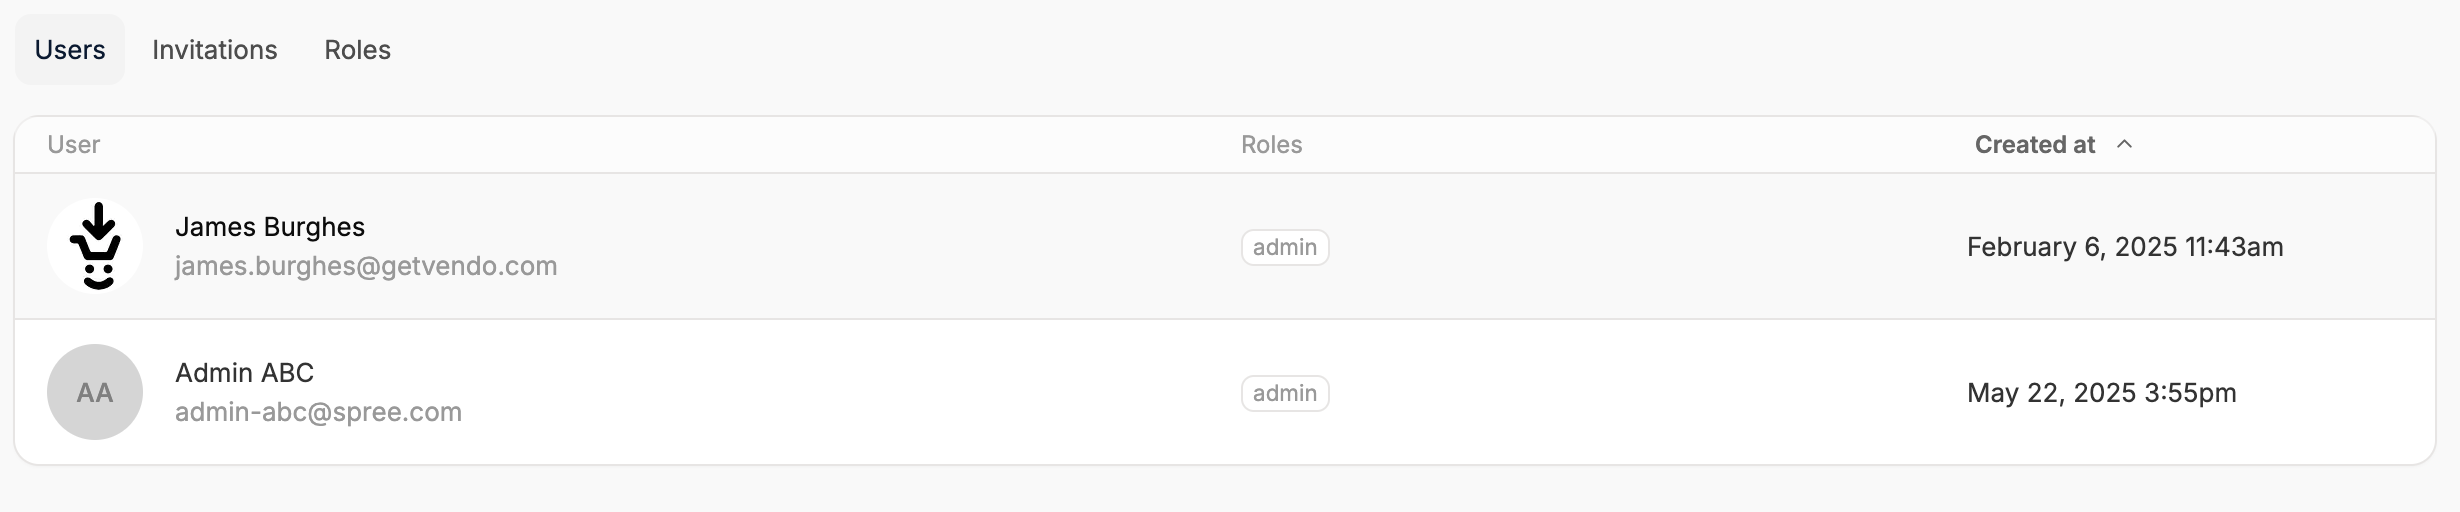 This section displays a list of all active users with access to the dashboard. From here, you can invite new users, view existing user details, and remove access if needed.
### Invite a User
To invite a new user, click ‘Send Invitation’ in the top right corner.
This section displays a list of all active users with access to the dashboard. From here, you can invite new users, view existing user details, and remove access if needed.
### Invite a User
To invite a new user, click ‘Send Invitation’ in the top right corner.
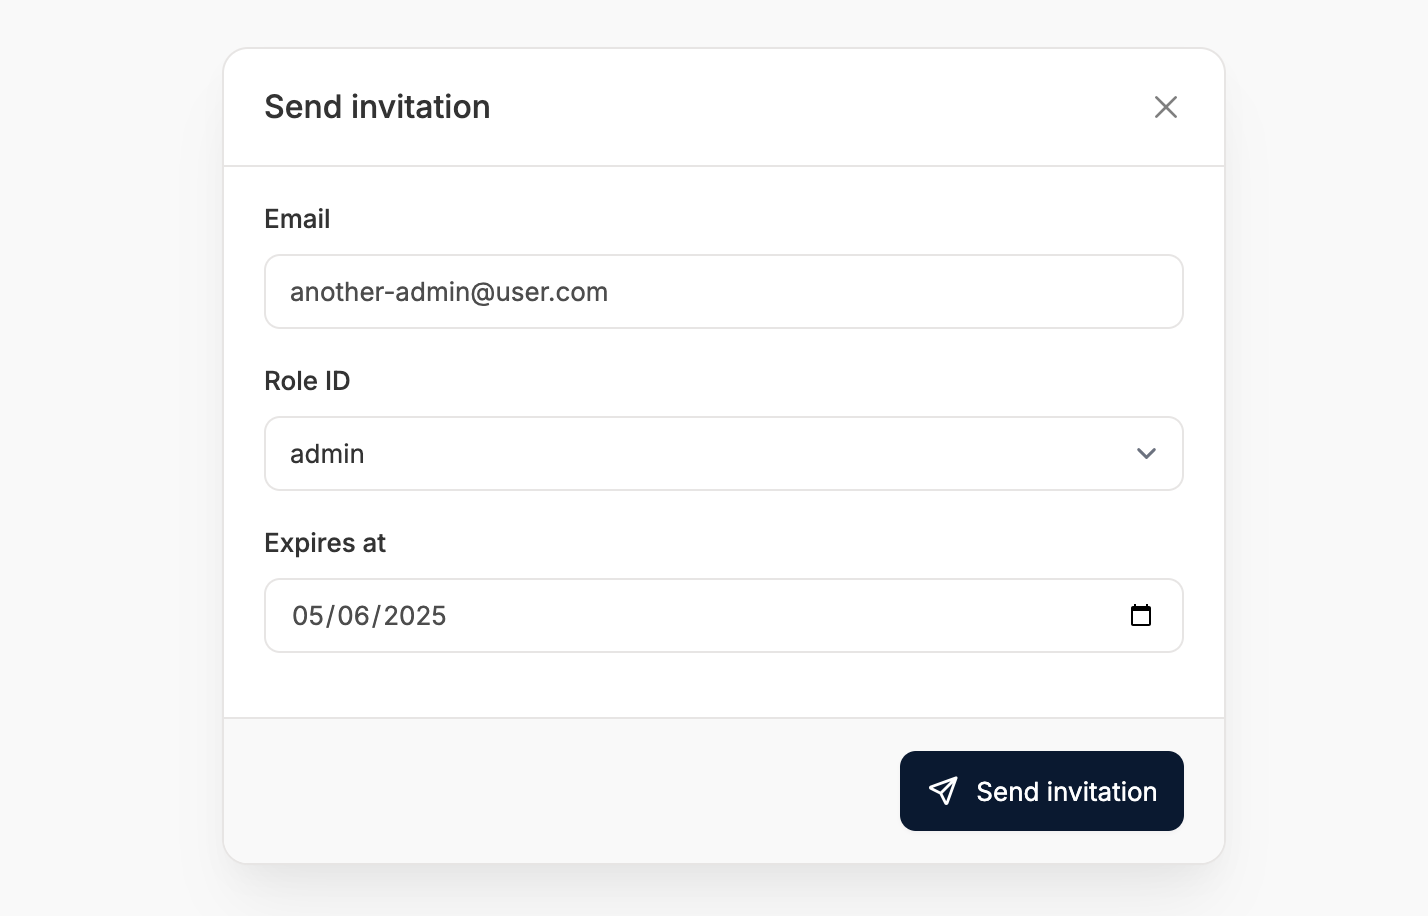 Then follow these steps:
1. Enter the users email address
2. Set their user role
3. Set an invitation expiry date
4. Click ‘Send Invitation’
The user will then receive an email invitation to the specified email address.
When they click on the invitation link, they’ll be redirected to an account creation page.
Then follow these steps:
1. Enter the users email address
2. Set their user role
3. Set an invitation expiry date
4. Click ‘Send Invitation’
The user will then receive an email invitation to the specified email address.
When they click on the invitation link, they’ll be redirected to an account creation page.
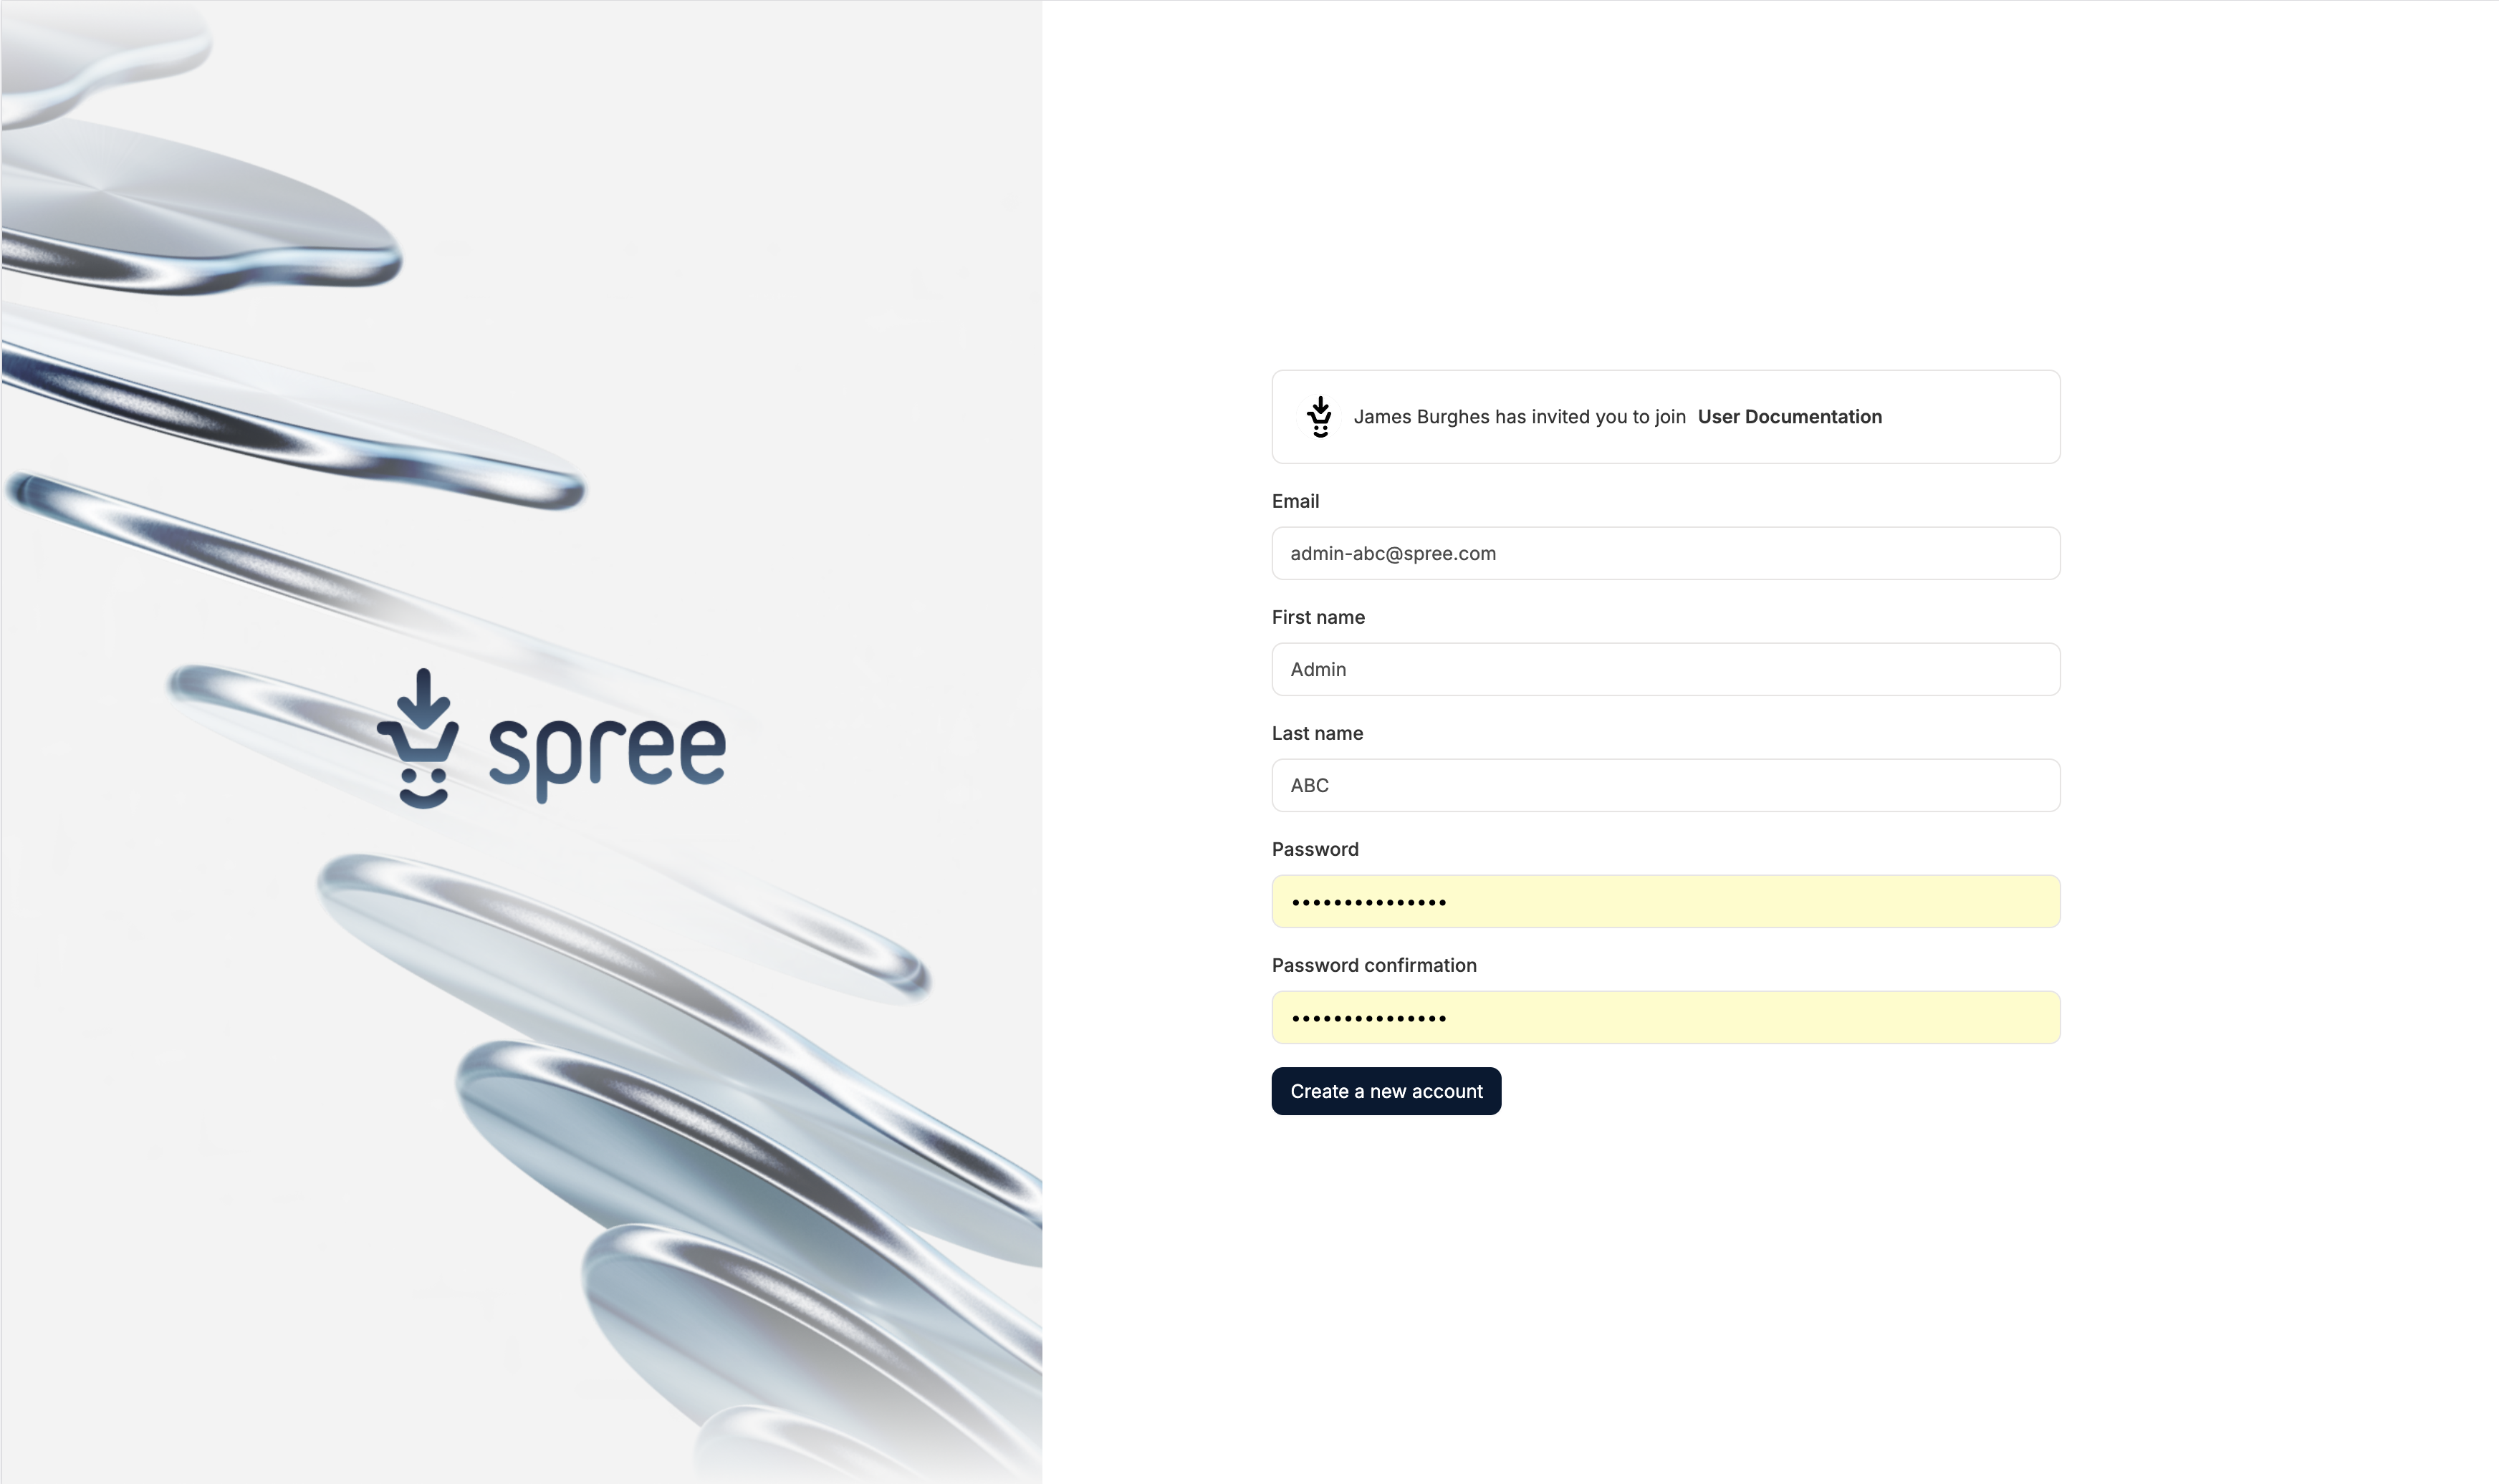 Once they complete the form and click ‘Create a new account’ they’ll be redirected to the admin dashboard.
### Edit a User
To edit a user, click on their corresponding row to open their admin profile.
Once they complete the form and click ‘Create a new account’ they’ll be redirected to the admin dashboard.
### Edit a User
To edit a user, click on their corresponding row to open their admin profile.
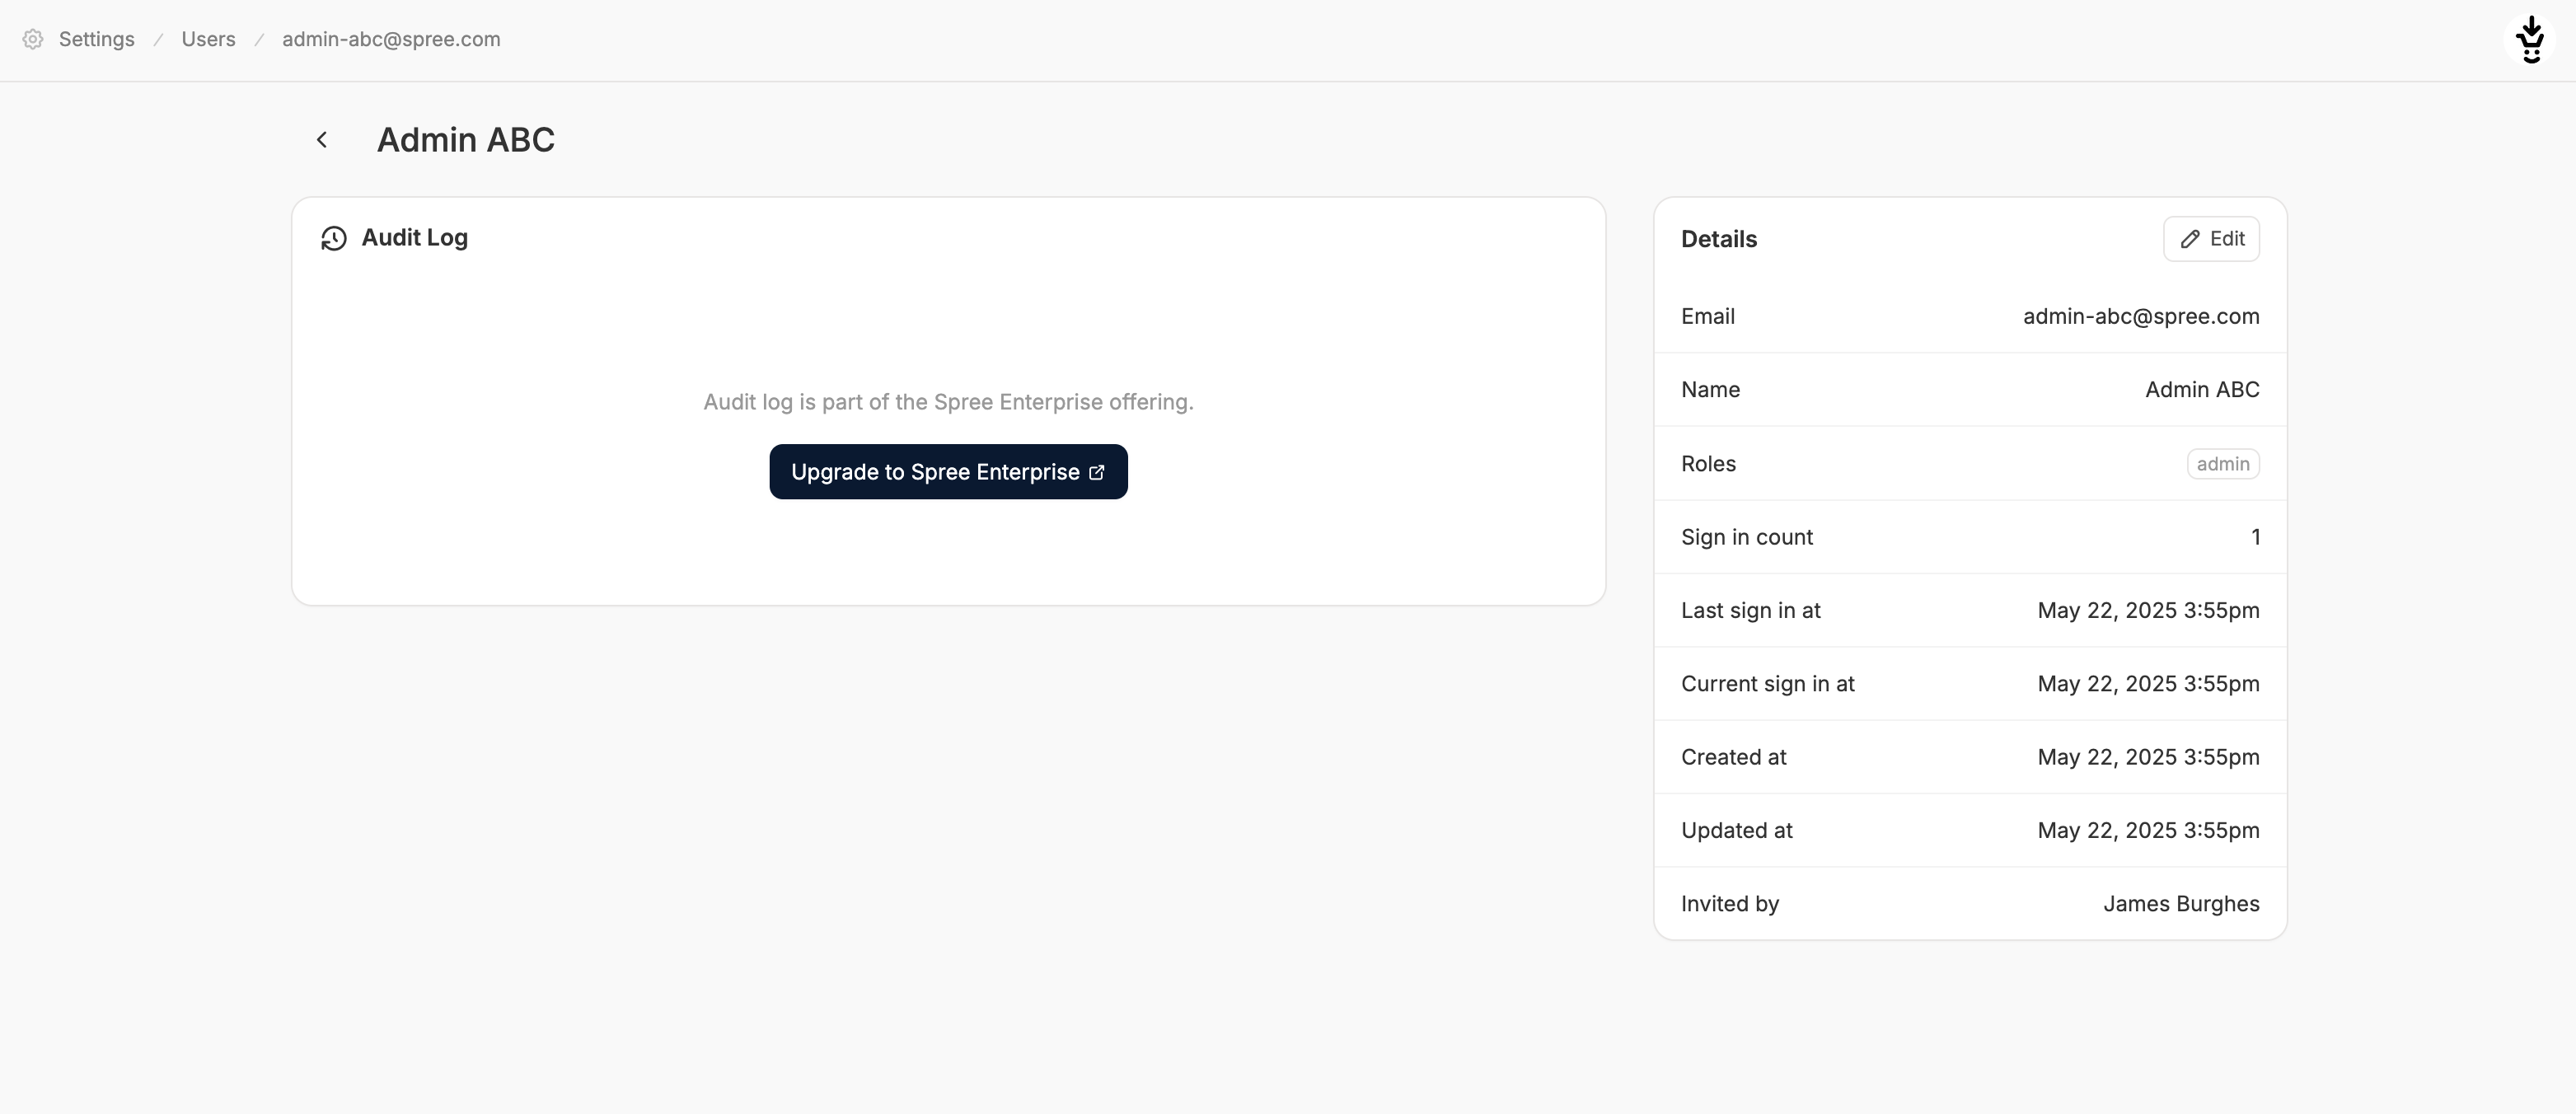 Click Edit in the details section to reveal the edit form.
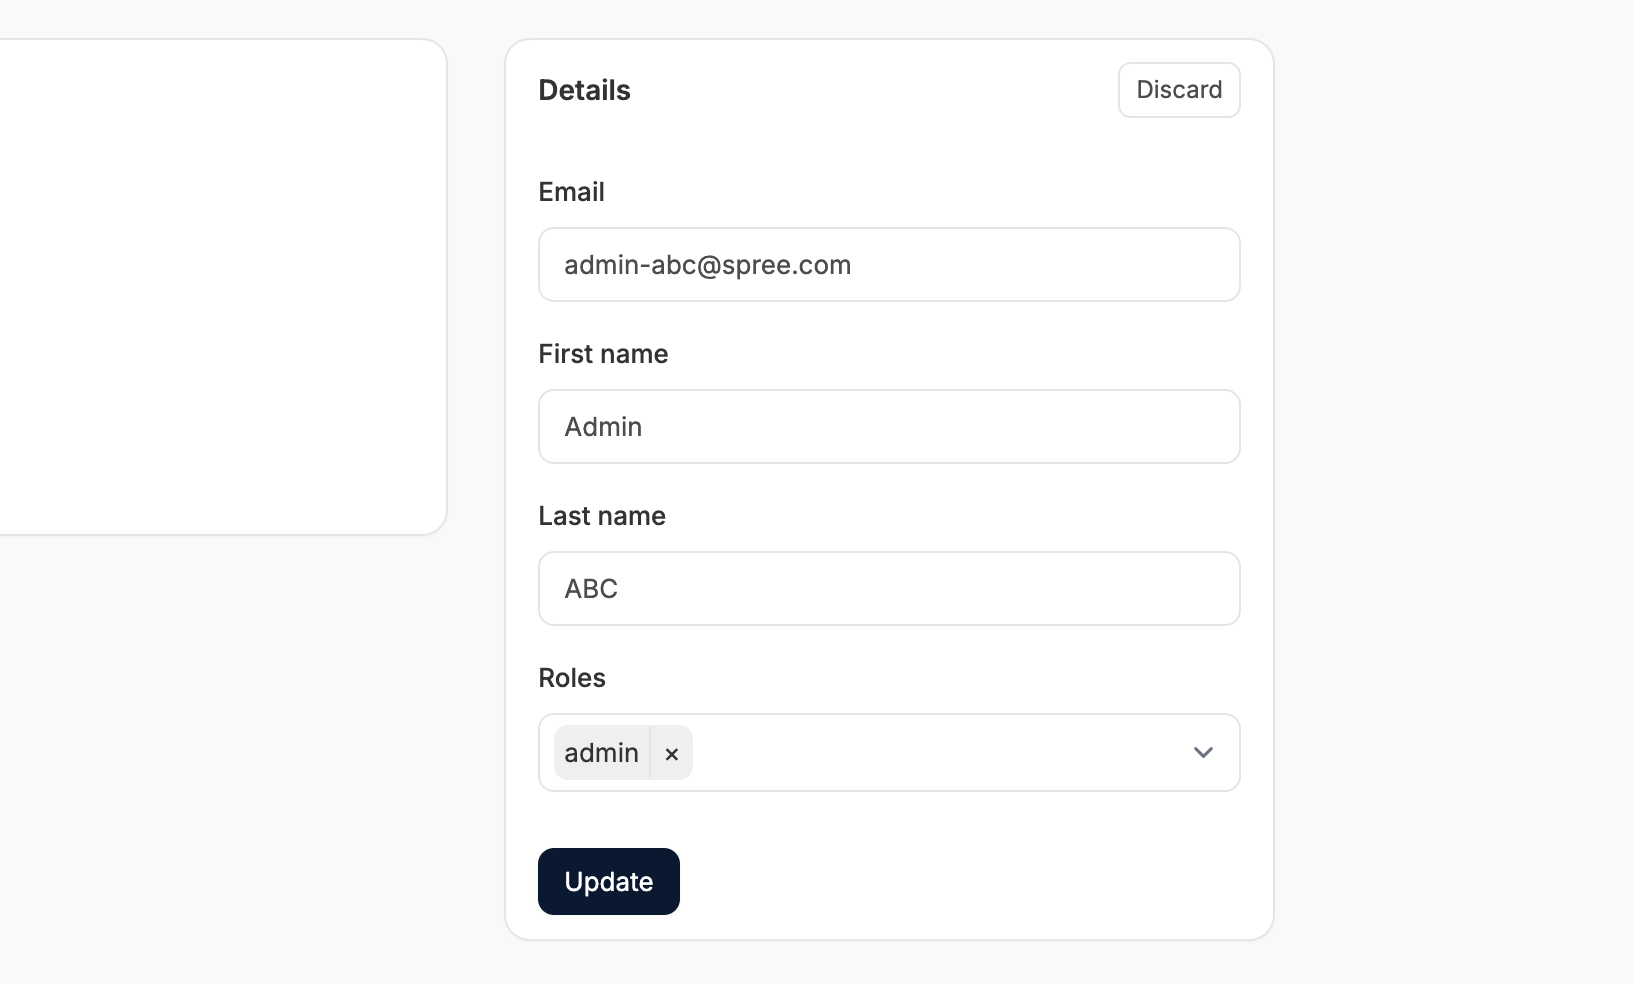 Change the fields as needed and click Update to save.
### Delete a User
It’s not possible to outright delete a user, but you can block their access by removing their role in the edit form shown above.
## Invitations
Change the fields as needed and click Update to save.
### Delete a User
It’s not possible to outright delete a user, but you can block their access by removing their role in the edit form shown above.
## Invitations
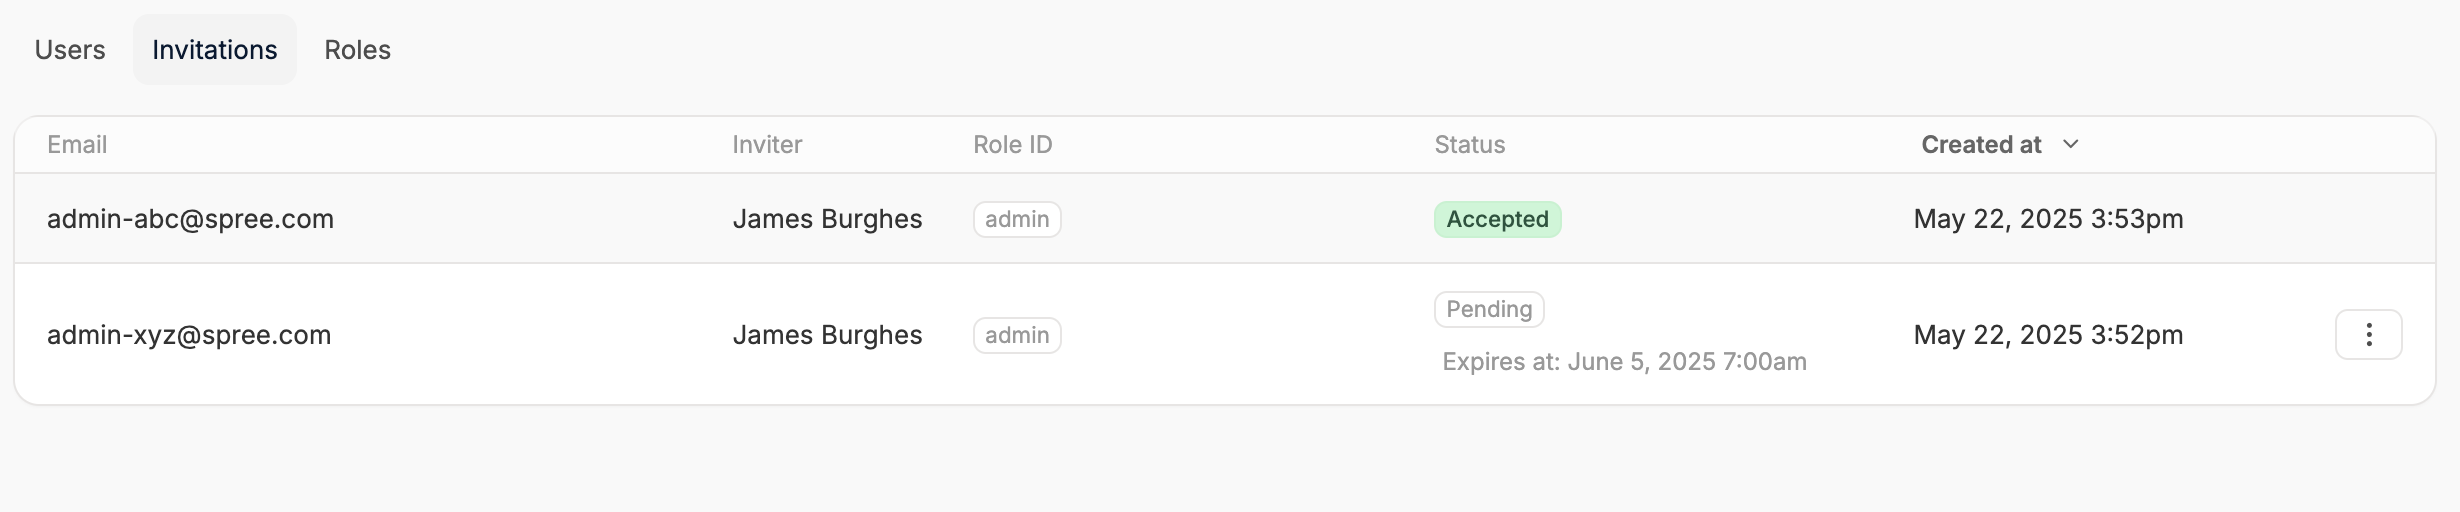 This section shows a record of all invitations that have been sent, whether accepted, pending, or expired. This helps you monitor who’s been invited, by whom, and what role they’ve been assigned.
Each invitation includes:
* **Email**: The email address the invitation was sent to
* **Inviter**: The user who sent the invitation
* **Role**: The assigned role upon acceptance
* **Created at**: Date the invitation was created
* **Status**: Accepted, Pending, or Expired
Pending invitations can be Resent or Deleted by clicking on the three dots on the right hand side of the corresponding row and selecting the desired action.
## Roles
This section shows a record of all invitations that have been sent, whether accepted, pending, or expired. This helps you monitor who’s been invited, by whom, and what role they’ve been assigned.
Each invitation includes:
* **Email**: The email address the invitation was sent to
* **Inviter**: The user who sent the invitation
* **Role**: The assigned role upon acceptance
* **Created at**: Date the invitation was created
* **Status**: Accepted, Pending, or Expired
Pending invitations can be Resent or Deleted by clicking on the three dots on the right hand side of the corresponding row and selecting the desired action.
## Roles
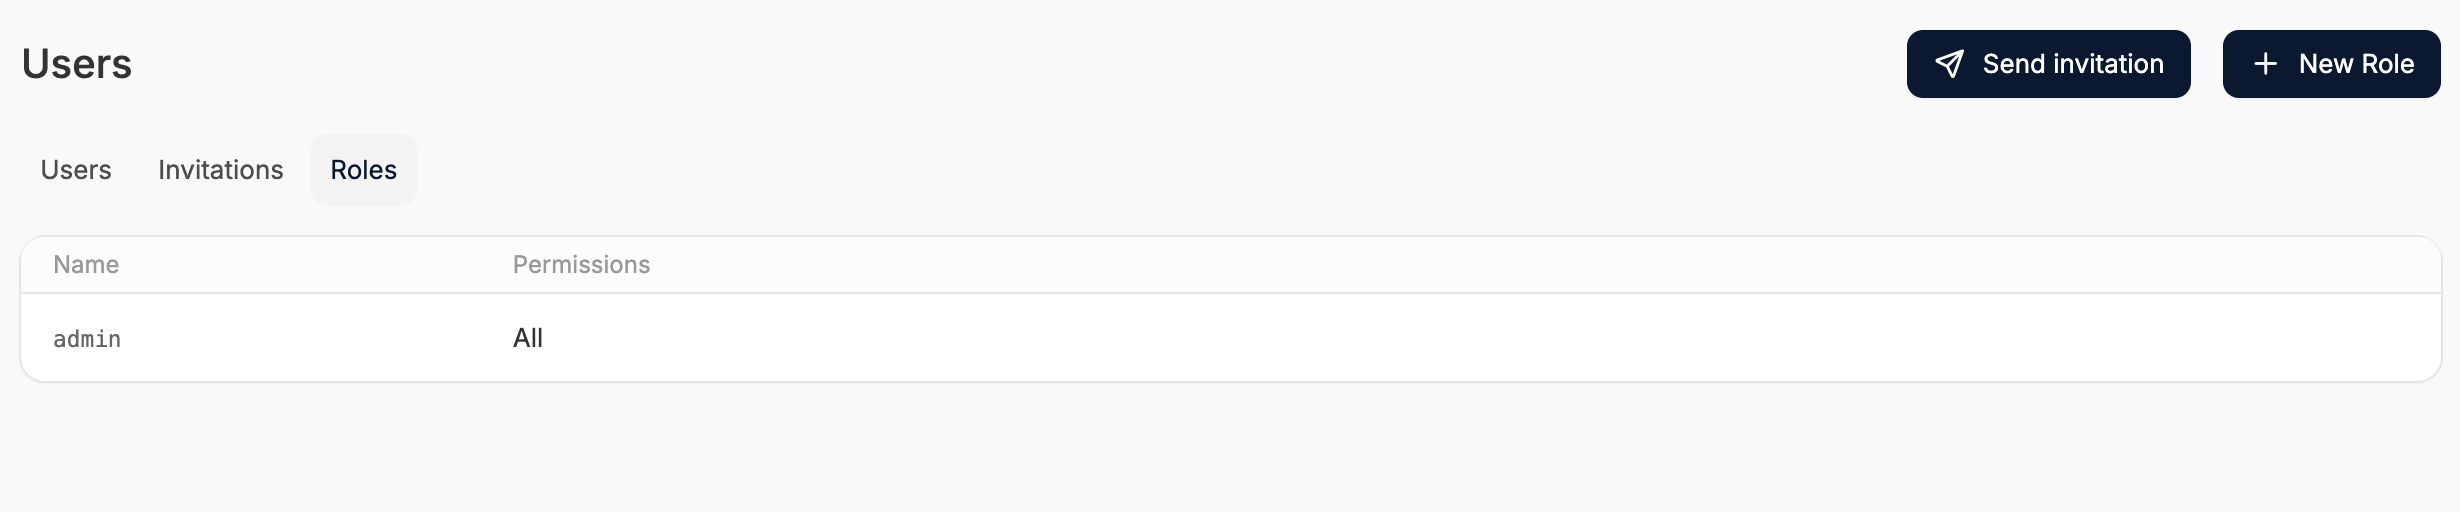 Role-based access control is not yet fully implemented in the admin UI. While you can create new role names, they do not affect permission levels.
However, you can currently create roles and apply permissions to them via code. Please refer to our developer docs for more info: [Customization → Permissions](/developer/customization/permissions).
Role-based access control is not yet fully implemented in the admin UI. While you can create new role names, they do not affect permission levels.
However, you can currently create roles and apply permissions to them via code. Please refer to our developer docs for more info: [Customization → Permissions](/developer/customization/permissions).