> ## Documentation Index
> Fetch the complete documentation index at: https://spreecommerce.org/docs/llms.txt
> Use this file to discover all available pages before exploring further.
# Staff
> Invite, edit, and manage the people with access to your Spree dashboard — send invitations, assign roles, track pending invites, and remove access.
Effectively managing who can reach your store's backend is essential for operational security and team collaboration. The Staff screen lists everyone with access to the dashboard, lets you invite new teammates, and lets you change or remove their access.
To manage staff, navigate to **Settings → Staff**, under the **Users & permissions** group.
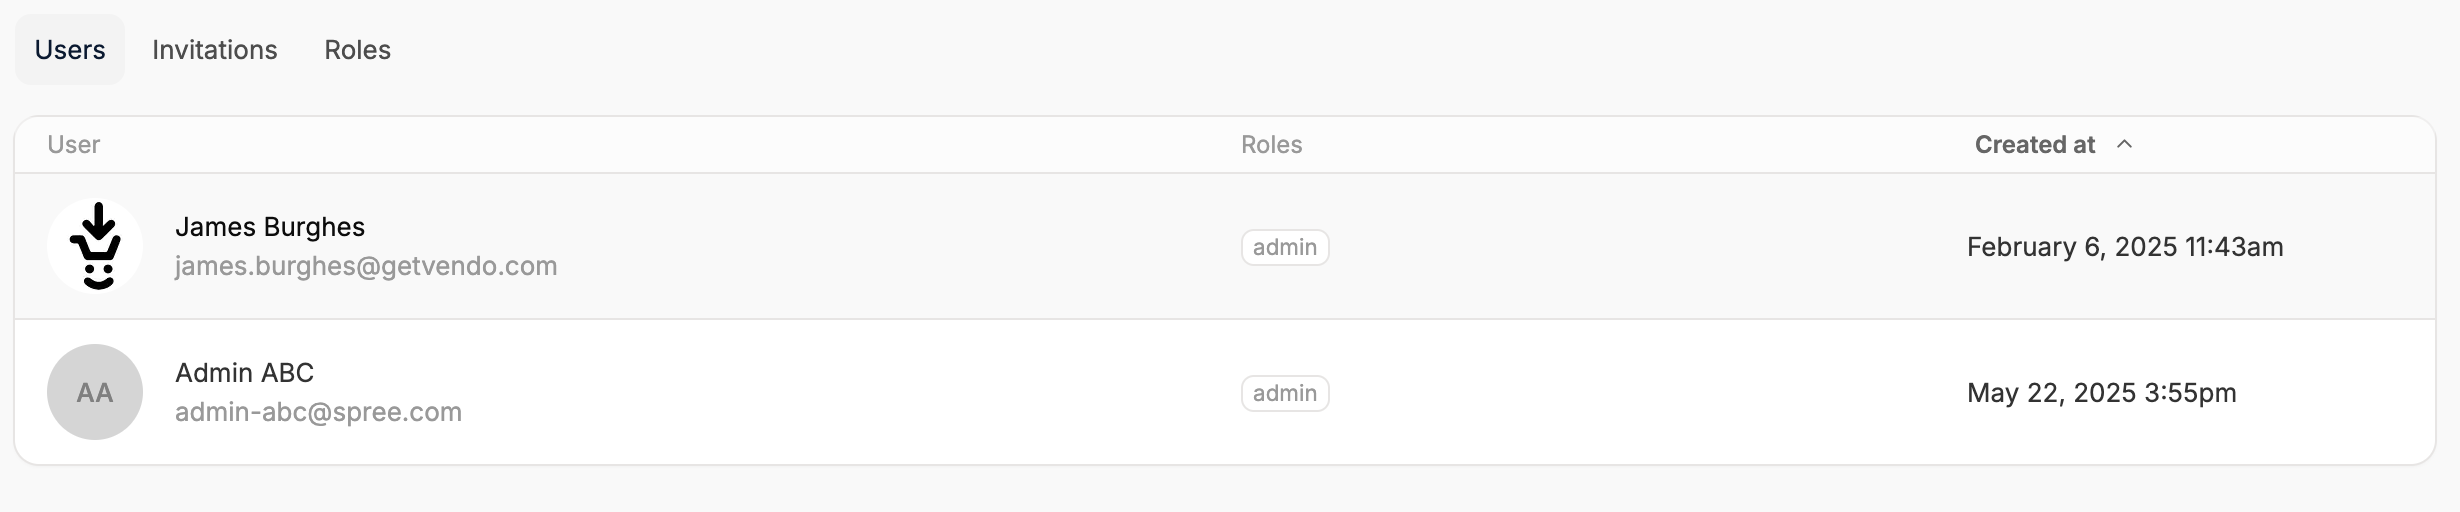 The table has two columns:
* **Member**: the person's initials, name, and email address
* **Roles**: one badge per role they hold
The column is **Roles**, plural — a person can hold more than one. The invitation panel offers only a single **Role**, so the way to give somebody a second role is to invite them first and edit them afterwards.
## Invite a Teammate
To invite somebody, click **Invite teammate** in the top-right corner. A panel opens, headed *"We'll email them a link to set their password."*
The table has two columns:
* **Member**: the person's initials, name, and email address
* **Roles**: one badge per role they hold
The column is **Roles**, plural — a person can hold more than one. The invitation panel offers only a single **Role**, so the way to give somebody a second role is to invite them first and edit them afterwards.
## Invite a Teammate
To invite somebody, click **Invite teammate** in the top-right corner. A panel opens, headed *"We'll email them a link to set their password."*
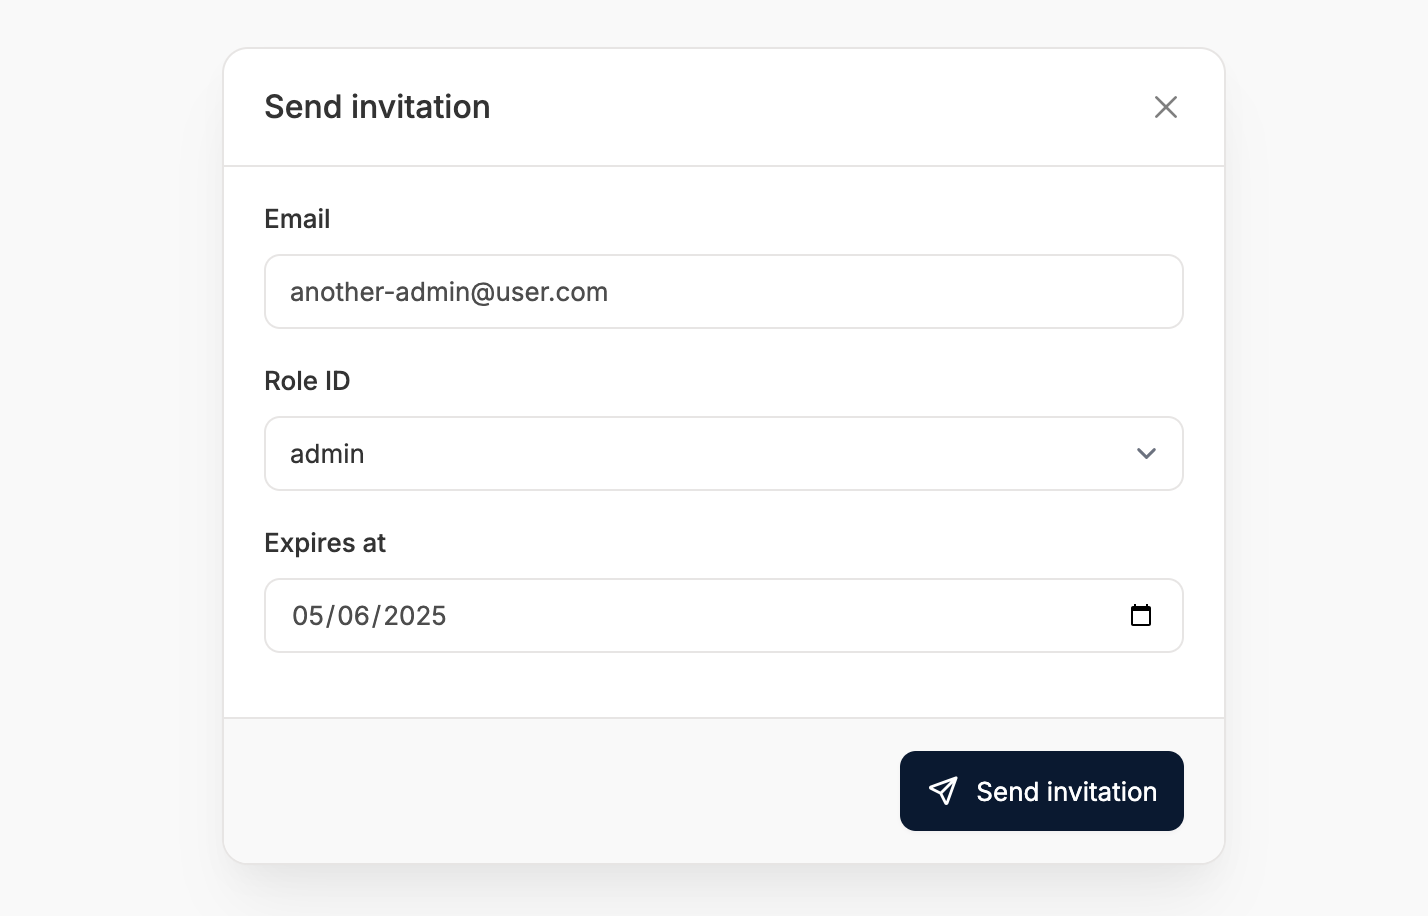 Then follow these steps:
1. Enter their email address.
2. Choose the **Role** they should have. The dropdown lists the roles that exist in your store, so it grows as you [create roles](/docs/user/settings/roles).
3. Click **Send invitation**.
Spree emails them a link to set their own password, so nobody types a password on their behalf.
When they click the invitation link, they're taken to an account creation page.
Then follow these steps:
1. Enter their email address.
2. Choose the **Role** they should have. The dropdown lists the roles that exist in your store, so it grows as you [create roles](/docs/user/settings/roles).
3. Click **Send invitation**.
Spree emails them a link to set their own password, so nobody types a password on their behalf.
When they click the invitation link, they're taken to an account creation page.
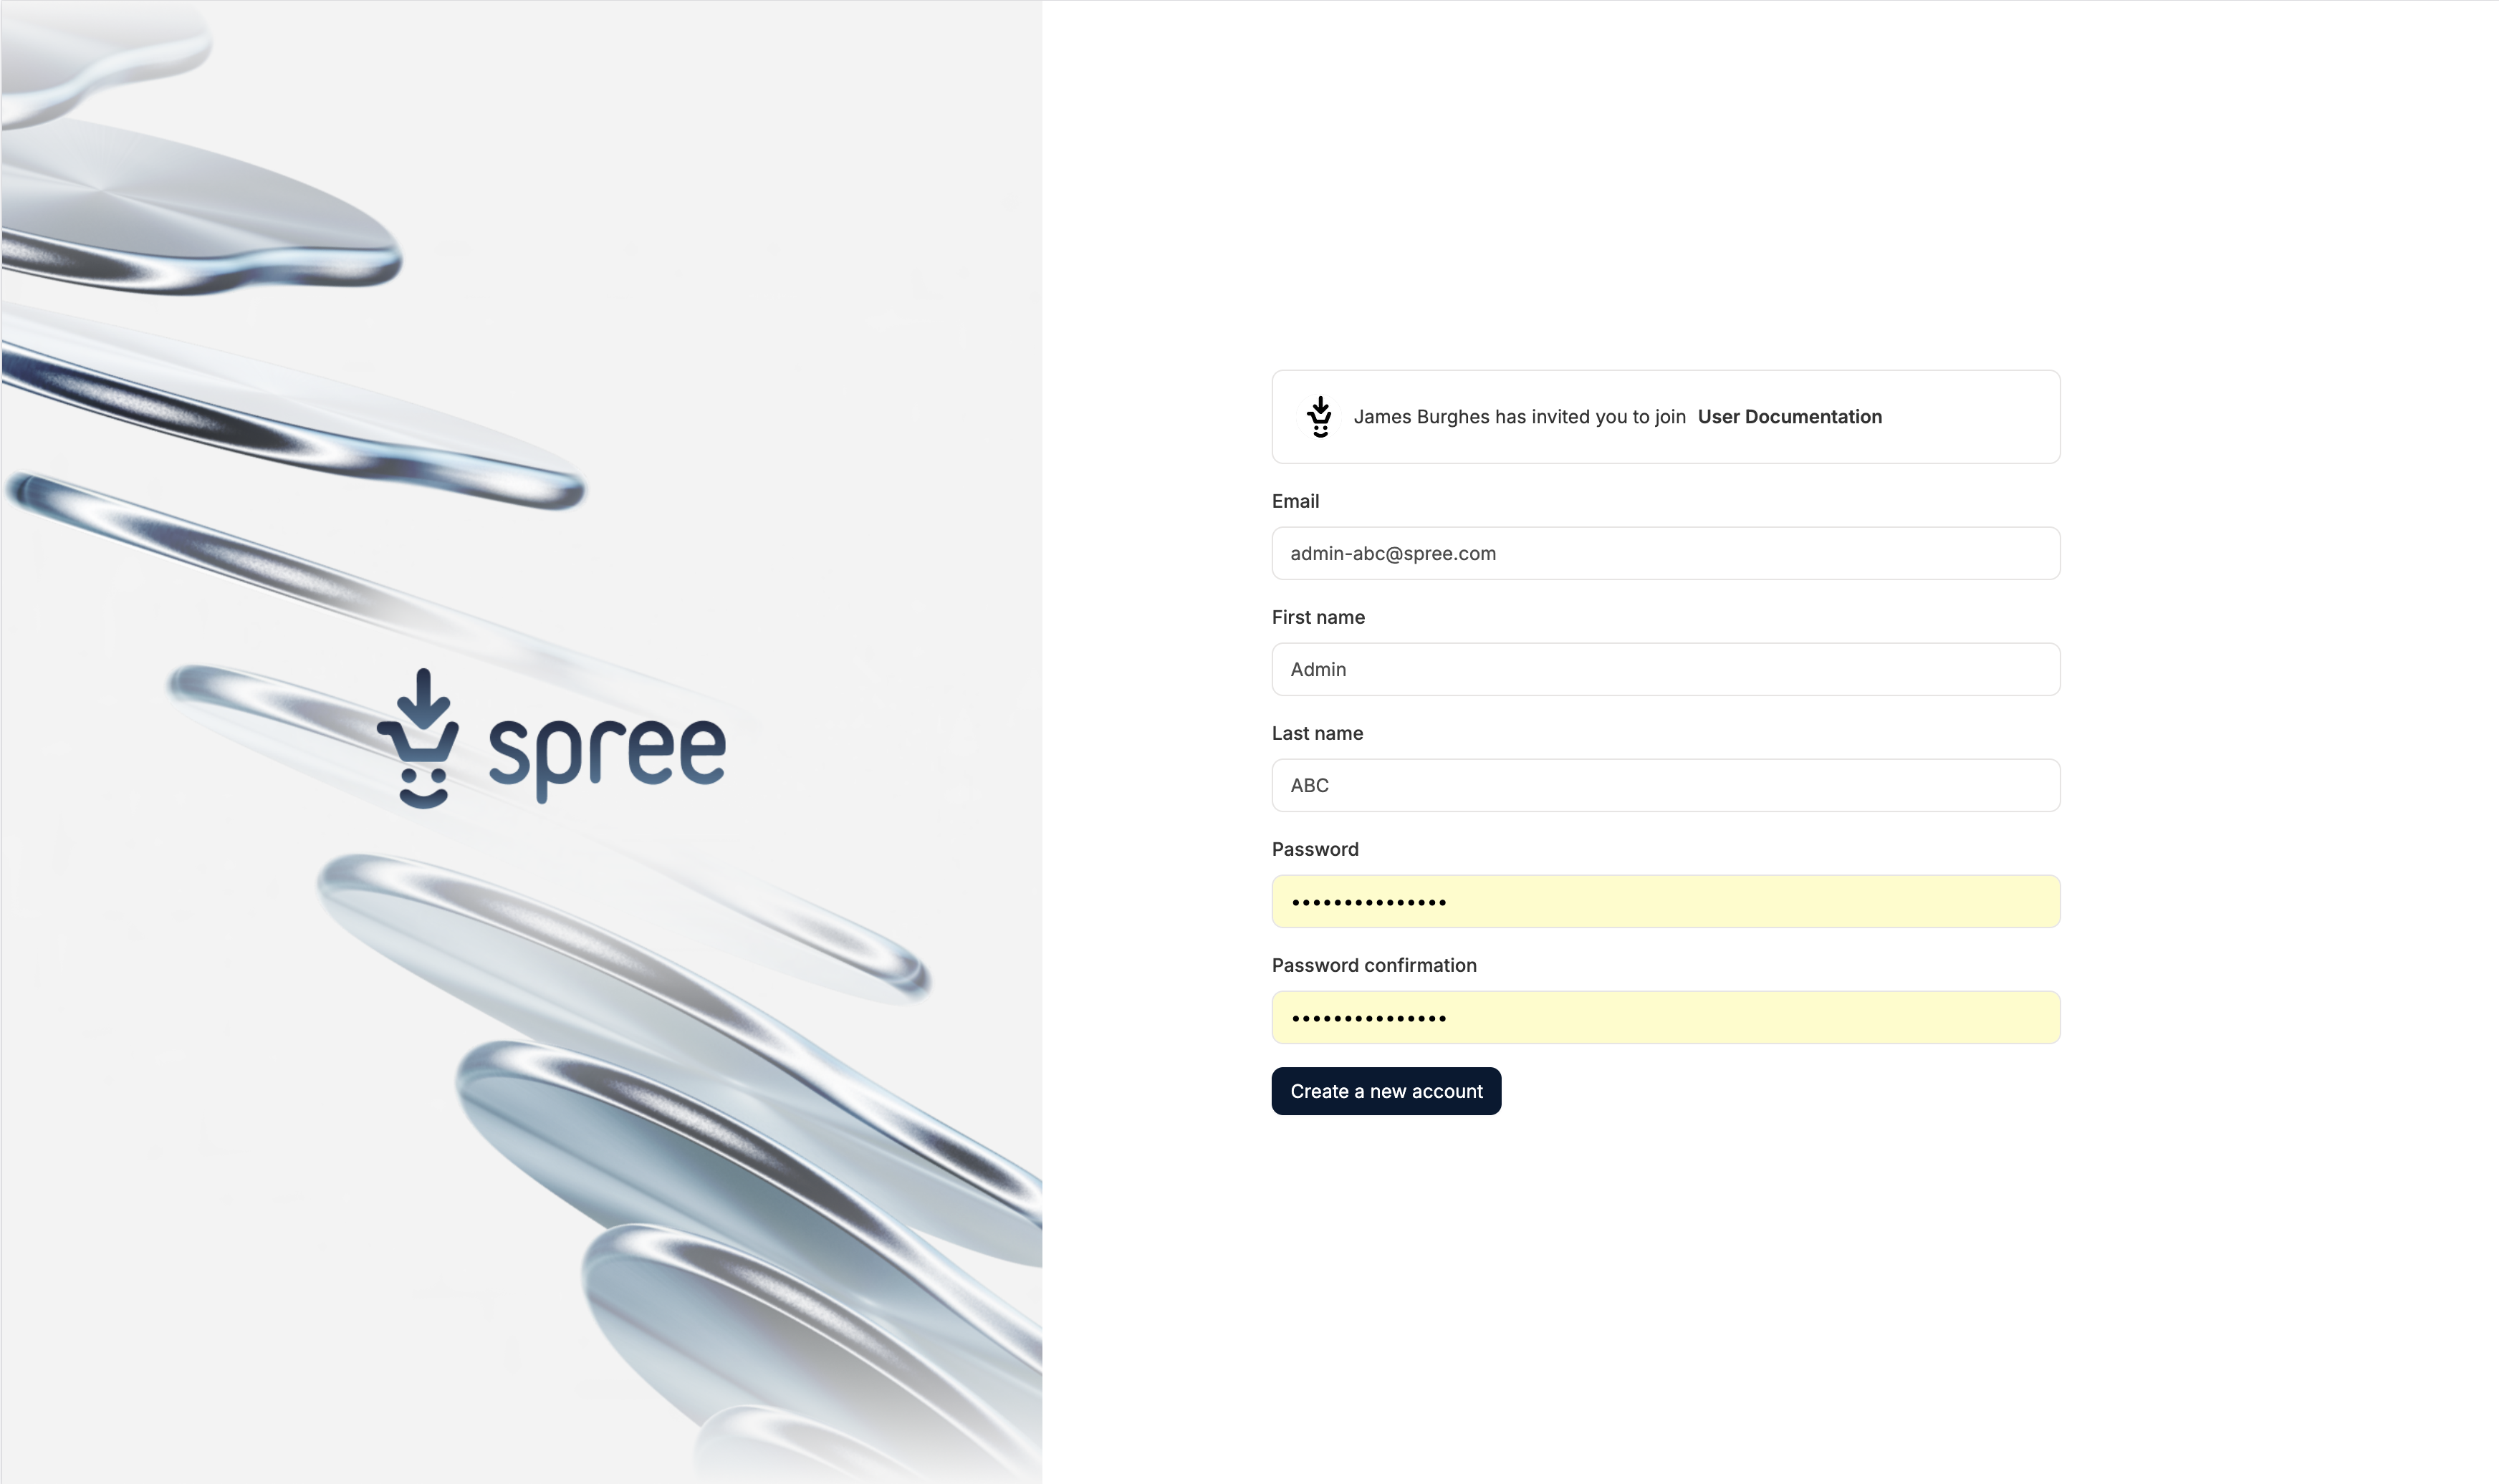 Once they complete the form, they're redirected to the admin dashboard.
## Edit a Teammate
To change somebody's details or roles, open the row actions and choose **Edit**. The panel is titled **Edit teammate**.
Once they complete the form, they're redirected to the admin dashboard.
## Edit a Teammate
To change somebody's details or roles, open the row actions and choose **Edit**. The panel is titled **Edit teammate**.
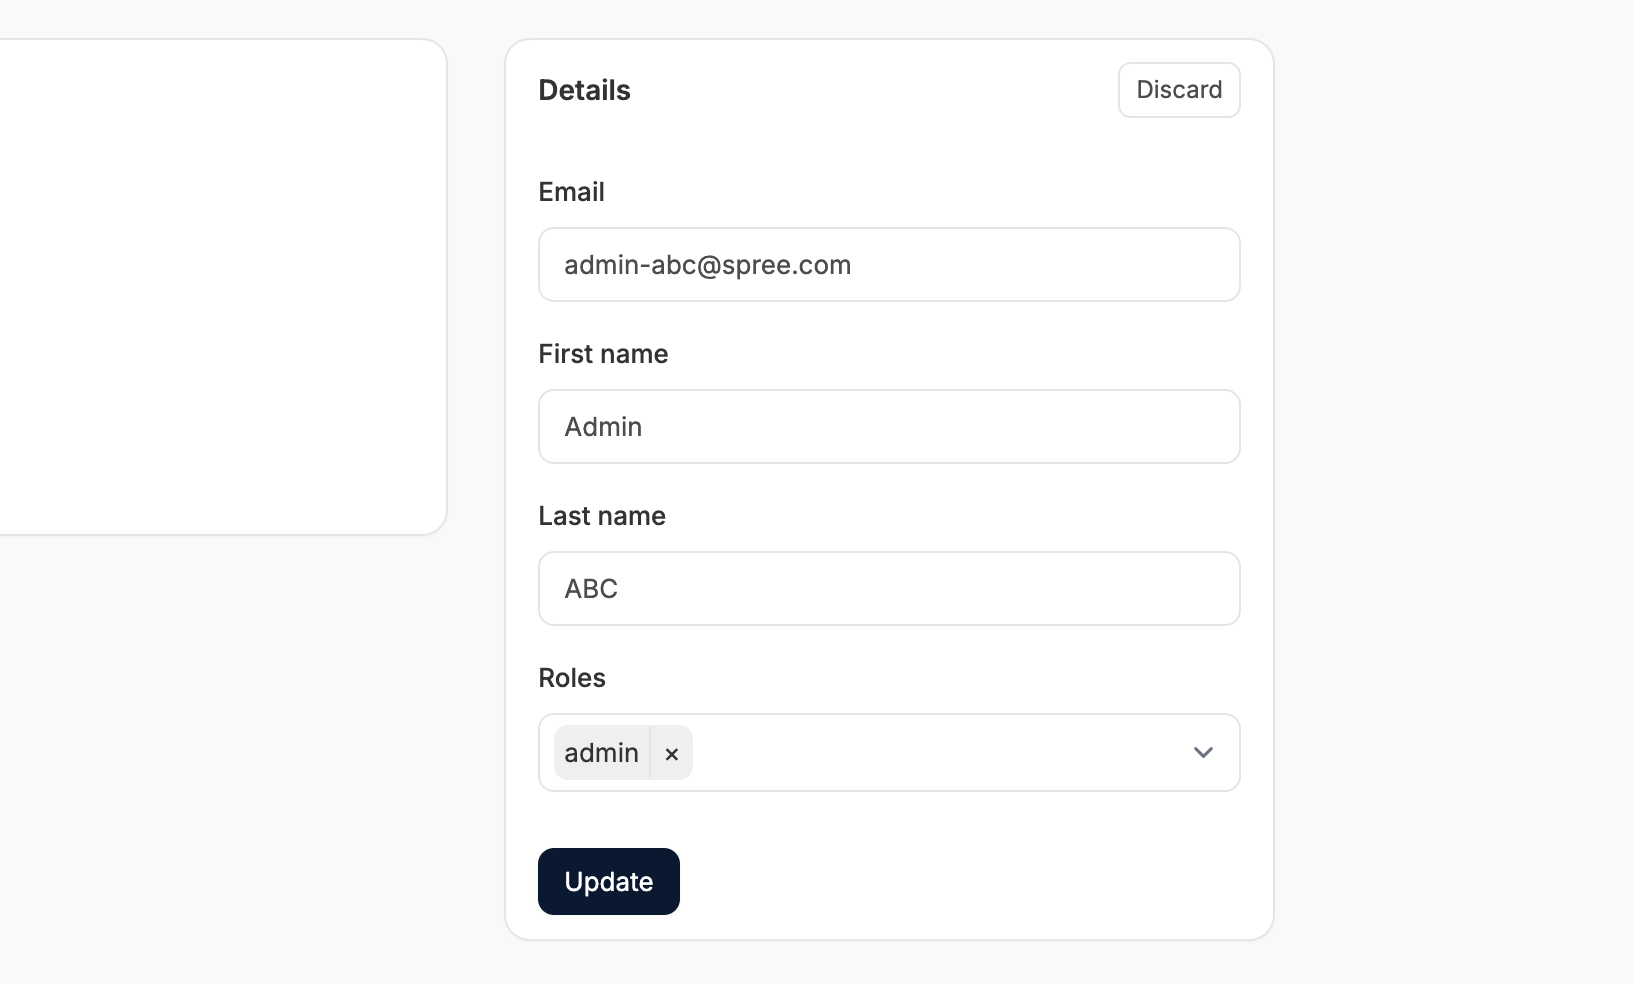 Change the fields as needed and click **Save**. This is also where you add a second role to somebody who already has one.
## Remove a Teammate
To take somebody's access away, open the row actions and choose **Remove from staff**.
## Pending Invitations
Invitations that have been sent but not yet accepted appear under **Pending invitations**, where **Resend** is available.
Change the fields as needed and click **Save**. This is also where you add a second role to somebody who already has one.
## Remove a Teammate
To take somebody's access away, open the row actions and choose **Remove from staff**.
## Pending Invitations
Invitations that have been sent but not yet accepted appear under **Pending invitations**, where **Resend** is available.
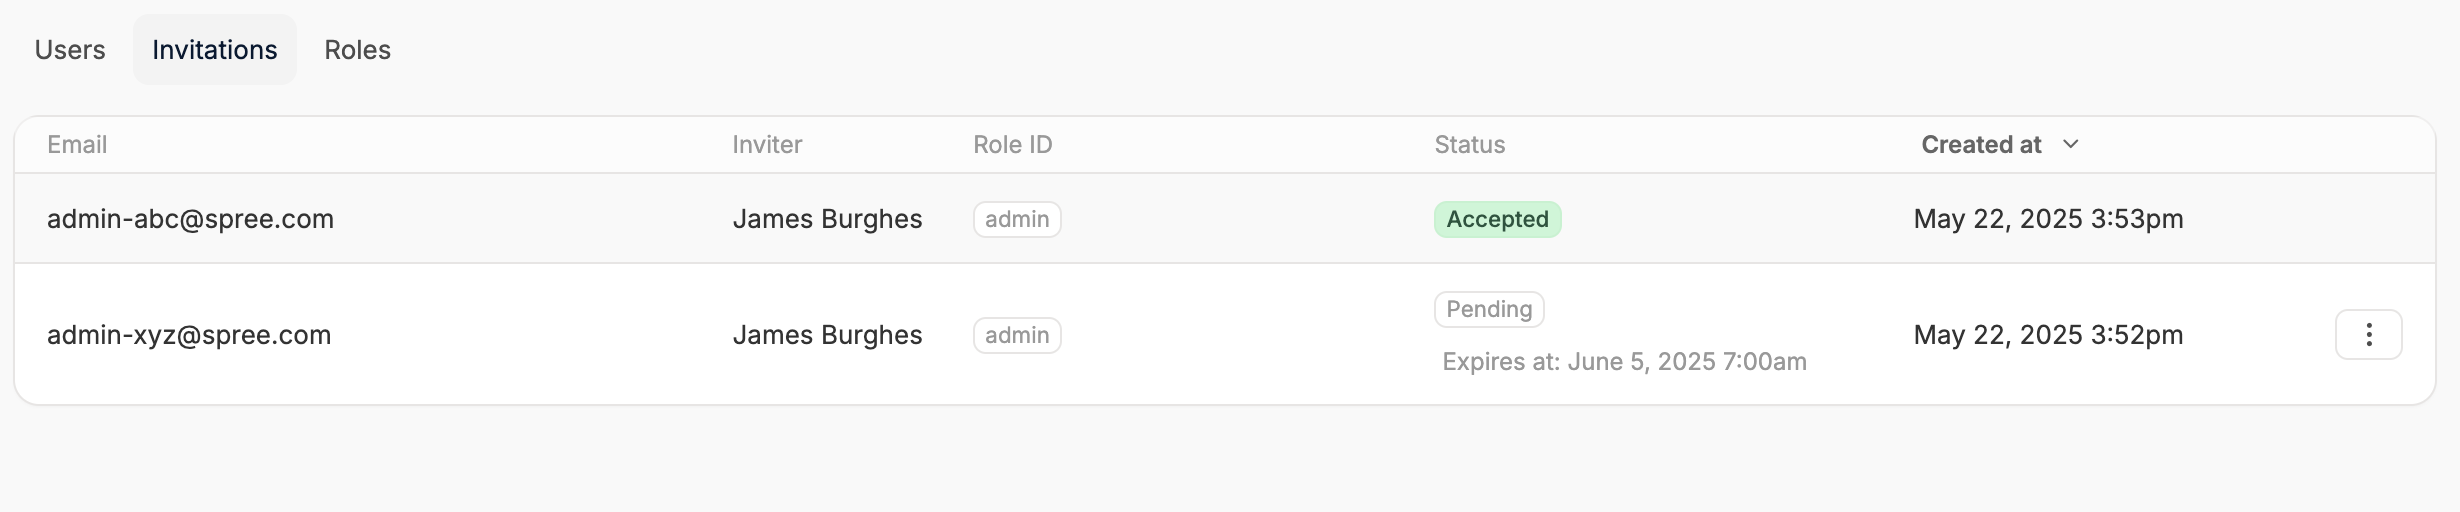 Each invitation records:
* **Email**: The email address the invitation was sent to
* **Inviter**: The person who sent the invitation
* **Role**: The role assigned on acceptance
* **Created at**: Date the invitation was created
* **Status**: Accepted, Pending, or Expired
## Related
* [Settings → Roles](/docs/user/settings/roles)
* [Settings → API Keys](/docs/user/settings/api-keys)
Each invitation records:
* **Email**: The email address the invitation was sent to
* **Inviter**: The person who sent the invitation
* **Role**: The role assigned on acceptance
* **Created at**: Date the invitation was created
* **Status**: Accepted, Pending, or Expired
## Related
* [Settings → Roles](/docs/user/settings/roles)
* [Settings → API Keys](/docs/user/settings/api-keys)