> ## Documentation Index
> Fetch the complete documentation index at: https://spreecommerce.org/docs/llms.txt
> Use this file to discover all available pages before exploring further.
# Rails Storefront Overview
> Install and configure the Spree Rails Storefront, a mobile-first, themeable storefront built with Tailwind CSS, Turbo, Stimulus, and Importmaps.
We recommend using [Next.js Storefront](/docs/developer/storefront/nextjs) for new projects, as it offers better performance and a more modern developer experience.
Rails Storefront is a mobile-first storefront that is fully customizable & themeable.
### Tech Stack
* [Ruby on Rails](https://rubyonrails.org/)
* [Tailwind CSS v4](https://tailwindcss.com/) — Responsive, mobile-first design
* [Turbo / Hotwire](https://turbo.hotwired.dev/) — Fast, SPA-like navigation
* [StimulusJS](https://stimulus.hotwired.dev/) — JavaScript controllers for interactivity
* [Importmaps](https://github.com/rails/importmap-rails) - NodeJS not required
### Installation
You can install it by running
```bash Spree CLI (Docker) theme={"theme":"night-owl"}
spree bundle add spree_storefront
```
```bash Without Spree CLI theme={"theme":"night-owl"}
bundle add spree_storefront
```
Then run the install generator:
```bash Spree CLI (Docker) theme={"theme":"night-owl"}
spree generate spree:storefront:install
```
```bash Without Spree CLI theme={"theme":"night-owl"}
bin/rails g spree:storefront:install
```
This will set up the storefront views, Tailwind CSS configuration, and page builder migrations.
You will also need to create your first theme. Open the Rails console:
```bash Spree CLI (Docker) theme={"theme":"night-owl"}
spree console
```
```bash Without Spree CLI theme={"theme":"night-owl"}
bin/rails console
```
And run:
```ruby theme={"theme":"night-owl"}
Spree::Store.default.send(:create_default_theme)
```
### Architecture
Rails Storefront consists of:
Themes are a collection of styles, scripts and templates that are used to style and layout the storefront.
Pages are the main building blocks of the storefront. They are used to create the structure of the storefront. Each Theme comes with a set of default pages such as Home Page, Product Listing Page, Product Page, etc, but you can create your own custom landing pages as well.
Sections are the building blocks of the pages. They are used to create the structure of the pages. Each Section is a collection of Blocks.
Blocks are the smallest building blocks of the storefront. They are used to create the content of the pages.
Links are used to create the navigation of the storefront. They can be assigned to Sections and Blocks.
### Page Builder
The storefront comes with a visual Page Builder that allows non-developers to build pages using a drag-and-drop interface. This allows your team to create new pages and sections, modify existing ones, and add new blocks to the pages in a no-code way.
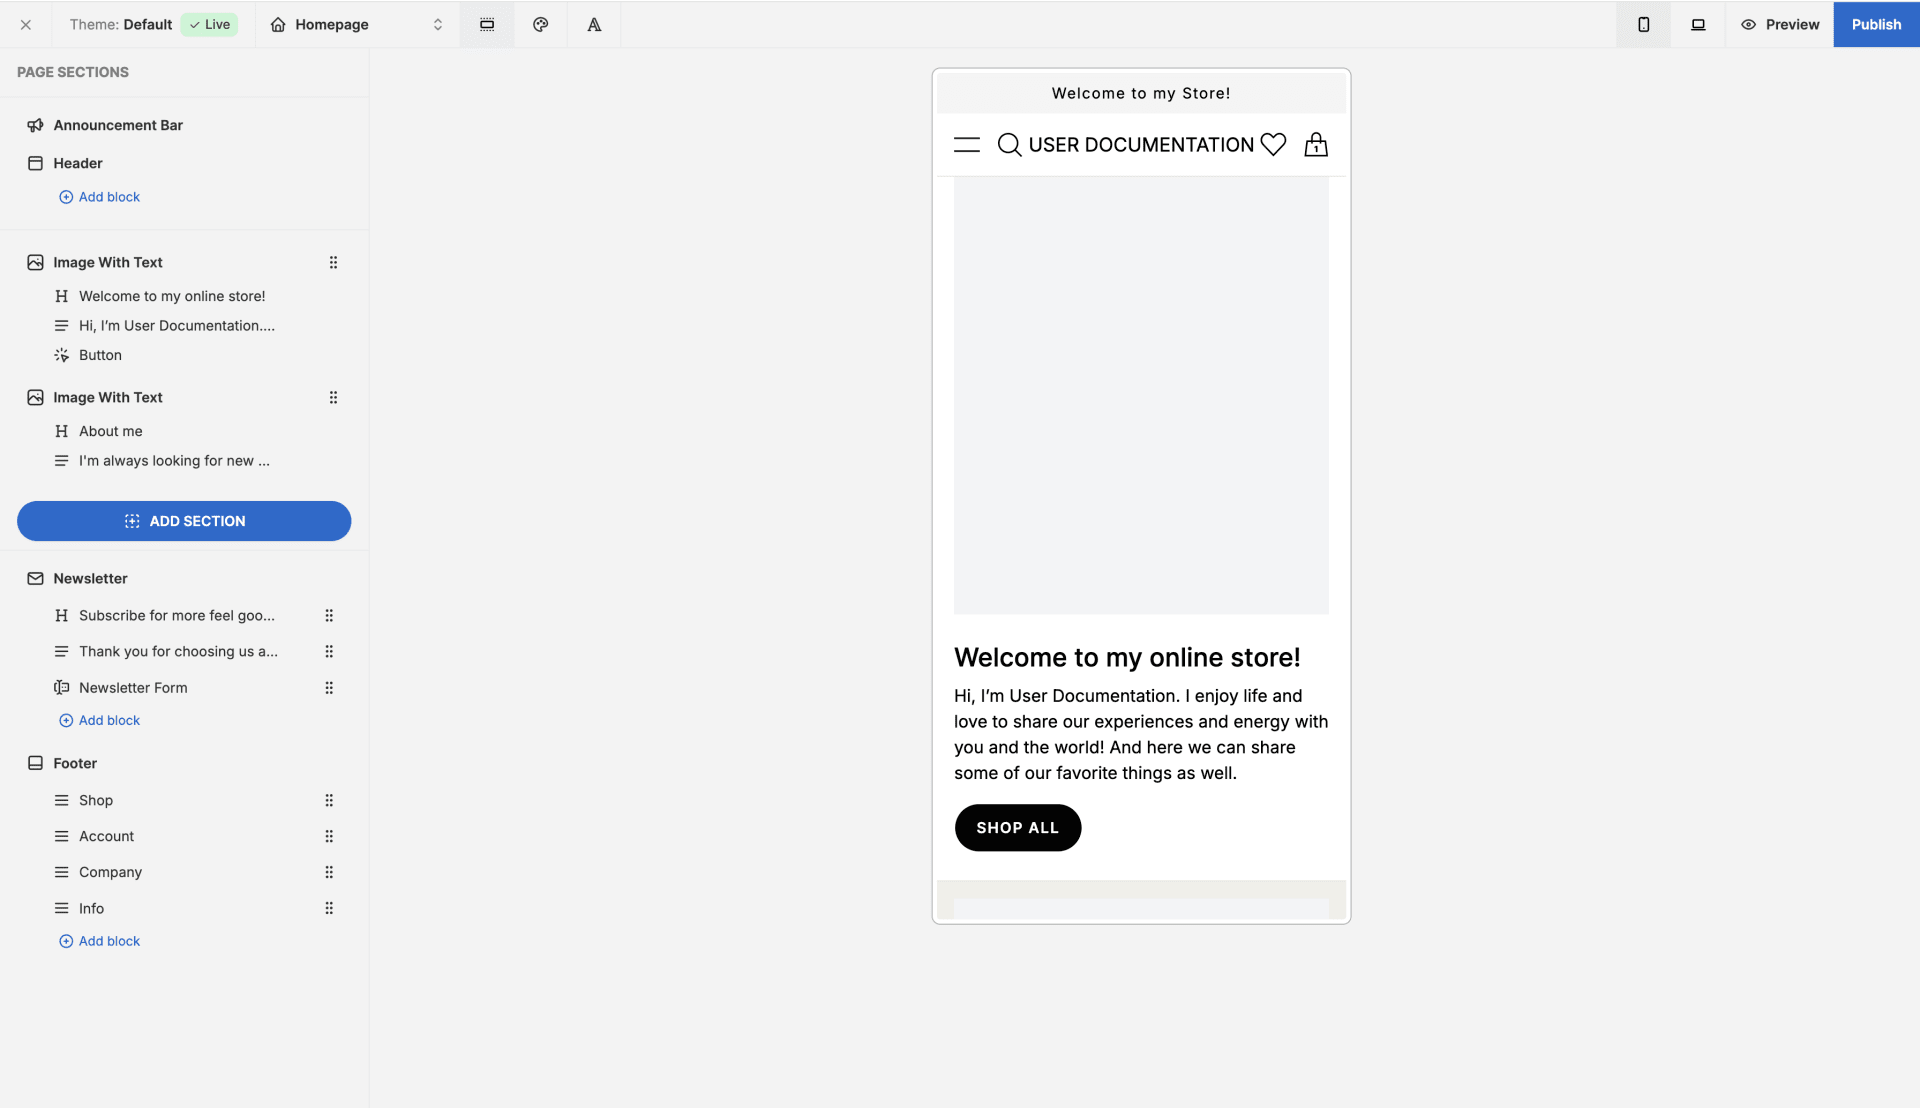
You can learn more about the Page Builder in the [User Documentation](/docs/user/storefront/theme-editor).