> ## Documentation Index
> Fetch the complete documentation index at: https://spreecommerce.org/docs/llms.txt
> Use this file to discover all available pages before exploring further.
# Installing Spree
> Install Spree Commerce locally with Docker or Ruby on Rails, run your first store, and deploy it to production with the official starter template.
## Installation options
The quickest way to get started. Scaffolds a full Spree project with Next.js Storefront (optional).
**Requirements:** [Node.js](https://nodejs.org/) 20+ and [Docker](https://docs.docker.com/get-docker/) running.
```bash theme={"theme":"night-owl"}
npx create-spree-app@latest my-store
```
The CLI walks you through an interactive setup:
1. Choose **Full-stack** (Backend + Next.js Storefront) or **Backend only**
2. Optionally load **sample data** (products, categories, images)
Once complete, your store should be running at [http://localhost:3000/admin](http://localhost:3000/admin). The port can be different if `3000` is already used on your system.
See the full [create-spree-app documentation](/developer/create-spree-app/quickstart) for all CLI flags and options.
For developers who prefer full control over the setup, or want to add Spree to an existing Rails application.
1. Install [Ruby](https://www.ruby-lang.org/en/documentation/installation/)
2. Install [vips](https://www.libvips.org/install.html) for image processing
3. Install Rails gem:
```bash theme={"theme":"night-owl"}
gem install rails
```
4. Create a new Spree application:
```bash theme={"theme":"night-owl"}
rails new my_store -m https://raw.githubusercontent.com/spree/spree/main/spree/template.rb
```
To use a specific database, pass the `-d` flag:
```bash theme={"theme":"night-owl"}
rails new my_store -d postgresql -m https://raw.githubusercontent.com/spree/spree/main/spree/template.rb
rails new my_store -d mysql -m https://raw.githubusercontent.com/spree/spree/main/spree/template.rb
```
5. Navigate to the application directory:
```bash theme={"theme":"night-owl"}
cd my_store
```
6. Start the development server:
```bash theme={"theme":"night-owl"}
bin/dev
```
7. Optionally load sample data (products, categories, etc.):
```bash theme={"theme":"night-owl"}
bin/rails spree_sample:load
```
Spree works with **PostgreSQL**, **MySQL**, and **SQLite** databases. The Rails template defaults to SQLite for quick setup. You can switch to PostgreSQL or MySQL at any time. [Learn more about database configuration](/developer/deployment/database).
## Accessing Admin Panel
Navigate to [http://localhost:3000/admin](http://localhost:3000/admin) and log in with the default credentials:
| | |
| ------------ | ------------------- |
| **Email** | `spree@example.com` |
| **Password** | `spree123` |
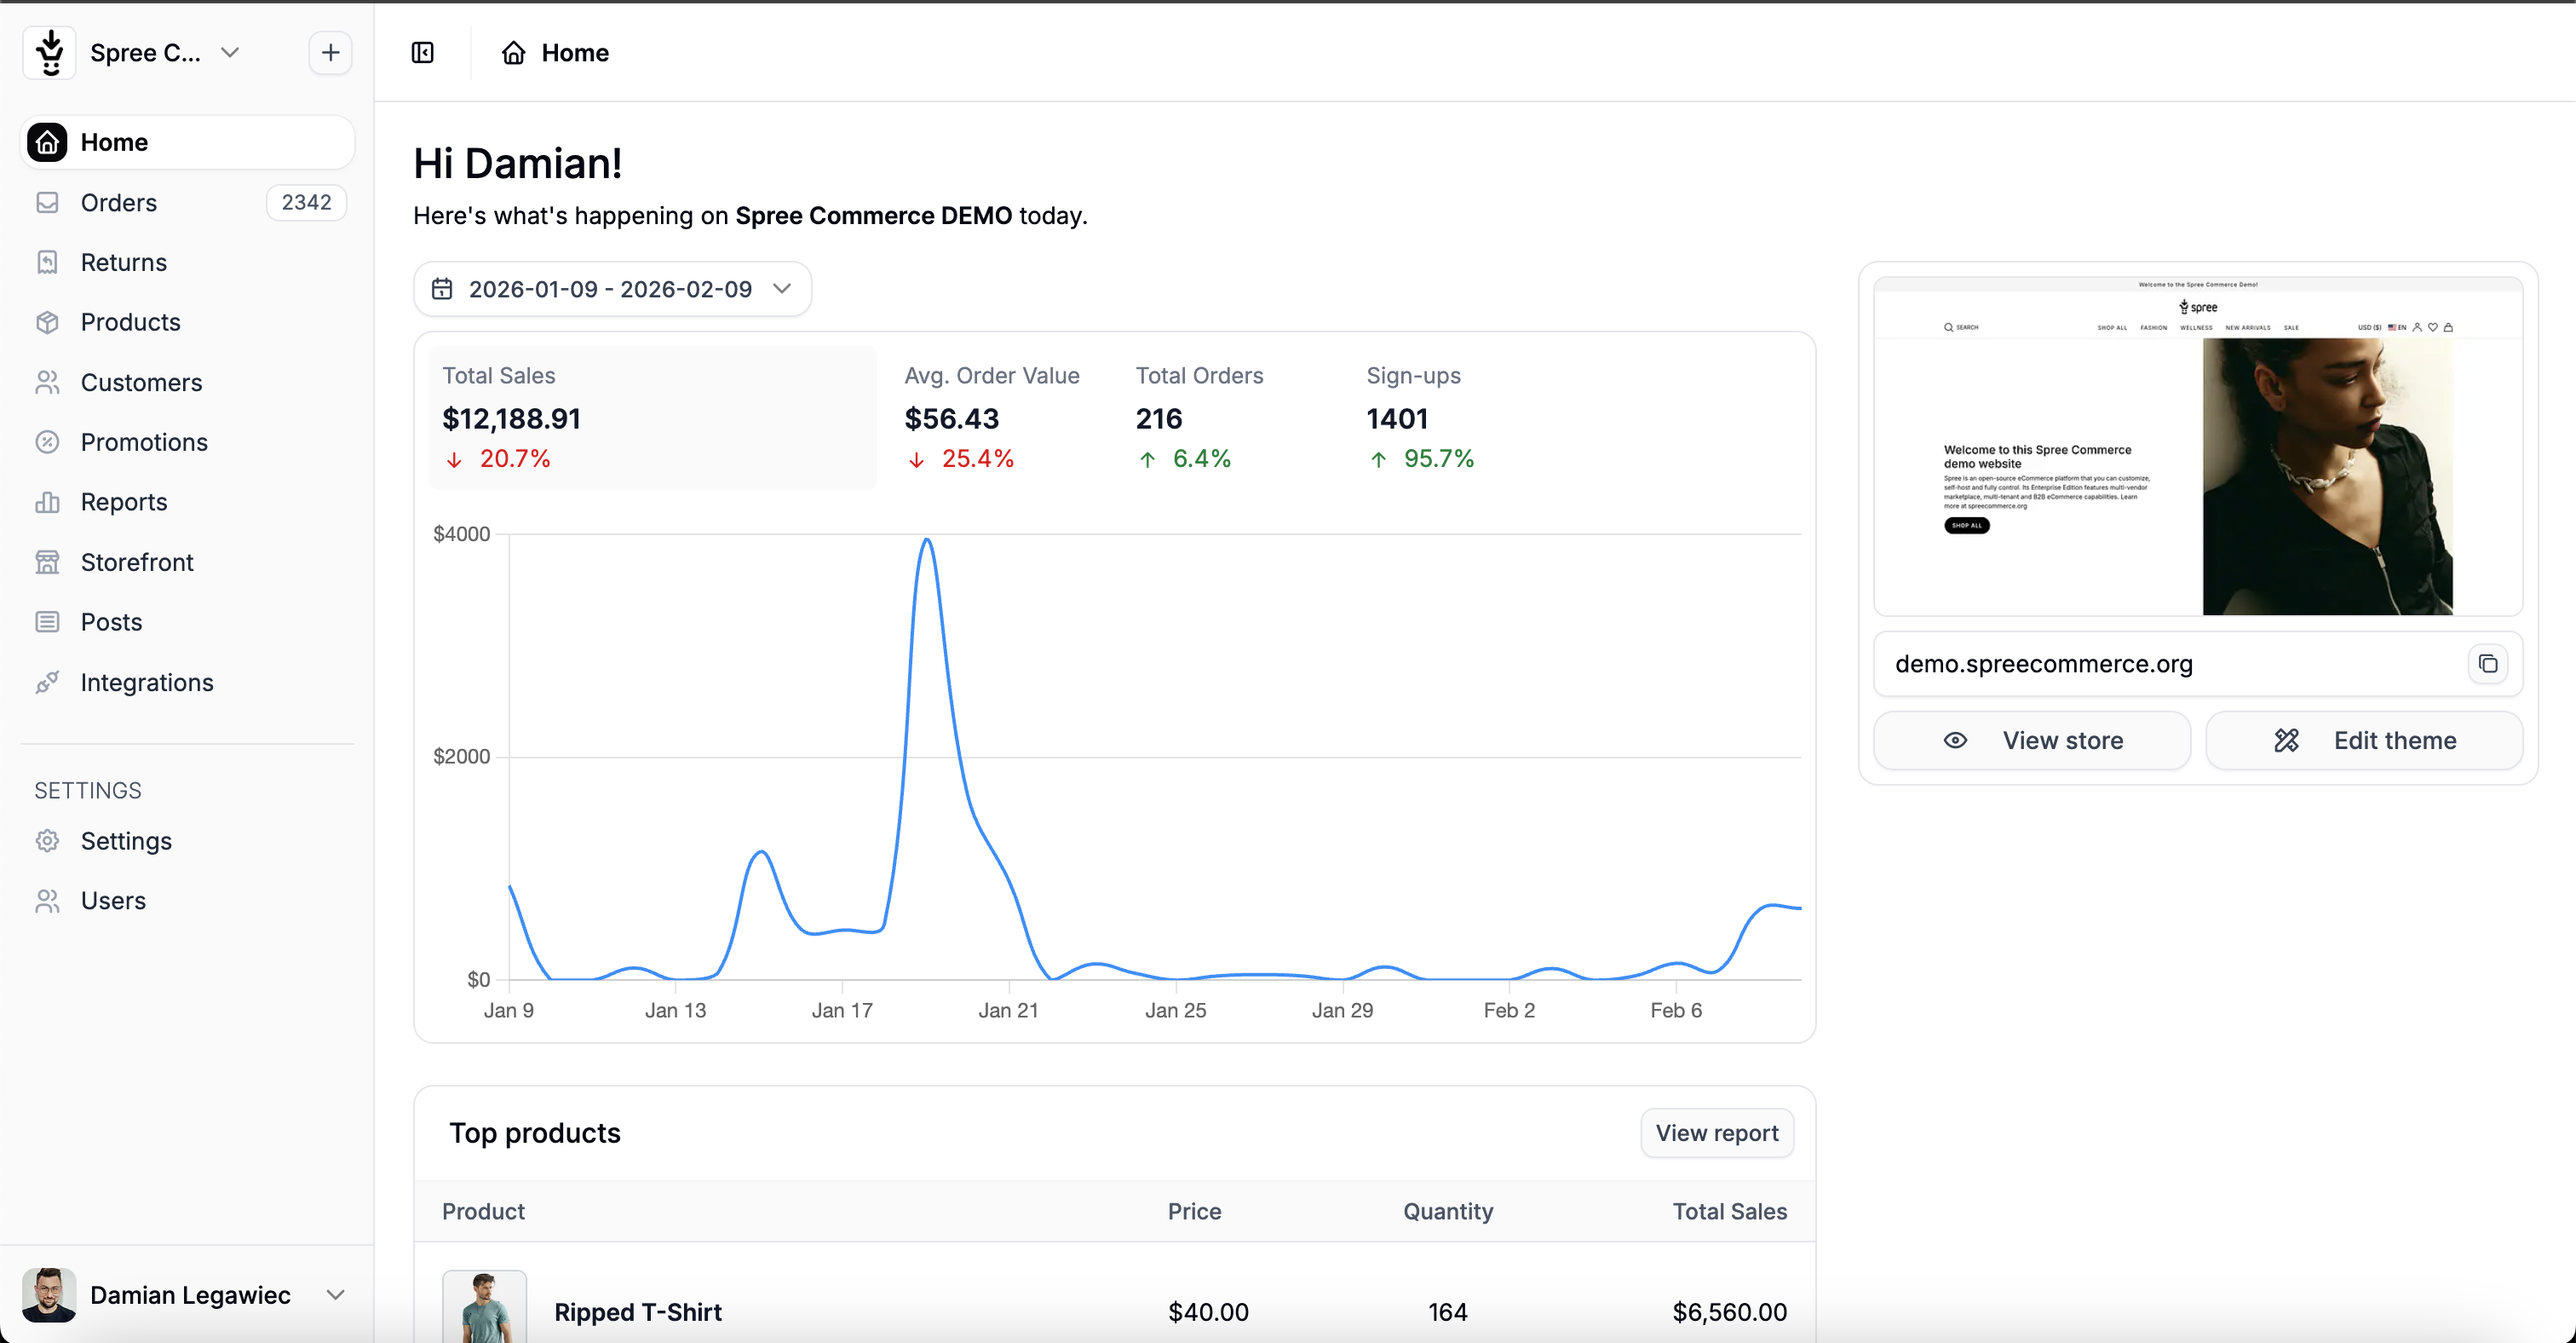
Upon successful authentication, you should see the admin screen:
 ## Using the Spree CLI
Projects scaffolded with `create-spree-app` include [`@spree/cli`](/developer/cli/quickstart) for managing the backend and calling the Admin API. Because it's a project dependency, run it with `npx` (or any package-manager script):
```bash theme={"theme":"night-owl"}
npx spree dev # boot the Docker stack
npx spree api get products # query the Admin API (read-only key preconfigured)
```
Project setup mints a read-only Admin API key into `.spree/credentials.json` (and `spree api` mints it on first use if you skipped setup), so `spree api` works without any extra configuration.
To call `spree` directly without the `npx` prefix, install the CLI globally:
```bash theme={"theme":"night-owl"}
npm install -g @spree/cli
spree api get products
```
See the [Spree CLI guide](/developer/cli/quickstart) for all commands and the [Admin API from the CLI](/developer/cli/admin-api) for querying your store's data.
## Next Steps
Install the Spree agent skills and connect the docs MCP server — Claude Code, Cursor, Copilot, and 60+ other tools learn Spree's conventions and build features with you.
Build a complete custom feature — model, admin UI, API, and TypeScript SDK — step by step.
Understand how Spree models commerce — stores, products, orders, payments.
Customize and extend the headless storefront.
Using an AI coding agent? Run `npx skills add spree/agent-skills` in your new project — it teaches your agent the customization patterns before you write a line of code. See [Agentic Development](/developer/agentic/overview).
***
Congrats! You've set up your Spree Commerce and it's looking amazing!
Give Spree a [GitHub Star](https://github.com/spree/spree), why don't ya? Thank you for supporting Spree open-source!
Need support or want to give some feedback? Join our [Discord](https://discord.spreecommerce.org/)
## Using the Spree CLI
Projects scaffolded with `create-spree-app` include [`@spree/cli`](/developer/cli/quickstart) for managing the backend and calling the Admin API. Because it's a project dependency, run it with `npx` (or any package-manager script):
```bash theme={"theme":"night-owl"}
npx spree dev # boot the Docker stack
npx spree api get products # query the Admin API (read-only key preconfigured)
```
Project setup mints a read-only Admin API key into `.spree/credentials.json` (and `spree api` mints it on first use if you skipped setup), so `spree api` works without any extra configuration.
To call `spree` directly without the `npx` prefix, install the CLI globally:
```bash theme={"theme":"night-owl"}
npm install -g @spree/cli
spree api get products
```
See the [Spree CLI guide](/developer/cli/quickstart) for all commands and the [Admin API from the CLI](/developer/cli/admin-api) for querying your store's data.
## Next Steps
Install the Spree agent skills and connect the docs MCP server — Claude Code, Cursor, Copilot, and 60+ other tools learn Spree's conventions and build features with you.
Build a complete custom feature — model, admin UI, API, and TypeScript SDK — step by step.
Understand how Spree models commerce — stores, products, orders, payments.
Customize and extend the headless storefront.
Using an AI coding agent? Run `npx skills add spree/agent-skills` in your new project — it teaches your agent the customization patterns before you write a line of code. See [Agentic Development](/developer/agentic/overview).
***
Congrats! You've set up your Spree Commerce and it's looking amazing!
Give Spree a [GitHub Star](https://github.com/spree/spree), why don't ya? Thank you for supporting Spree open-source!
Need support or want to give some feedback? Join our [Discord](https://discord.spreecommerce.org/)