> ## Documentation Index
> Fetch the complete documentation index at: https://spreecommerce.org/docs/llms.txt
> Use this file to discover all available pages before exploring further.
# Adding to an existing Rails app
> This guide will show you how to add Spree to an existing Ruby on Rails application.
This guide is aimed at advanced users who want to add Spree to an existing Rails application. If you are new to Spree, please follow the [Quickstart guide](/getting-started/quickstart).
## Overview
If you already have a Ruby on Rails application, you can add Spree to it by following these steps.
Spree works with **PostgreSQL**, **MySQL**, and **SQLite** — whatever database your Rails app already uses. No database migration is needed.
## 1. Add Spree gems
Add these lines to your project `Gemfile`:
```ruby theme={"theme":"night-owl"}
spree_opts = { 'github': 'spree/spree', 'branch': 'main' }
gem 'spree', spree_opts # core, API, and CLI
gem 'spree_admin', spree_opts # Admin panel (optional)
gem 'spree_emails', spree_opts # transactional emails (optional)
```
And run the following command to install the gems:
```bash theme={"theme":"night-owl"}
bundle install
```
## 2. Run the install generators
Spree uses a modular installation approach. First install the core, then add optional components.
### Install core Spree
This installs core models, API, CLI, and authentication:
```bash theme={"theme":"night-owl"}
bin/rails g spree:install --user_class=Spree::User --authentication=devise
```
**Core installation options:**
| Option | Description |
| ------------------ | ----------------------------------------------------- |
| `user_class` | The class for your users, eg. `Spree::User` or `User` |
| `admin_user_class` | The class for admin users (defaults to `user_class`) |
| `authentication` | Authentication gem: `devise` or `custom` |
| `migrate` | Whether to run migrations (default: true) |
| `seed` | Whether to run the seed file (default: true) |
| `sample` | Whether to add sample data (default: false) |
| `admin_email` | Email of the first admin user |
| `admin_password` | Password of the first admin user |
### Install Admin Panel (optional)
```bash theme={"theme":"night-owl"}
bin/rails g spree:admin:install
bin/rails g spree:admin:devise # if using Devise authentication
```
### Add sample data (optional)
To add sample data to your store, run:
```bash theme={"theme":"night-owl"}
bin/rake spree:load_sample_data
```
This will add some products, categories and multiple markets to your store.
## Accessing Admin Panel
Navigate to [http://localhost:3000/admin](http://localhost:3000/admin) and log in with the default credentials:
| | |
| ------------ | ------------------- |
| **Email** | `spree@example.com` |
| **Password** | `spree123` |
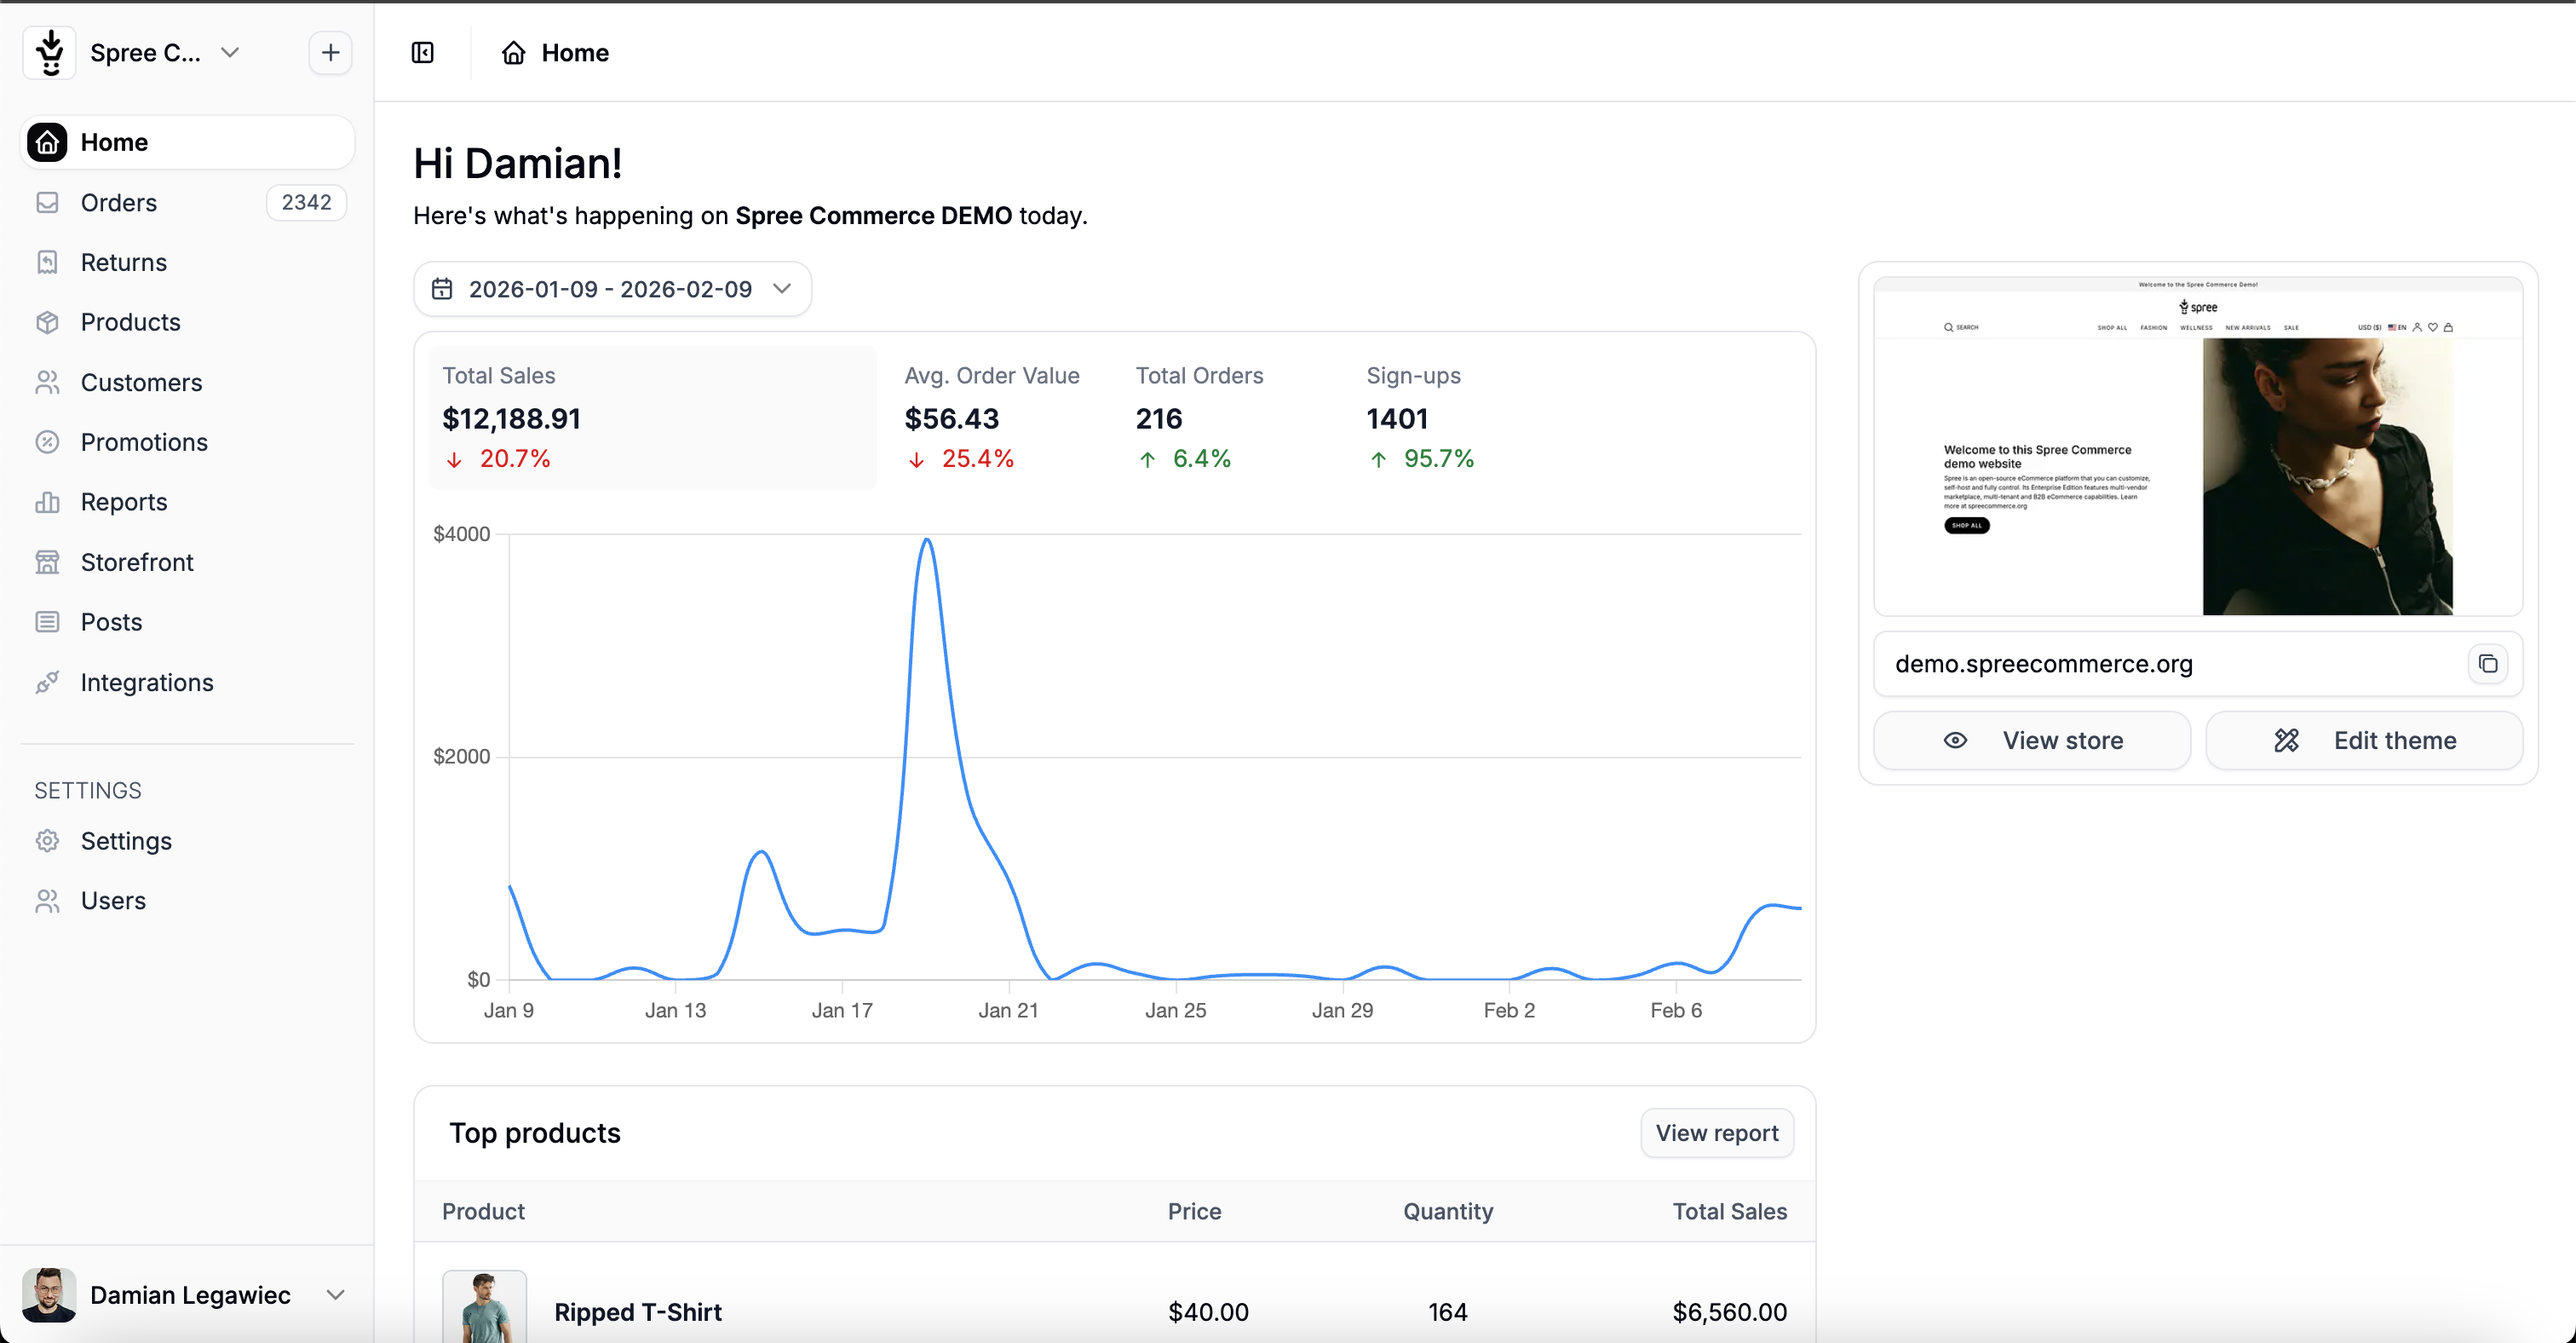
Upon successful authentication, you should see the admin screen:
 ***
Congrats! You've set up your Spree Commerce and it's looking amazing!
Give Spree a [GitHub Star](https://github.com/spree/spree), why don't ya? Thank you for supporting Spree open-source!
Need support or want to give some feedback? Join our [Discord](https://discord.spreecommerce.org/)
***
Congrats! You've set up your Spree Commerce and it's looking amazing!
Give Spree a [GitHub Star](https://github.com/spree/spree), why don't ya? Thank you for supporting Spree open-source!
Need support or want to give some feedback? Join our [Discord](https://discord.spreecommerce.org/)